As an Amazon Associate, we earn from qualifying purchases. Some links on this site are affiliate links at no extra cost to you. Our recommendations are based on thorough research and editorial judgment.
How to Cook Kidney Beans in an Instant Pot Safely
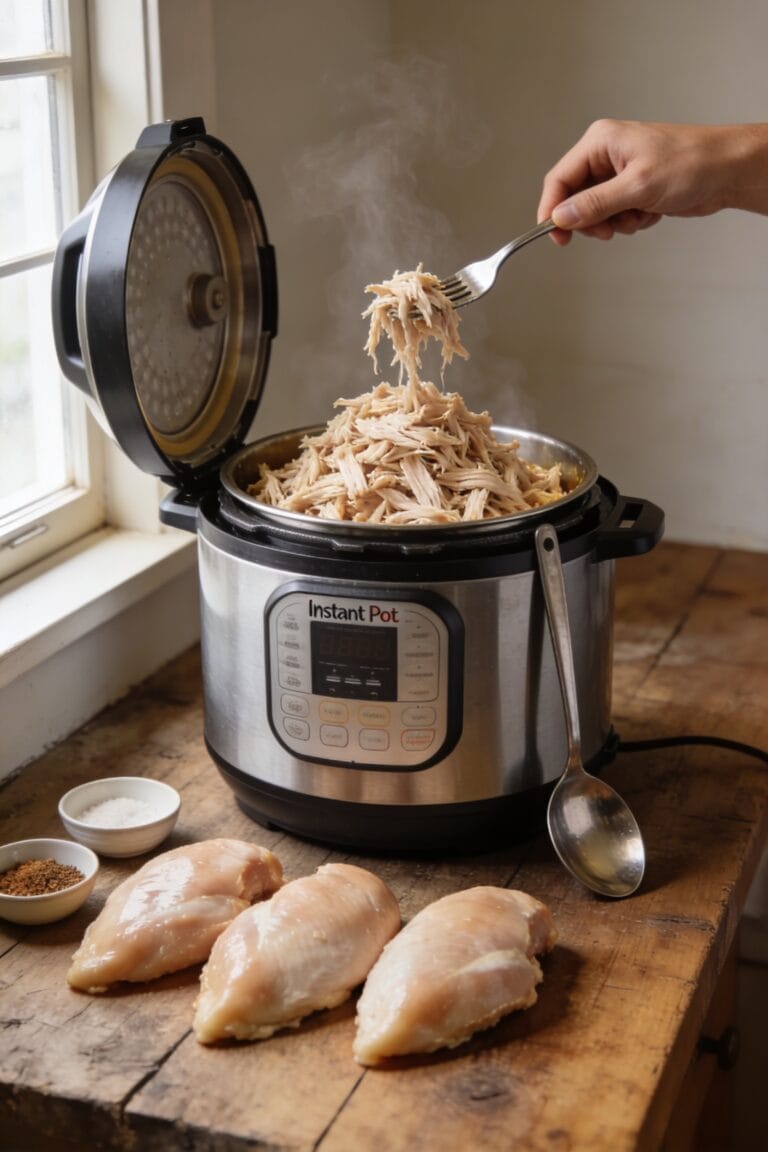
All right, here’s the thing—kidney beans have a toxin called phytohaemagglutinin that you absolutely need to denature, and pressure cooking does that beautifully in about ten minutes. I always sort and rinse my dried beans first, then either quick-soak or skip soaking altogether. Cook them high pressure for 25–30 minutes, natural release for 10–15 minutes, add a splash of oil to prevent foaming, then bite one to check for that creamy center. Cool them fast, store properly, and you’ve got safe beans. There’s plenty more technique worth knowing.
Key Takeaways
- Kidney beans contain a toxin (PHA) that requires pressure cooking above 212°F for at least 10 minutes to denature safely.
- Always inspect and sort dried beans, removing stones and debris, then rinse thoroughly before cooking to ensure safety and quality.
- Check your Instant Pot’s float valve, vent pipe, and lid seal before use to prevent pressure-related malfunctions and accidents.
- Cook kidney beans at high pressure for 25–30 minutes with natural release afterward, whether soaked or unsoaked, for consistent results.
- Cool cooked beans quickly in a colander and refrigerate within two hours; store up to 5 days refrigerated or 3 months frozen.
Instant Pot Safety for Kidney Beans
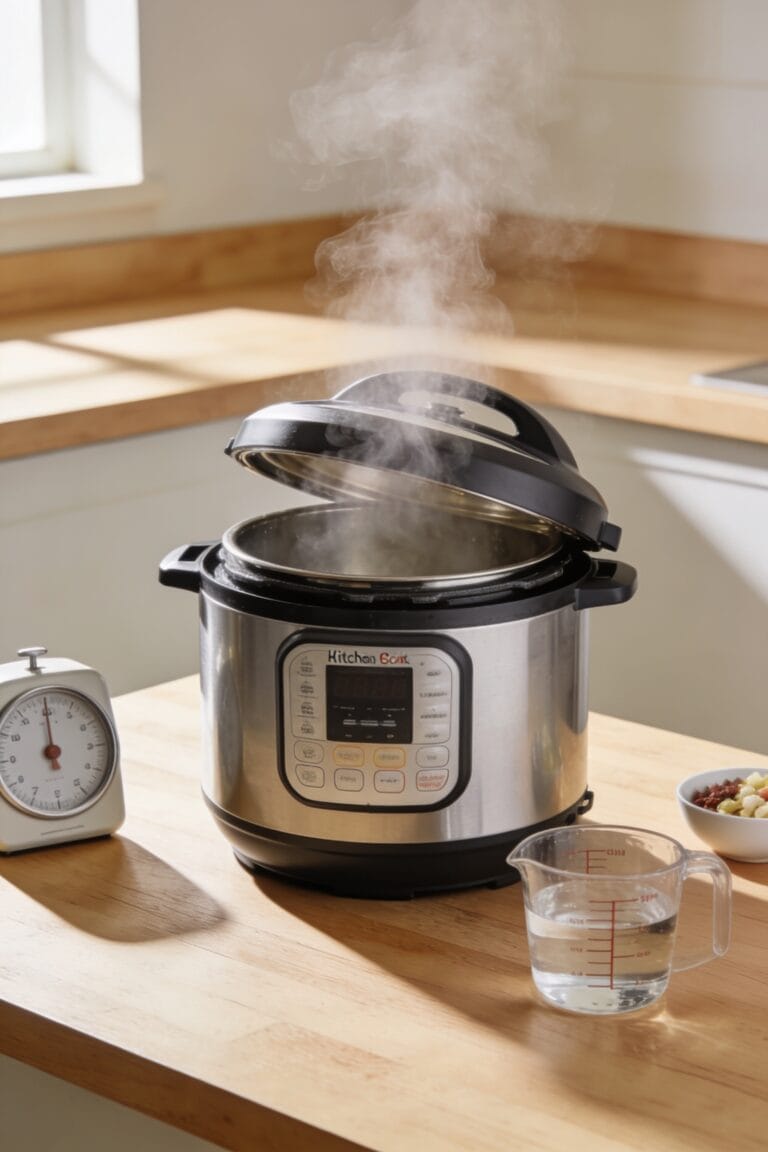
Because kidney beans contain a natural toxin called phytohaemagglutinin (PHA) that’ll make you seriously regret skipping this step, I need to be straight with you: you can’t just throw dried kidney beans in a slow cooker and call it a day. Your Instant Pot, though? That’s your safety net. It reaches temperatures above 212°F—hot enough to denature PHA in just 10 minutes—while slow cookers often won’t cut it. Before you start, check your pressure warnings and make sure your vent maintenance is solid: a properly seated float valve and clean vent pipe aren’t optional. Lock that lid, respect the liquid levels, and follow recommended cook times. You’re not being paranoid; you’re being smart.
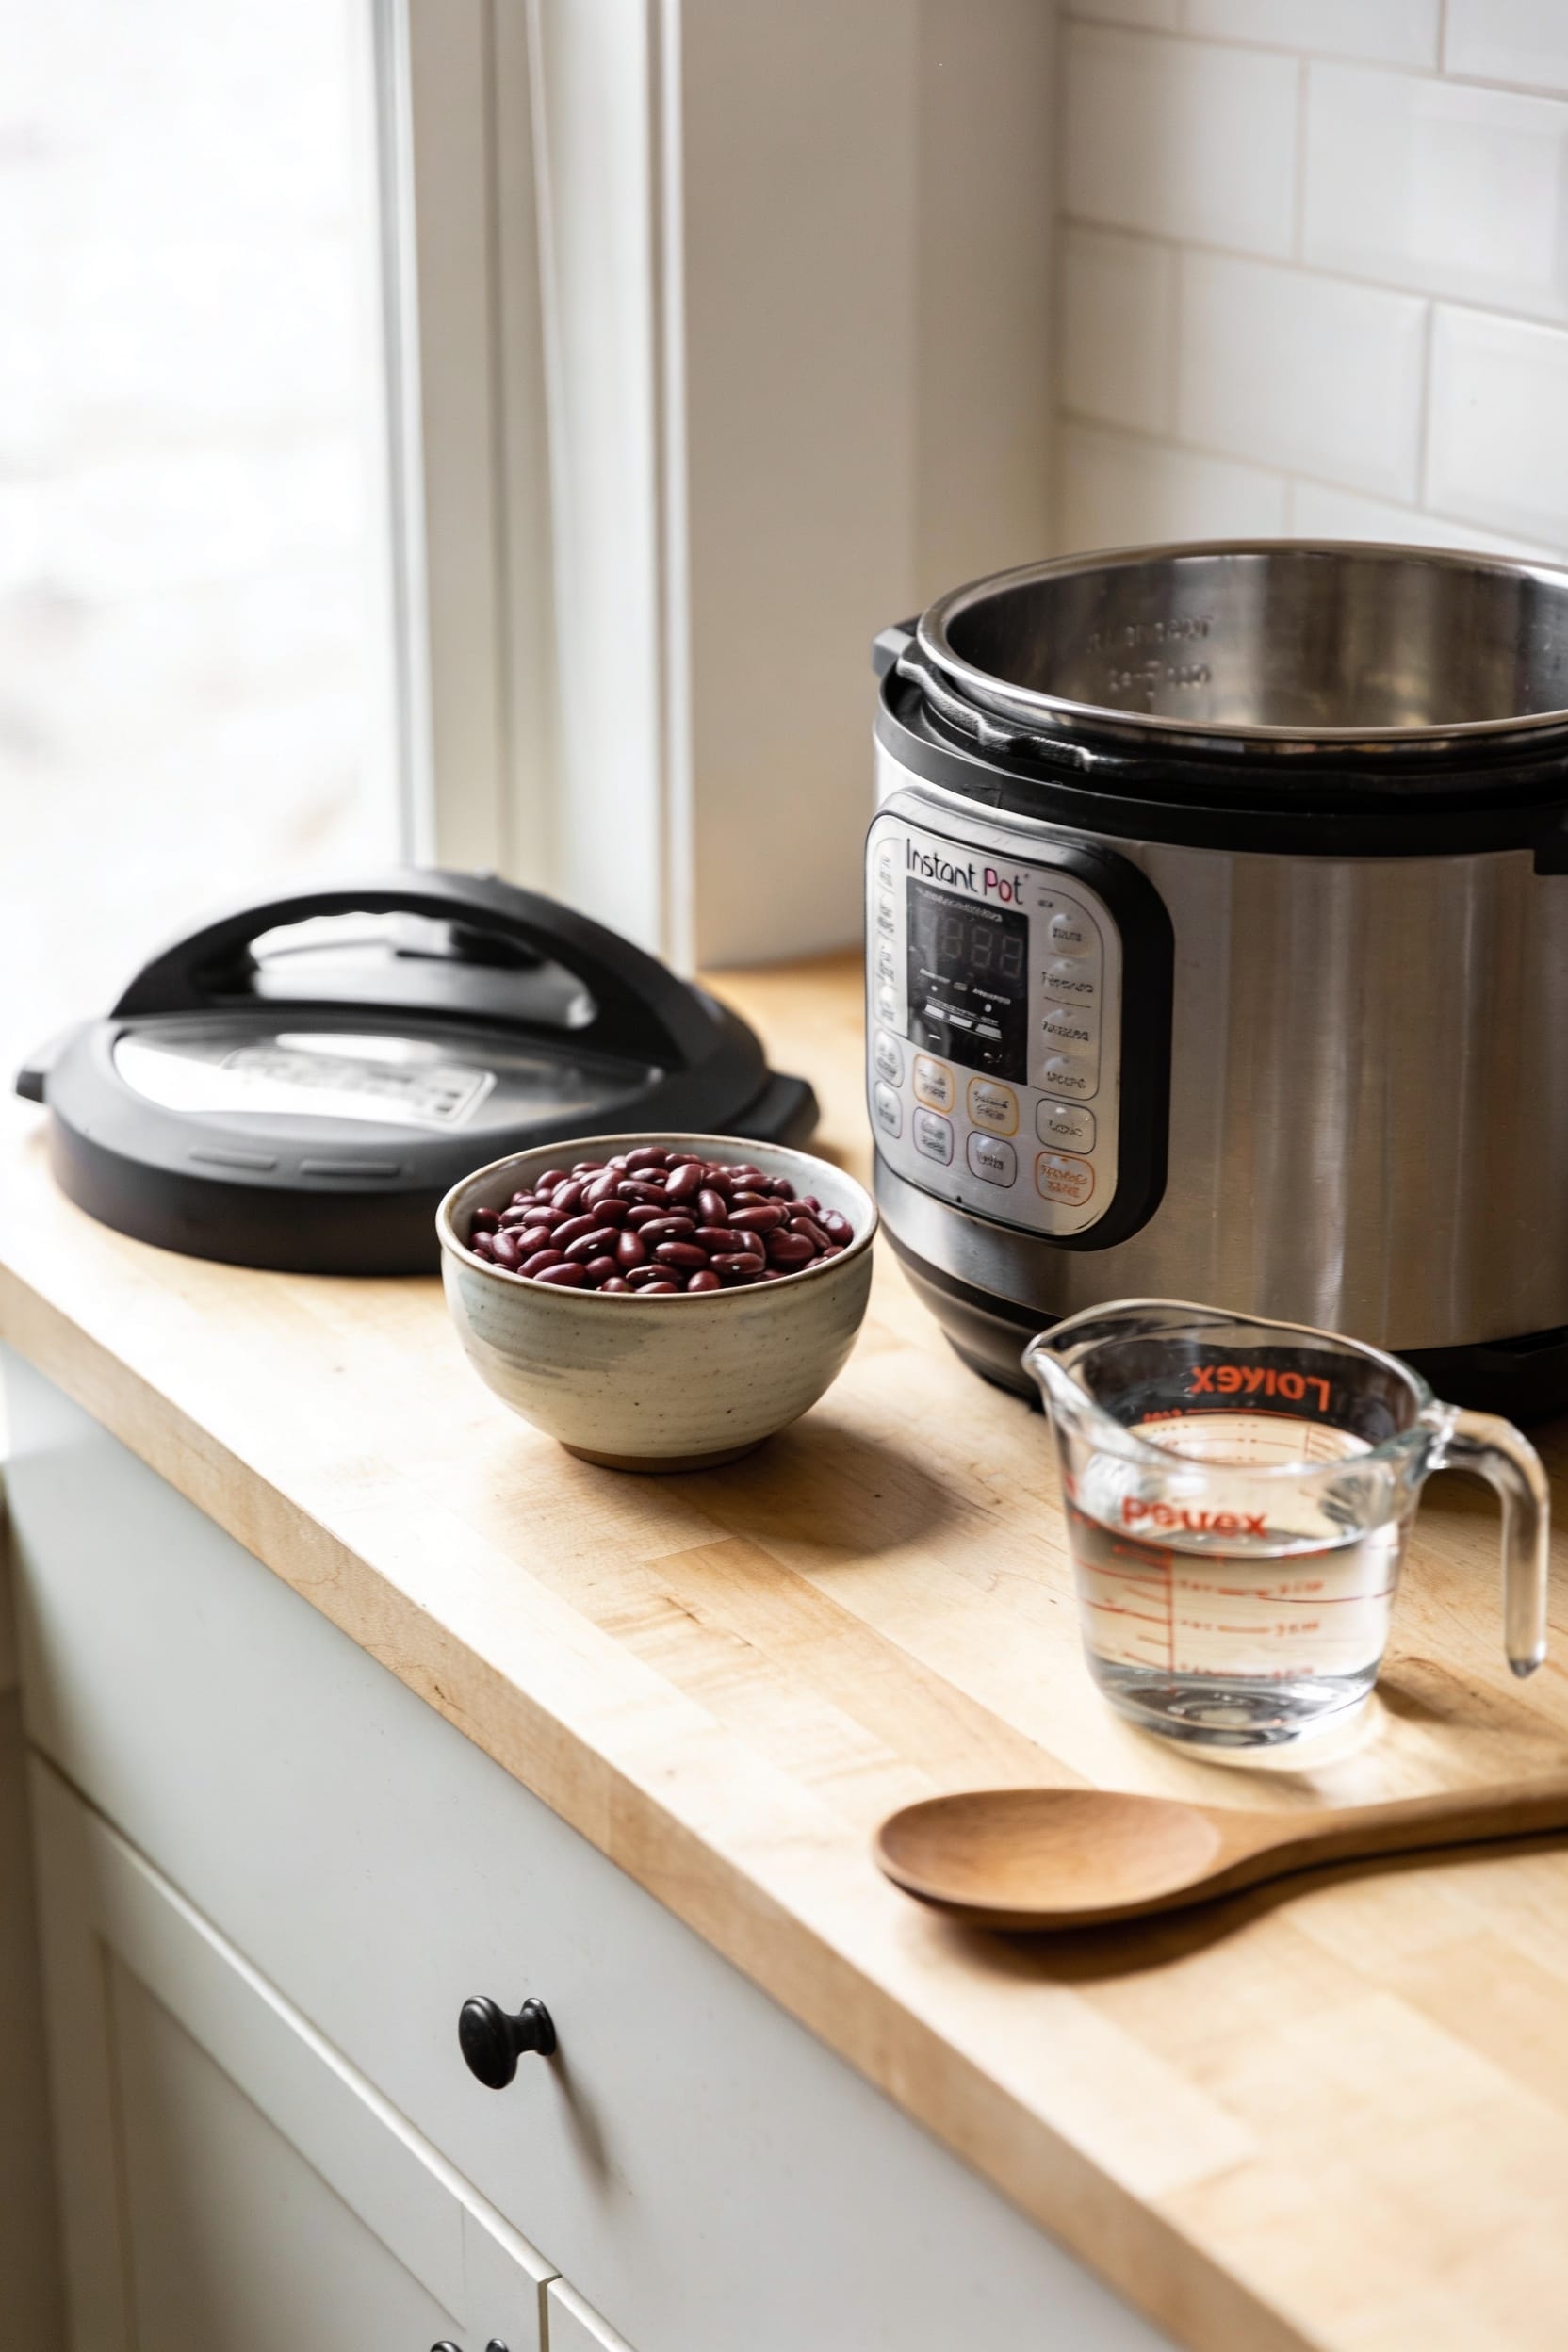
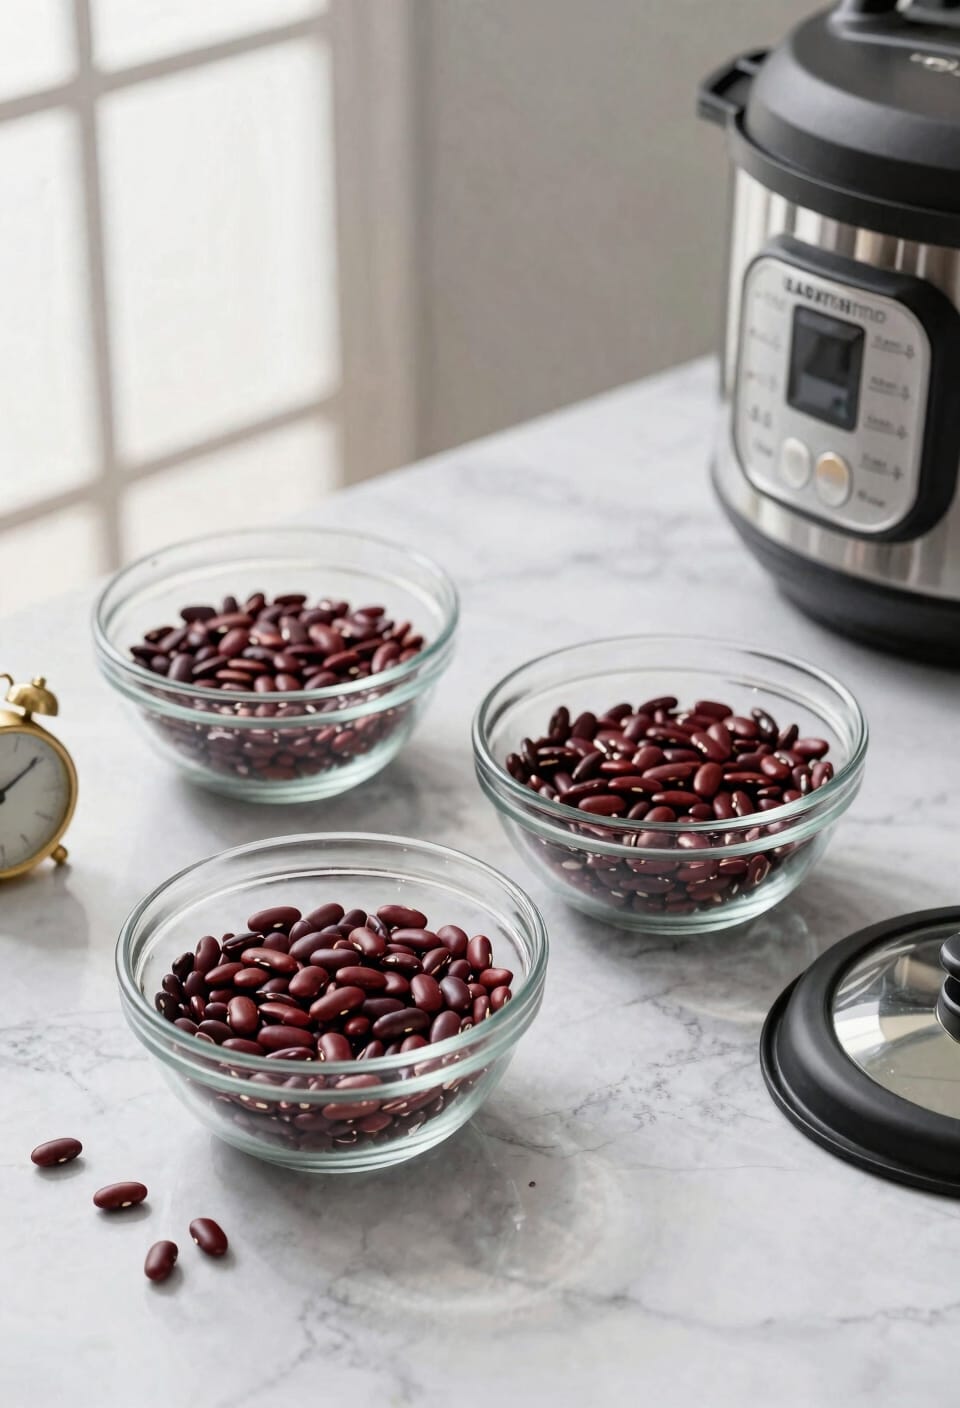
Inspect and Prepare Your Dried Beans

Before you even think about pressure cooking, you’ve got to sort through your dried beans like you’re panning for gold—except what you’re looking for is *not* there. I’m talking about debris removal: tiny stones, twigs, and whatever else hitched a ride from the farm. Spread your beans on a flat surface, take your time, and pick through them. Discard anything shriveled, cracked, or weirdly discolored—that’s basic bean grading, and it matters because nobody wants to bite down on a pebble mid-chew. Once you’ve done that, rinse them in a colander under cool running water. This removes dust and surface gunk. Now you’re ready to cook something that won’t sabotage your dinner or your teeth.
Decide Between Quick and Overnight Soaking
Now that your beans are clean and ready to roll, you’ve got a choice to make: soak them overnight like a responsible adult, or use the quick-soak method and get dinner on the table faster. Here’s the thing—both work, but they trade different benefits. An overnight soak takes, well, overnight but supposedly improves digestibility and texture. The quick-soak method involves one minute of high pressure followed by a 30-minute natural release, delivering similar results with serious time savings. As for flavor impact, honestly, I can’t detect much difference between the two. Pick whichever fits your schedule. Either way, you’re discarding that soaking liquid afterward and rinsing before pressure cooking, so neither method locks in extra flavor anyway.
No-Soak Cooking Times for Your Instant Pot

If you’ve skipped the soaking step entirely—which, let’s be honest, I do more often than I probably should—you’re looking at 25 to 30 minutes on high pressure with a 10 to 15 minute natural release afterward. The exact pressure durations depend on your bean ratios and how much water you’re using, but that range handles most situations reliably. Keep beans submerged by at least an inch or two throughout cooking to prevent scorching. Now, here’s the thing: if you taste them after cooking and they’re still too firm, just add another 5 to 10 minutes high pressure. Your Instant Pot isn’t judging you for needing a do-over.
Choose Your Ingredients and Prevent Foaming
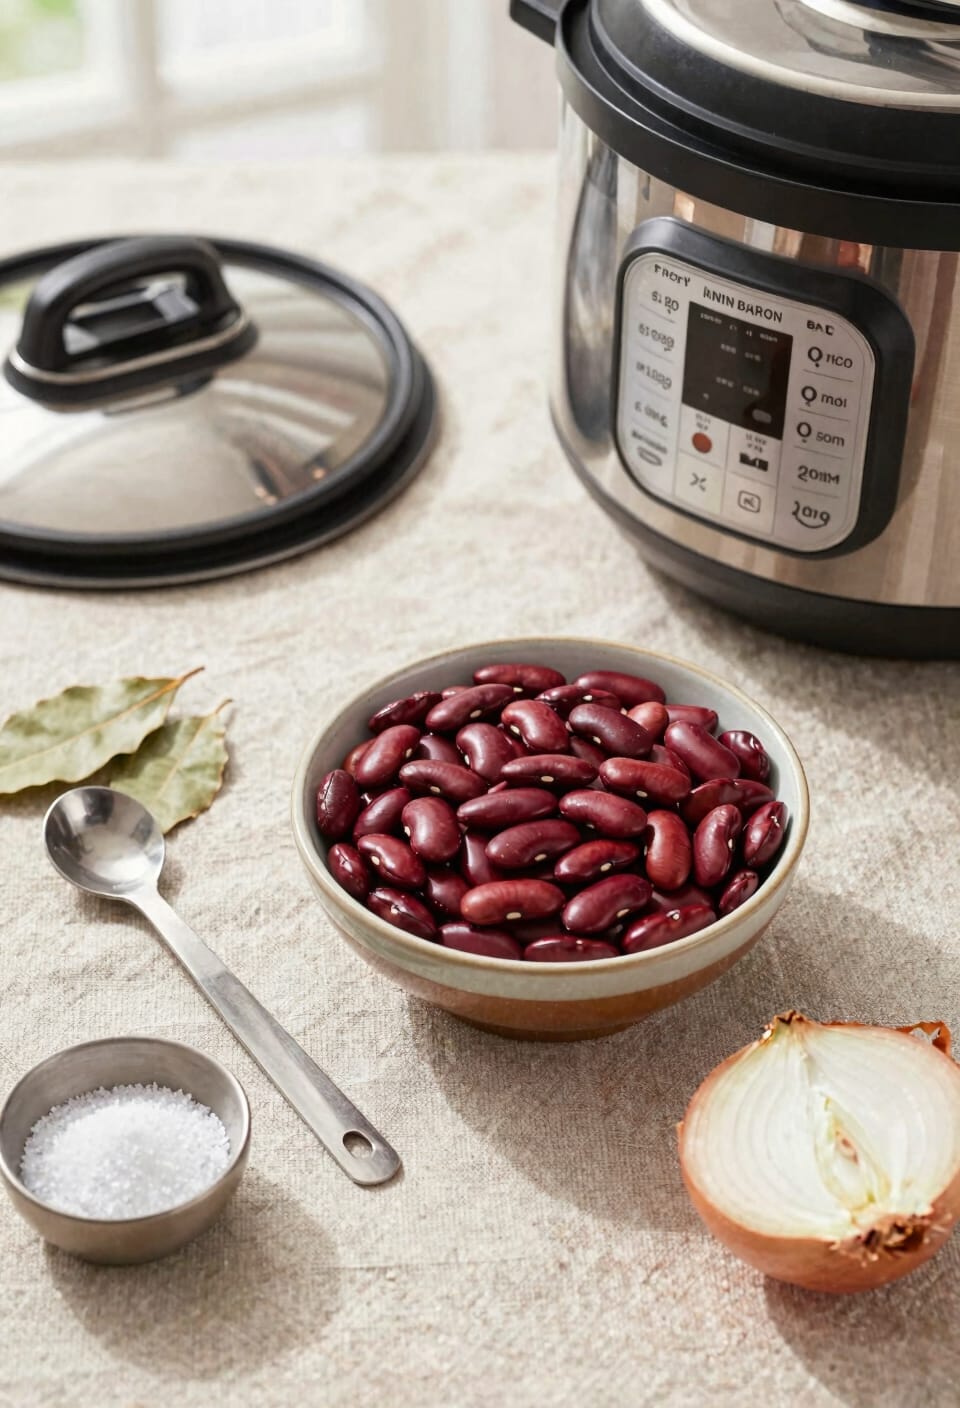
Once you’ve got your beans in the pot with water, the real ingredient list is pretty straightforward—dried kidney beans, salt, and honestly that’s all you strictly need—but I like to throw in a bay leaf or two, maybe some garlic or onion if I’m feeling fancy, and a teaspoon or so of olive oil, which sounds like a tiny thing until your Instant Pot starts frothing like a cappuccino machine gone rogue and suddenly you’re cleaning bean foam out of the pressure valve at midnight.
Here’s the thing: that oil isn’t just flavor infusions. When you measure oil at just one to two teaspoons per batch, you’re actually preventing the foam disaster. It cuts surface tension and keeps things calm in there. Bay leaves and garlic give you depth without fuss. Salt? Essential. Everything else is optional personality.
Cook, Release, and Test for Doneness
Lock that lid down, make sure your float valve is seated properly, and set your Instant Pot to high pressure for 25–30 minutes if you soaked your beans, or 25–30 minutes if you skipped the soak (yes, the times are surprisingly similar, which is kind of the whole magic of pressure cooking). When the timer beeps, let the pot sit undisturbed for a natural pressure release of about 10–15 minutes—this finishing time matters more than people realize. Then quick-release any remaining pressure. For doneness testing, grab a bean and bite it. If it’s creamy inside with no chalky center, you’re golden. Still firm? Add five more minutes high pressure and quick-release again. Repeat until they’re tender throughout. You’ll develop a feel for it fast.
Cool, Store, and Reheat Your Beans
Now that you’ve got perfectly tender beans sitting in your pot, here’s the thing: what you do in the next couple hours matters way more than you’d think for food safety. Don’t leave them sitting around—get them cooled down through rapid cooling in a colander, then refrigerate within two hours. I like ziplock freezing portions with their cooking liquid; they’ll keep about three months that way, and the texture stays solid. In the fridge, they’ll last three to five days in an airtight container. When you reheat, warm them thoroughly to 165°F, especially if you’re serving kids or older folks. It’s not glamorous work, but it’s what keeps everyone happy and healthy.
Fix Undercooked or Mushy Beans
Sometimes your beans come out of the Instant Pot still holding onto some firmness, or maybe they’ve gone the other direction and turned into bean soup—both problems are fixable, and honestly, they’re telling you something useful about how your pot behaves. For undercooked beans, lock the lid and add 5–10 minutes more high pressure, then quick-release. To repair texture on mushy ones, drain excess liquid and let them sit uncovered for a bit. For flavor adjustments, taste and season after cooking—salt can mask mushiness better than you’d think. Keep notes on your timing. Your Instant Pot’s personality matters, and once you crack its code, you’ll nail kidney beans every single time.
Troubleshoot Common Cooking Problems
Even when you follow the recipe to the letter, kidney beans can still throw you a curveball—they’ll either refuse to soften or turn into mush, the valve gets cranky, or you open the lid to find more foam than a science fair volcano.
Now, altitude effects matter more than most people realize. If you’re cooking above 3,000 feet, you’ll need pressure adjustments because water boils at lower temperatures up there. Add 5 percent cooking time per 1,000 feet of elevation.
Excessive foaming usually means you skipped the oil—even a teaspoon helps. If beans still won’t soften after cooking, you’re probably dealing with old beans (they age poorly in storage) or hard water. Either add those extra 5–10 minutes of pressure, or just accept defeat and buy canned next time.
Frequently Asked Questions
Can I Cook Canned Kidney Beans in an Instant Pot, or Only Dried Beans?
You can definitely cook canned kidney beans in an Instant Pot, though I’d recommend minimal pressure adjustments since they’re already cooked. I suggest heating them briefly to warm through and blend flavors effectively.
How Do I Know if My Kidney Beans Have Gone Bad Before Cooking?
I’d look for shriveled, cracked, or discolored beans—any color change signals spoilage. I’d also do a smell test; musty or off odors mean they’ve gone bad and shouldn’t be cooked.
What’s the Difference Between Natural and Quick Pressure Release for Kidney Beans?
Like a door closing gently versus slamming shut, natural release lets pressure drop slowly through the valve, while quick release opens it immediately. I’d use natural release (10-15 minutes) for beans to finish cooking evenly.
Can I Cook Kidney Beans With Other Types of Beans Simultaneously?
I’d recommend against bean mixing in one pot since different varieties require different pressure scheduling. Kidney beans need 25–30 minutes high pressure, while other beans cook faster or slower. You’ll risk undercooked or mushy results.
Is It Safe to Eat Kidney Beans That Are Still Slightly Firm After Cooking?
I’d recommend against eating kidney beans that’re still slightly firm—undercooked risks include nausea and vomiting from the toxin PHA. I suggest texture testing by biting one; if it’s not completely tender throughout, I’d add 5–10 more minutes high pressure.
Conclusion
Look, you’ve got this. Cooking kidney beans in your Instant Pot isn’t rocket science—it’s actually way easier than the stovetop method, and you’ll save yourself hours of hovering over a pot. As they say, an ounce of prevention is worth a pound of cure, so don’t skip that soaking step or ignore the foaming issue. You’ll nail tender, perfectly cooked beans every time.