As an Amazon Associate, we earn from qualifying purchases. Some links on this site are affiliate links at no extra cost to you. Our recommendations are based on thorough research and editorial judgment.
How to Cook Chickpeas in an Instant Pot
Rinse your chickpeas first, then decide: soak overnight for tenderness or skip it if you’re impatient—the Instant Pot handles both. Add them to the pot with six cups water, a teaspoon of salt, maybe an onion quarter and bay leaf. Seal it up, cook soaked chickpeas twenty-three minutes on high pressure, or forty-five to fifty minutes if unsoaked. Natural release for fifteen minutes, then vent carefully. Fork-test for doneness, cool, rinse, and you’re done—though there’s more finesse worth knowing.
Key Takeaways
- Rinse and inspect chickpeas for dirt and stones, then drain thoroughly before soaking or cooking.
- Soak chickpeas overnight for 10–12 hours for tender results, or skip soaking for unsoaked cooking.
- Add chickpeas to Instant Pot with 6 cups water, 1 teaspoon salt, and optional aromatics.
- Cook soaked chickpeas 23 minutes on high pressure; unsoaked chickpeas require 45–50 minutes on high pressure.
- Allow 15 minutes natural pressure release, then perform fork test; cool, rinse, and store in airtight container.
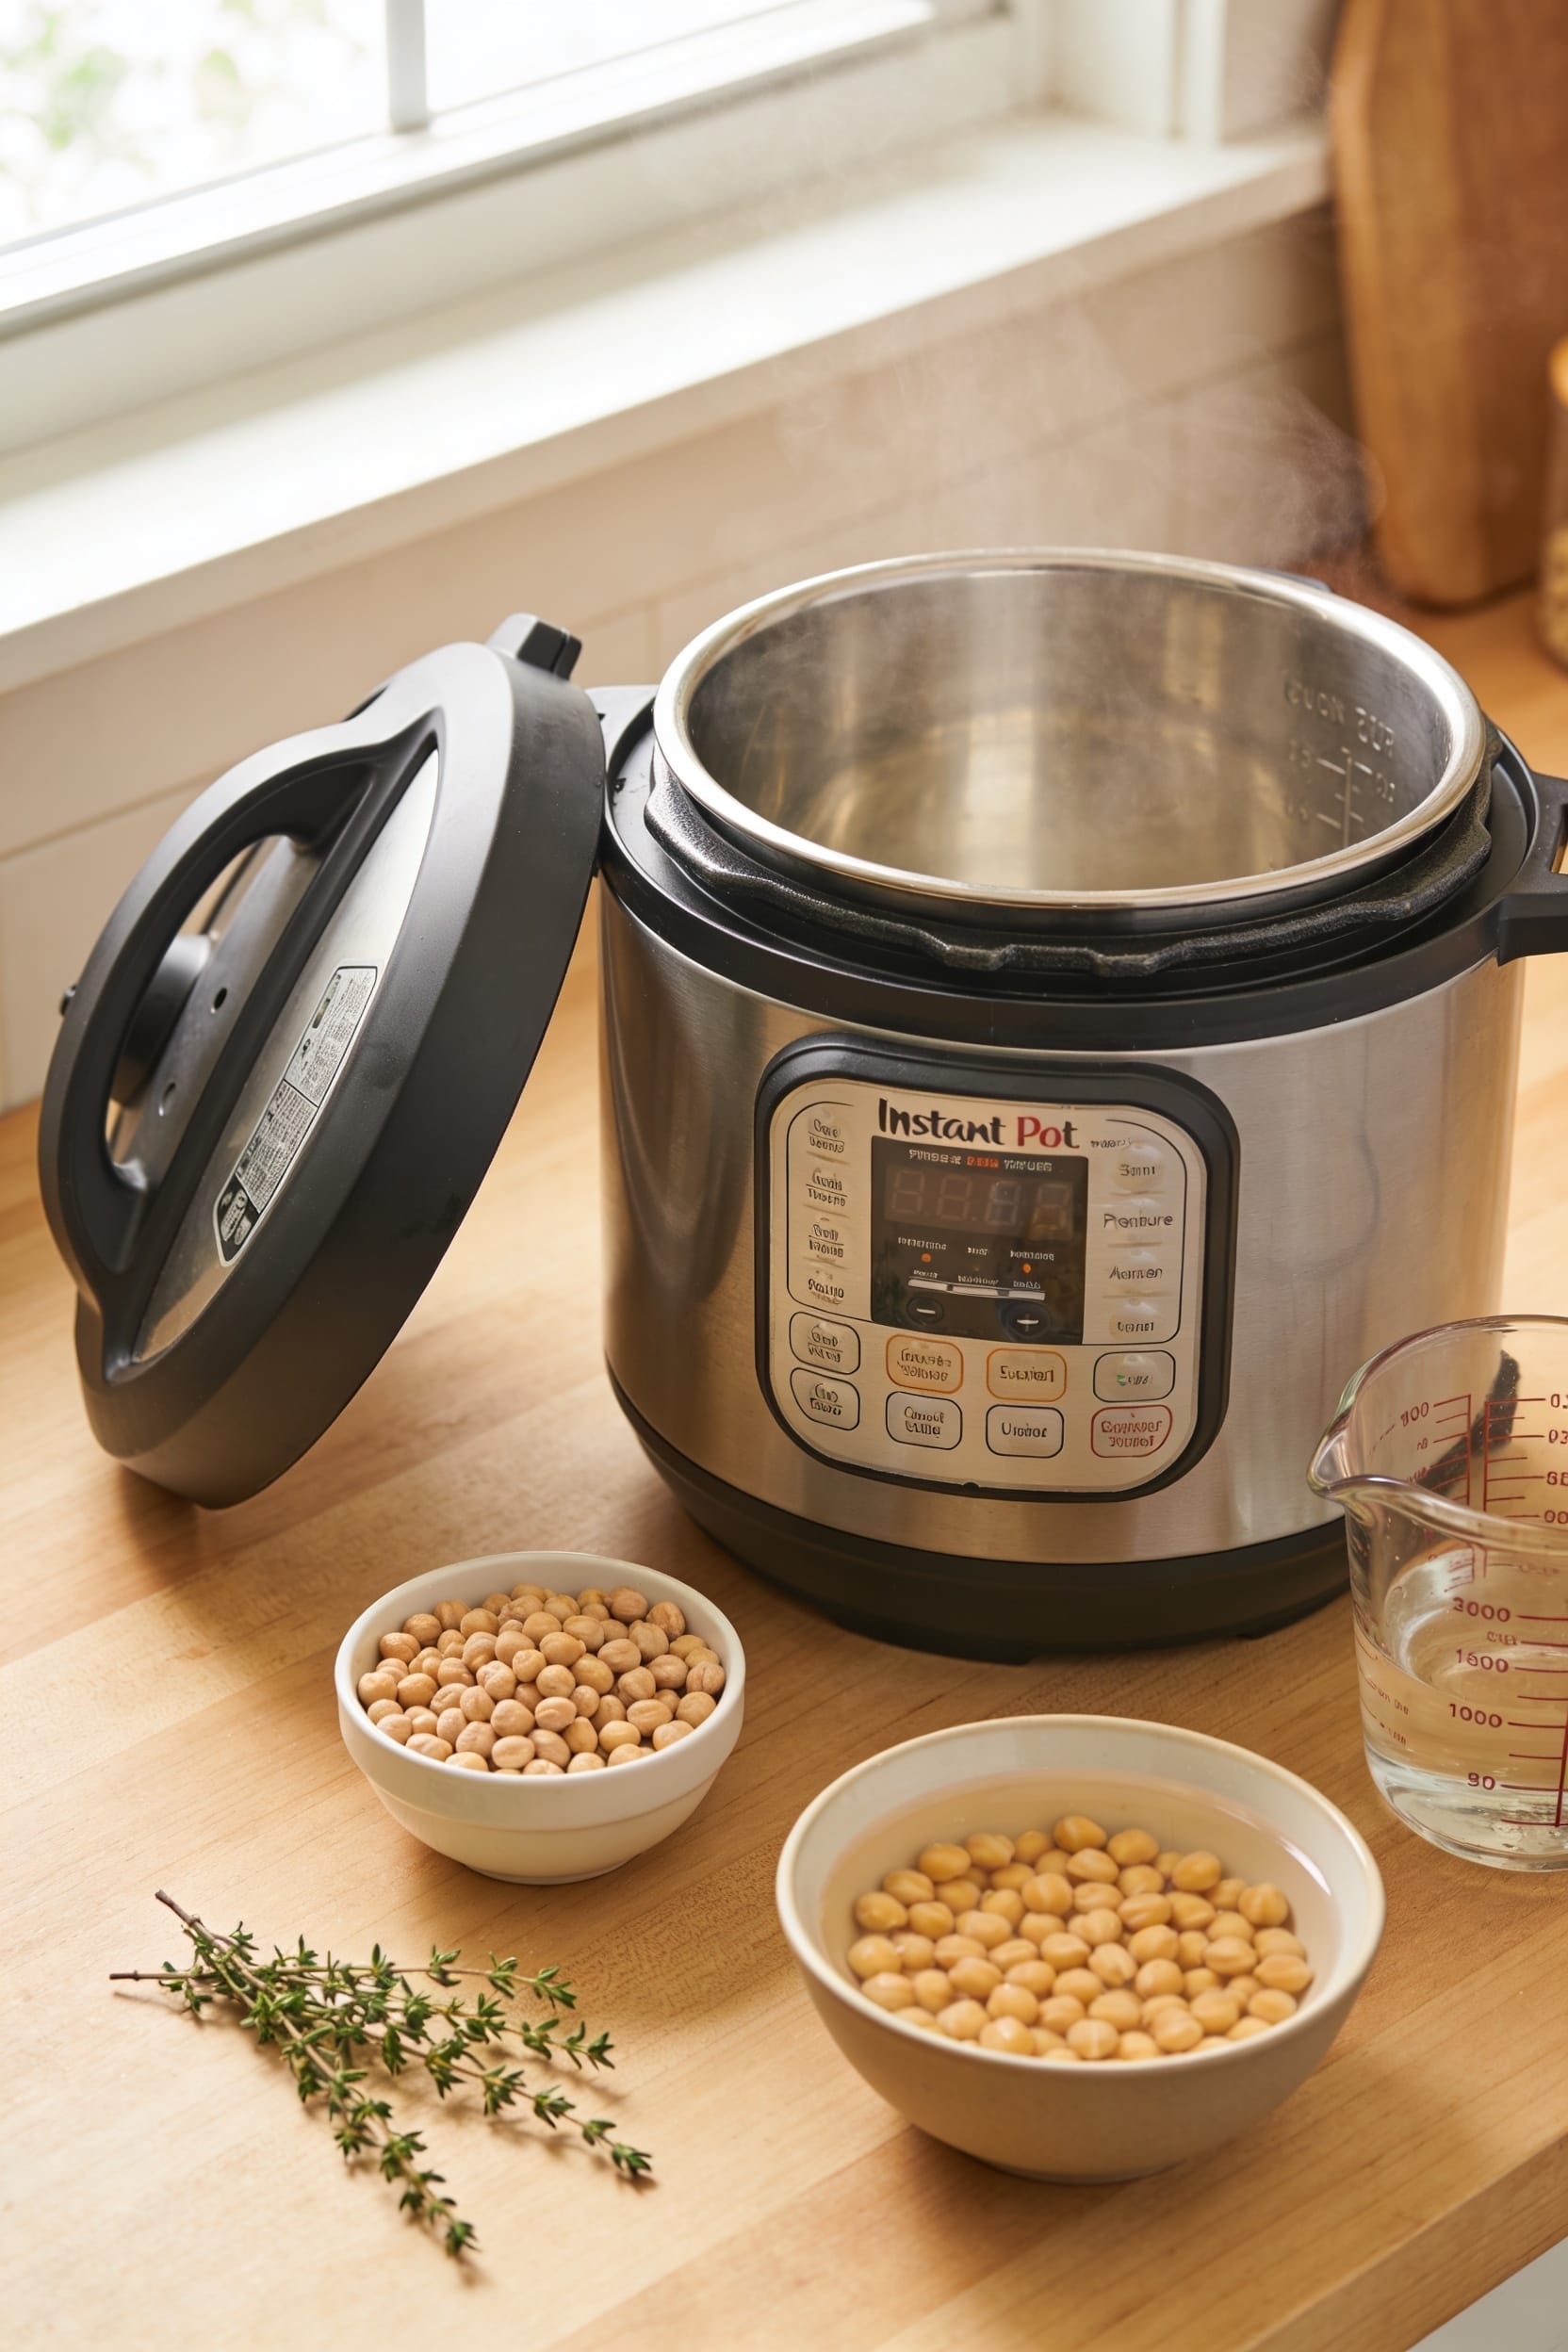
Prepare and Rinse Your Chickpeas
Before you even think about pressure, you’ve got to start with clean chickpeas—and I mean actually clean, not just “they look fine to me” clean. I’m talking about a proper rinse technique under cold running water, letting the water run through them while you gently agitate the pile. You’d be surprised what hides in there.
Now, during your debris inspection, you’re hunting for stones (yes, really), shriveled duds, and anything that looks questionably discolored. Dried chickpeas are cheap; a broken tooth isn’t. Drain them thoroughly after rinsing—soggy chickpeas are nobody’s friend. Optional move: toss in a tablespoon of olive oil to keep foam from erupting all over your pot’s interior during cooking. Your future self will thank you for that small act of prevention.
Choose Your Soaking Method
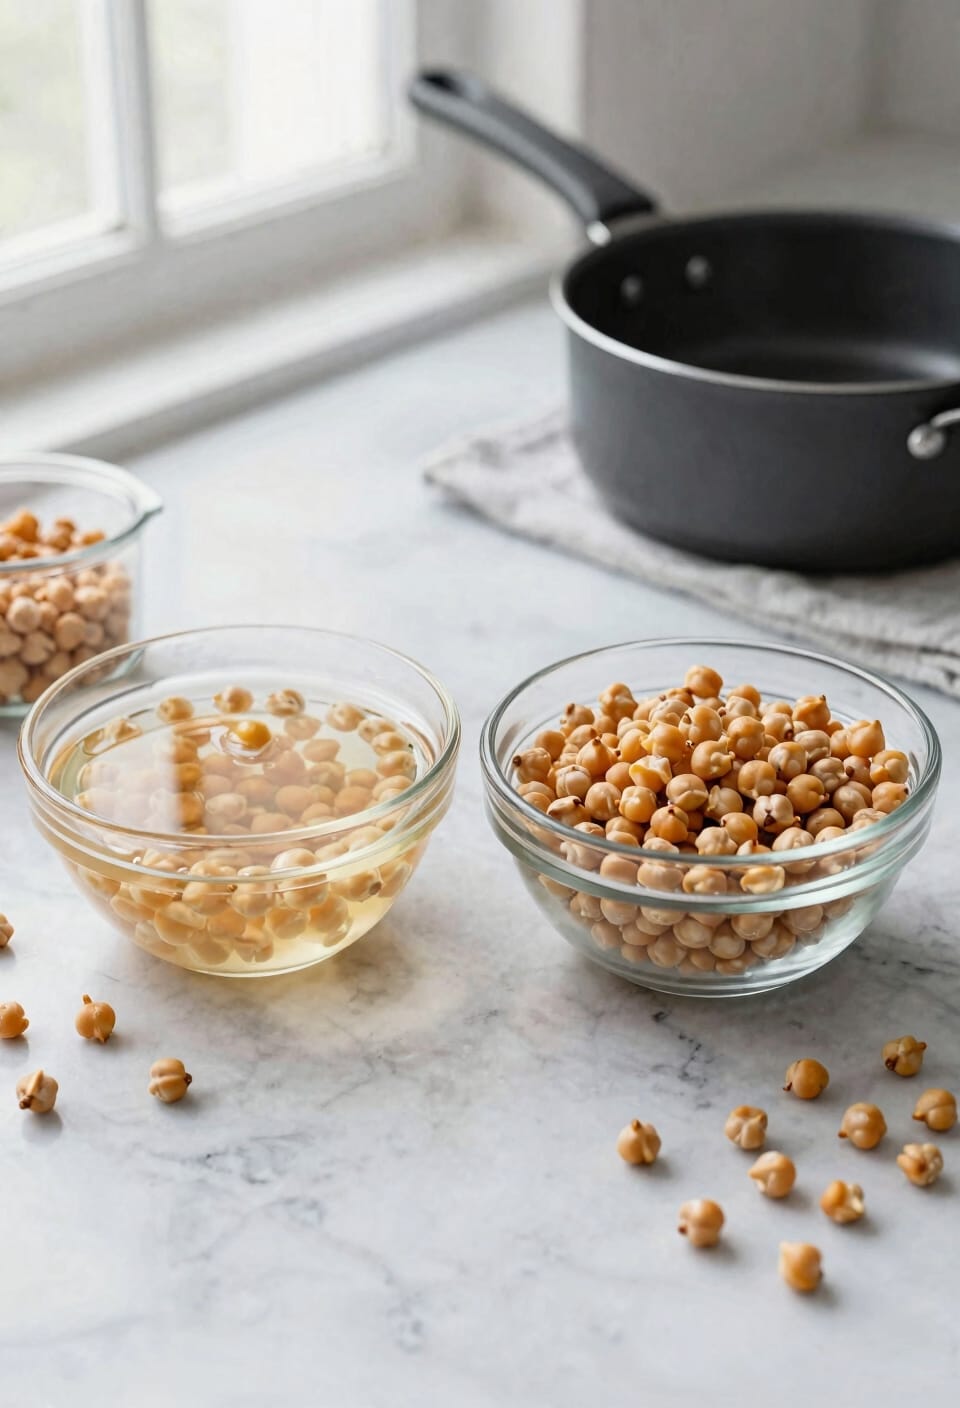
Now that your chickpeas are clean and ready, you’ve got a choice to make: soak them or don’t. I’ll be honest—I’m a soaker. A cold soak overnight (10-12 hours) gives you the most tender results, and I find it worth the planning. You drain, rinse, and you’re golden. But here’s the thing: if you’re impatient like me on a Tuesday night, a quick soak works too. Just skip the overnight part entirely and go unsoaked—your Instant Pot handles it fine, though you’ll need 35-50 minutes instead of 23. Either way, you’re getting delicious chickpeas. The soaked route just saves you cooking time, which honestly matters when you’re hungry.
Add Water, Salt, and Seasonings; Seal the Pot

Once your chickpeas hit the pot, the water situation becomes your main concern—and honestly, it’s simpler than you’d think. You’ll want 6 cups of water covering your chickpeas by about an inch. I add 1 teaspoon of kosher salt per batch, which boosts flavor and gets your brine concentration working for you from the start. Now, here’s where aroma infusion comes into play: toss in an optional onion quarter and bay leaf. They won’t overpower anything, but they’ll whisper their presence throughout the cooking process. Seal that lid down, make sure your valve’s set to sealing, and you’re ready to pressurize. The pot’ll take 10-20 minutes to build pressure—that’s your cue that something delicious is happening inside.
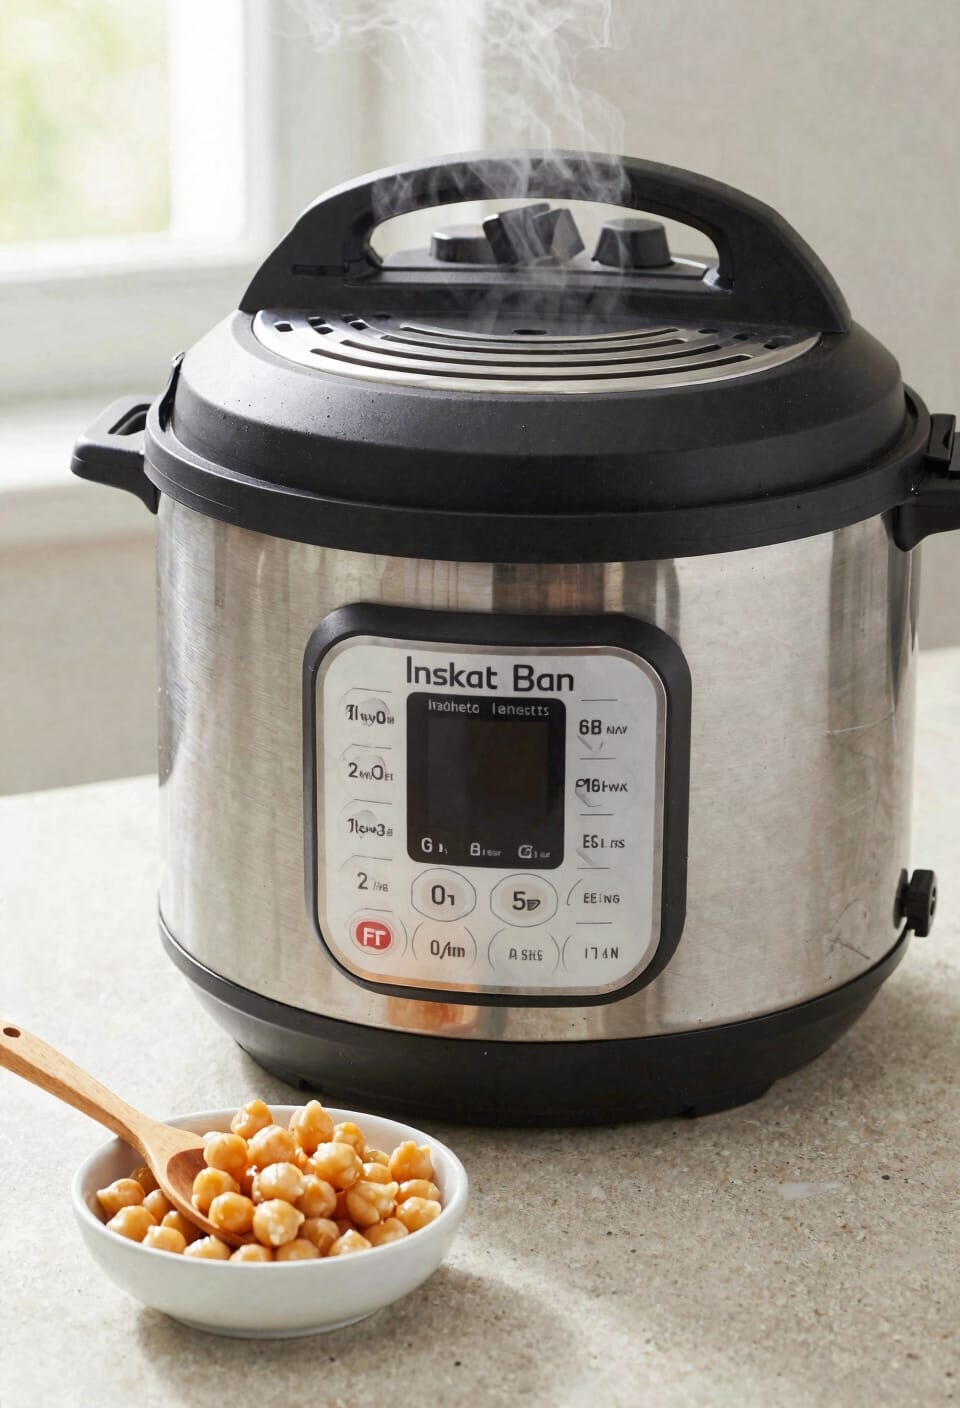
Cook Your Chickpeas: Pressure and Doneness Level
The pressure builds, the steam hisses, and you’re officially cooking—the real magic happens once that valve seals and the Instant Pot gets to work. Now, here’s where pressure calibration matters: you’re looking at 23 minutes on high pressure if you soaked your chickpeas, or 45 to 50 minutes if you didn’t. That difference isn’t just time; it’s texture gradients. I go 45 minutes for chickpeas with some chew, perfect for salads. Want them softer for hummus? Push it to 50. The preheating alone takes 10 to 20 minutes, so don’t panic when nothing seems to happen immediately. Once that pin drops, you’re genuinely done cooking—the rest is patience.
Release Pressure; Check If Done
When that timer goes off, you’ve got to let the pressure come down—and here’s where patience pays dividends, because rushing this part is how you end up with half-cooked chickpeas that mock you from your bowl. I let mine sit for a natural release of about 15 minutes. This gradual depressurization keeps the chickpeas from bursting open like tiny legume fireworks. After that time, I carefully vent the remaining pressure with a towel over my hand—steam burns aren’t fun. Now comes the fork test: grab a chickpea and mash it. If it smooshes easily, you’re golden. If it still has resistance, pop the lid back on and give it another 5-10 minutes. Trust the fork, not your wishful thinking.
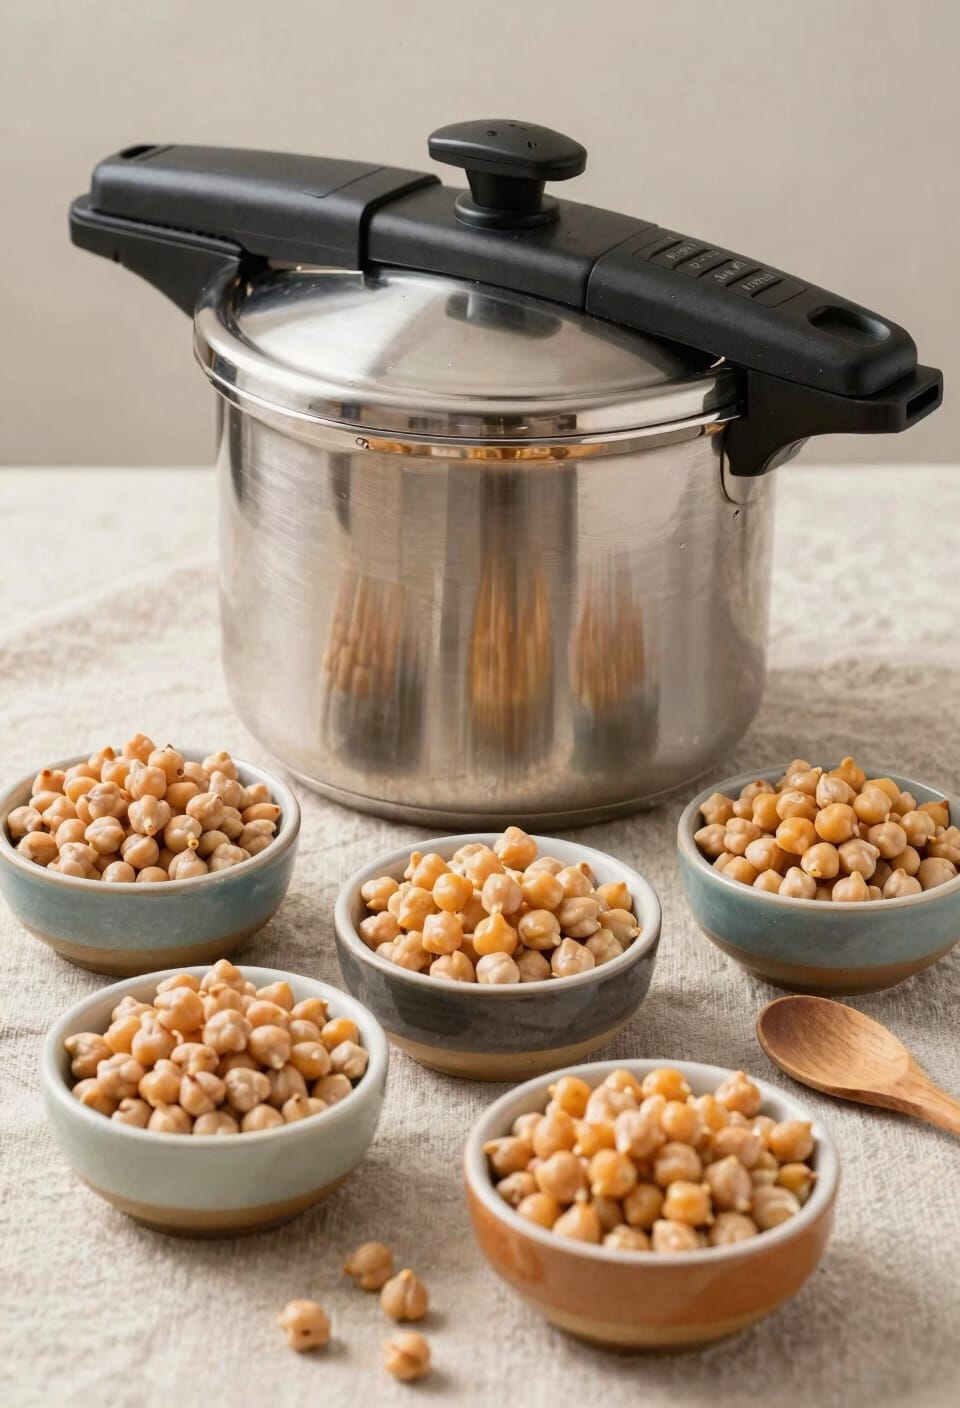
Cool, Drain, and Store Your Chickpeas
After you’ve confirmed those chickpeas are actually done, resist the urge to dive right into your hummus—I know it’s tempting, but hot chickpeas are slippery little guys and they’ll fall apart on you if you’re not careful. Let them cool to room temperature first, which takes maybe thirty minutes depending on your kitchen’s mood. Once they’re cooled, pour everything into a drain basket and rinse them thoroughly under cold water. This washing step removes excess starch and any foam residue. For cool storage, transfer drained chickpeas to an airtight container and refrigerate up to five days, or freeze them for months. You’ll get roughly seven cups cooked from two cups dry—perfect for meal prepping or spontaneous hummus emergencies.
Frequently Asked Questions
Can I Cook Chickpeas Without an Instant Pot Using These Same Methods?
I’d recommend stovetop simmering instead—it’ll take longer, roughly 1-2 hours for soaked chickpeas. You can’t use pressure canning methods for cooking; that’s for preservation. Traditional boiling works perfectly fine.
How Long Do Cooked Chickpeas Last in the Refrigerator or Freezer?
I’d love to tell you cooked chickpeas last forever—they don’t. I recommend refrigerator storage times of 3-5 days, freezer storage up to 3 months. Follow these safety tips: use airtight containers and label dates.
Why Do Chickpeas Foam, and How Does Olive Oil Prevent This?
Chickpeas foam because their high protein content creates bubbles when heated. I’ve found that olive oil reduces surface tension, preventing foam from forming and potentially clogging your Instant Pot’s vent.
Can I Use Sea Salt or Table Salt Instead of Kosher Salt?
You can absolutely swap kosher salt for sea salt or table salt without missing a beat. I’d use slightly less table salt since it’s denser, but either’ll season your chickpeas beautifully.
What Should I Do if My Chickpeas Are Still Hard After Cooking?
I’d recook them for another 5-10 minutes on high pressure. Next time, soak longer beforehand or add a pinch of baking soda to soften them faster during cooking.
Conclusion
Look, cooking chickpeas in an Instant Pot is like building a bridge—you gather your materials, follow the path, and suddenly you’re on solid ground. What once felt like an impossible journey (soaking overnight, endless stovetop time) now takes maybe thirty minutes. You’ve transformed raw potential into something nourishing, ready for whatever you dream up next. That’s the real magic here.