As an Amazon Associate, we earn from qualifying purchases. Some links on this site are affiliate links at no extra cost to you. Our recommendations are based on thorough research and editorial judgment.
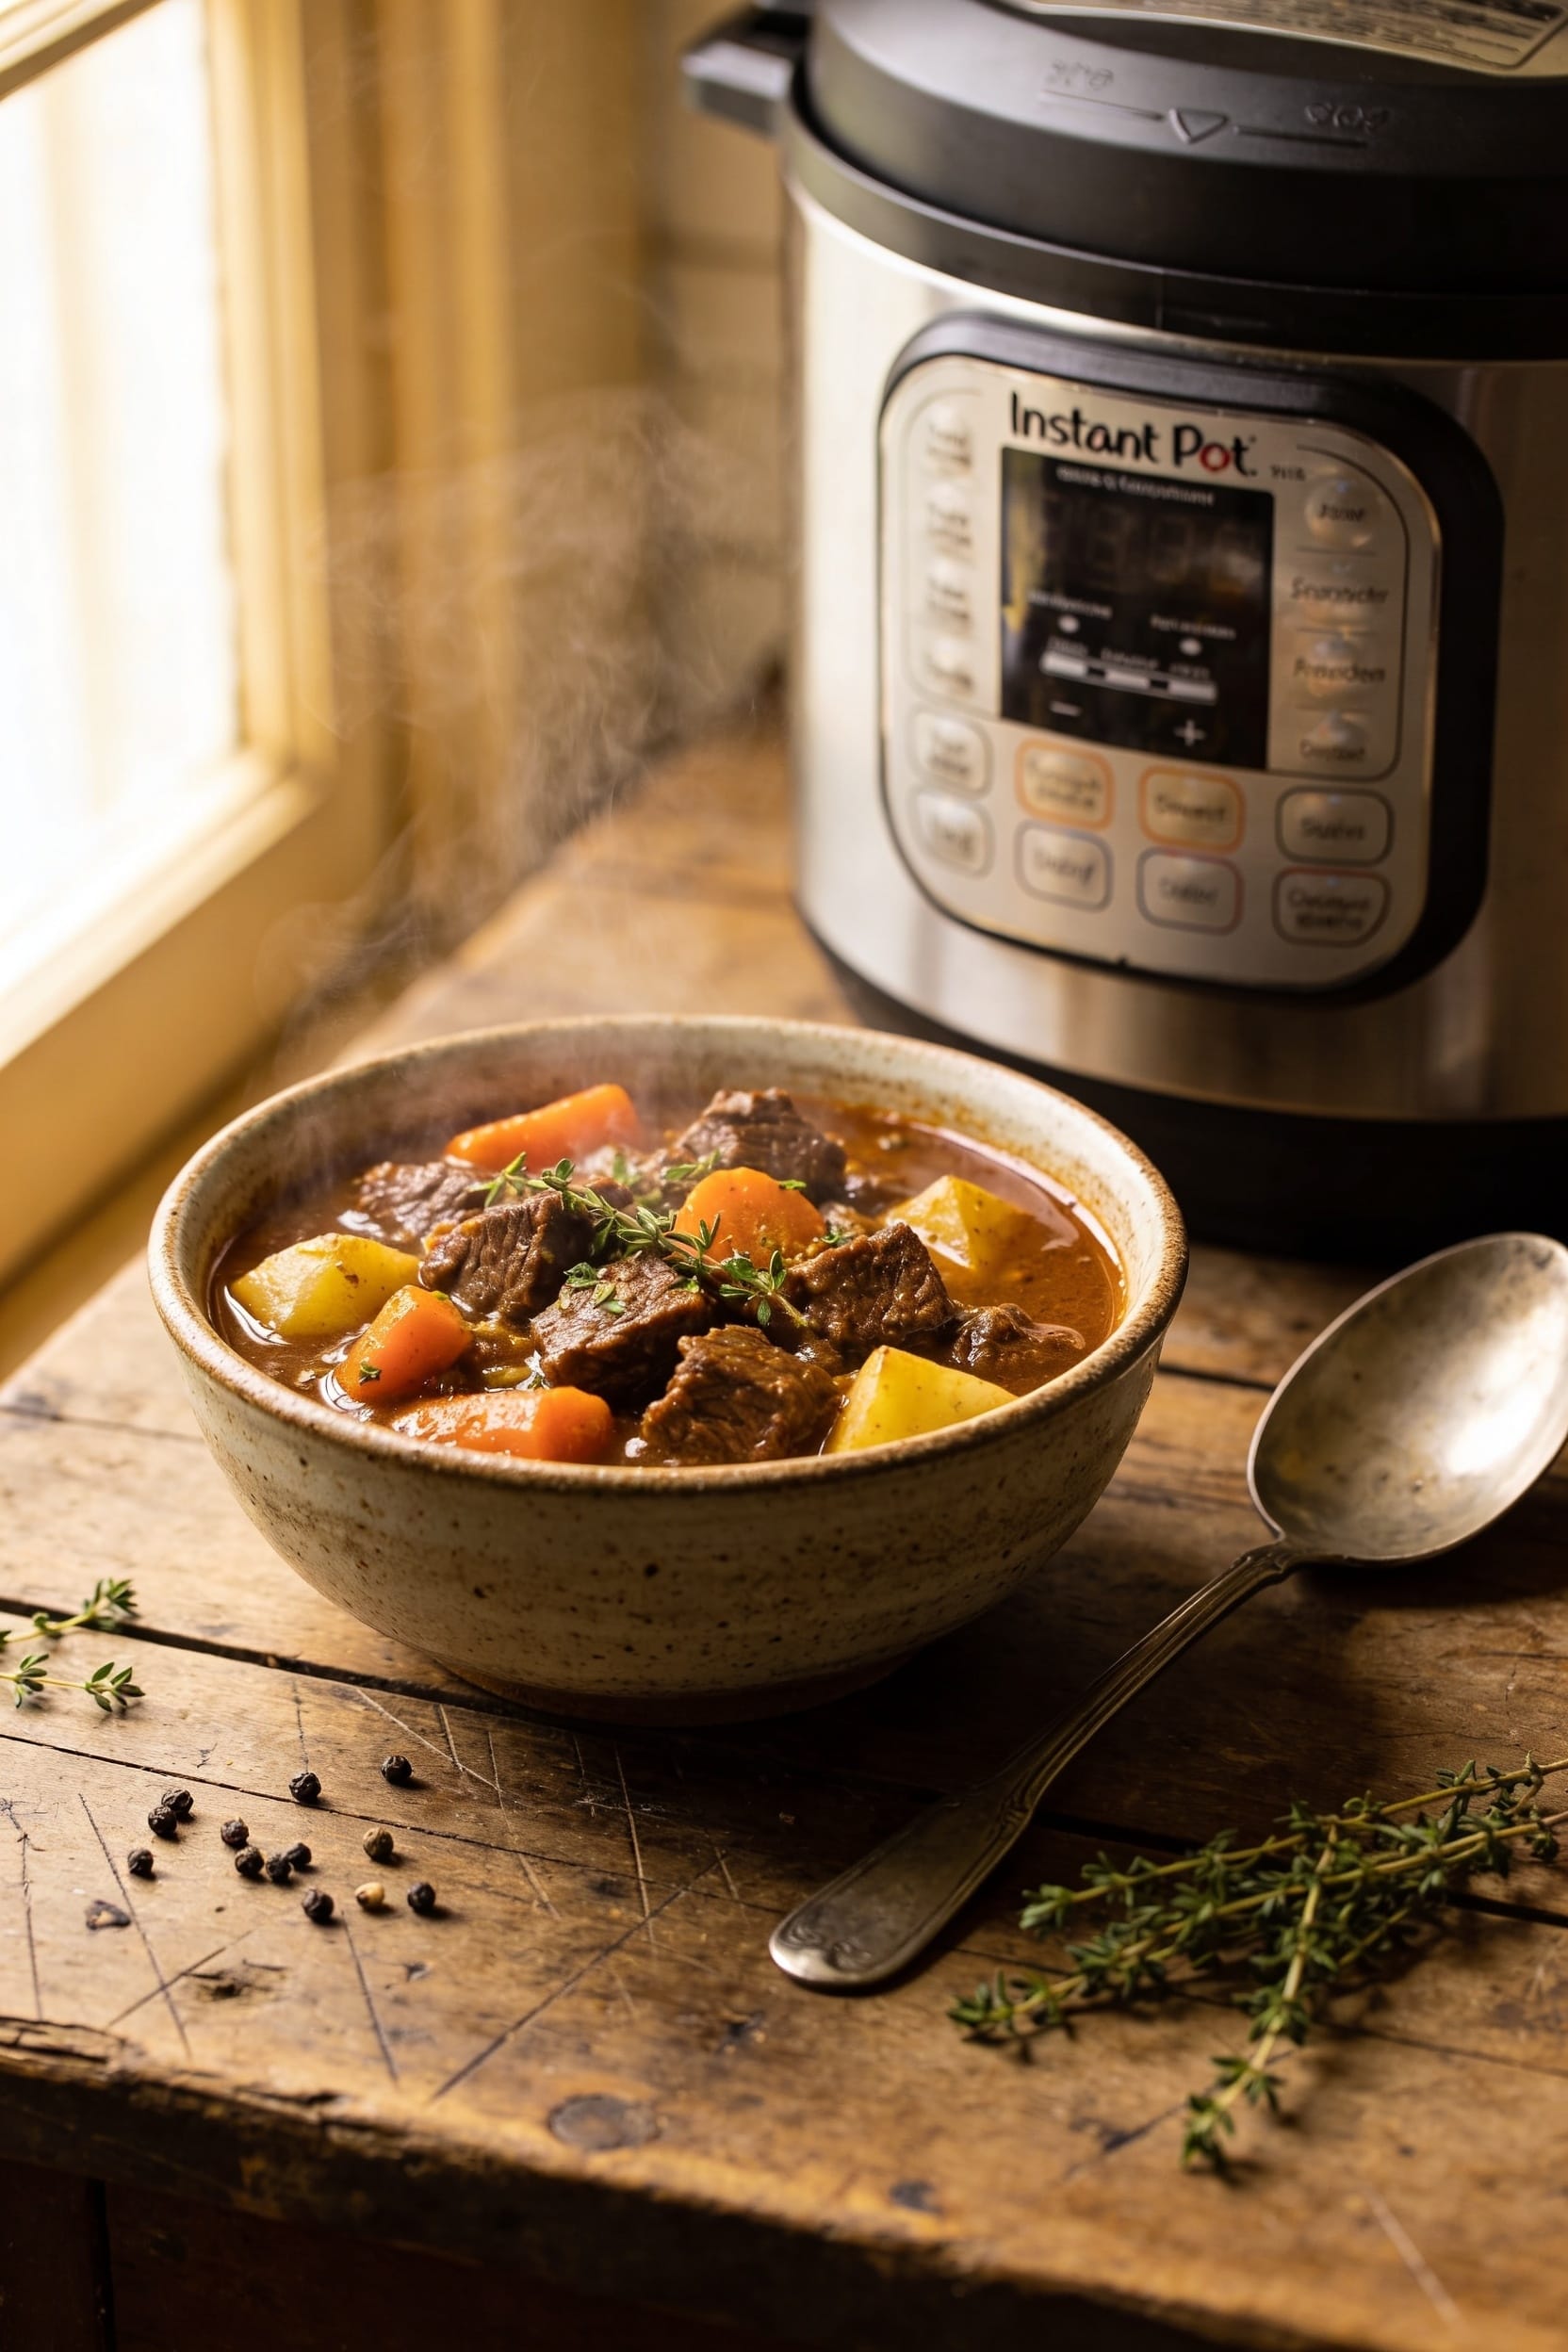
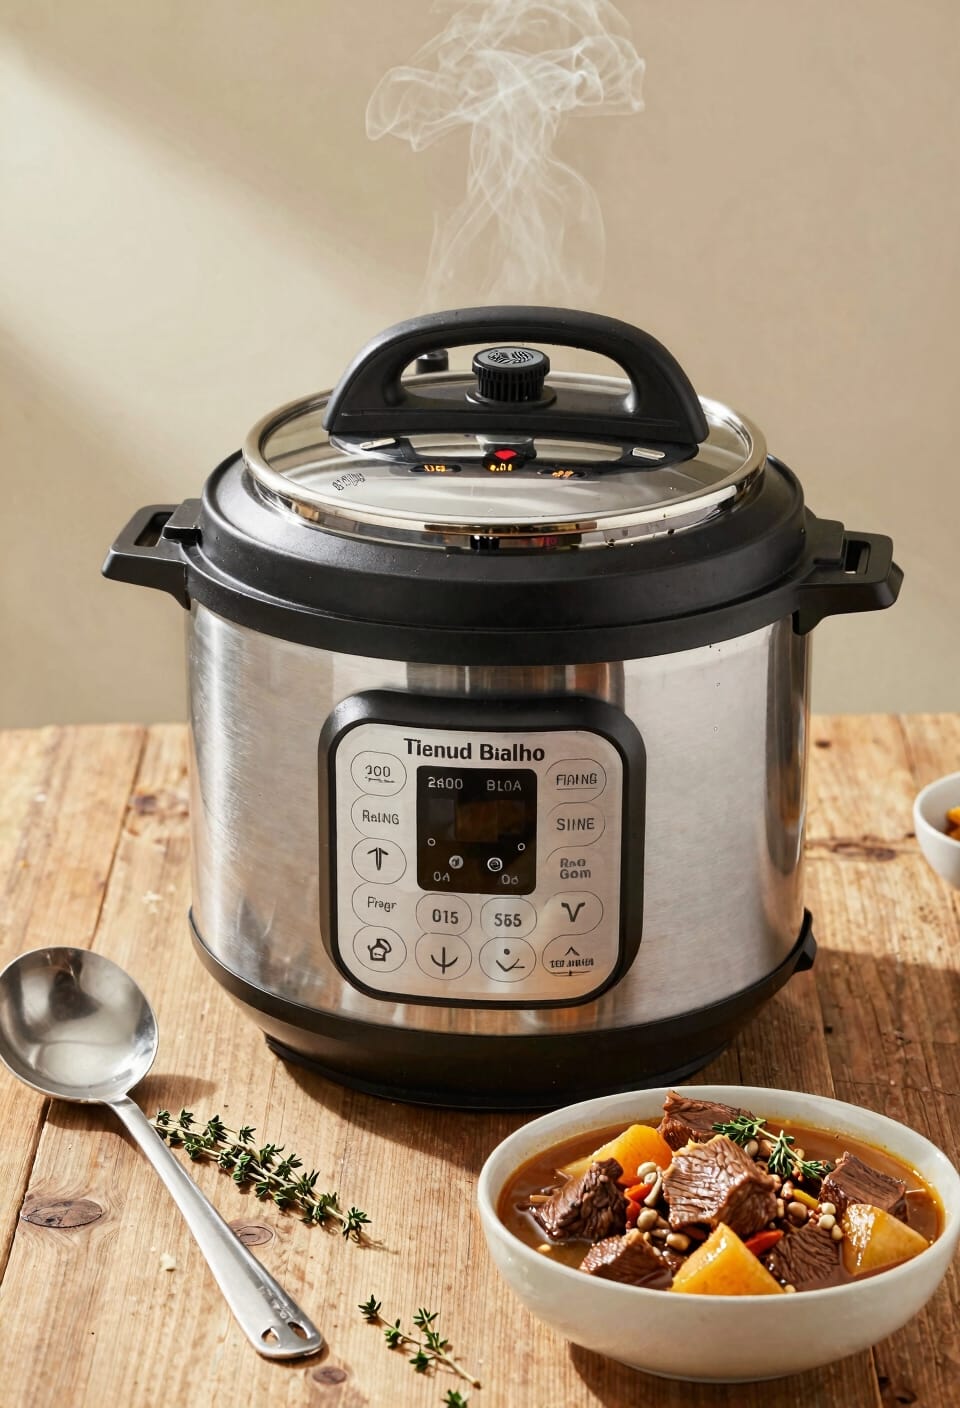
How to Make Beef Stew in an Instant Pot
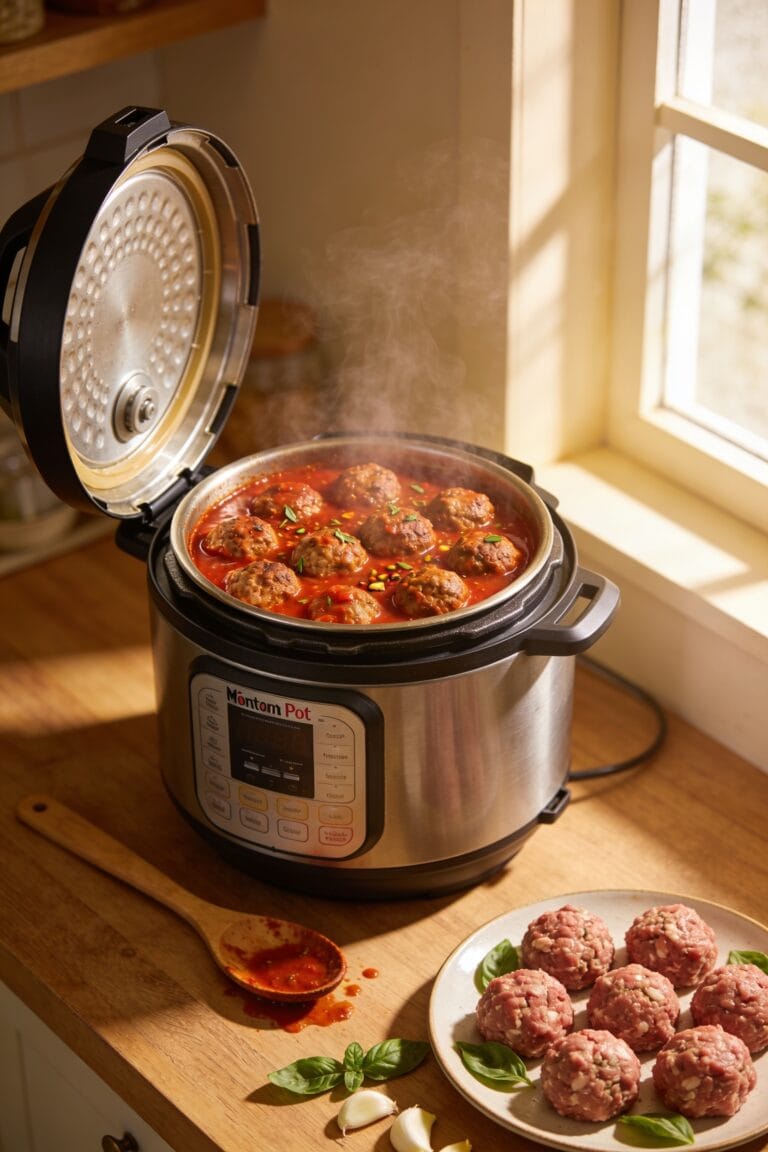
All right, here’s the thing about Instant Pot beef stew: sear your meat in batches until it’s gorgeously browned, deglaze with broth to grab all those flavorful bits, then layer in your veggies and seasonings without stirring. Seal it up, pressure cook for 30–35 minutes, let it naturally release, then thicken the sauce with a cornstarch slurry before serving. You’ll have tender, deeply flavored stew in a fraction of the time, though there’s definitely more technique to master if you want to nail every detail.
Key Takeaways
- Sear beef in batches on sauté mode until browned, then deglaze with broth to build deep flavor.
- Layer ingredients strategically: onions and garlic first, then Worcestershire or tomato paste, then vegetables on top.
- Pressure cook on high for 30–35 minutes, then allow natural release for 10–40 minutes for tenderness.
- Thicken sauce with cornstarch slurry on sauté mode, then rest stew 10–15 minutes for flavor melding.
- Store cooled stew in airtight containers up to four days refrigerated or three months frozen.
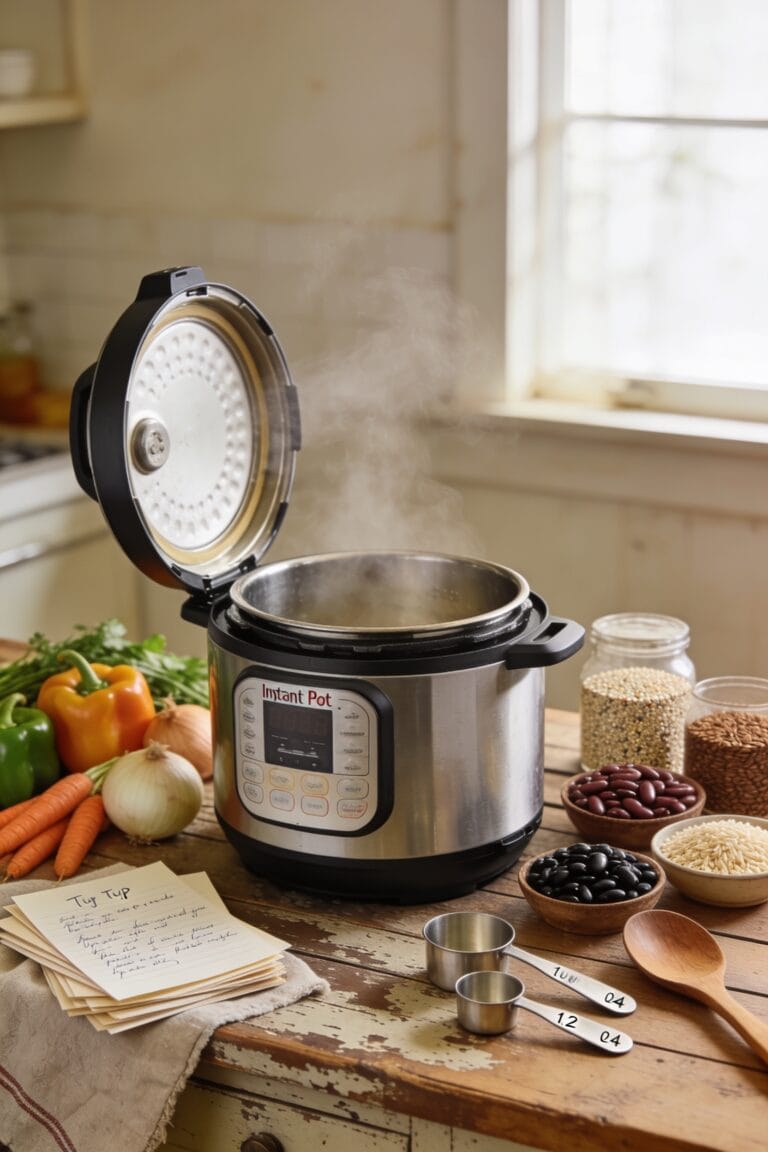
Prep Your Ingredients for Even Cooking

Because the Instant Pot cooks everything at the same rate regardless of size, you’ve got to do some real prep work here—and I mean actual uniformity, not just “close enough.” I’m talking about chopping your potatoes, carrots, and onions into roughly 1 to 1.5 inch pieces so they all finish at the same time; if you leave one chunk twice as big as the others, you’ll end up with some vegetables practically dissolved while their neighbors are still too firm.
Your knife skills matter here. Take your time getting those sizes consistent—it’s genuinely worth the extra two minutes. Ingredient timing depends entirely on this uniformity. Measure out your beef broth too, and mince that garlic beforehand. When everything’s prepped and waiting, you’re already winning half the battle. Season your meat before searing, and gather your spices. Preparation transforms cooking from stressful to smooth.
Sear the Beef to Build Deep Flavor
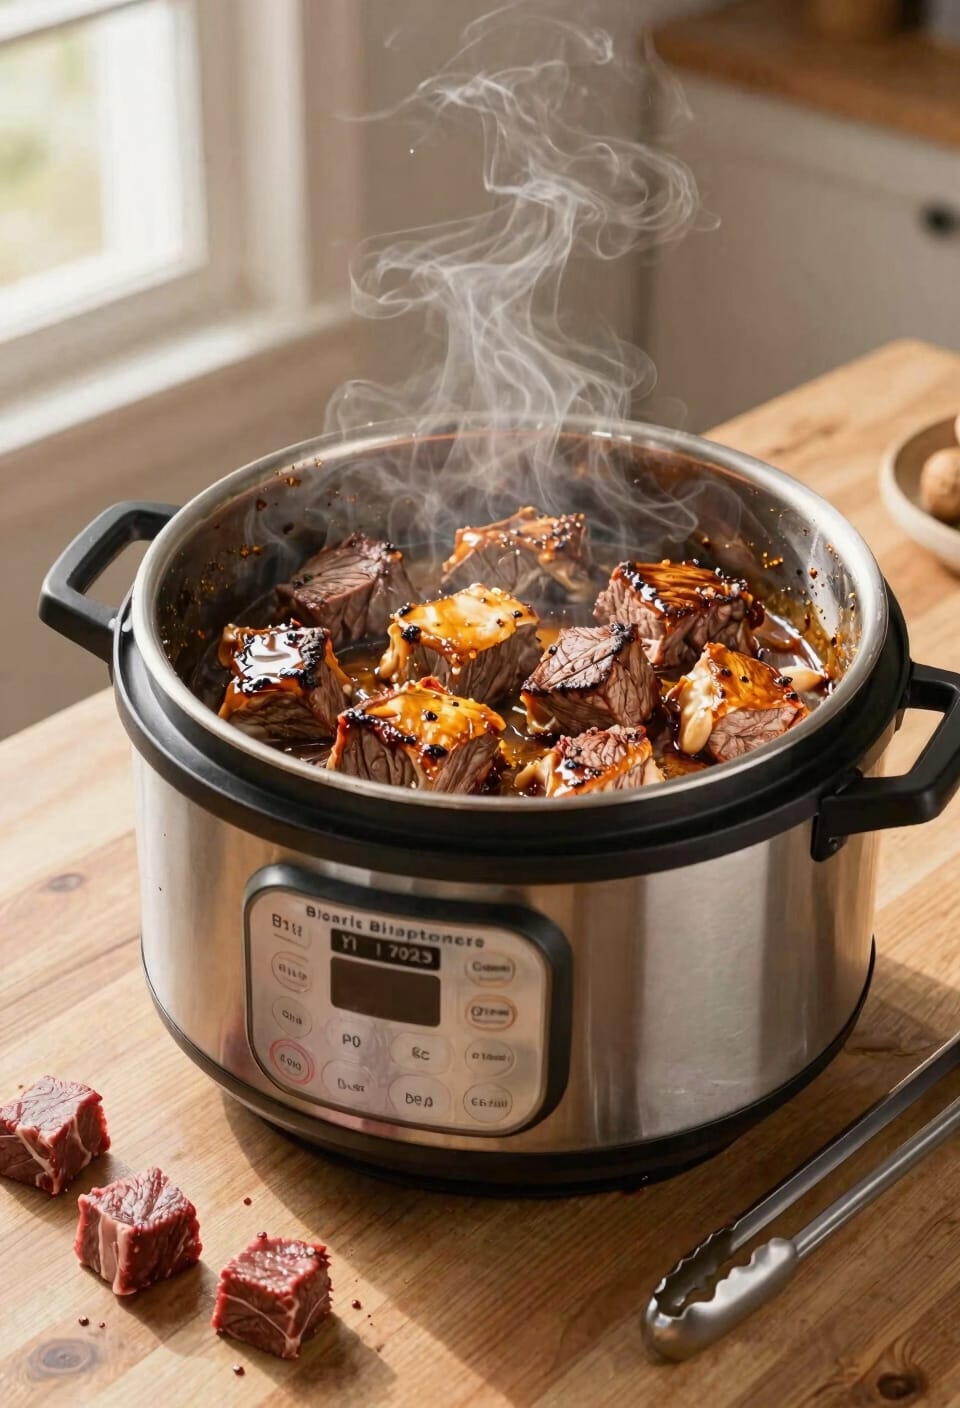
Set your Instant Pot to sauté mode and let it heat up until the oil or butter is genuinely sizzling—and I mean actually sizzling, not just warm and polite about it.
Now, this is where the flavor science kicks in. You’re after that brown crust on your beef, which happens through the Maillard reaction. It’s not just browning; it’s building deep, savory complexity you can’t get any other way.
Work in batches so you’re not crowding the pot—that’s the move that separates good stew from mediocre. Season your meat with kosher salt and black pepper before it hits the heat. Let each batch sear for about four to five minutes per side until that crust forms properly.
Transfer everything to a plate as you go. Yeah, it takes a few extra minutes, but your stew will thank you.
Deglaze and Layer Your Vegetables and Seasonings
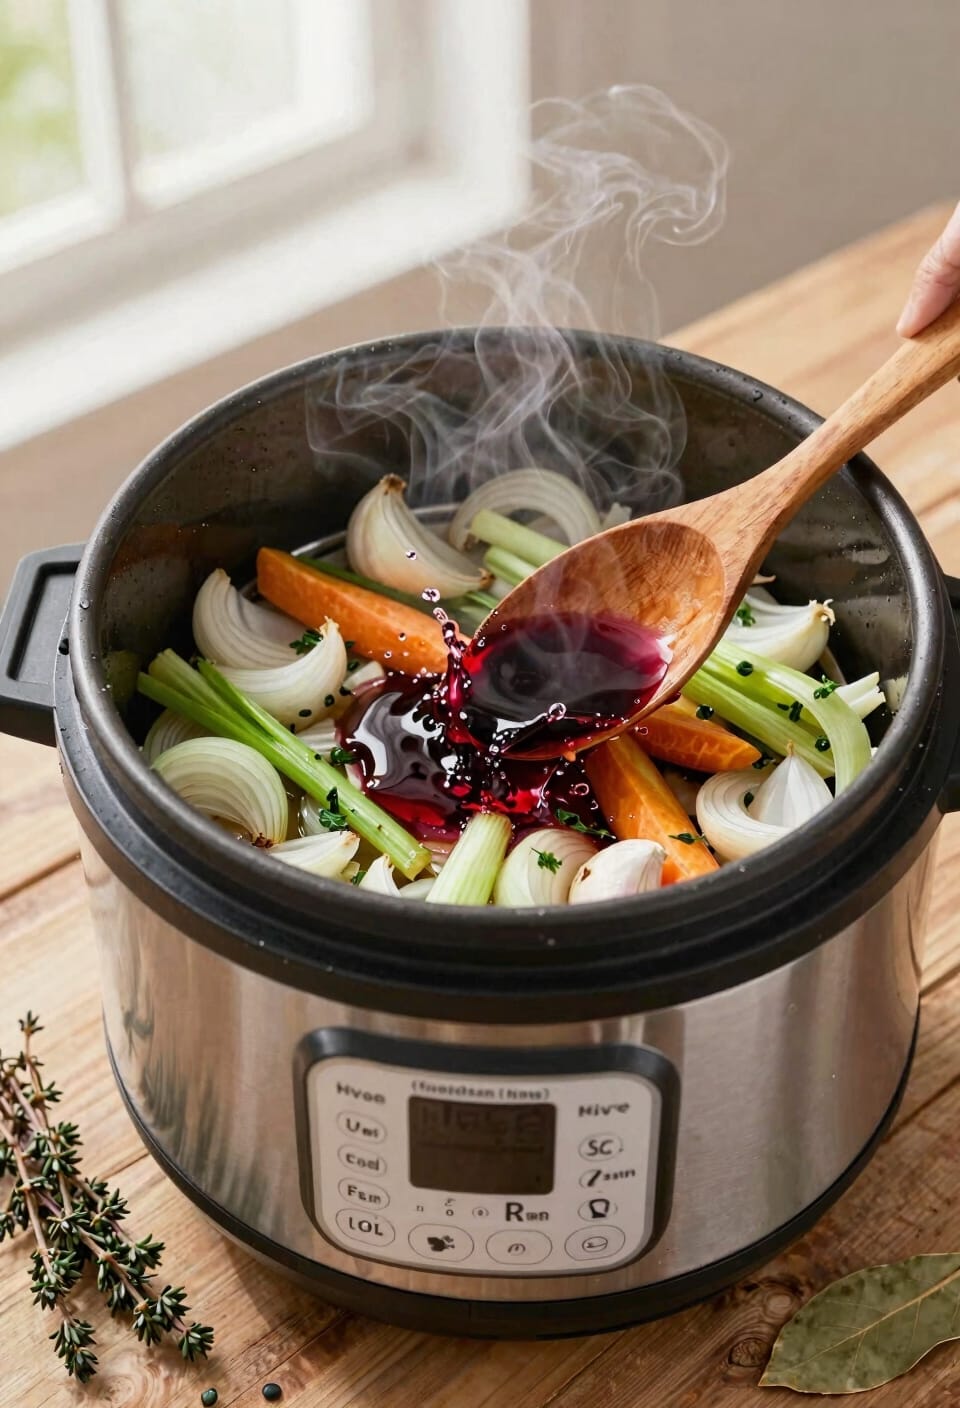
Now that your beef’s got that gorgeous crust, here’s the thing—all those browned bits stuck to the bottom of the pot are basically edible gold, and you’re going to scrape every last bit into your stew. Pour your beef broth in there and let it do the work, loosening everything up with a wooden spoon.
Next comes layer order, which honestly matters more than people think. Add your softened onions and garlic first, then your flavor placement comes next—that’s where Worcestershire, soy sauce, or tomato paste goes. Now pile your potatoes and carrots on top without stirring. This prevents them from burning on the bottom while letting seasonings distribute evenly through the liquid. Crown it all with your spices and bay leaf. You’ve basically built a flavor architecture that’ll cook into something transcendent.
Pressure Cook Your Stew to Tender Perfection
With your flavor architecture locked in place, you’re ready to lock down the pot—literally. Seal that lid with the valve in sealing position, then set your Instant Pot to high pressure for 30-35 minutes. This is where the magic happens, honestly. The pressure timings I’m giving you work because they let the collagen in that beef break down into gelatin without turning your vegetables into mush.
After the timer beeps, don’t immediately vent everything. Let it natural release for 10-40 minutes instead—this resting period lets the meat relax and absorb all those flavors you’ve built. Then quick release whatever pressure remains. You’ll open that lid to tender beef that actually tastes like something. That’s the whole point.
Thicken the Sauce and Rest Your Stew
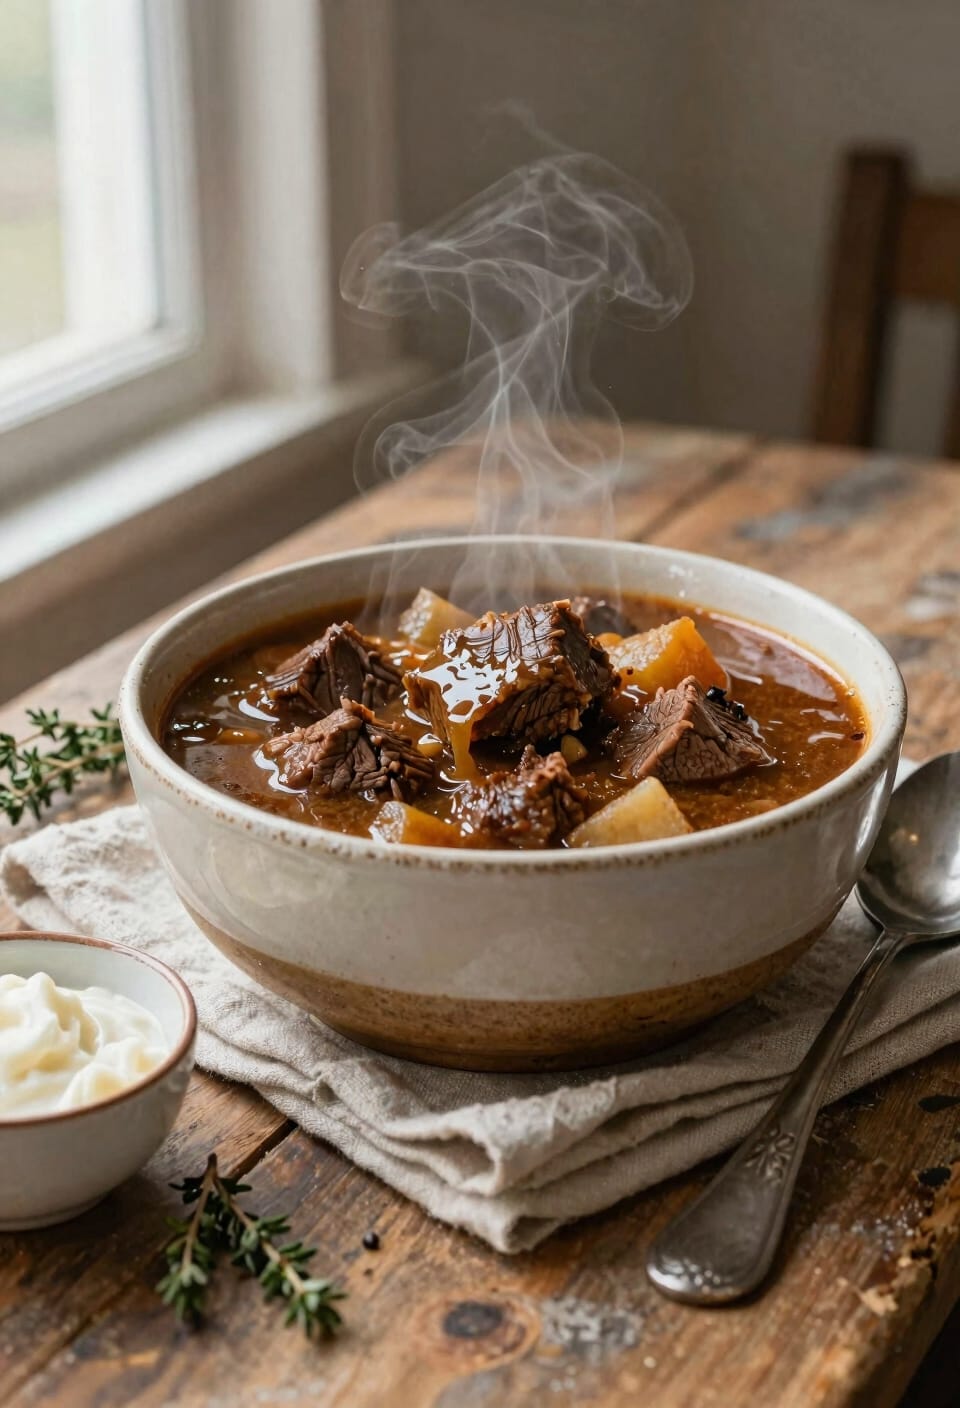
After that natural release does its thing and you crack open the lid, you’re looking at a pot of beautiful, tender beef swimming in liquid that’s probably thinner than you’d want it to be—and that’s totally normal. Now here’s where I stir in my cornstarch slurry, switching the Instant Pot to sauté mode and letting it bubble for about two minutes until everything thickens up nicely. If you’re out of cornstarch, arrowroot powder or even a flour slurry works fine—just adjust accordingly. Then I remove the bay leaf, kill the heat, and let everything rest for ten to fifteen minutes. This resting period? That’s where flavor melding actually happens. The beef relaxes, the sauce settles, and you get this deeply satisfying stew that tastes like it’s been simmering all day.
Fix Tough Meat, Watery Sauce, and Other Instant Pot Mishaps
Even with the best intentions and a foolproof recipe, something can still go sideways in that Instant Pot—and I’ve managed to mess up beef stew in just about every way possible, so let me walk you through the fixes.
Got undercooked centers? You probably didn’t give it enough time. Seal that lid back up and run another 10 minutes on high pressure. The meat needs those extra minutes to fully tenderize.
Grainy gravy? That’s a cornstarch slurry gone wrong—usually because you added it cold or didn’t whisk it properly. Strain your sauce through a fine mesh, warm it gently, and add a fresh slurry whisked smooth with cold broth. Low heat, constant stirring, and you’re golden.
Explore Popular Beef Stew Variations
Once you’ve mastered the basic Instant Pot beef stew, you’ll start craving variations—and honestly, that’s where the real fun begins. Spicy variations are my go-to when I’m feeling adventurous. I’ll toss in jalapeños, cayenne pepper, or hot sauce for a kick that transforms the whole dish. International influences open up even more possibilities. Try adding soy sauce and ginger for Asian-inspired depth, or go Irish with Guinness and root vegetables. Mexican versions benefit from chipotle and cumin. The beauty here? Your base recipe stays identical—you’re just swapping seasonings and ingredients. Once you understand how pressure cooking works, you can confidently experiment without worrying about ruining dinner.
Store and Reheat Your Leftovers
Because beef stew tastes even better the next day—I’m not making that up, the flavors really do deepen as everything sits together—you’ll want to know how to store it properly so you’re not eating sad, separated stew a week later. I use airtight storage containers and let the stew cool completely before refrigerating it. You’ve got about four days in the fridge before things get questionable.
For reheating tips, I just dump it back in the Instant Pot on sauté mode with a splash of broth if needed, stirring occasionally until it’s heated through. You can also microwave individual portions, though the stovetop method treats your stew with more respect. Frozen? It’ll keep three months, and reheats just the same way.
Frequently Asked Questions
Can I Use a Slow Cooker Instead of an Instant Pot for Beef Stew?
Yes, you can definitely use a slow cooker instead. I’d recommend adjusting your cooking time to 6-8 hours on low, since slow cookers have different heat distribution than pressure cookers. You’ll still get tender, flavorful beef stew.
What Cuts of Beef Work Best for Tender Instant Pot Beef Stew?
What makes beef stew truly exceptional? I’d recommend chuck roast and bottom round—they’re my go-to cuts because they’ve got enough marbling and connective tissue that breaks down beautifully under pressure, creating that fork-tender texture you’re after.
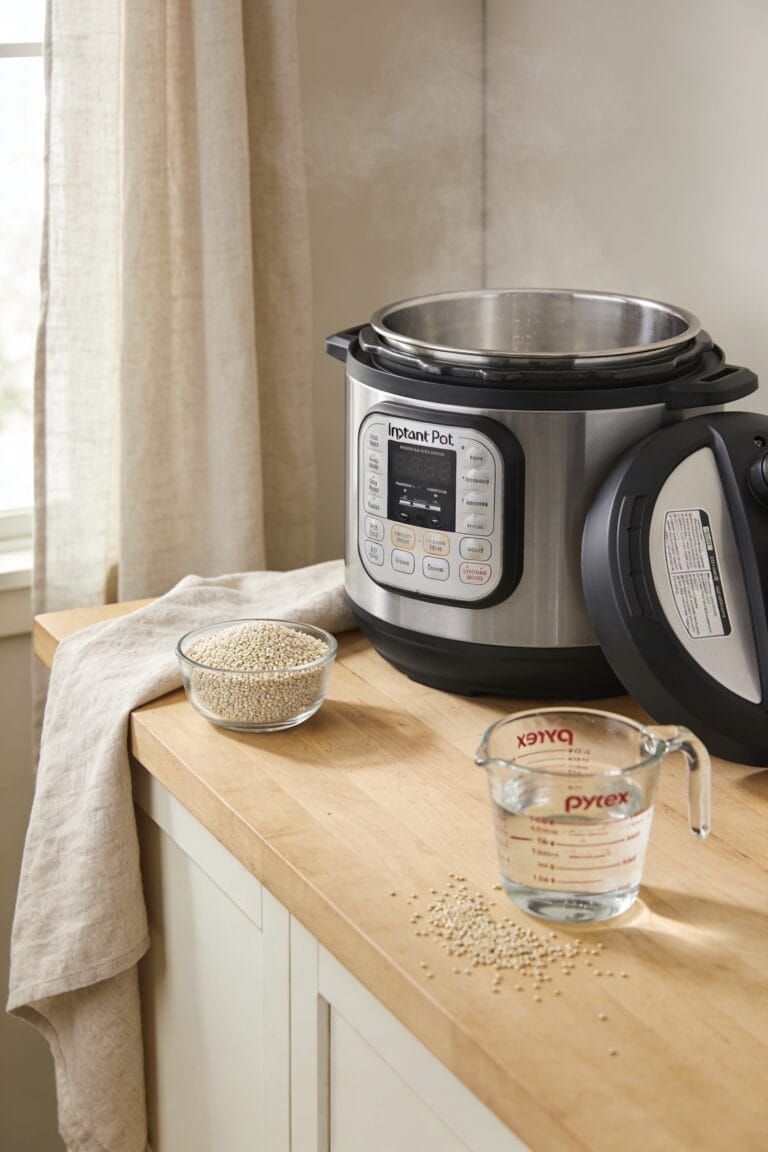
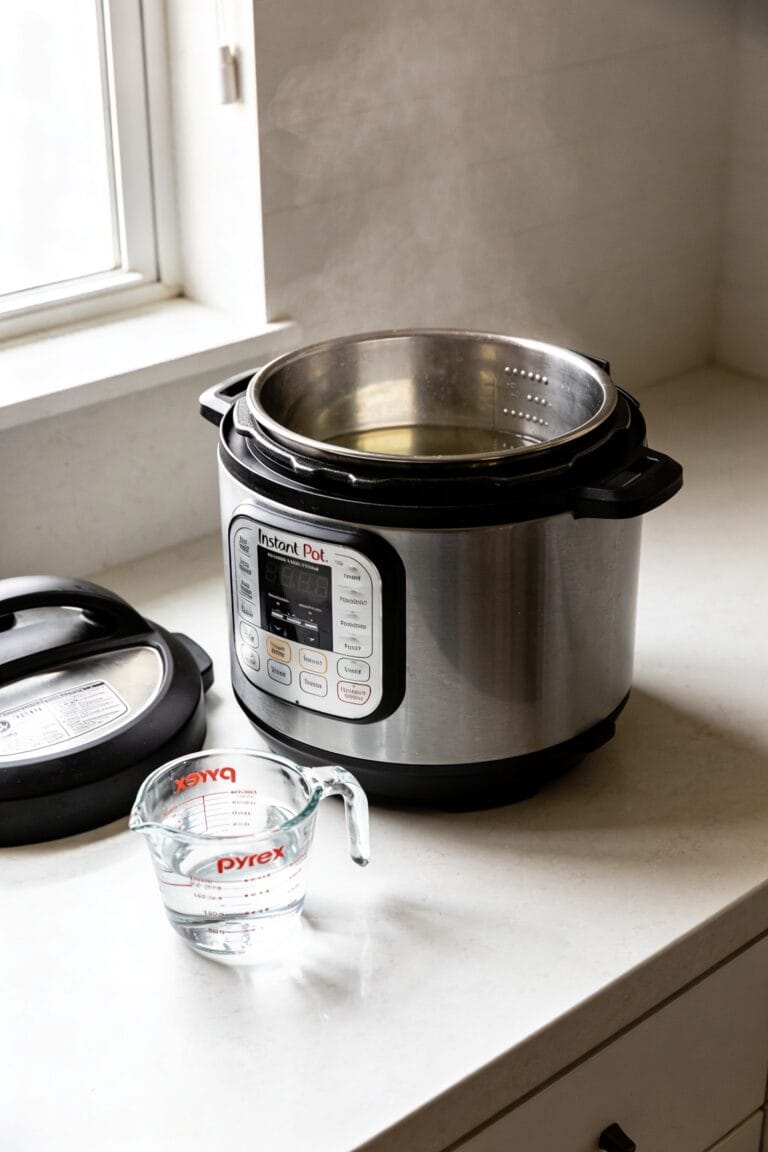
How Much Liquid Should I Use to Avoid a Watery Stew?
I’d recommend using 2-3 cups of broth—just enough to cover your meat and veggies. You’ll control thickness by adding a cornstarch thickener during sauce reduction on sauté mode until it reaches your desired consistency.
Can I Add Frozen Vegetables Directly to the Instant Pot?
You can absolutely add frozen vegetables—they’ll cook a million times faster than fresh ones. I’d recommend adding them during the last few minutes to preserve their frozen texture and prevent extended cooking time from making them mushy.
Does Beef Stew Taste Better the Next Day After Sitting Overnight?
Yes, I’d say beef stew tastes better the next day. Overnight sitting allows flavor melding as ingredients bond together, and the texture improvement makes meat even more tender as it continues absorbing the rich broth.
Conclusion
All right, here’s the thing—you’ve got everything you need now to make beef stew that’ll actually blow people away. But I’m not telling you what happens when you nail that sear, when the meat falls apart at the mere suggestion of a spoon, when that sauce coats the back of yours like velvet. You’ll just have to cook it and find out. Trust me, you’re ready.