As an Amazon Associate, we earn from qualifying purchases. Some links on this site are affiliate links at no extra cost to you. Our recommendations are based on thorough research and editorial judgment.
Instant Pot Pressure Cook Button: How to Use It Correctly
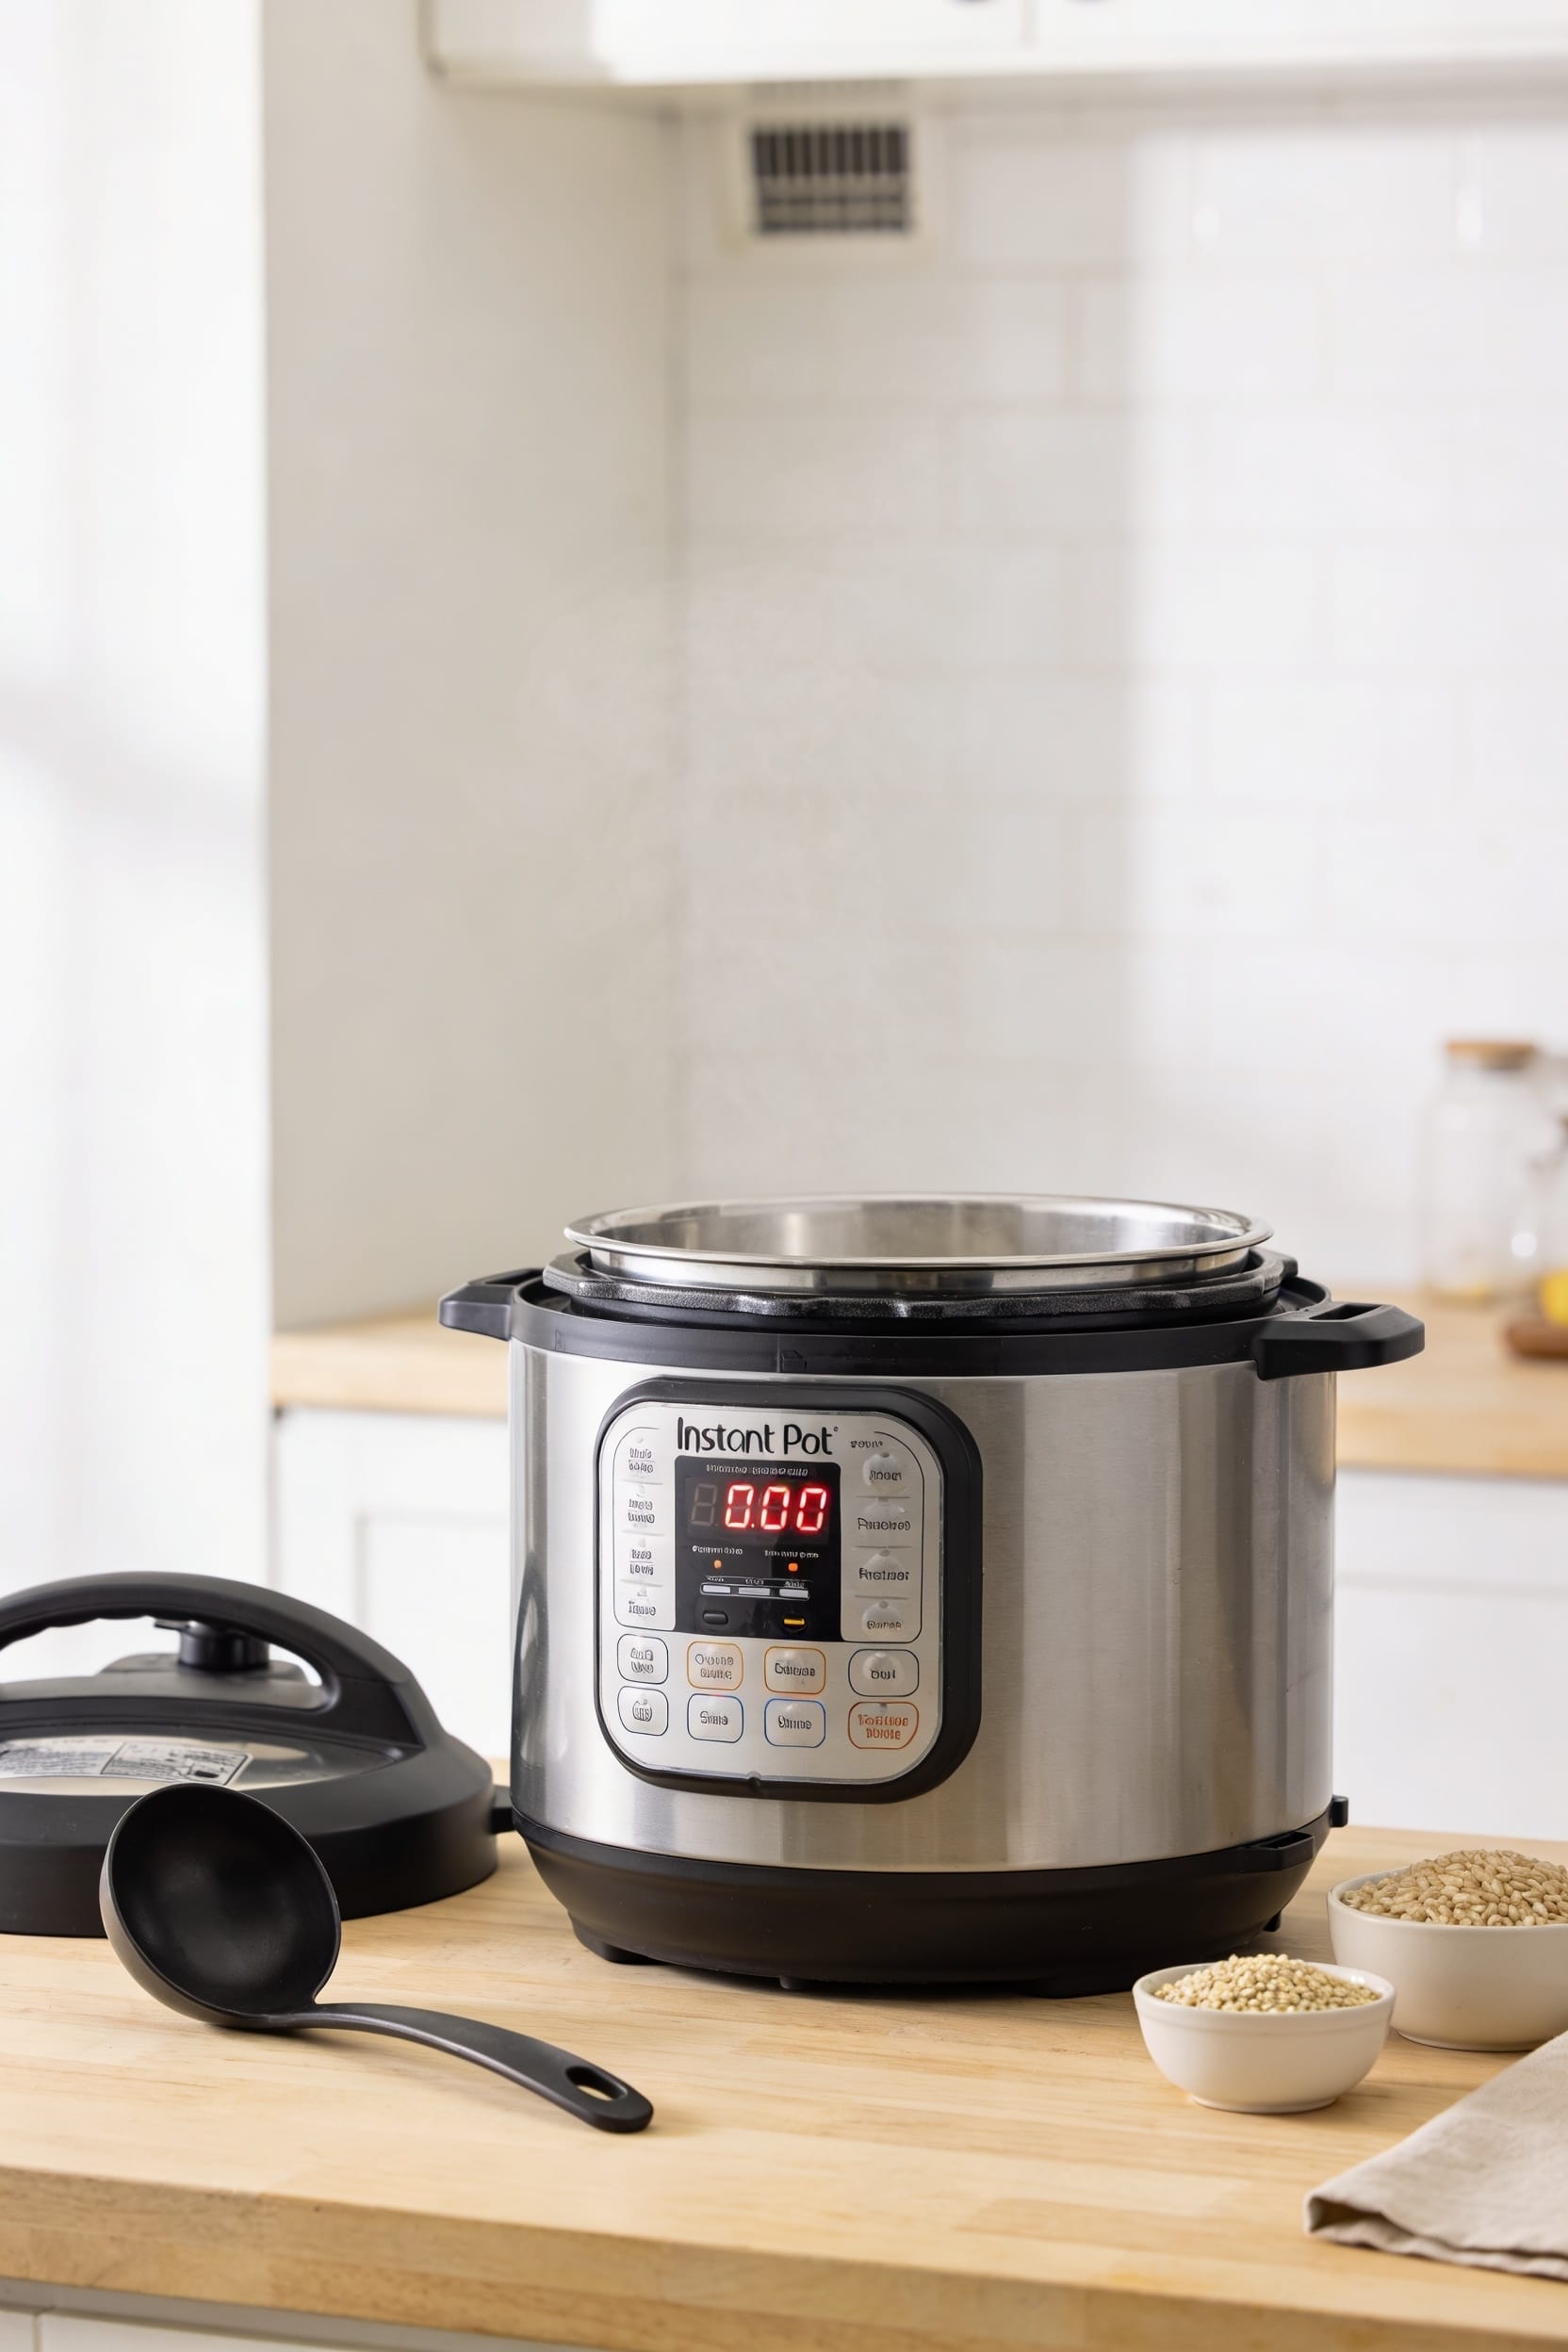
Look, the pressure cook button—labeled “Manual” on older models—is your gateway to fast, foolproof cooking. Find it on your machine, set your pressure level (high’s usually right), dial in cook time with plus and minus buttons, seal that lid tight, and press it. Your Instant Pot’ll beep, build pressure without you watching, then count down once it hits temp. The tricky part? Knowing when to quick-release or let pressure drop naturally. Stick around for the breakdown.
Key Takeaways
- Locate the Pressure Cook button (labeled “Manual” on older models) in your specific model’s manual.
- Set high pressure by default, use the Pressure Level button to switch to low if needed.
- Ensure the lid is tight, vent sealed, and press Pressure Cook (plus Start if required).
- Allow pressurization to complete; display counts down only after pressure builds, which takes time.
- Choose quick release for delicate foods or natural release for tender results based on recipe.
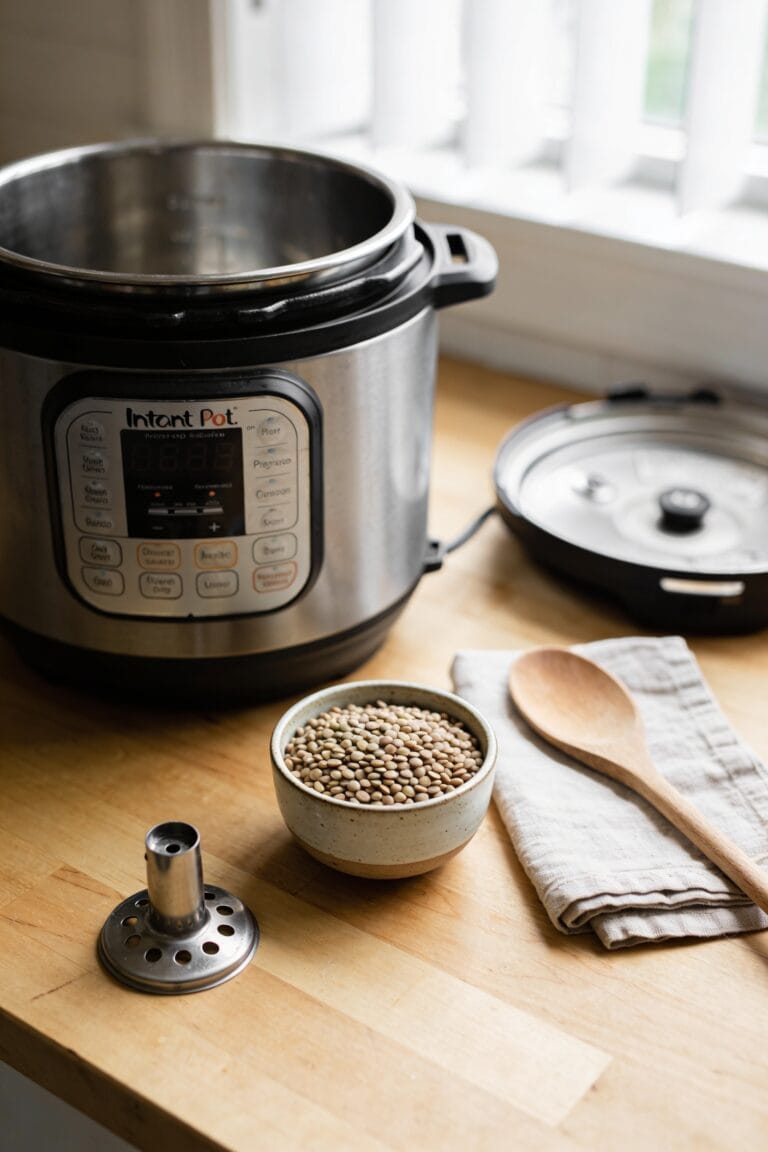
Find Your Pressure Cook Button on Your Model
Look, before you can actually cook anything, you’ve got to locate the button that’ll make it all happen—and here’s where things get a little annoying depending on which Instant Pot you own. Older models call it the Manual button, while newer ones slapped “Pressure Cook” on there instead. Same function, different label, which is predictably confusing. Button placement varies across model variations too. Some units like the Duo Evo Plus throw an extra wrinkle at you by requiring a separate Start button press after you select Pressure Cook. Your specific model’s user manual will show you exactly where to find it on your unit. Once you’ve spotted it, you’re golden—that’s your gateway to pressure cooking everything from ribs to risotto.
Set Your Pressure Level and Cook Time

Now that you’ve found your Pressure Cook button, it’s time to actually tell the machine what you want it to do—and that means picking your pressure level and how long you want things cooking. Most recipes call for high pressure, which is your default setting anyway. But here’s the thing: if your recipe specifically asks for low pressure, hit that Pressure Level button to switch it over. Then use your plus and minus buttons to dial in the cook time. Don’t forget to account for pressure calibration differences—altitude adjustments matter too, especially if you’re cooking at elevation. Set your time, verify everything looks right on that display, and you’re ready to roll.
Recommended Products

Burner Type: Induction (used only with Induction Ready Cookware - Ferrous Stainless Steel, Iron and Cast Iron)
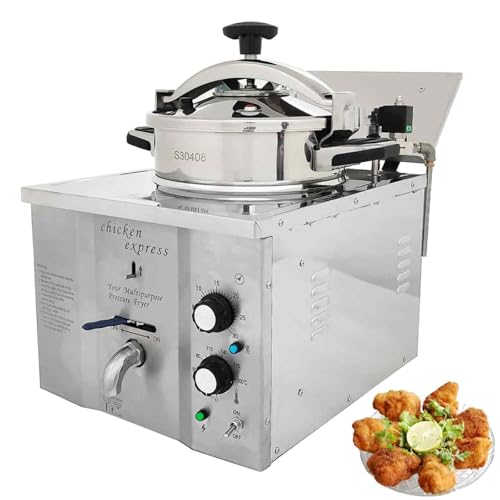
Large Capacity and High Efficiency: The deep fryer has a capacity of approximately 16L and is equipped with a ceramic heater. It has a power of 2.4KW and supports precise temperature control between 50-200 ℃, meeting your frying needs for various ingredients.

Makes 2 extra-deep Belgian waffles – 1-Inch thick
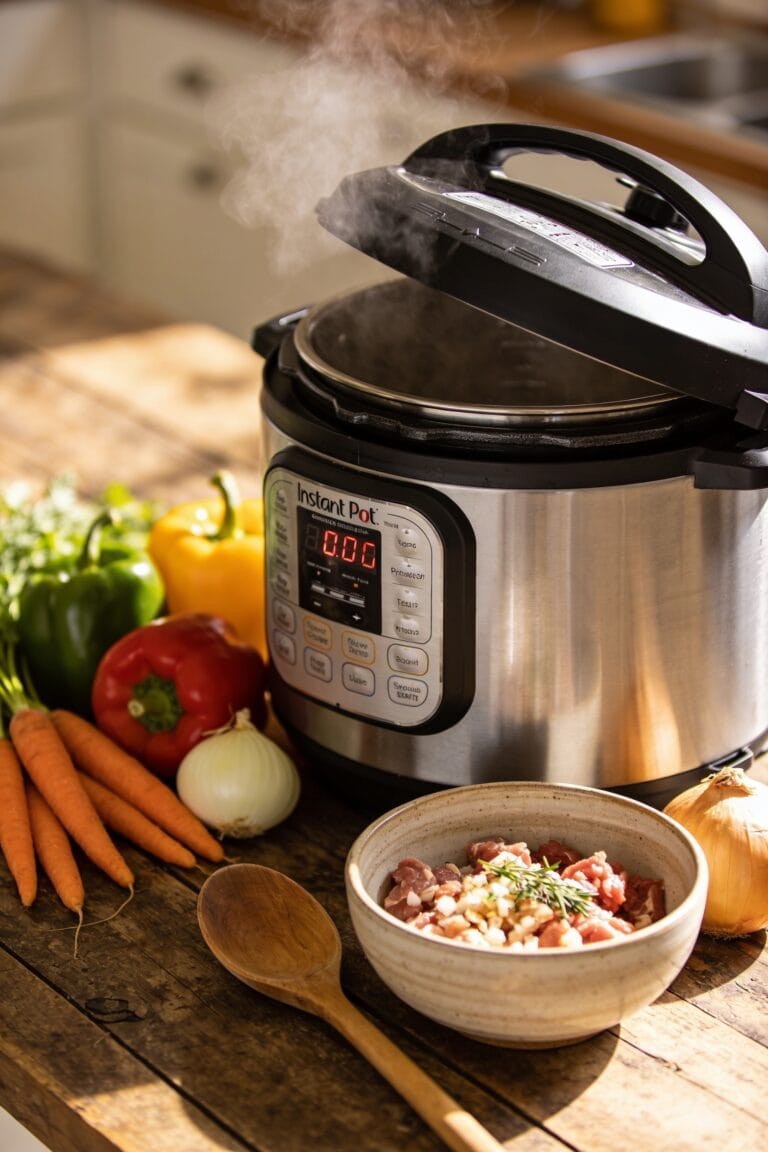
Start Your Pressure Cook Cycle
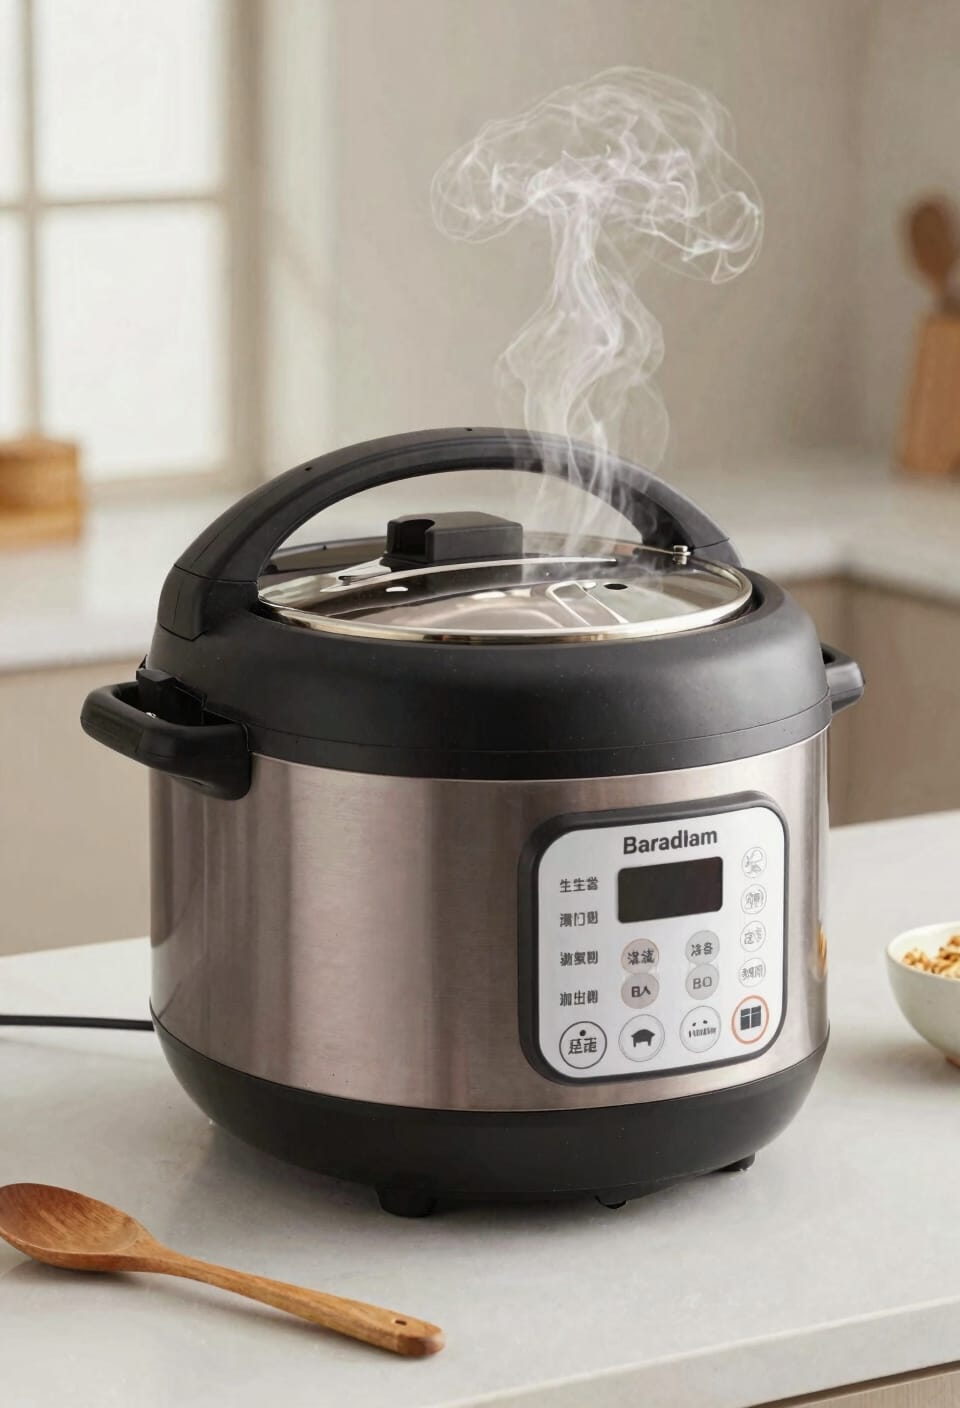
With your pressure level and cook time locked in, you’re ready to actually fire this thing up—and I promise it’s simpler than you’d think. First, run through your safety checklist: lid’s on tight, vent’s set to Sealing, nothing’s blocking the steam release valve. Now hit that Pressure Cook button. Your Instant Pot will beep—that’s your preheating indicator telling you it’s getting serious. Some models want an extra Start button press; check yours because it’s annoying to discover this mid-cycle. The display will flash and hum while it builds pressure. You’ll hear it working, which honestly feels more satisfying than it should. Just step back and let it do its thing. Your dinner’s happening whether you watch or not.
Recommended Products

Healthy and energy saving: For quick and healthy cooking: pressure cooking with sophisticated functions reduce cooking time by 70% and ensure that up to 90% of vitamins, such as vitamin C, are preserved

18/10 stainless steel will not interact with food

Coated with Swiss Diamond's revolutionary non-stick coating.
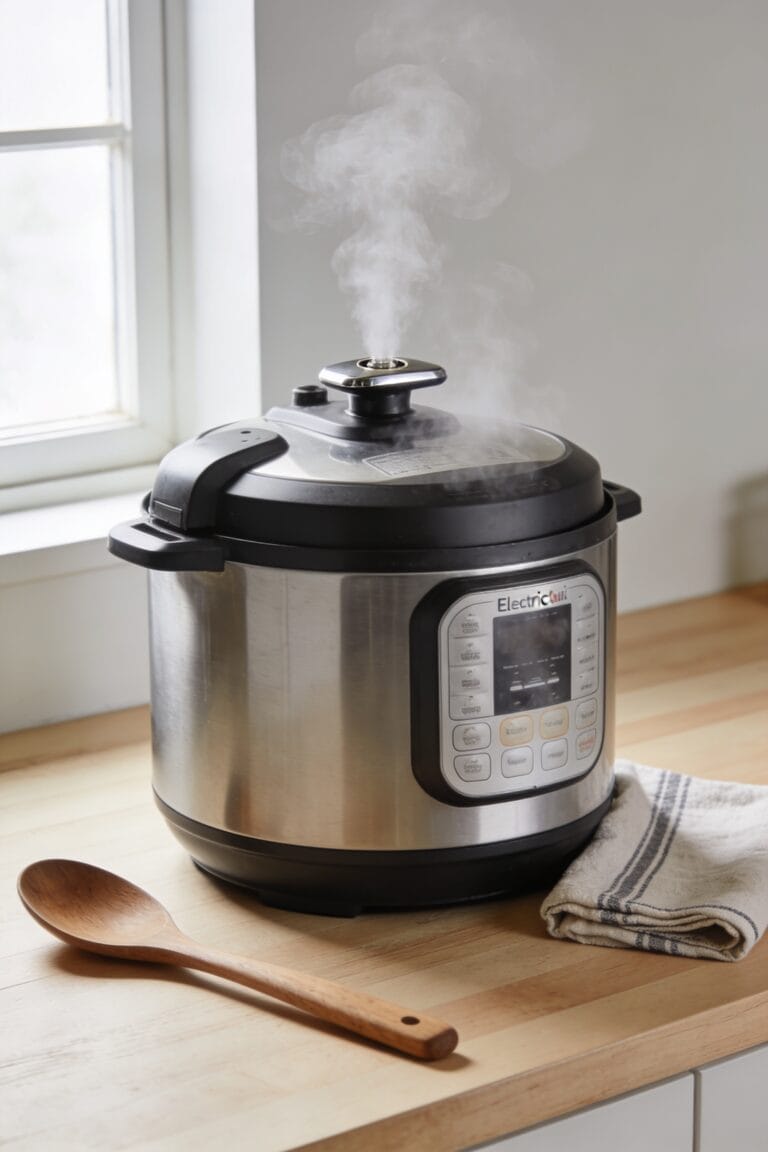
Understand What Happens While Your Instant Pot Pressurizes
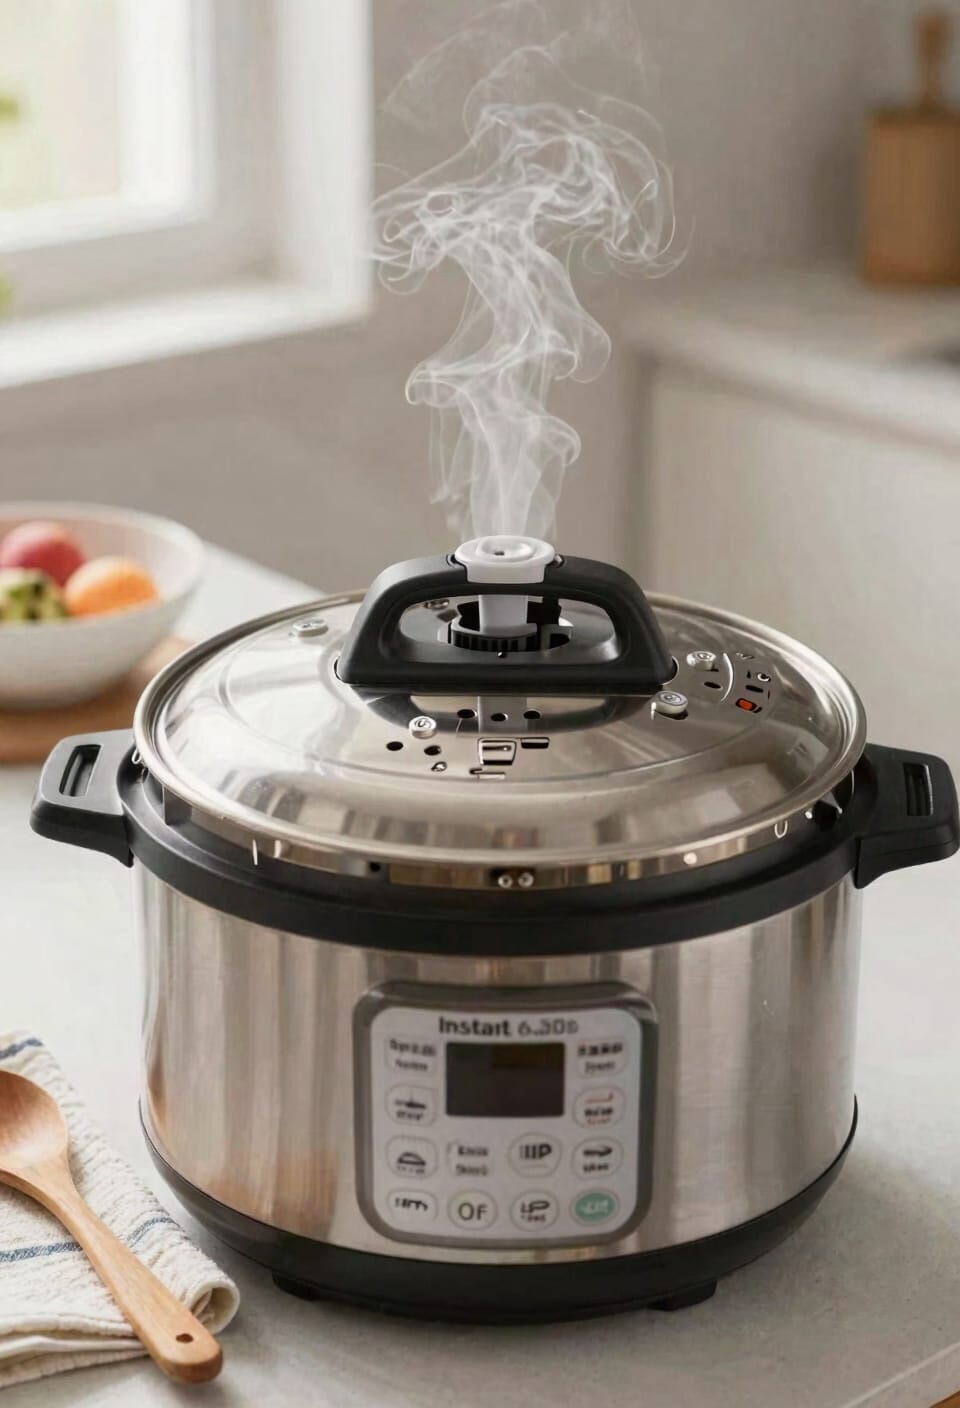
Once you’ve hit that Pressure Cook button and heard the beep, the Instant Pot enters what I call the “getting serious” phase—it’s building pressure, and there’s genuinely cool stuff happening inside that sealed vessel. The lid’s locked down tight, the vent’s sealed, and your cooker’s heating at full power. You’ll notice steam indicators—that little float valve typically rises as pressure buildup accelerates. The display counts down, but honestly, the actual pressurization takes longer than the cooking time itself. Don’t panic. This is normal. It’s working exactly as intended, slowly bringing everything to temperature and pressure. Just let it do its thing. You’re not missing anything by stepping away.
Release Pressure: Quick Release vs. Natural Release

After all that pressurization work is done, your Instant Pot beeps to let you know the cooking time’s finished—and here’s where a lot of people get stuck, staring at their cooker wondering what happens next. You’ve got two main moves: quick release or natural release.
Quick release means you move that steam valve to Venting immediately, letting pressure escape fast. It’s your go-to for delicate foods that’d turn to mush if they kept cooking. Natural release is the patient approach—you just let pressure drop on its own over ten to fifteen minutes, which keeps things tender and lets flavors settle deeper.
Honestly? I use quick release most of the time because I’m impatient. But some recipes demand natural release, so check your instructions first.
Recommended Products
RELIABLE PRESSURE CONTROL:This replacement pressure release button ensures lid functions like new, providing safe and efficient steam venting for every meal

PRECISE PRESSURE CONTROL: Designed as a responsive instant pot pressure release button, this part allows smooth and controlled steam release, reducing sudden bursts and improving safety during cooking

The Complete Pressure Cooker Accessories: Stop searching for individual parts! This all-in-one 10-piece replacement set has everything you need to restore your Pressure Cooker's performance. You'll receive a Silicone Sealing Ring, Steam Release Valve, Float Valve, 3 Float Valve Gaskets, an Anti-Block Shield, an Anti-Block Shroud Bracket, and 2 Valve Sealing Rings. No more guesswork – this kit tackles the most common failure points at once.
Frequently Asked Questions
What Does the “L0:00” Display Indicate on My Instant Pot?
When I see “L0:00” on my Instant Pot’s display, it tells me the cooking cycle’s finished. This display meaning indicates the timer’s reset to zero, signaling that my pressure cooking process has completed successfully.
How Can I Turn off the Keep Warm Function After Cooking Finishes?
I’ll disable keepwarm by pressing the Keep Warm/Cancel button—a manual override that 87% of users don’t realize exists. You’ll immediately turn off your unit and stop the heating function that automatically activates after cooking finishes.
Why Does My Instant Pot Beep During the Cooking Cycle?
Your Instant Pot beeps during cooking because I’m using audible alerts to notify you of pressure fluctuations. These beeps help me monitor the heating process and pressure regulation as I cycle on and off throughout your cook time.
Can I Adjust Cooking Time After the Pressurization Cycle Has Started?
I’d recommend against adjusting cooking time once pressurization starts. You’ll need to cancel and restart with adjustable pressure settings or use the delayed start feature for next time to set your preferred duration beforehand.
What Should I Do if My Model Requires a Separate Start Button?
I’ll press the Pressure Cook button, set your time, then find that separate Start button—its placement varies by model, so check your manual. I’ve found that pressing Start initiates your cycle properly.
Conclusion
Look, mastering your Instant Pot‘s pressure cook button is like learning to drive—once it clicks, you’ll wonder why you ever stressed about it. Now you’ve got the roadmap: find that button, dial in your settings, hit start, and let the magic happen while you go do literally anything else. The pressure release is your finale, and honestly, you’re going to nail this.