As an Amazon Associate, we earn from qualifying purchases. Some links on this site are affiliate links at no extra cost to you. Our recommendations are based on thorough research and editorial judgment.
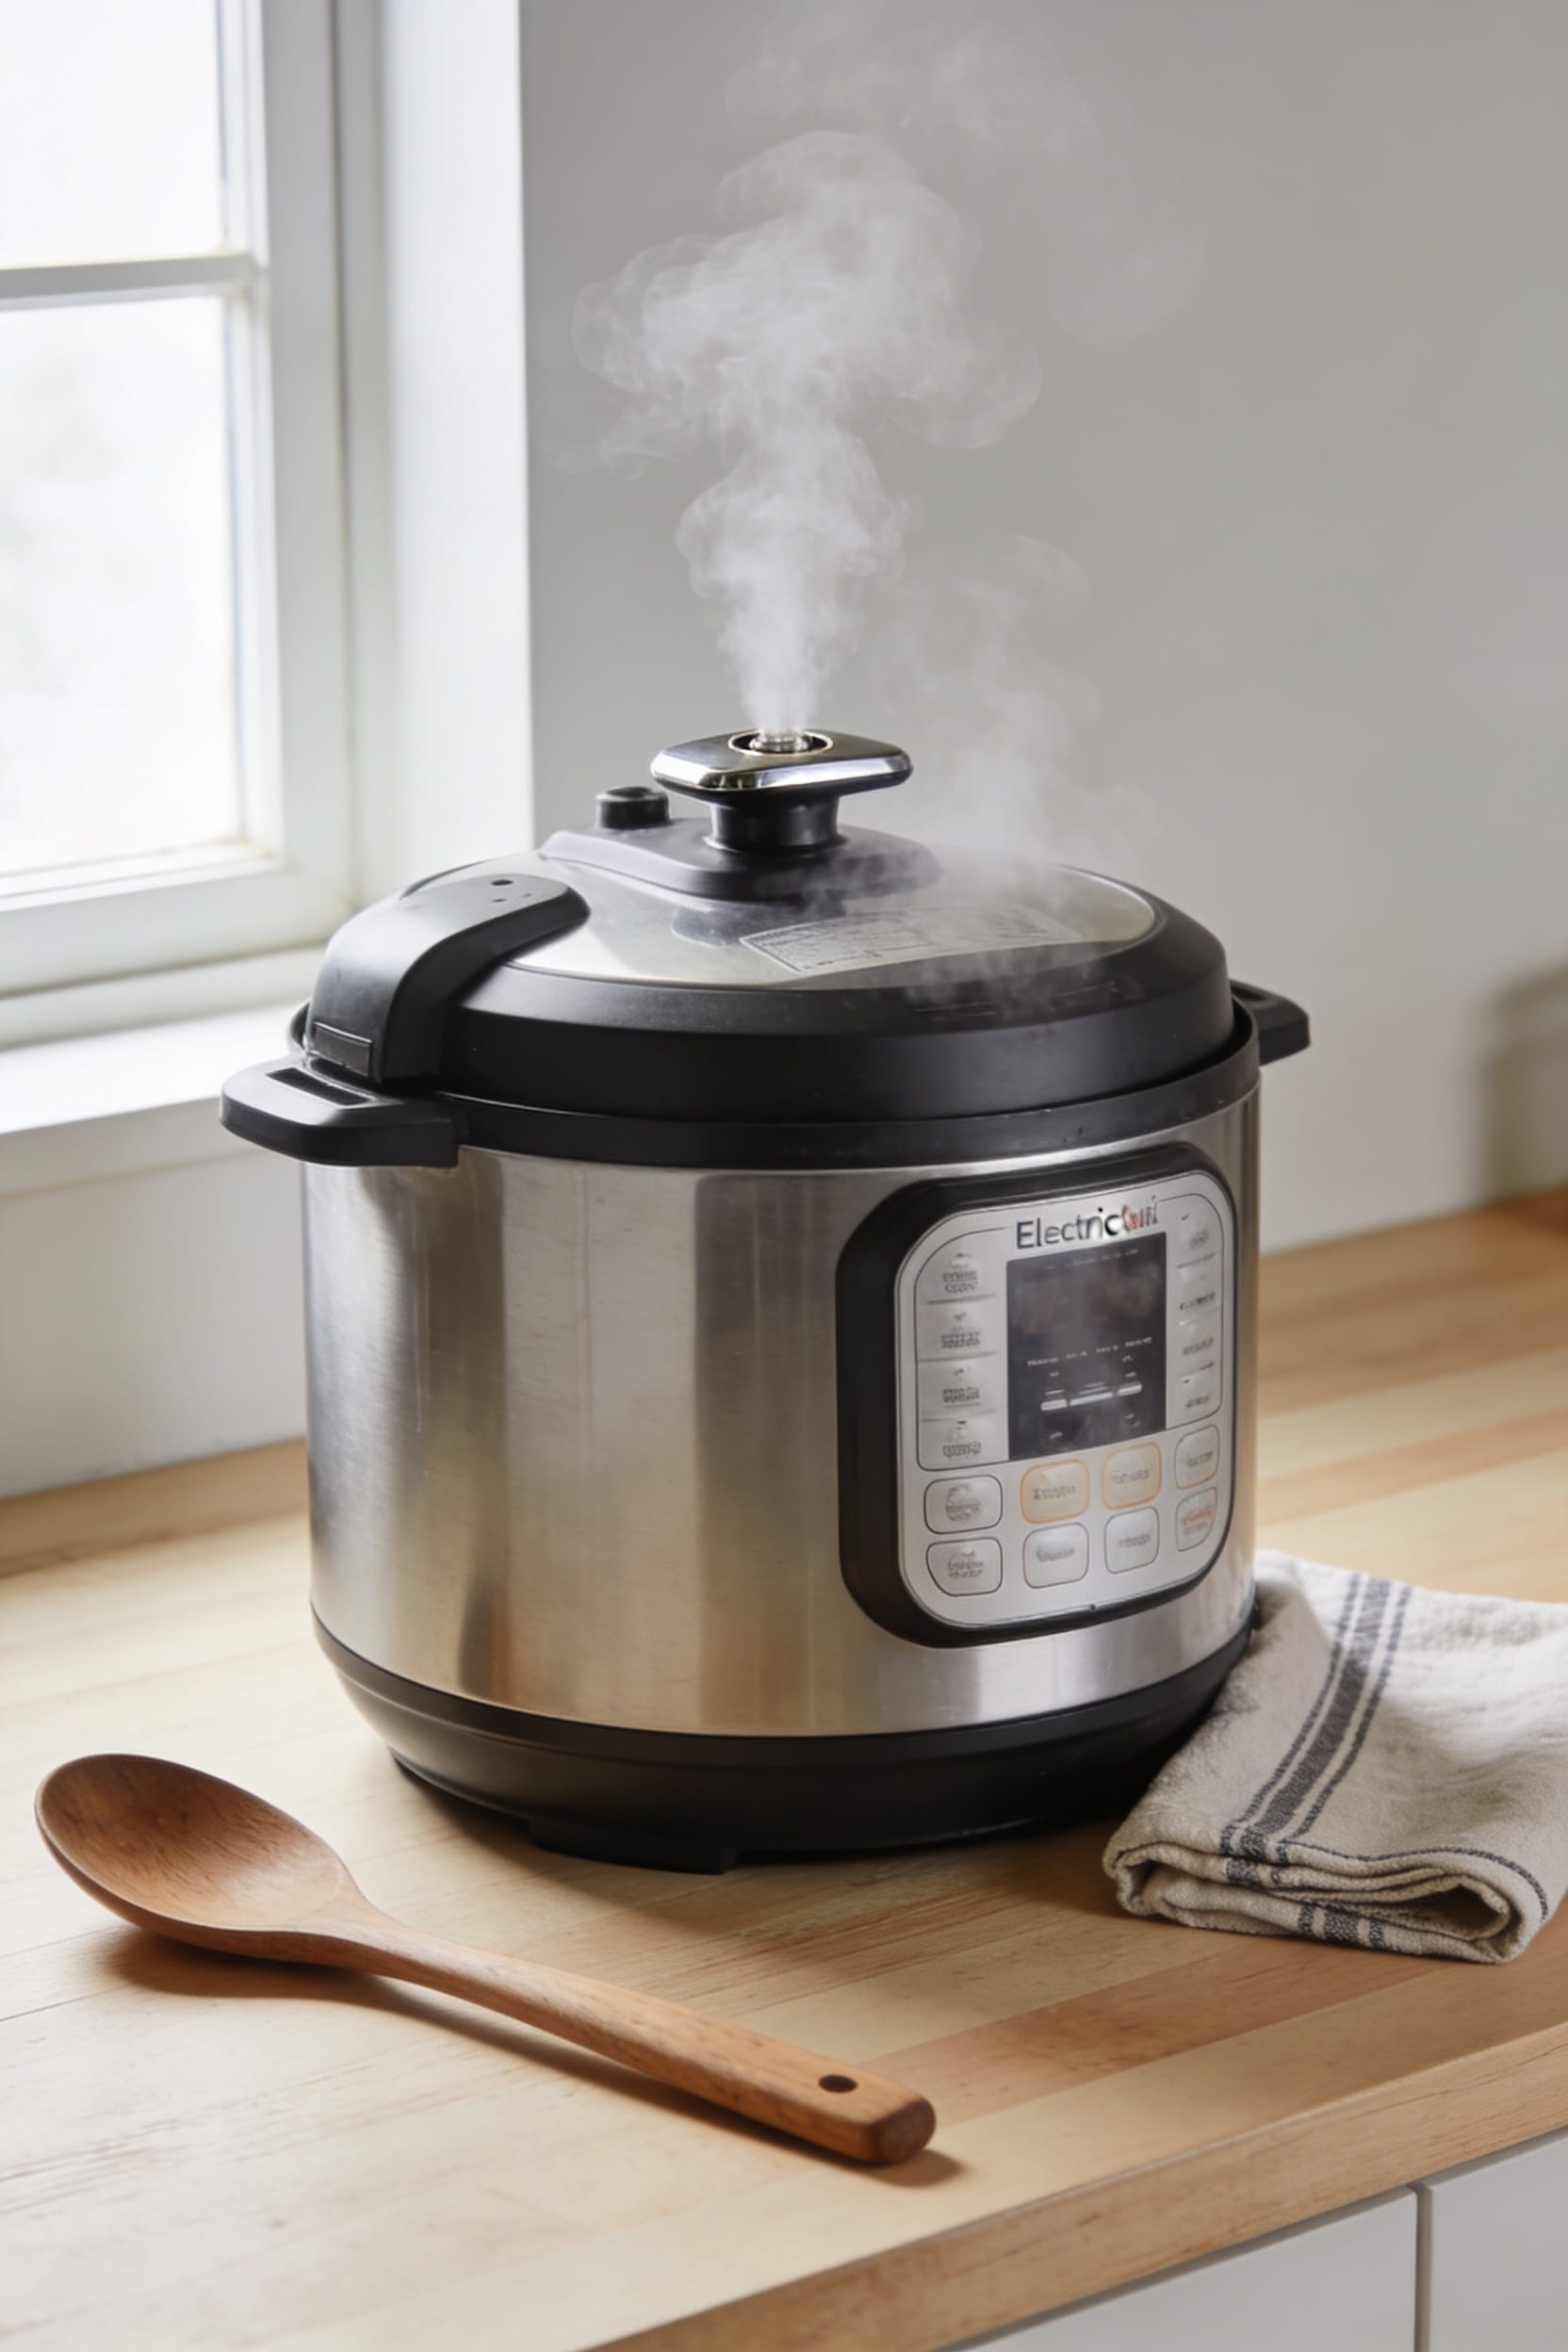
How to Release Pressure on an Instant Pot Safely
Look, there’s three ways to release pressure safely, and which one you pick matters more than you’d think. Quick release gets you eating in minutes but splatter’s real—keep your hands clear and wait for the float valve to drop before cracking the lid. Natural release takes five to thirty minutes but treats your food gently. The toggle method splits the difference. Cancel Keep Warm first, position yourself to the side, and let the hissing tell you when you’re actually safe. Each method changes your final texture, so the choice deserves thought before you flip that valve.
Key Takeaways
- Position your body to the side with steam directed away from face and hands during pressure release.
- Wait for the float valve to drop completely before opening the lid, indicating pressure is fully released.
- Flip the valve from Sealing to Venting for quick release, which typically takes two to three minutes.
- Use the toggle method by briefly opening and closing the valve to gradually reduce pressure and minimize splatter.
- Never force the lid open, douse the cooker with cold water, or vent under cabinets before releasing pressure.
Which Release Method Should You Choose?
You’ve got three solid options for releasing pressure, and honestly, which one you pick depends less on some hard rule and more on what you’re actually cooking and how much time you’ve got. If you’re in a hurry—say, someone’s arriving in twenty minutes—quick release gets you there fast, though you’ll want to keep your hands well clear of that initial steam blast. Natural release takes longer but lets your food keep cooking gently, which really matters for certain texture outcomes. Then there’s the intermittent method, which splits the difference. Your pressure preferences and the specific recipe matter here. Delicate foods benefit from natural release, while tougher cuts often need that continued heat.
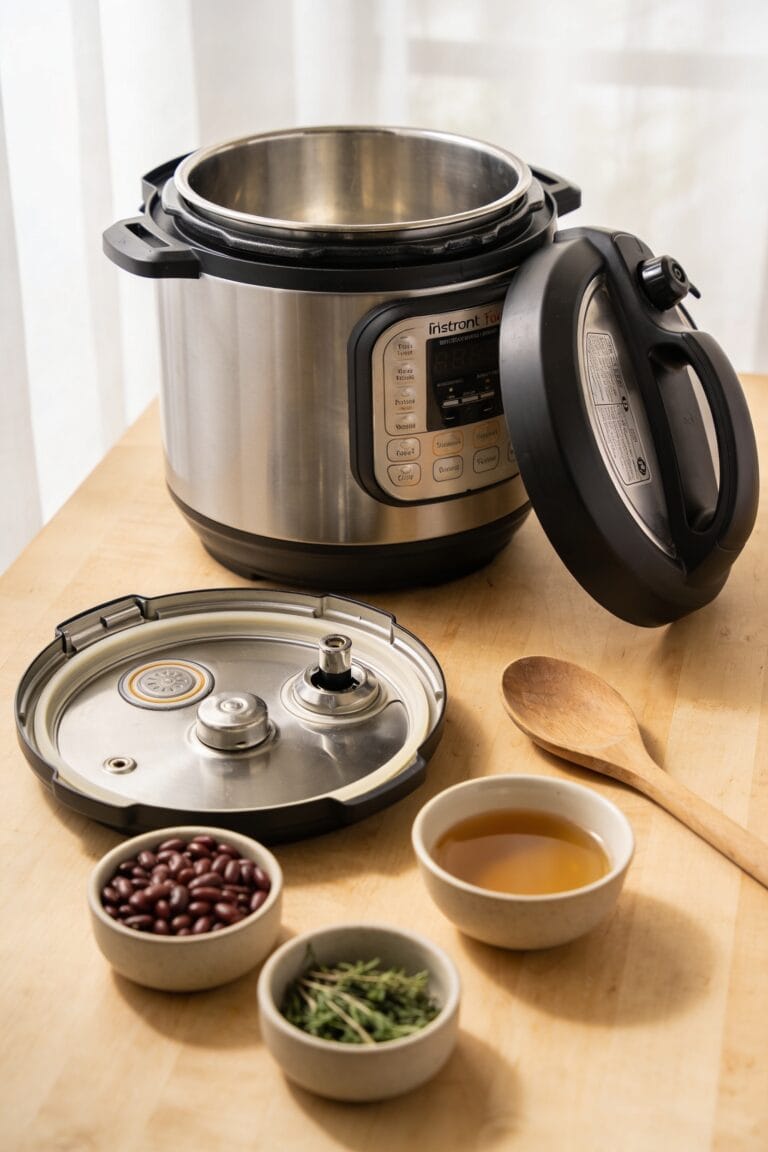
The Float Valve: Your Pressure Safety Signal

Sitting atop your Instant Pot like a tiny metal sentinel, the float valve is honestly one of the smartest safety features built into these machines—and I’d argue it’s also the one people understand the least. That little metal button rises when pressure builds during cooking, staying elevated as long as steam’s trapped inside. Once you release pressure, it drops automatically, signaling that it’s safe to open the lid. I can’t stress this enough: don’t force that lid open while the float valve’s still up. For float maintenance, occasionally check it moves freely—debris sometimes gums things up. If you’re doing indicator troubleshooting and the valve won’t drop after releasing pressure, something’s wrong. Wait longer, then consult your manual.
Quick Release: When You’re in a Rush
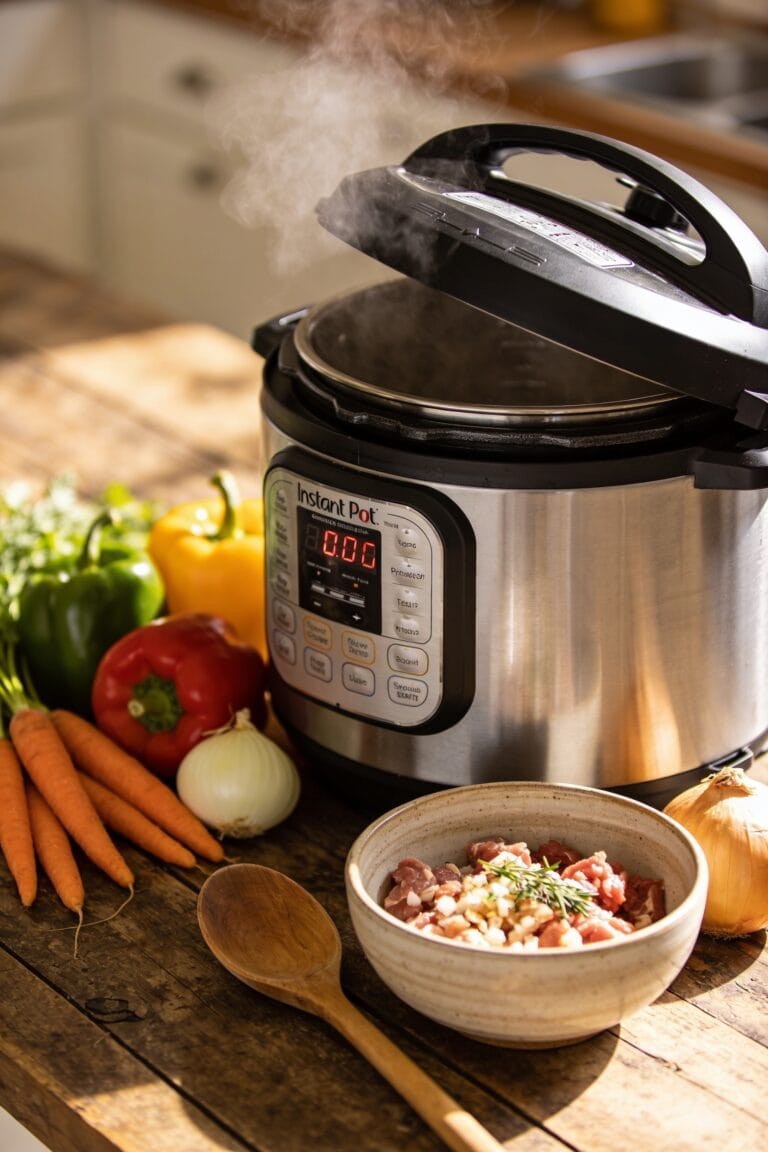
When pressure builds inside your Instant Pot and you need dinner on the table fast, the quick release method is your move—it’s the culinary equivalent of hitting the eject button. You flip that valve from Sealing to Venting, and steam comes roaring out like you’ve just opened a dragon’s mouth. The whole thing wraps up in about two to three minutes, which makes it perfect for those timer hacks when you’re racing against the clock before a meeting.
Here’s the thing though: keep your hands and face well away from that opening. The initial blast of steam doesn’t mess around. Once the float valve drops, you’re good to crack that lid open. Yeah, there’s slightly more fast cleanup involved with the splatter potential, but sometimes speed wins the day.
Natural Release: Let Pressure Drop Slowly
If quick release is the highlight reel, natural release is the director’s cut—it takes longer, but I’d argue it’s often the better movie. When you let pressure drop on its own, you’re giving your food something special: slow cooling that lets flavors actually meld together instead of getting shocked into submission. I’m talking five to thirty minutes here, depending on what you’ve cooked and how much liquid’s sloshing around in there. Yeah, it takes patience, but your ingredients keep cooking gently during this process, which honestly makes a difference with things like beans or tough cuts of meat. You’ll know you’re done when that float valve drops—that’s your green light to open the lid. Worth the wait, trust me.
The Toggle Method: Balancing Speed and Control
Now here’s where things get interesting: the toggle method sits right in that sweet spot between “I’m in a hurry” and “I actually care how this turns out.” Instead of committing fully to either quick or natural release, you’re basically having a conversation with your pressure cooker—opening the valve for a few seconds, closing it, then doing it again.
This valve toggling approach prevents those aggressive steam bursts that can send food splattering everywhere. You’re letting pressure escape gradually while maintaining control, which means fewer messes and better texture. Usually one or two quick toggles is all you need before your food reaches that perfect state. It’s the Goldilocks method: not too fast, not too slow, just right. Your hands stay safer, your food stays intact, and you don’t wait forever either.
Prevent Burns: Steam Safety Positioning
All right, so we’ve talked about the toggle method—that nice middle ground where you’re not getting blasted by steam or waiting around like you’ve got nothing better to do. But here’s the thing: none of that matters if you’re not thinking about where your hands actually are when you’re doing this.
Hand positioning is everything. I keep my face back and my hands well clear of that valve opening. You want to angle yourself so the steam direction goes away from you, not toward your face or hands. That initial burst is hot enough to cause real damage, so don’t get cocky about it.
Position yourself to the side, not directly above. Your hands belong nowhere near that opening—not even close. Trust me on this one.
Release Pressure Timing: What to Expect
Once that pressure release method is actually underway, you’re entering the waiting game—and how long you’re waiting depends entirely on which method you picked and what you’ve got cooking inside. Quick release? You’re looking at maybe two or three minutes—that initial blast of steam tells you things are moving. Natural release drags on longer, anywhere from five to thirty minutes depending on your food volume and liquid situation. The pressure timeline varies wildly, which is why I pay attention to audible cues. That hissing gradually quiets down, and the float valve dropping is your green light that pressure’s gone. Once that little button drops, you’re genuinely safe to open the lid.
Mistakes That Damage Your Cooker (During Release)
Knowing when the float valve drops is half the battle, but I’ve learned the hard way that there’s a whole other half where people wreck their cookers through release mistakes—and most of them are genuinely easy to avoid if you know what you’re doing. Never blast your pot with cold water thinking you’re being clever; that’ll damage the inner workings permanently. Venting under cabinets seems convenient until steam warps your cabinetry and you’re staring at a repair bill. The impulse to pry the lid open before that float valve fully drops? Resist it. I know the aroma’s calling, but forcing it risks cracking the seal. These aren’t theoretical mistakes—they’re expensive lessons people learn once and regret forever.
Cancel Keep Warm Before Releasing Pressure?
Here’s the thing—you’ve got this little wrinkle with the Keep Warm setting that trips people up more often than you’d think, and it’s honestly worth a quick conversation because it changes how smoothly your entire release process goes. When your cooking cycle finishes, that Keep Warm function automatically kicks in unless you actively turn off the heating element first. I’d recommend hitting Cancel before you start your pressure release—whether you’re going quick or natural. This stops the timing indicator from continuing and prevents unnecessary power conserve cycles while you’re venting steam. Your menu navigation becomes clearer too. Basically, you’re giving yourself a clean slate and taking full control of what happens next instead of letting the pot decide for you.
Match Your Recipe to the Right Release Method
Now, different foods actually need different treatment when it comes to releasing all that built-up pressure, and matching your recipe to the right method is what separates a perfectly tender pot roast from one that’s somehow both mushy and tough—I’ve been there, and it’s not fun. Recipe pairing matters more than you’d think. Delicate proteins and vegetables benefit from quick release, which stops the cooking dead. Tougher cuts and grains? They want natural release, letting that residual heat work its magic. The intermittent method handles foam-prone foods like beans beautifully. Think about your desired texture adjustments before you hit that release valve. Your results depend on it, and honestly, paying attention here is where home cooks actually outshine the rest.
Frequently Asked Questions
Can I Use Cold Water to Quickly Stop Pressure Buildup in My Instant Pot?
No, I can’t recommend using cold water because it’ll cause cold shock and thermal stress to your pot’s components. You’ll risk seal damage and valve corrosion, permanently harming your Instant Pot’s functionality and safety.
How Long Does Natural Release Typically Take for Different Types of Food?
I’ll let your food settle gently—natural release typically spans five to thirty minutes. Pasta timing runs shorter, tough cuts need longer, seafood timing stays brief, and delicate vegetables require minimal waiting before you safely unseal that lid.
What Happens if I Open the Lid While Pressure Still Exists Inside?
If you open the lid while pressure’s still inside, you’ll risk serious steam burns and potential valve damage. The lid won’t release until the float valve drops, indicating all pressure’s released. Wait for that visual confirmation.
Should I Press Cancel Before or After Releasing Pressure From the Cooker?
I’d recommend you press cancel before releasing pressure. This stops the Keep Warm setting from continuing unnecessarily. The venting order doesn’t matter as much, but canceling first gives you better control over your cooking process.
Why Does Food Continue Cooking During Natural Release Method?
I’ve tested this, and here’s what’s actually happening: your food continues cooking because residual steam and trapped moisture create carryover cooking. The heat retention inside keeps temperatures elevated as pressure gradually decreases naturally.
Conclusion
I used to think all release methods were basically the same, just different speeds. Turns out I was wrong. Matching your release method to what you’re actually cooking—not just grabbing whatever’s fastest—genuinely changes your results. You’ll get better texture, fewer kitchen disasters, and honestly, you’ll feel more confident with your pot. That’s worth the extra thirty seconds of thinking it through.