As an Amazon Associate, we earn from qualifying purchases. Some links on this site are affiliate links at no extra cost to you. Our recommendations are based on thorough research and editorial judgment.

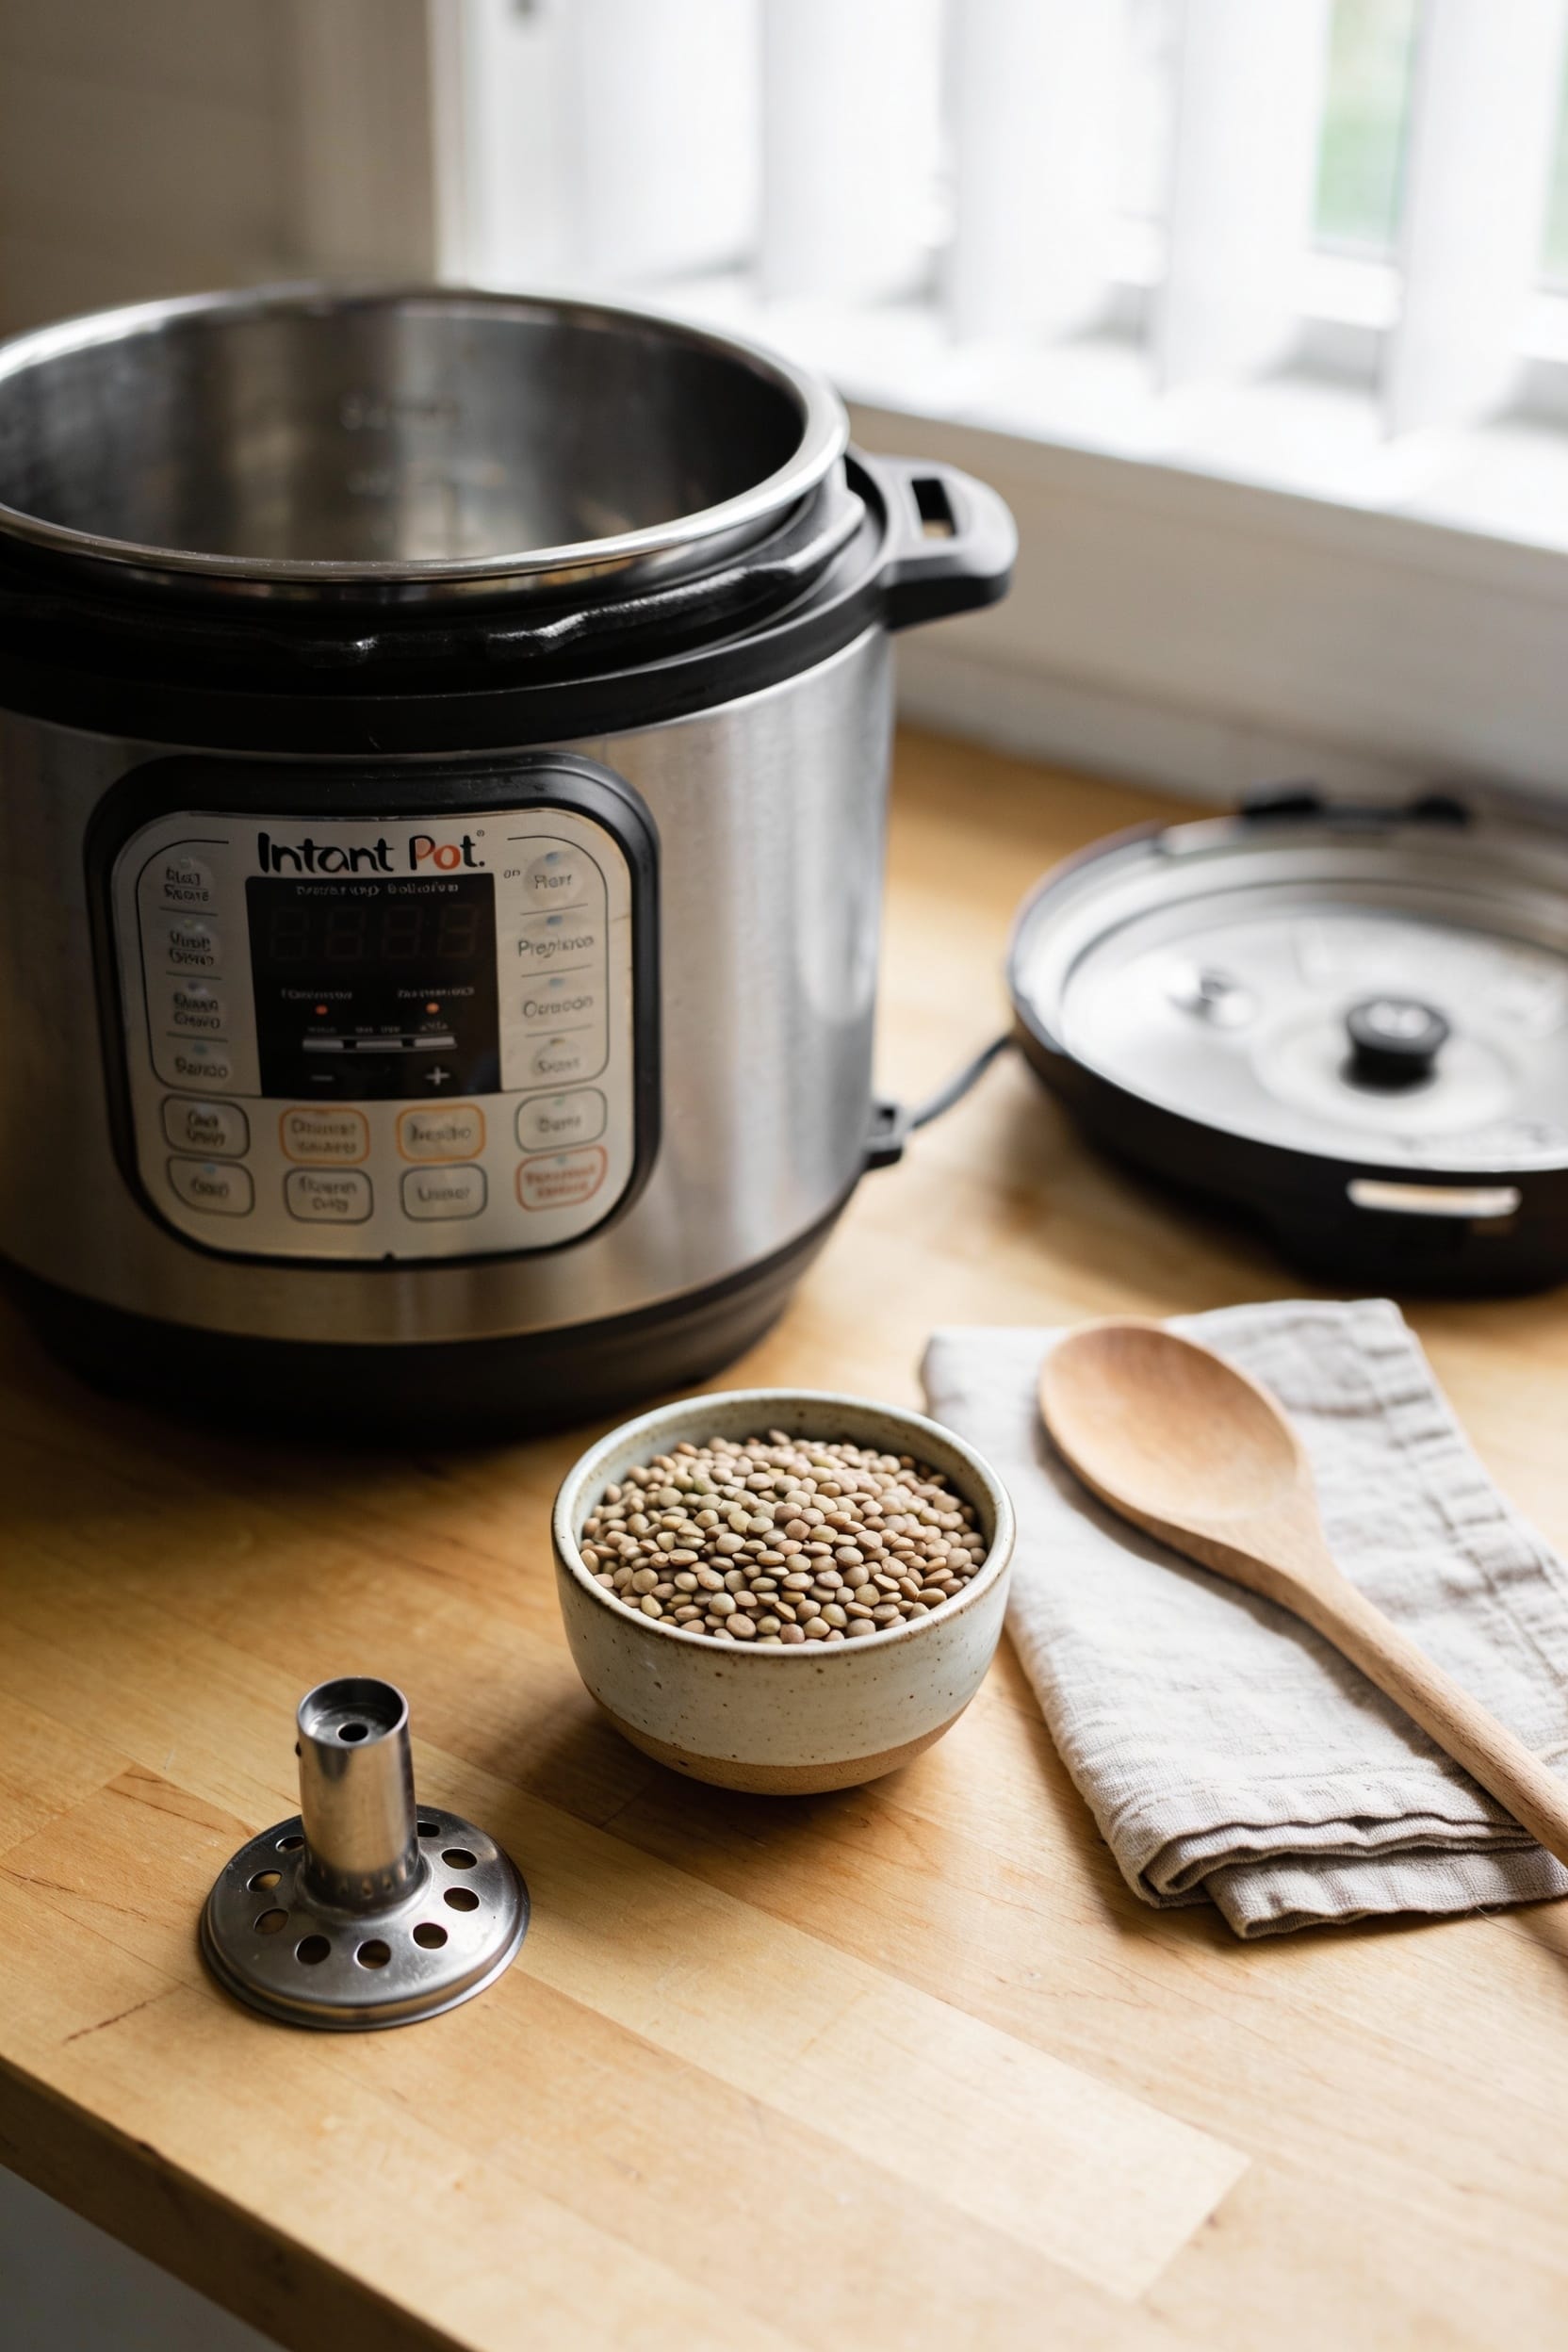
Instant Pot Buttons Explained: What Every Button Does

Look, your Instant Pot’s buttons aren’t as intimidating as they seem. You’ve got Keep Warm to halt things instantly, Pressure Cook for speed, Sauté for browning meat before cooking, and Adjust to tweak heat levels. High or low pressure depends on what you’re cooking—delicate seafood needs low, everything else goes high. Some models skip Slow Cook entirely, so check yours first. Stick around and we’ll walk through how these actually work together.
Key Takeaways
- Keep Warm/Cancel halts current functions with a single press and stops everything immediately without additional steps.
- Pressure Cook sets cooking time with +/- buttons; newer models may require an extra Start press after selection.
- Sauté offers three heat levels (More, Normal, Less) for browning meat and building flavor before pressure cooking.
- Adjust cycles temperature modes in Sauté and Slow Cook, ranging from approximately 190°F to 210°F.
- Pressure Level button selects high pressure for most recipes or low pressure for delicate items like seafood.
Pause, Stop, and Keep Warm: Take Control Anytime
Ever find yourself mid-cook wondering if you’ve got enough time to run to the bathroom without your dinner exploding?
That’s where the Keep Warm/Cancel button saves your sanity. Press it once and you’ll halt whatever’s happening—whether you’re sautéing, pressure cooking, or executing a manual pause mid-cycle. I love this button because it gives you total control without guilt.
Here’s the thing: after your cooking time finishes, the pot automatically switches to keep warm mode, and that warming timeout clock starts ticking upward. Your food stays at a safe temperature for hours, which is genuinely clutch when your partner’s running late. Need to stop everything immediately? One press and you’re done. No drama, no guessing games.
The Pressure Cook Button: Your Go-To for Fast Meals
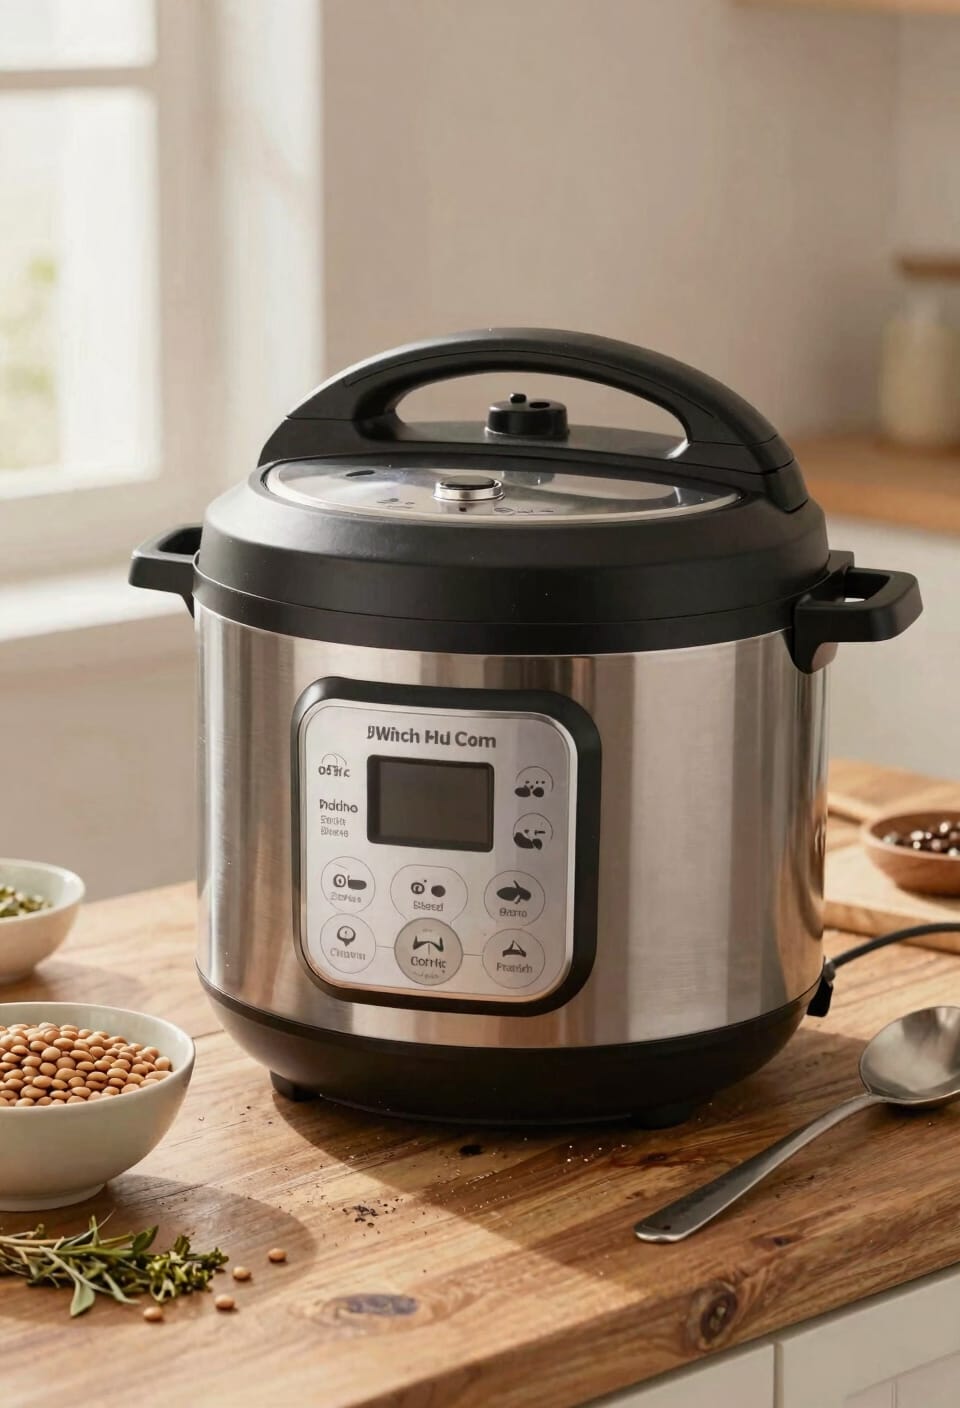
The Pressure Cook button—labeled “Manual” on older models, “Pressure Cook” on newer ones—is basically your golden ticket to dinner that doesn’t require you to plan ahead like some kind of organized adult. Here’s the thing: this is where the magic happens for quick weeknight meals. You press it, adjust your time with the +/- buttons, and the pot beeps to confirm it’s ready. Some newer models like the Duo Evo Plus need an extra Start button tap, but whatever. The real beauty? You’re cooking at high pressure, which means meal prep transforms from Sunday’s exhausting project into something genuinely manageable. Fast food, but make it homemade.
High or Low Pressure: Choosing the Right Setting
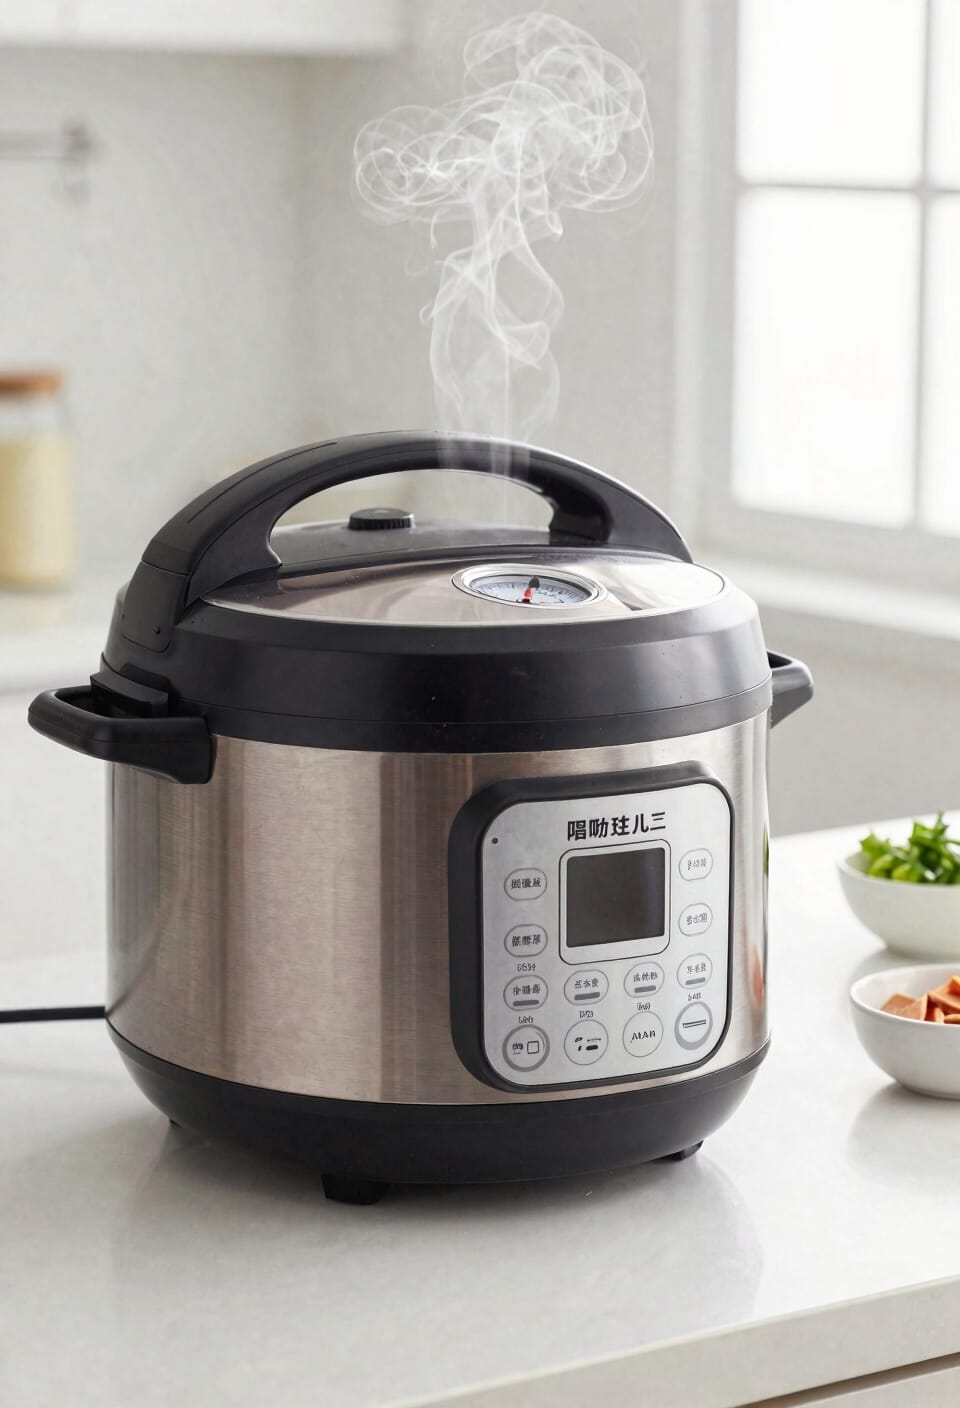
Once you’ve mastered the Pressure Cook button, you’ll run into a choice that sounds more complicated than it actually is: high pressure versus low pressure. Here’s the thing—I use high pressure for almost everything. It’s faster, it’s the standard for most recipes you’ll find, and it honestly just works better for recipe adaptation when you’re converting traditional stovetop meals into Instant Pot versions.
Low pressure? I reach for it rarely, mainly when I’m cooking delicate items like seafood or certain vegetables that’d turn to mush otherwise. Your pressure selection ultimately depends on what you’re cooking, but don’t overthink it. Start with high pressure. That’s where ninety percent of your cooking wins happen anyway.
The Sauté Button: Browning and Simmering Without the Lid
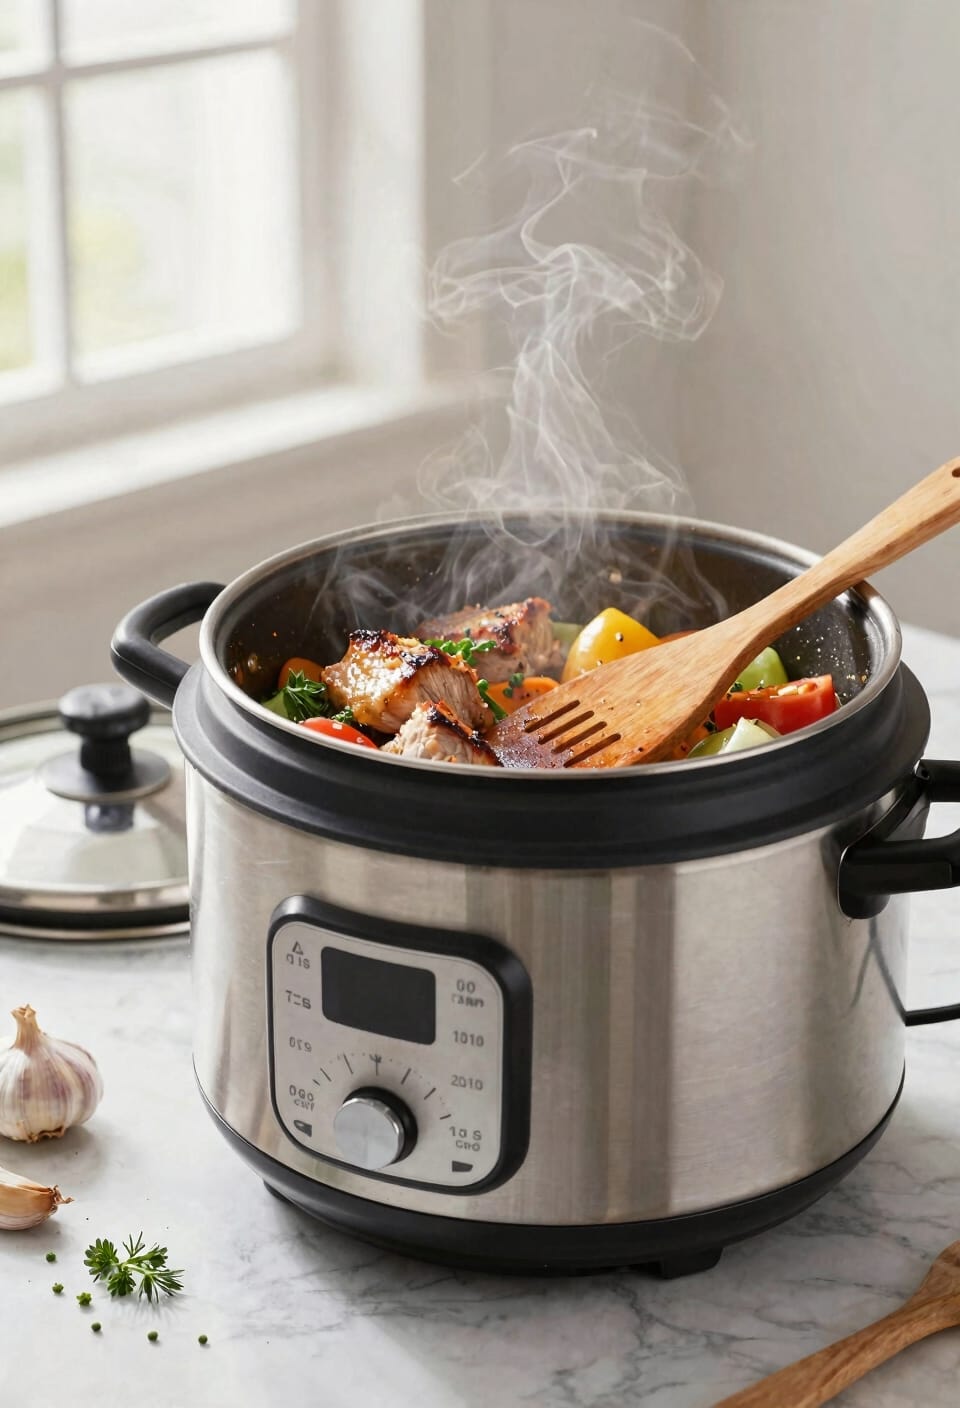
Moving from pressure cooking to the Sauté button is like discovering your Instant Pot has a whole other personality—one that actually lets you build flavor the way you’d do it on a stovetop. Here’s the thing: you’ve got three heat levels to work with. “More” gets your browning techniques dialed in for proper meat searing, “Normal” handles everyday sautéing, and “Less” keeps things gentle for simmering. I love using Sauté before pressure cooking to get a head start on flavor development. And those deglazing tips? After searing meat, pour in a splash of liquid and scrape up all those stuck bits—that’s liquid gold for your sauce. The 30-minute default timer works, but you can bail out whenever with Cancel.
The Adjust Button: Turn Up or Down the Heat
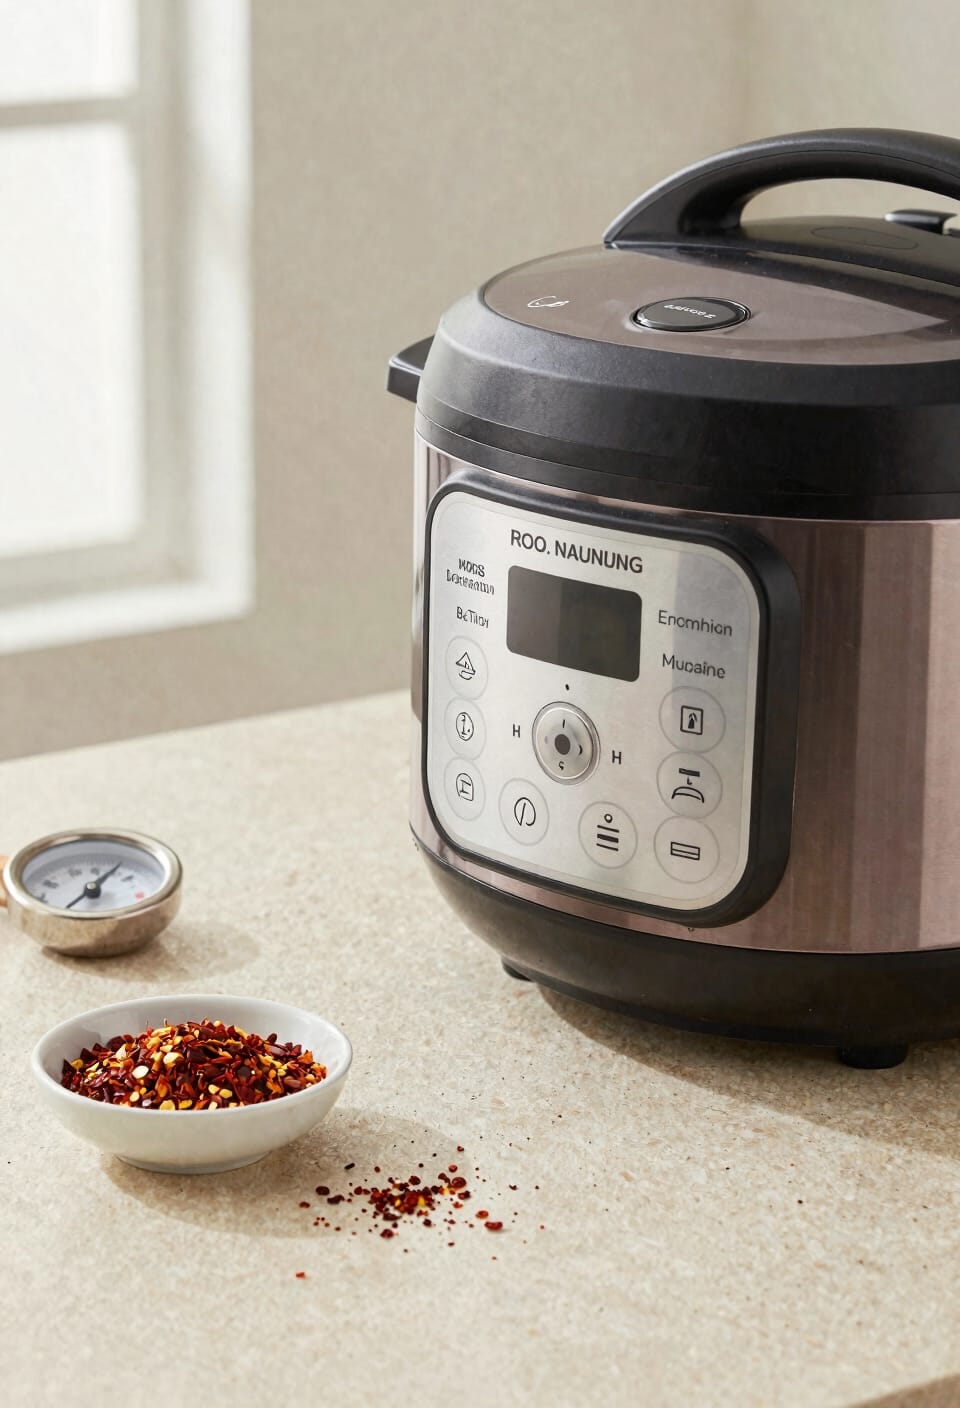
Now that you’ve got your sauté game locked in, here’s where I tell you that all those heat levels you just learned about? The Adjust button is your temperature control command center. Press it and you’re mode cycling through “Less,” “Normal,” and “More”—basically toggling between 190°F, 200°F, and 210°F depending on what you’re doing. In Sauté mode, it cranks your heat intensity up or down. In Slow Cook mode, same deal but with actual temperatures. I think of it as my heat negotiator. You’re not locked into whatever default the pot picked; you’ve got agency here. Need a gentler simmer? Hit “Less.” Want aggressive browning? Punch “More.” It’s simple, it’s responsive, and honestly, it’s where precision cooking actually happens on your Instant Pot.
The Slow Cook Button: Low and Slow Cooking
If you’ve ever wanted your Instant Pot to actually behave like a slow cooker—you know, the kind that sits on your counter all day while you forget about it and come home to something that smells like a dream—the Slow Cook button is your ticket. It defaults to four hours at normal temperature, around 200°F, but you’ve got flexibility. Use the Adjust button to dial in your preferred heat level: Less for 190°F, Normal for 200°F, or More for 210°F. The Plus and Minus buttons let you extend your time in 30-minute increments, perfect for low temperature braising or overnight cooking projects. It’s basically your pot becoming a traditional crockpot, minus the guilt about electricity usage.
Button Availability by Model: What You Have on Your Device
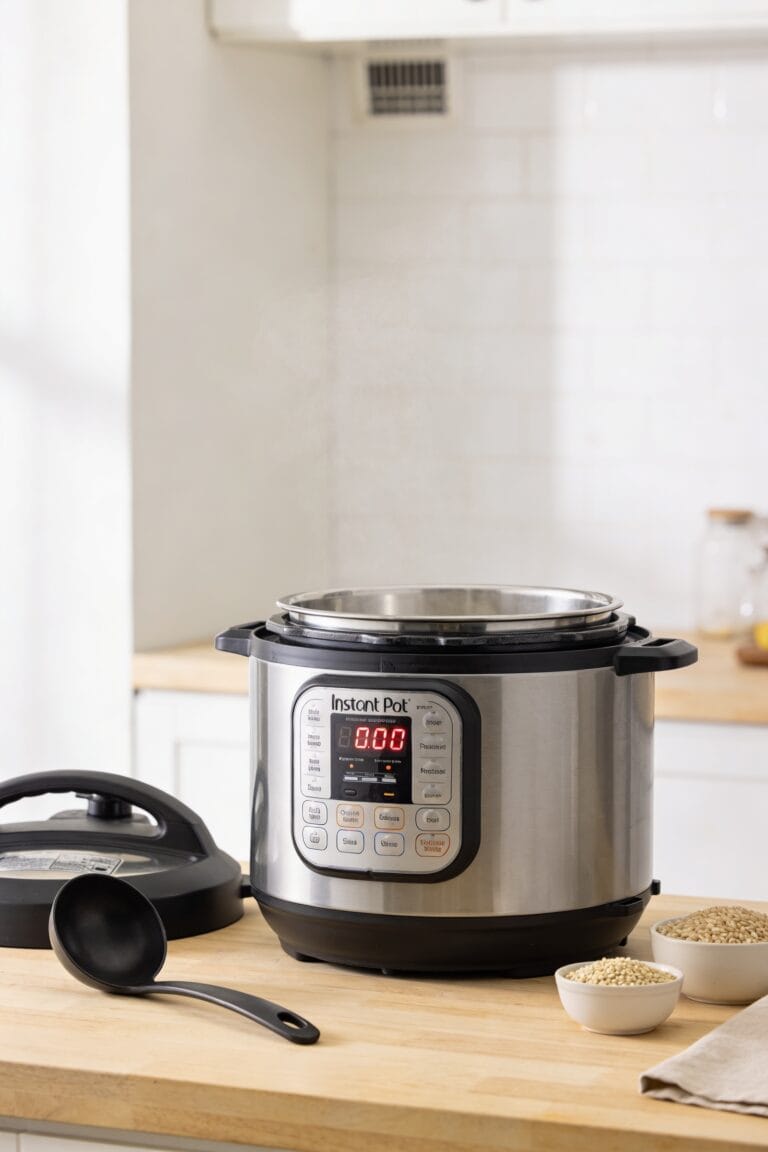
Not all Instant Pots are created equal, and that Slow Cook button I just got you excited about? Yeah, it’s not on every model. The LUX lineup ditches it entirely—no slow cooking function at all. You’re stuck with pressure cooking, which honestly, limits your flexibility. Model differences matter more than you’d think when you’re planning your kitchen setup. Before you buy, check what you actually need. The Pressure Level button? Gone on LUX models too, since they only do high pressure. Think about accessory compatibility as well—some older models have different port configurations that affect what extras you can add later. Know your specific model before you commit to recipes or buying accessories that won’t play nice with what you’ve got.
Sear and Pressure: Using Multiple Buttons Together
I’ll hit Sauté first, usually on “More” to get serious browning on meat. Once things are golden, I’ll cancel that function, then dive straight into Pressure Cook. This timing sequence matters because you’re building flavor before trapping steam.
The key to these layering techniques? Respecting what each button does independently, then combining them strategically. You’re not rushing—you’re actually saving time by front-loading the work. That’s how you stop making mediocre food and start making stuff worth eating.
Frequently Asked Questions
Can I Use the Sauté Button to Preheat the Pot Before Pressure Cooking?
Yes, I can use the sauté button to preheat your pot before pressure cooking. It’s useful for reaching pressure faster. However, I should monitor preheat safety closely and consider sauté alternatives if I’m concerned about overheating.
What Temperature Settings Correspond to Less, Normal, and More in Slow Cook Mode?
I’d recommend using “Less” at 190°F for delicate foods like fish, “Normal” at 200°F for most stews, and “More” at 210°F when you’re cooking tougher cuts. These low temp to high temp settings let you customize your slow cooking perfectly.
How Do I Adjust Cooking Time Using the Plus and Minus Buttons?
I’ll adjust time using the plus and minus buttons by pressing them to increment cooking duration in quick increments. You’ve got manual override control, and I can lock the display while adjusting to prevent accidental changes.
Is the Pressure Level Button Available on All Instant Pot Models?
No, it isn’t available on all models. I’d say roughly 80% of Instant Pots include this pressure toggle feature, but here’s the catch: LUX models don’t have it due to model variations that lock them exclusively at high pressure settings.
What Happens if I Press Keep Warm/Cancel During an Active Cooking Cycle?
If you press Keep Warm/Cancel during an active cooking cycle, I’ll immediately stop the cooking program. You’ll need to release the steam manually using the steam release valve before the safety lock disengages, allowing you to open the lid.
Conclusion
Now, mastering these buttons is like learning the hero’s journey—you start confused, fumble through a few meals, and eventually discover your own culinary superpower. Your Instant Pot transforms from intimidating gadget into trusted companion. You’ve got the tools; the rest is just showing up and cooking. That’s honestly where the magic happens, not in the buttons themselves, but in what you create with them.