As an Amazon Associate, we earn from qualifying purchases. Some links on this site are affiliate links at no extra cost to you. Our recommendations are based on thorough research and editorial judgment.

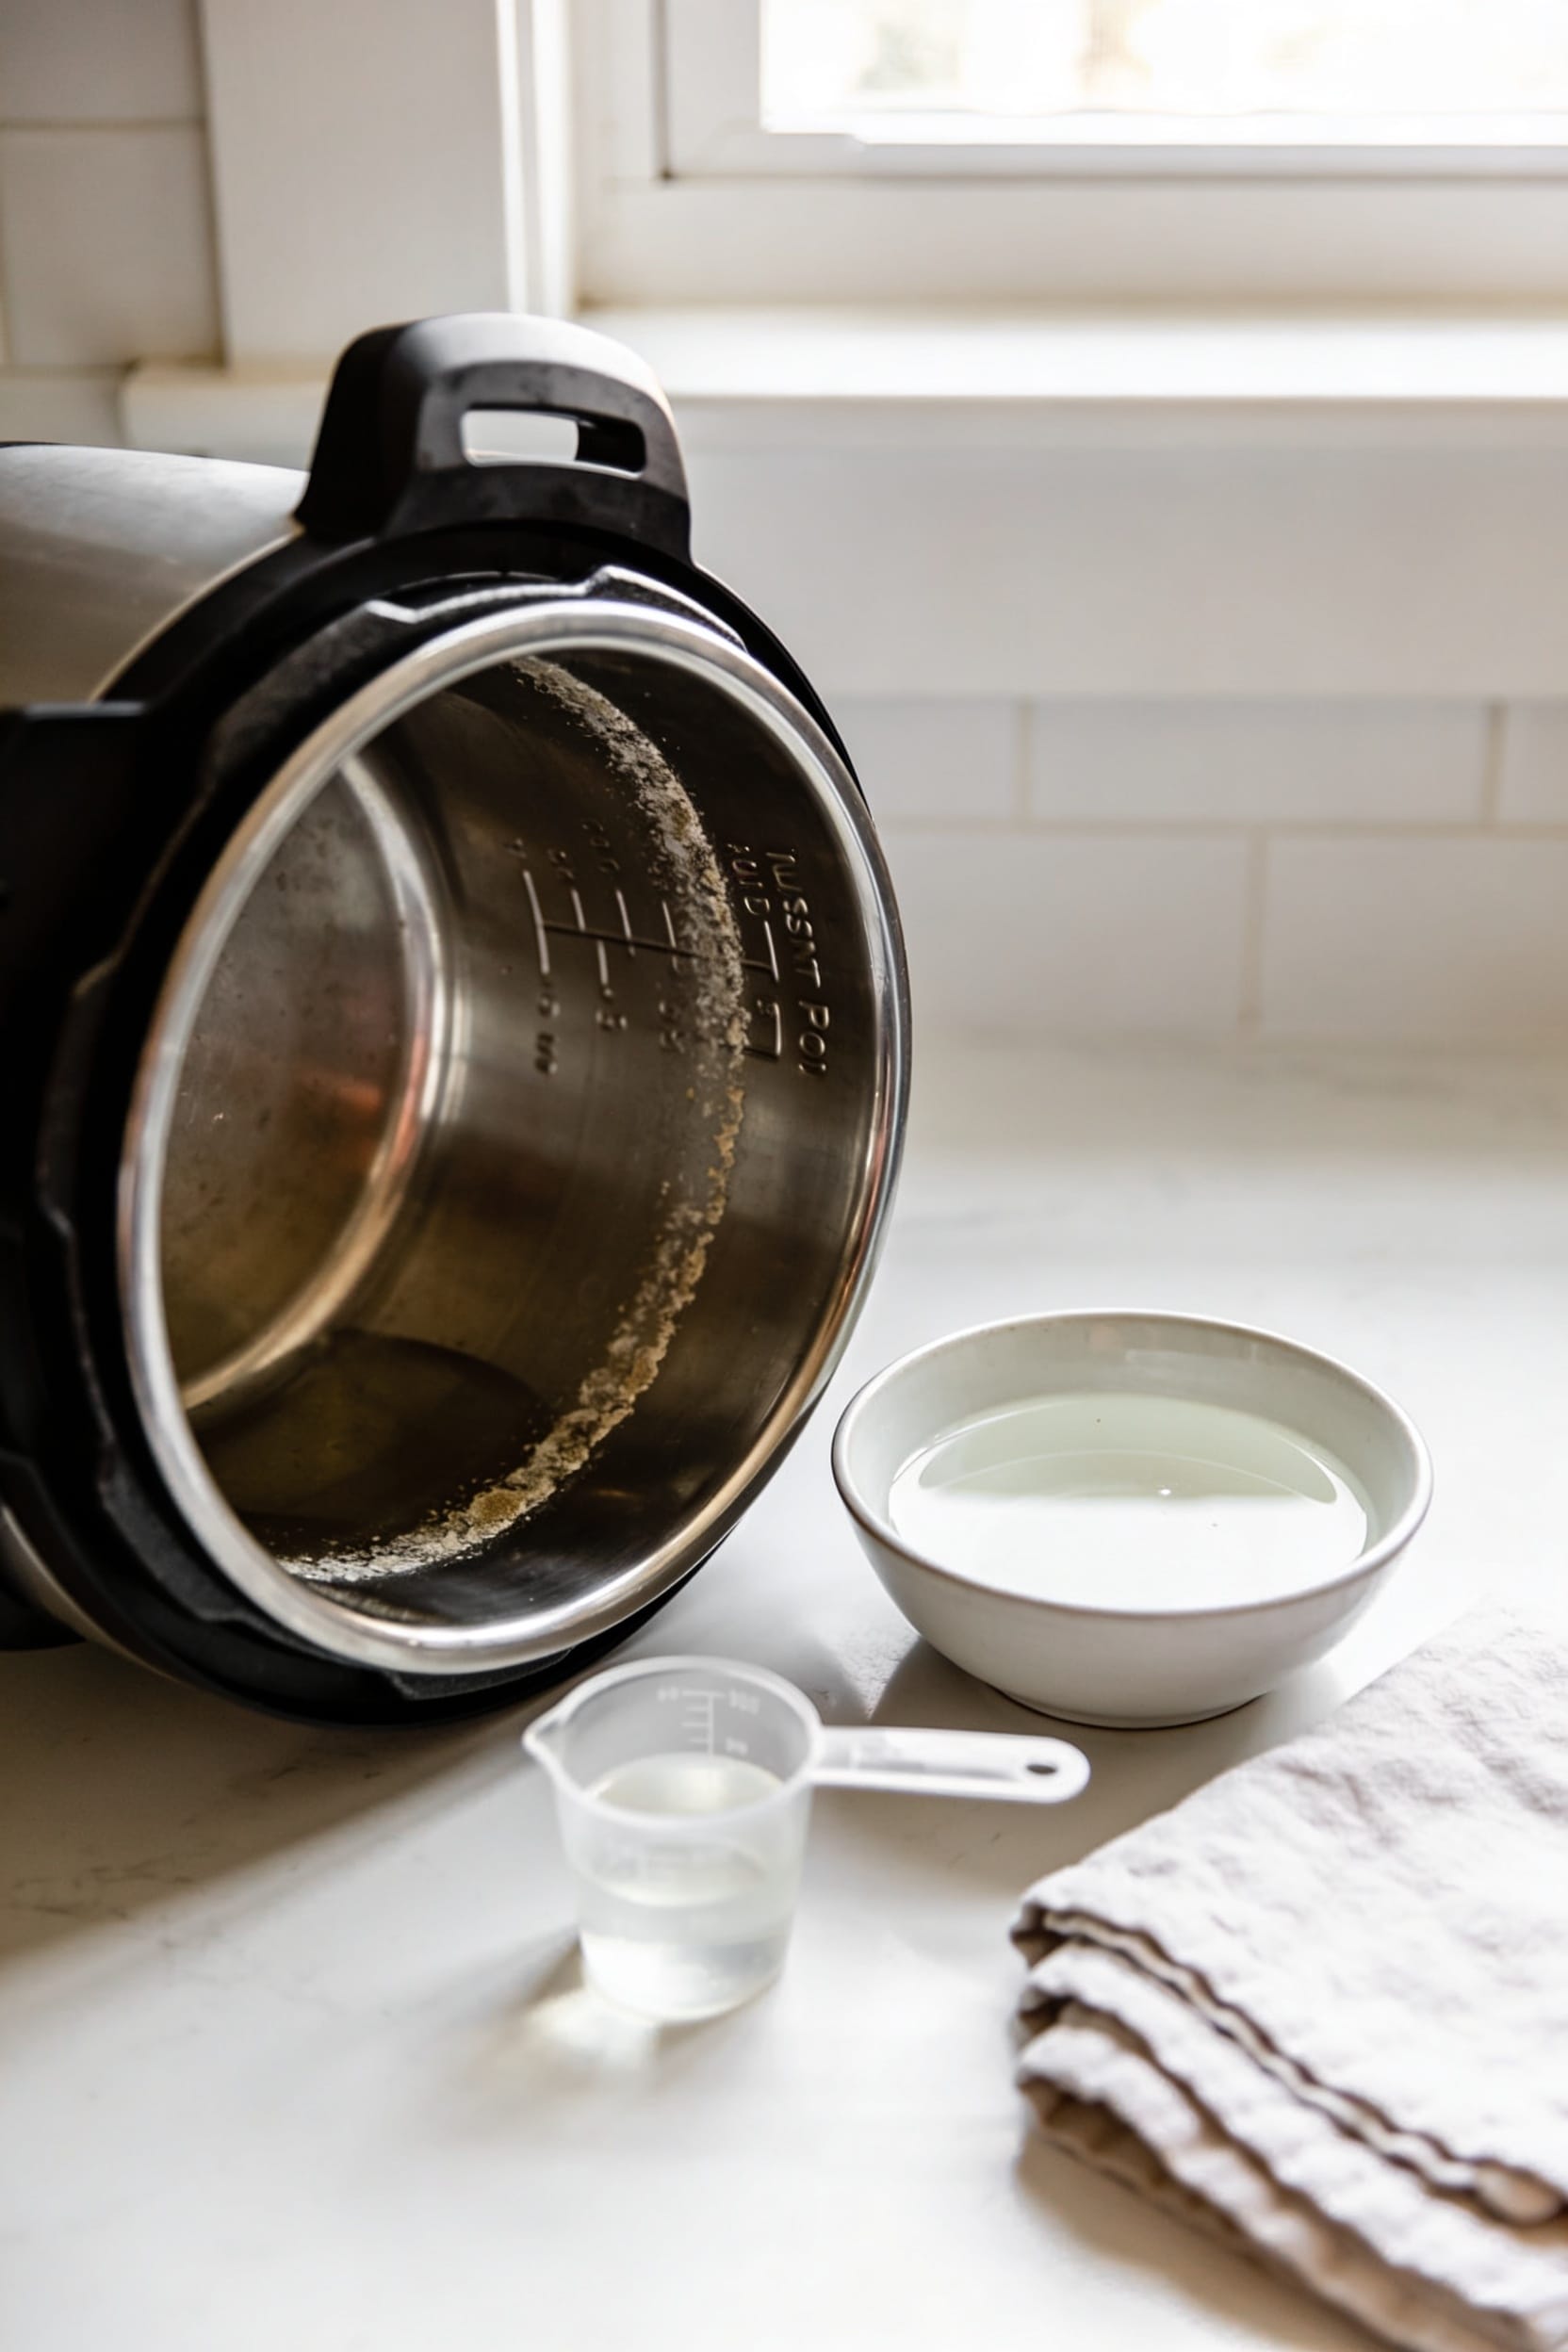
How to Descale an Instant Pot to Remove Mineral Buildup

All right, here’s the thing—mineral buildup in your Instant Pot’s heating chamber slows everything down and weakens your brew, but you can fix it in under thirty minutes. Mix equal parts white vinegar and water, hold down both brew buttons for three seconds to enter descale mode, then let the solution pump through completely. Refill with plain water and run one or two rinse cycles until the clean light turns off. Your machine’ll be back to speed, and I’ve got the specifics on what to do if things get stuck.
Key Takeaways
- Use white vinegar or citric acid mixed with water to break down mineral scale buildup effectively.
- Fill the tank halfway with equal parts vinegar and water solution for optimal descaling results.
- Activate descale mode by holding brew buttons simultaneously for three seconds until clean light confirms.
- Run the vinegar solution through completely, then refill tank and execute one or two rinse cycles.
- Descale every four to seven months, or more frequently in hard-water areas to prevent buildup.
Why Your Instant Pod Needs Regular Descaling
Weaker flavor, longer wait times, and a machine that’s working harder than it needs to—that’s what happens when mineral scale builds up inside your Instant Pod. Look, I’m not trying to scare you, but hard water deposits accumulate on the heating chamber and internal tubing over time, causing flow restriction that slows your brew cycles and tanks the temperature consistency. This flavor degradation sneaks up on you. Your coffee tastes flat or off, and you’re sitting there wondering what went wrong with the beans. Here’s the thing: your machine’s literally fighting against its own plumbing. Regular descaling prevents all this. You’re basically flushing out the mineral gunk that’s choking your brewer, restoring both speed and that crisp, hot-water output you actually want. It’s preventive maintenance that takes less than thirty minutes and genuinely extends your machine’s life.
When to Descale: Recognize the Clean Light Signal
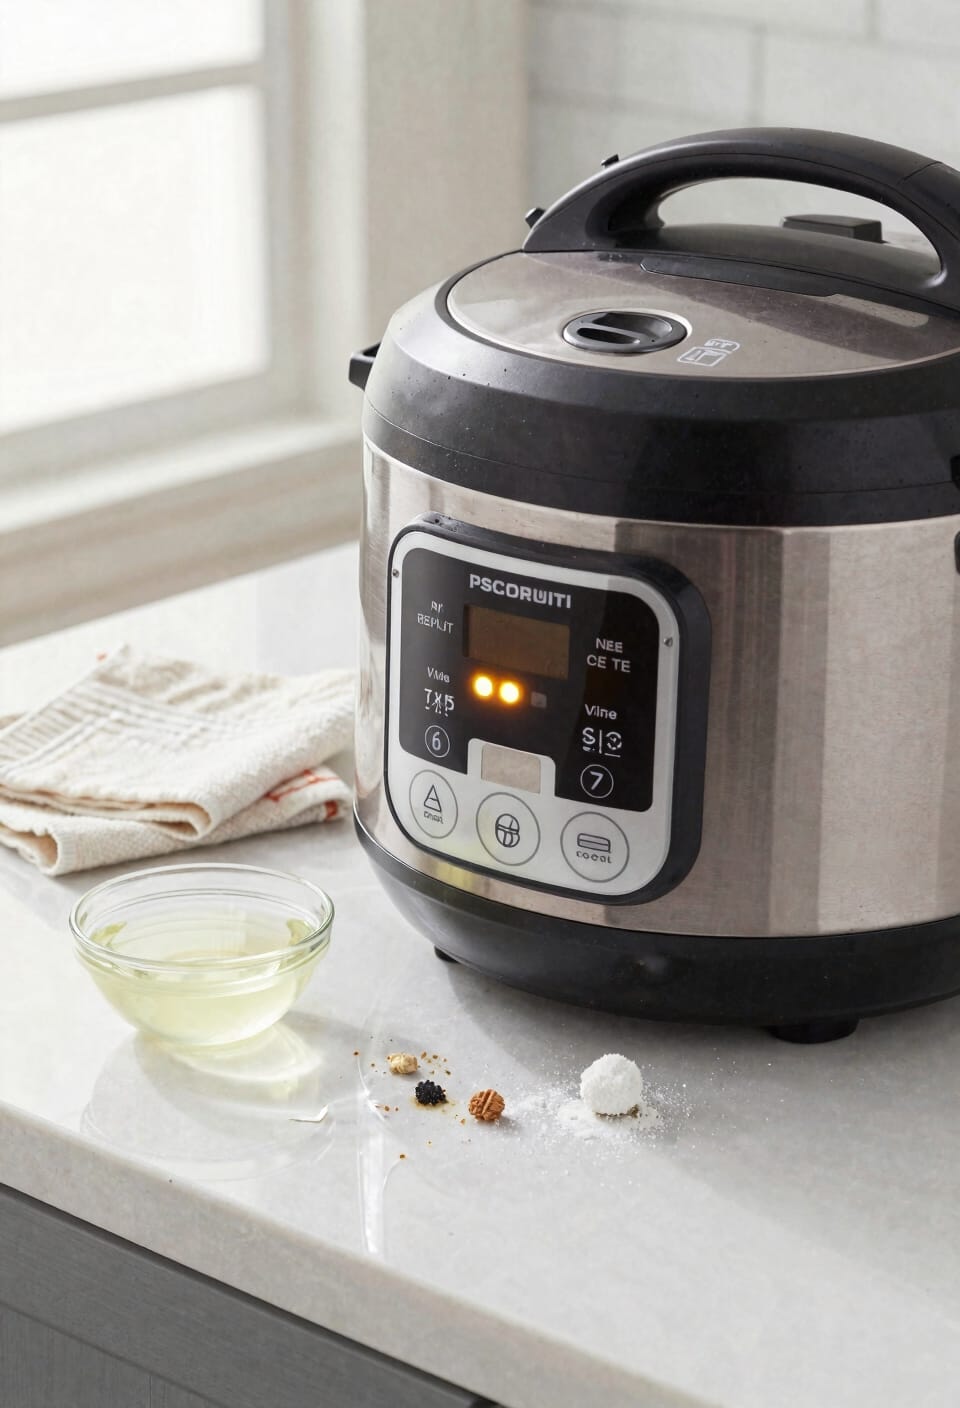
Most of the time, your Instant Pod‘s going to tell you exactly when it needs descaling—you just have to know what you’re looking at. After roughly 300 brew cycles, the indicator lights start flashing. On newer models, you’ll spot a dedicated clean light instead of (or alongside) those blinking brew buttons. The light placement varies depending on your model, but once you know where to look, it’s unmissable. Here’s the thing: you don’t have to wait for that signal. Even without a flashing light, descaling every four to seven months keeps things running smoothly. In hard-water areas, bump that down to four or five months. Watch for slower brew times or weaker heat output too—your machine’s telling you something before the indicator lifespan expires.
Choose Vinegar or Citric Acid: What You’ll Need
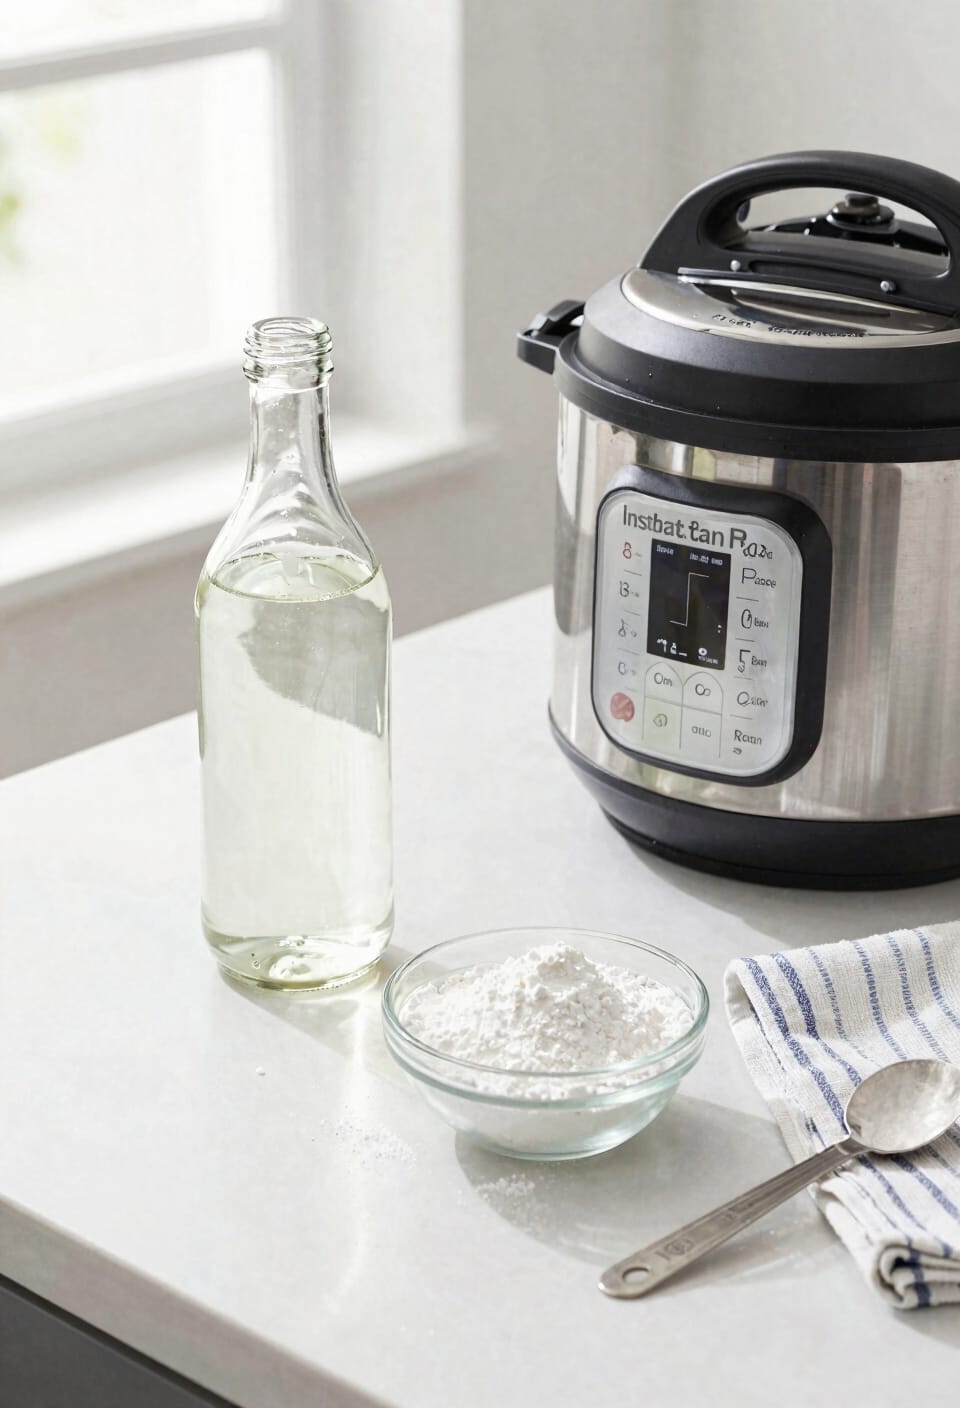
Grab either white vinegar or citric acid—both work equally well for breaking down mineral scale, and your choice mostly comes down to what you’ve already got sitting in your pantry. I’m partial to white vinegar because it’s cheap, effective, and honestly, most of us have a bottle hanging around anyway. Citric acid powder works great too if you’re in a hard-water area or prefer something less pungent. The ratio’s straightforward: mix equal parts white vinegar and water, filling about half your tanking If you’re going the citric acid route, just follow whatever label instructions came with the product. Either way, you’ll want to grab a carafe or pitcher to catch what comes out the brew nozzle—it’ll be hot and vinegary.
Enter Descale Mode With a 3-Second Button Hold
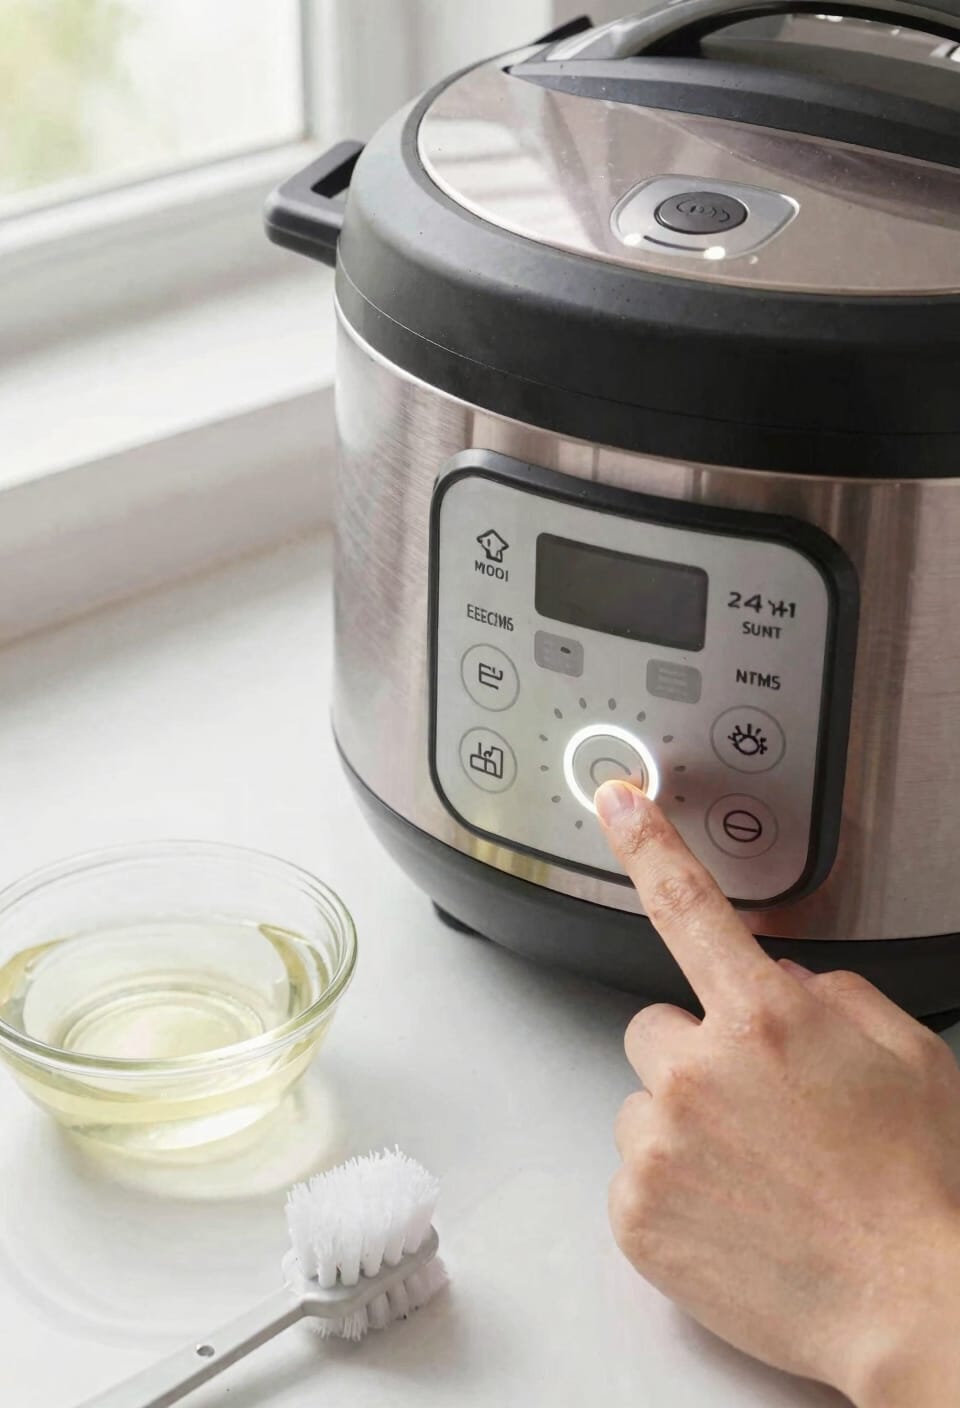
Now that you’ve got your vinegar-water mix ready to go, it’s time to actually tell your coffee maker you mean business. Power on the machine, then locate those 10-ounce and 12-ounce brew buttons—you’ll hold them down simultaneously for about 3 seconds. Don’t overthink the button sensitivity here; you’re just looking for a deliberate press, not a death grip. Once you’ve held them long enough, watch for the LED feedback: your clean light will turn solid or start cycling, signaling descale mode is active. That’s your green light to start the cycle. The machine will now pump your vinegar solution through the brew path exactly like it’s making coffee, except everything’s getting flushed into a pitcher instead of your mug. You’re officially in business.
Run the Vinegar Solution Through Your Brew Path
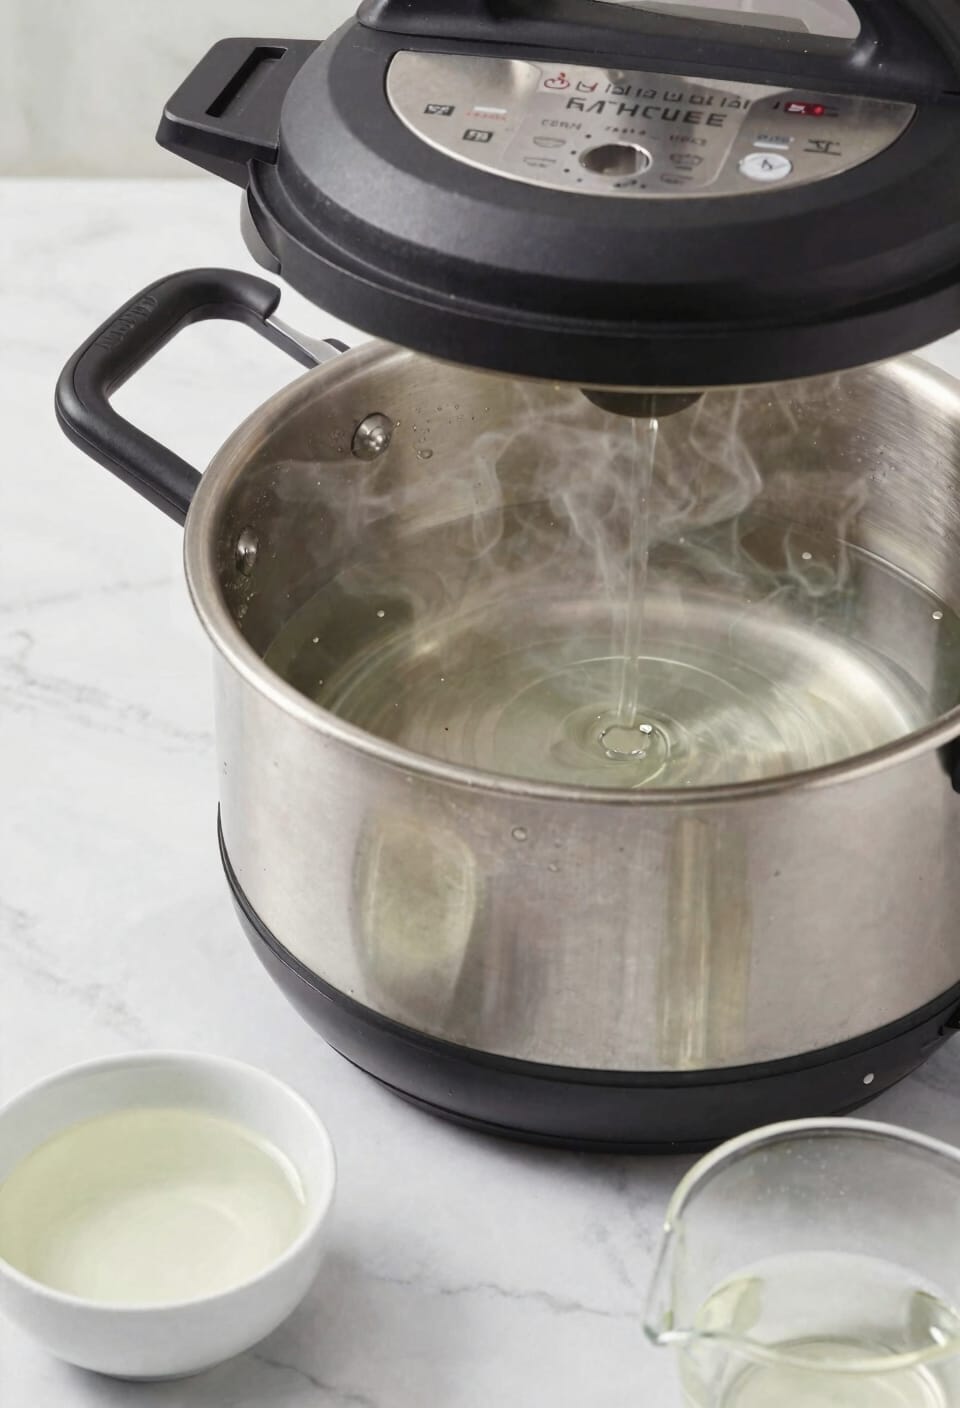
With your machine humming away in descale mode and that clean light doing its thing, you’re ready to let the vinegar-water solution work its magic through the system. Now here’s where the actual mineral removal happens. That vinegar-water mix you’ve got sitting in the tank will pump through your brew pathway exactly like a normal coffee cycle would, dissolving scale buildup from the internal heater and tubing as it goes. Place a container or carafe underneath the nozzle—you don’t want this stuff splashing everywhere. The solution dispenses hot, so watch your fingers. This whole cycle takes maybe 10 to 15 minutes. Just let it run until the tank empties. Don’t interrupt it unless something goes sideways.
Rinse Away Vinegar Taste With Fresh Water
Once that vinegar solution‘s run through the system, you’re not quite done yet—and I know it’s tempting to just brew a cup and call it a day, but trust me, you don’t want your coffee tasting like a salad.
Now here’s the thing: you need to rinse with fresh water to achieve flavor neutrality. Fill your tank with plain water, hold those brew buttons again to enter descale mode, and let it run through completely. This taste removal process takes another cycle or two, depending on how much vinegar you used.
I’d actually recommend doing it twice if you want to be thorough. Your future self—the one drinking tomorrow’s coffee—will thank you.
Exit Descale Mode and Confirm It’s Complete
After you’ve run through those rinse cycles and your machine smells more like a coffee maker and less like a pickle jar, it’s time to actually get out of descale mode—because leaving it running indefinitely won’t brew you anything useful, and honestly, it’s a bit like leaving your oven on after dinner. Press either the 10-ounce or 12-ounce button, or hit the power button, until those flashing lights stop their annoying dance and the machine returns to normal operation. Now here’s where light diagnostics matter: that clean light should turn off completely. If it’s still hanging around like an unwanted houseguest, you’ll want to refill the tank with plain water and repeat the rinse cycle once more. An indicator reset like this confirms your descaling’s actually done.
Adjust Your Descaling Schedule by Water Hardness
Now, here’s the thing: not all water is created equal, and your descaling schedule needs to know that. If you’re living somewhere with hard water, you’ll want to descale every four to five months instead of stretching it to seven. Your machine’s working harder against mineral buildup, so it needs more frequent attention.
Usage frequency matters too. If you’re brewing multiple cups daily, you’ll hit that 300-cycle threshold faster, meaning the clean light flashes sooner and descaling becomes more urgent. Meanwhile, if you’re a casual brewer making coffee a few times weekly, you’ve got more wiggle room between cycles.
Check your local water report if you’re unsure about hardness levels. Hard water regions demand respect—give your machine what it needs, and it’ll keep delivering consistently good coffee.
What to Do If Your Machine Gets Stuck During Descaling
If your machine quits pumping midway through a descaling cycle—whether the solution just stops flowing or the clean light gets stuck on an endless loop—don’t panic; this happens more often than you’d think, and it’s usually fixable. First, try a power‑cycle recovery: unplug the machine for thirty seconds, then plug it back in and restart descale mode by holding the 10‑ and 12‑ounce buttons again. Often that resets whatever’s jammed internally. If it happens again, you might have mineral buildup blocking the pump itself. Run plain water through instead and let it cycle fully. Still stuck? That’s when a service‑center referral makes sense—something deeper’s probably wrong with the heating chamber or internal tubing.
Frequently Asked Questions
Can I Use Regular Tap Water Instead of Distilled Water for Descaling My Instant Pod?
Yes, I’d recommend using regular tap water instead of distilled water for descaling. While tap water’s mineral content and water hardness won’t harm your Instant Pod, distilled water’s lack of impurities makes it slightly more effective for removing scale buildup.
How Long Does the Descaling Process Typically Take From Start to Finish?
I’d say you’re looking at less than 30 minutes for the total duration. The descaling and rinse cycles combined make up your time estimate, though it depends on your machine’s water flow and tank size.
What Should I Do if Vinegar Smell Persists After Completing the Rinse Cycle?
If I’m still detecting vinegar odor after rinsing, I’ll run one or two additional full-tank water cycles through the machine. Then I’ll leave it unplugged and air drying with the reservoir removed for several hours to eliminate residual vinegar smell completely.
Is It Safe to Descale My Machine More Frequently Than the Recommended Schedule?
Yes, it’s safe. Think of descaling as preventive medicine—more frequent cleaning won’t hurt your machine. I’d recommend it if you’ve got hard water. However, check your warranty concerns first. More frequent descaling actually extends your appliance lifespan.
Can I Use Descaling Solutions From Other Single-Serve Coffee Makers on My Instant Pod?
I’d recommend sticking with vinegar or citric acid since manufacturer compatibility isn’t guaranteed with commercial cleaners from other brands. Your Instant Pod’s internal system may respond differently to solutions designed for competing single-serve brewers.
Conclusion
Look, descaling your Instant Pot isn’t glamorous, but it’s the difference between a machine that hums along beautifully and one that slowly chokes on its own mineral buildup. I’ve watched too many perfectly good pots die this way—suffocated by neglect. Give yours a little love with vinegar every few months, and you’ll keep that workhorse running like the dependable kitchen companion it deserves to be.