As an Amazon Associate, we earn from qualifying purchases. Some links on this site are affiliate links at no extra cost to you. Our recommendations are based on thorough research and editorial judgment.
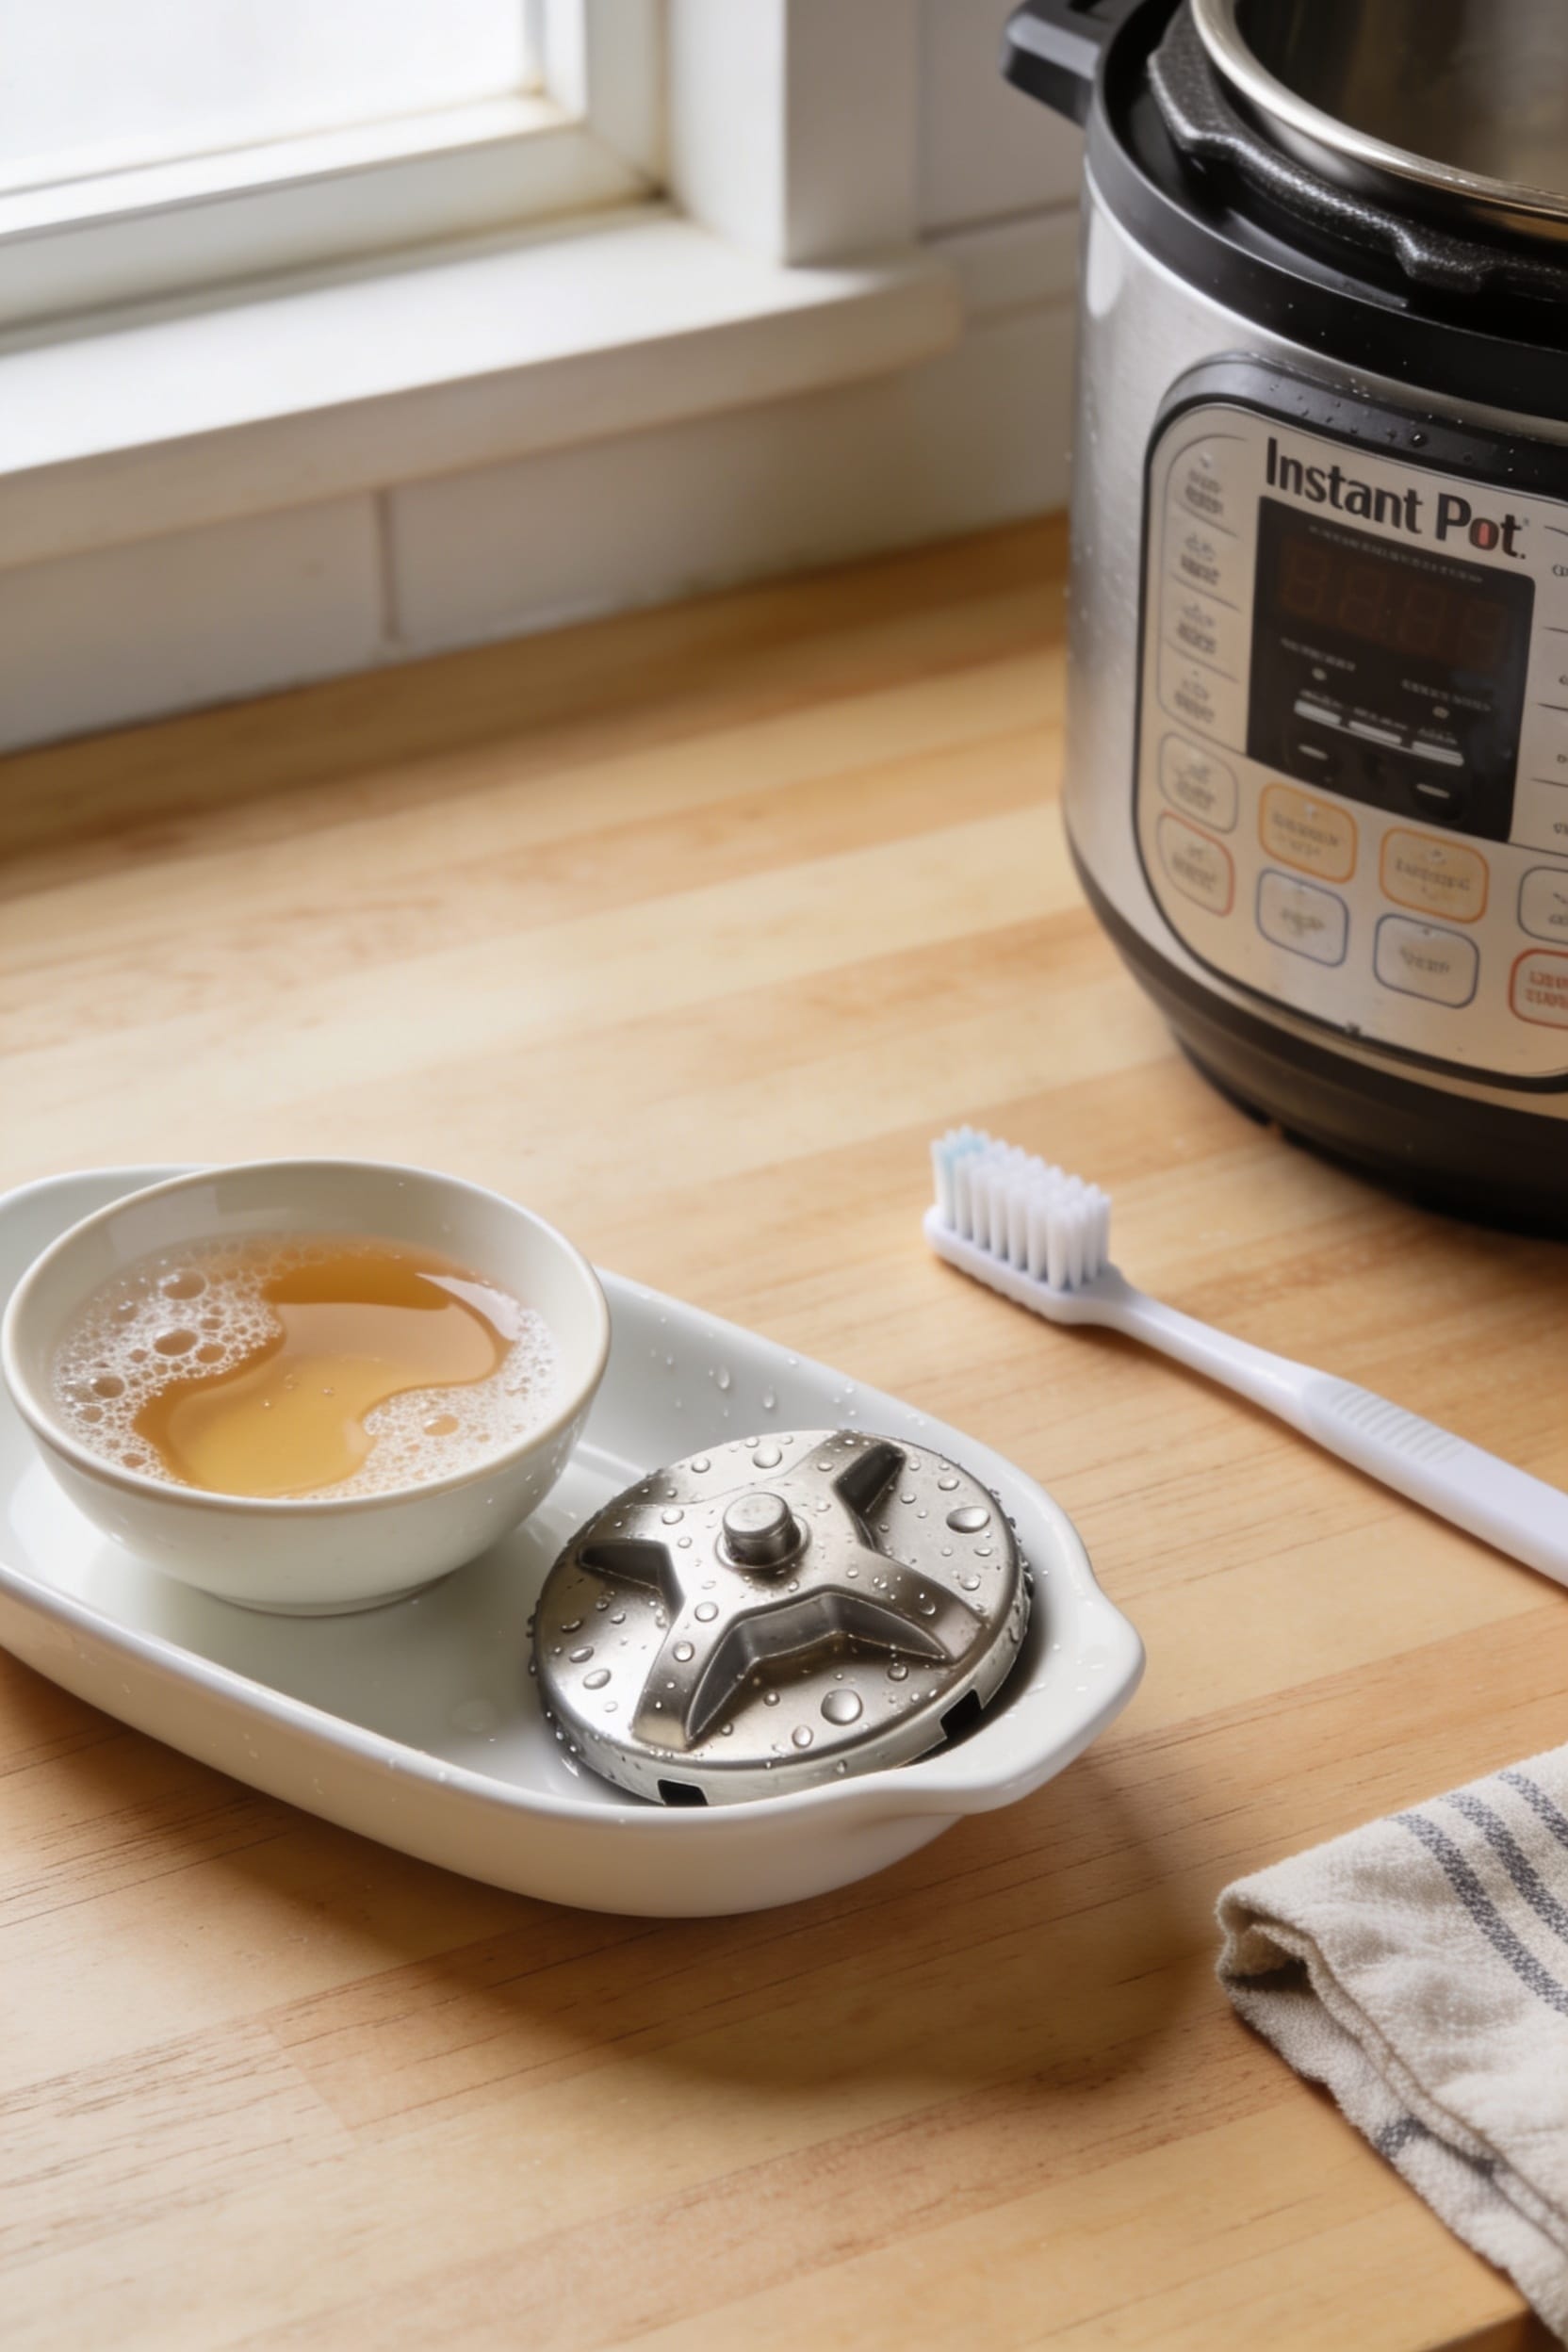
How to Clean the Instant Pot Steam Release Valve
Look, your Instant Pot’s steam release valve gets gunked up with food particles and grease, which tanks your pressure tests. Pull the valve straight off, remove the anti-block shield and float valve next, then wash everything with warm soapy water—use your fingernail on stubborn buildup in the crevices. Dry completely, slide the valve back on, and run a quick pressure cycle to listen for smooth hissing. Five minutes of maintenance after every use prevents this headache, but there’s more to know about keeping those parts aligned properly.
Key Takeaways
- Visually inspect the steam release valve, float valve, and anti-block shield for food particles, grease, or debris buildup.
- Disassemble components methodically: pull steam release valve straight off, lift anti-block shield, then remove float valve with controlled pressure.
- Rinse all valve parts with warm soapy water using microfiber mitts; scrub crevices gently and avoid abrasive materials on silicone.
- Dry all parts completely with a soft cloth, ensuring the sealing ring is dry before reinstalling components in reverse order.
- Run a pressure check with water to verify smooth steam flow; clean the valve after every use to prevent future blockages.
Inspect Your Valve for Blockages and Buildup
Since you’ve got all those removable parts sitting in front of you now, this is where you actually *look* at what’s been going on in there—and trust me, it’s usually more interesting than you’d think. Do a visual inspection of the steam release valve, the float valve, and that anti-block shield. You’re hunting for food particles, grease buildup, or debris that’s decided to make a home in there. Hold each piece up to the light if you need to—don’t be shy about it. These blockages are sneaky saboteurs that’ll tank your pressure testing results faster than you can say “undercooked rice.” Check those crevices where stuff loves to hide. If anything looks stuck or crusty, you’ve found your culprit.
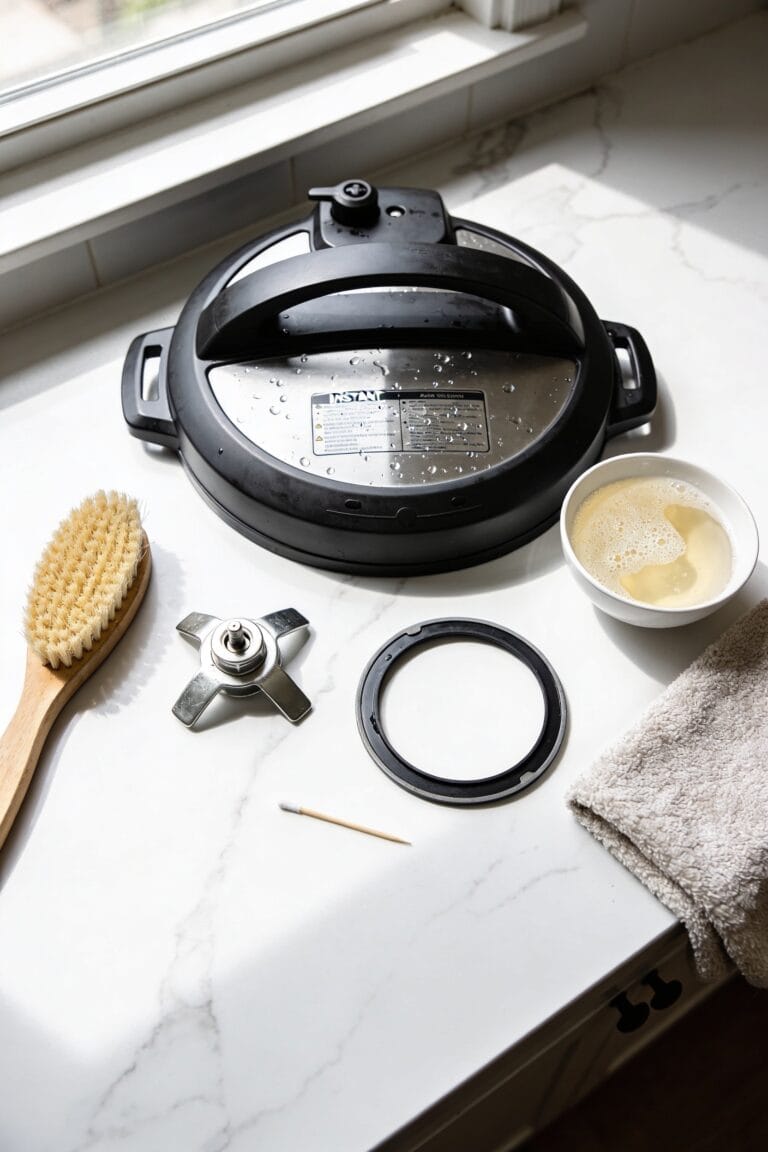
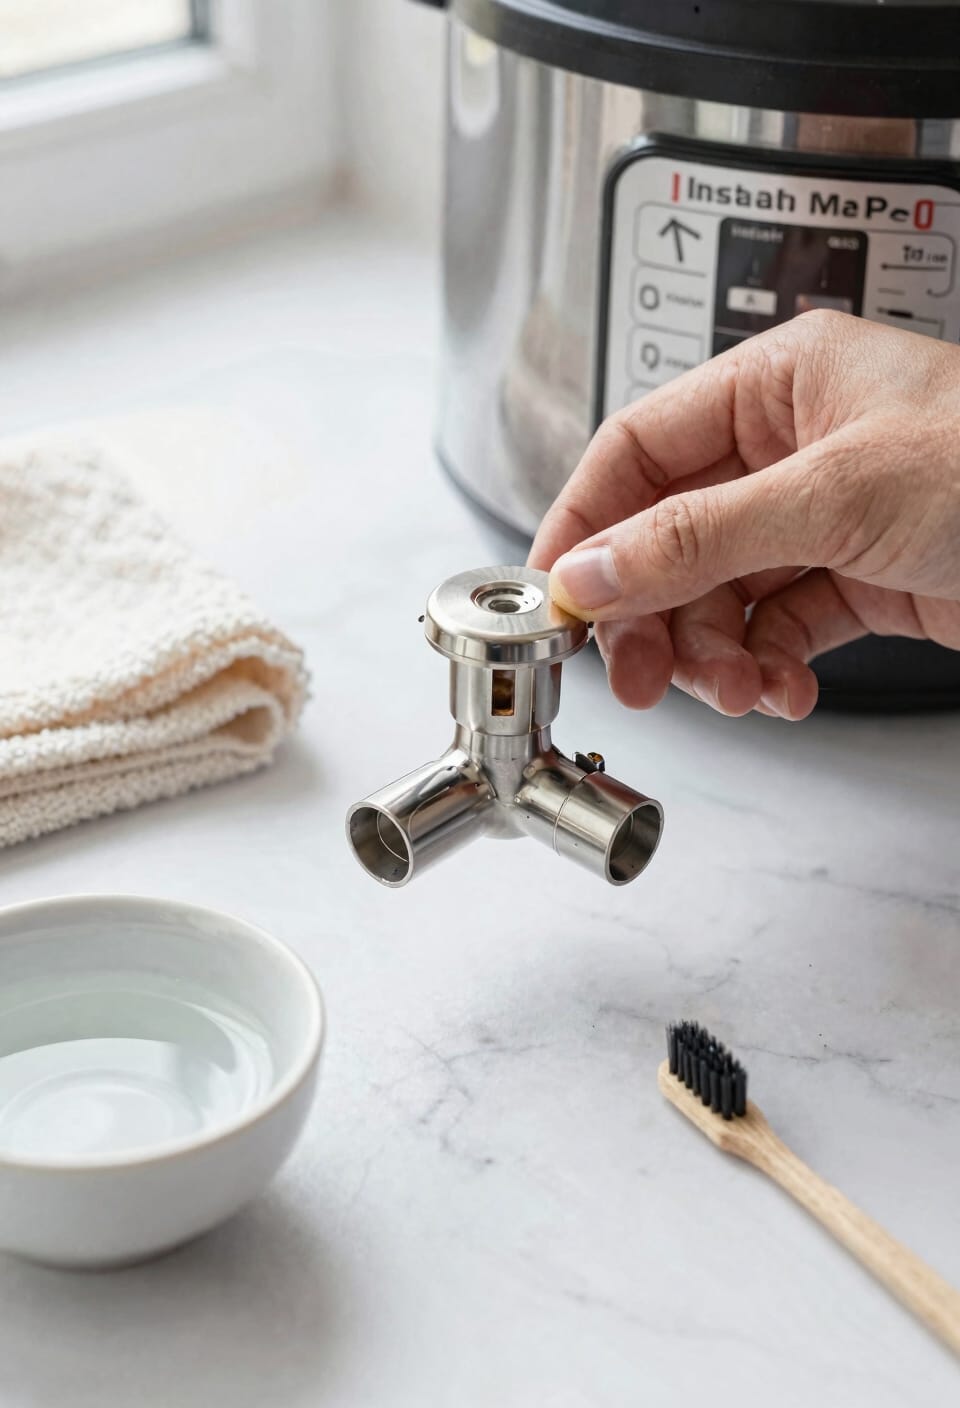
Remove Steam Release Valve Components in Order
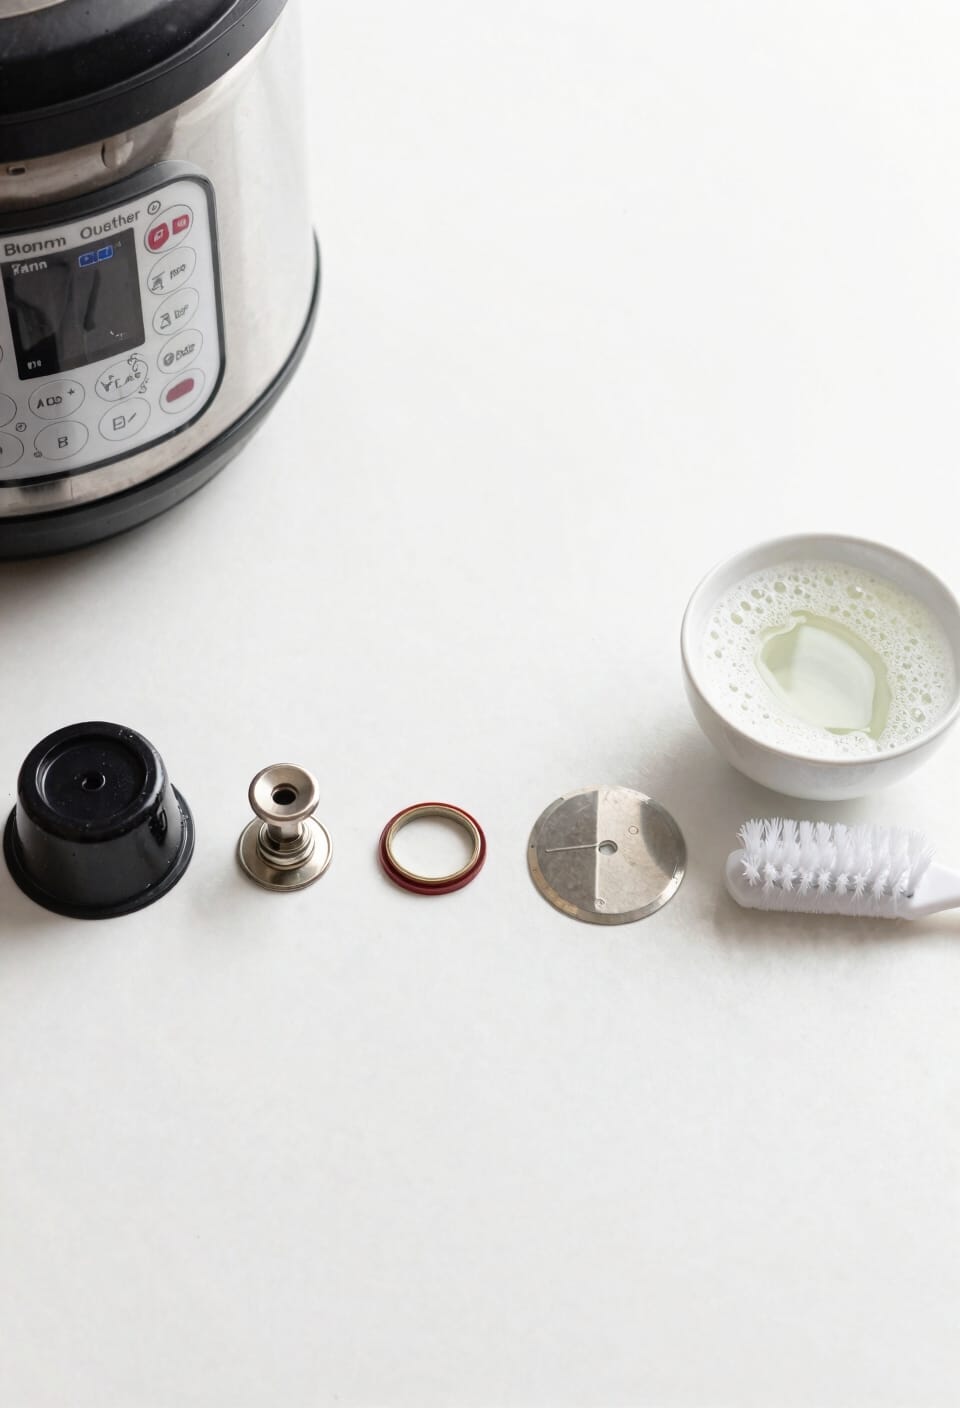
Now that you’ve spotted the troublemakers lurking in your valve assembly, it’s time to actually take this thing apart—and I promise it’s easier than it looks. Start by pulling the steam release valve straight off your lid removal process. Next, tackle the anti-block shield by applying steady pressure and lifting it away. Here’s where most people get tripped up: grab that silicone cap and lift the float valve from the front side. Don’t yank it—just a firm, confident lift does the trick. Finally, the steam release cover slides out for closer inspection. Work methodically through these steps and you’ll have everything disassembled without wrestling any stubborn parts. Take your time. This isn’t a race.
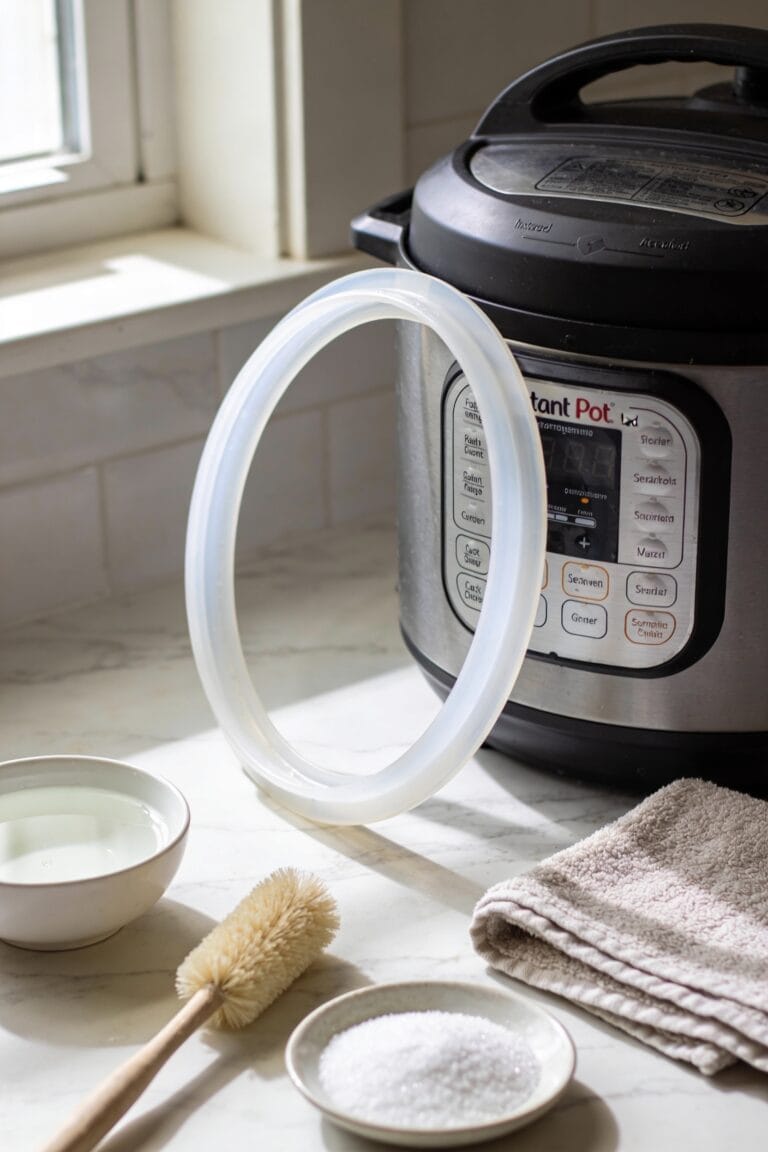
Wash and Scrub Each Part Safely
With all your valve parts laid out on the counter, you’re ready for the cleaning phase—and this is where you actually restore these components to working order. Start by running warm soapy water over everything, paying special attention to that anti-block shield where food loves to hide. I use microfiber mitts for a better grip on slippery parts. For stubborn buildup, gentle abrasives work wonders—just grab a soft dishcloth and scrub those crevices with your fingernail. The float valve needs extra care since it’s delicate. Skip anything abrasive that might scratch or damage the silicone components. After scrubbing, rinse thoroughly under running water until soap’s completely gone. You’ll know you’re done when nothing feels sticky.
Dry Everything Completely Before Reassembling
Moisture is the enemy of a properly functioning Instant Pot, so I can’t stress enough how important this step is—you’d be surprised how many people skip it and then wonder why their valve sticks or their lid won’t seal right. I always wipe every part with a soft cloth, paying special attention to that sealing ring since it needs to be completely dry before you reinstall it. Your cooker’s base gets wiped too if it picked up any dampness during cleaning. Here’s the thing: I place the lid upside down while everything air-dries, which prevents odors and improves airflow checks. Good storage practices matter here—make sure nothing’s damp before you reassemble, or you’re asking for trouble down the road.
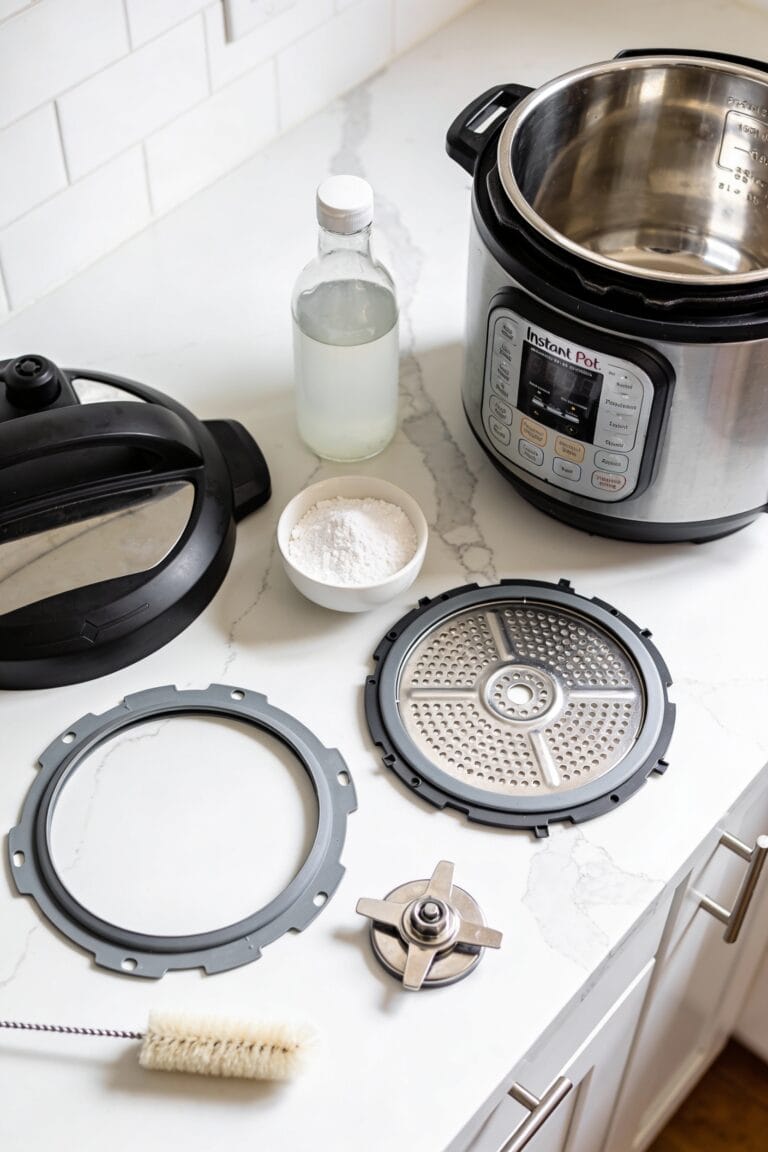
Reassemble Your Steam Release Valve Correctly
Once everything’s bone dry, you’re ready to put this thing back together—and I’ll be honest, getting the reassembly right is what separates people who have a functioning Instant Pot from people who end up with a glorified paperweight collecting dust on their counter.
Start by sliding the steam release valve back onto the lid. Next, insert the float valve from the front with that silicone cap positioned inside. Push the anti-block shield down firmly until it locks into place. Here’s the critical part: align components so everything sits level and symmetrical. Check movement by gently wiggling the float valve—it should glide freely without resistance or wobbling. Verify those silicone caps align with their holes. That’s it. You’ve got yourself a properly functioning steam release system again.
Fix Common Steam Release Valve Problems
Even if you’ve nailed the reassembly, your steam release valve can still throw you curveballs—and I’ve seen enough Instant Pot disasters to know that most of them boil down to a handful of predictable problems.
A stiff gasket is your most common culprit. It restricts movement and prevents that satisfying *hiss* of steam escape. Soak it in warm water for ten minutes to loosen things up. If worn springs are the issue, you’ve got a bigger problem—they won’t bounce back properly, leaving your valve stuck. That’s usually a replacement situation.
Here’s the thing: tilted or loose valves cause persistent steam leaks that’ll drive you bonkers. Check alignment after reassembly. Food particles hiding in crevices? They’ll block everything. A quick fingernail scrub prevents ninety percent of headaches.
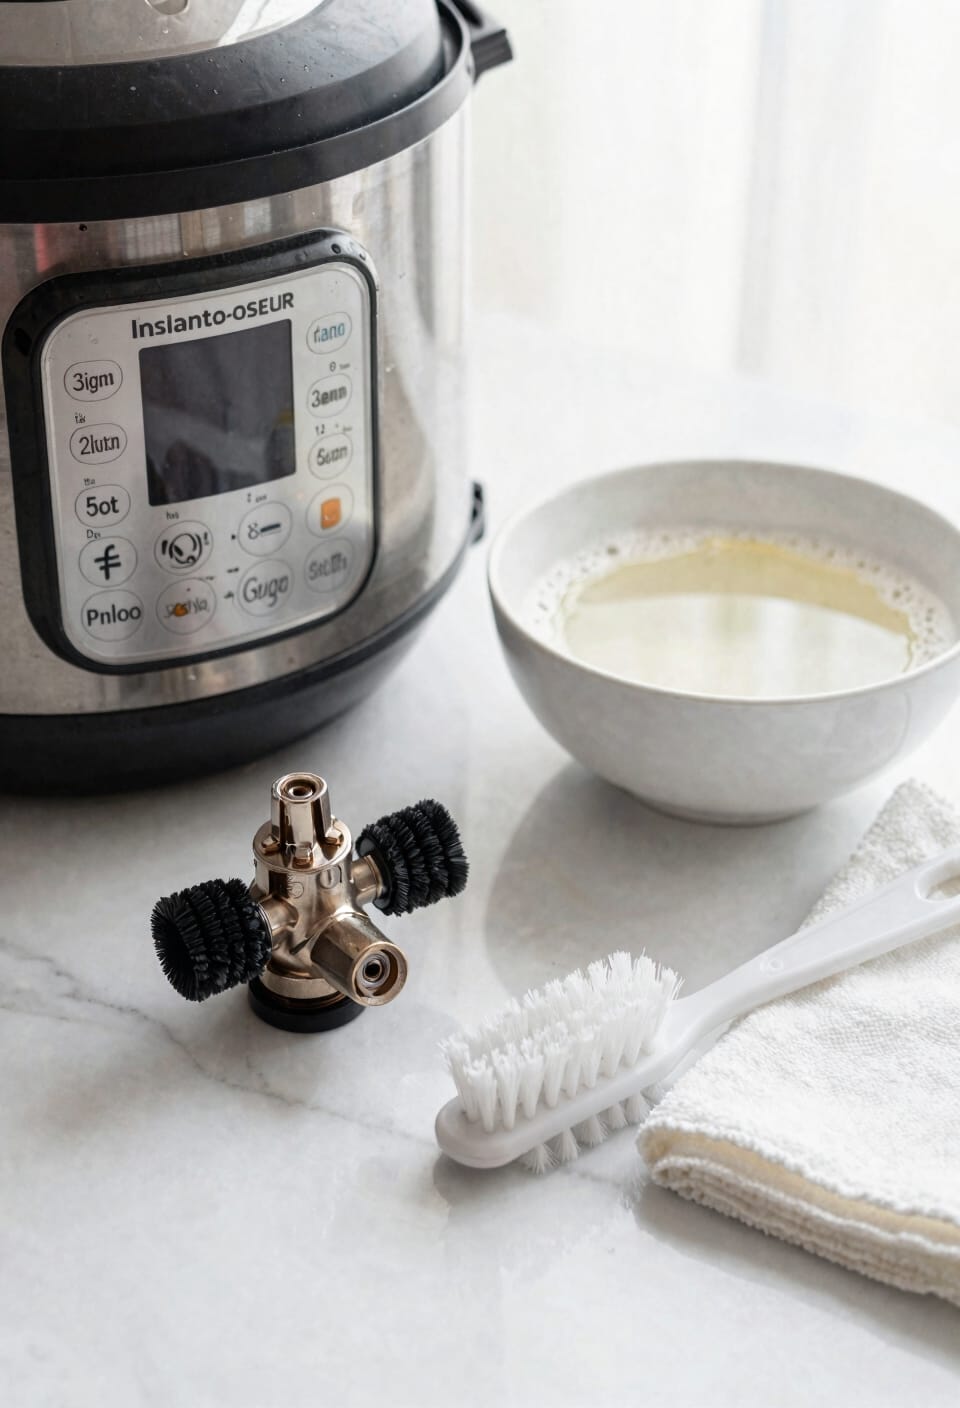
Test Your Valve After Cleaning
After you’ve scrubbed, rinsed, and reassembled everything, the real test begins—because a clean valve that doesn’t actually work is about as useful as a screen door on a submarine.
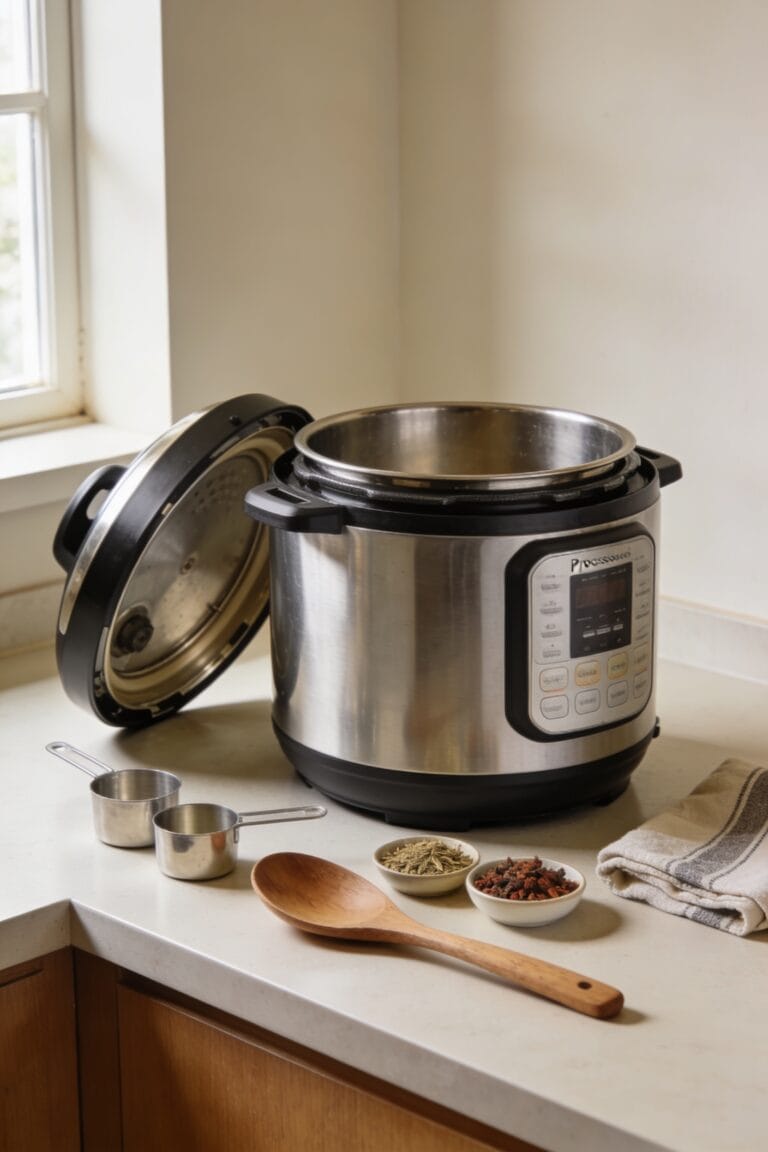
Now here’s your pressure check moment. Fill your Instant Pot with water, seal it up, and run a quick cycle on high pressure. Listen for that familiar hissing sound when steam’s supposed to release. You’re watching for smooth, consistent steam flow—not sputtering or silence.
This safety procedure matters because a stuck valve defeats your whole cleaning effort. Make sure the float valve moves freely and the steam release valve responds immediately when you manually pull it. If something feels off or steam won’t release, you’ve got a reassembly problem worth fixing before you cook anything serious.
Clean Your Valve After Every Use
I’ll be honest—cleaning your steam release valve every single time you use your Instant Pot sounds like a chore, but it’s genuinely the difference between a cooker that works flawlessly and one that becomes a temperamental paperweight. Daily maintenance doesn’t mean spending an hour scrubbing. After cooking, give that valve a quick rinse under running water while food particles are still soft. Wipe away any debris stuck in the crevices—your fingernail works perfectly for this. The anti-block shield especially needs attention since it’s where splattering foods love to hide. Look, I know you’re tired after dinner, but five minutes now prevents you from troubleshooting a broken pressure seal later. Your future self will thank you.
Frequently Asked Questions
Can I Use Vinegar or Bleach to Clean the Steam Release Valve?
I don’t recommend bleach due to bleach hazards and potential damage to your Instant Pot. Instead, I’d suggest vinegar alternatives like warm soapy water or a damp cloth. These safer methods effectively remove buildup without risking harm.
How Often Should I Replace the Silicone Cap on the Float Valve?
Most Instant Pot users replace silicone caps annually. I’d recommend checking yours every six months for wear. Quality silicone degrades with heat exposure, so your replacement interval depends on usage frequency and silicone quality deterioration.
What Temperature Water Is Best for Cleaning the Anti-Block Shield?
I’d recommend using warm soapy water for your anti-block shield. While cool water works fine for rinsing, warm water helps dissolve grease and food buildup more effectively, ensuring you get it thoroughly clean.
Is It Safe to Use a Dishwasher for All Removable Valve Components?
I’d recommend you use a telegraph to send word that not all components are dishwasher safe. Material compatibility varies—the lid’s top-rack safe, but I’d hand-wash the silicone cap and float valve for peak dishwasher safety.
Can a Blocked Valve Cause the Pressure Cooker to Malfunction Dangerously?
Yes, a blocked valve can be dangerous. I’d warn you that blockages prevent proper pressure buildup and steam flow, compromising safety mechanisms. Without correct release timing, your cooker won’t function safely.
Conclusion
Look, keeping your steam release valve clean is like maintaining the gutters on your house—it’s not glamorous, but it stops everything from backing up at the worst possible moment. I’ve learned the hard way that five minutes of maintenance after each use beats spending an hour troubleshooting a clogged valve mid-dinner party. Your Instant Pot will thank you with years of reliable cooking.