As an Amazon Associate, we earn from qualifying purchases. Some links on this site are affiliate links at no extra cost to you. Our recommendations are based on thorough research and editorial judgment.

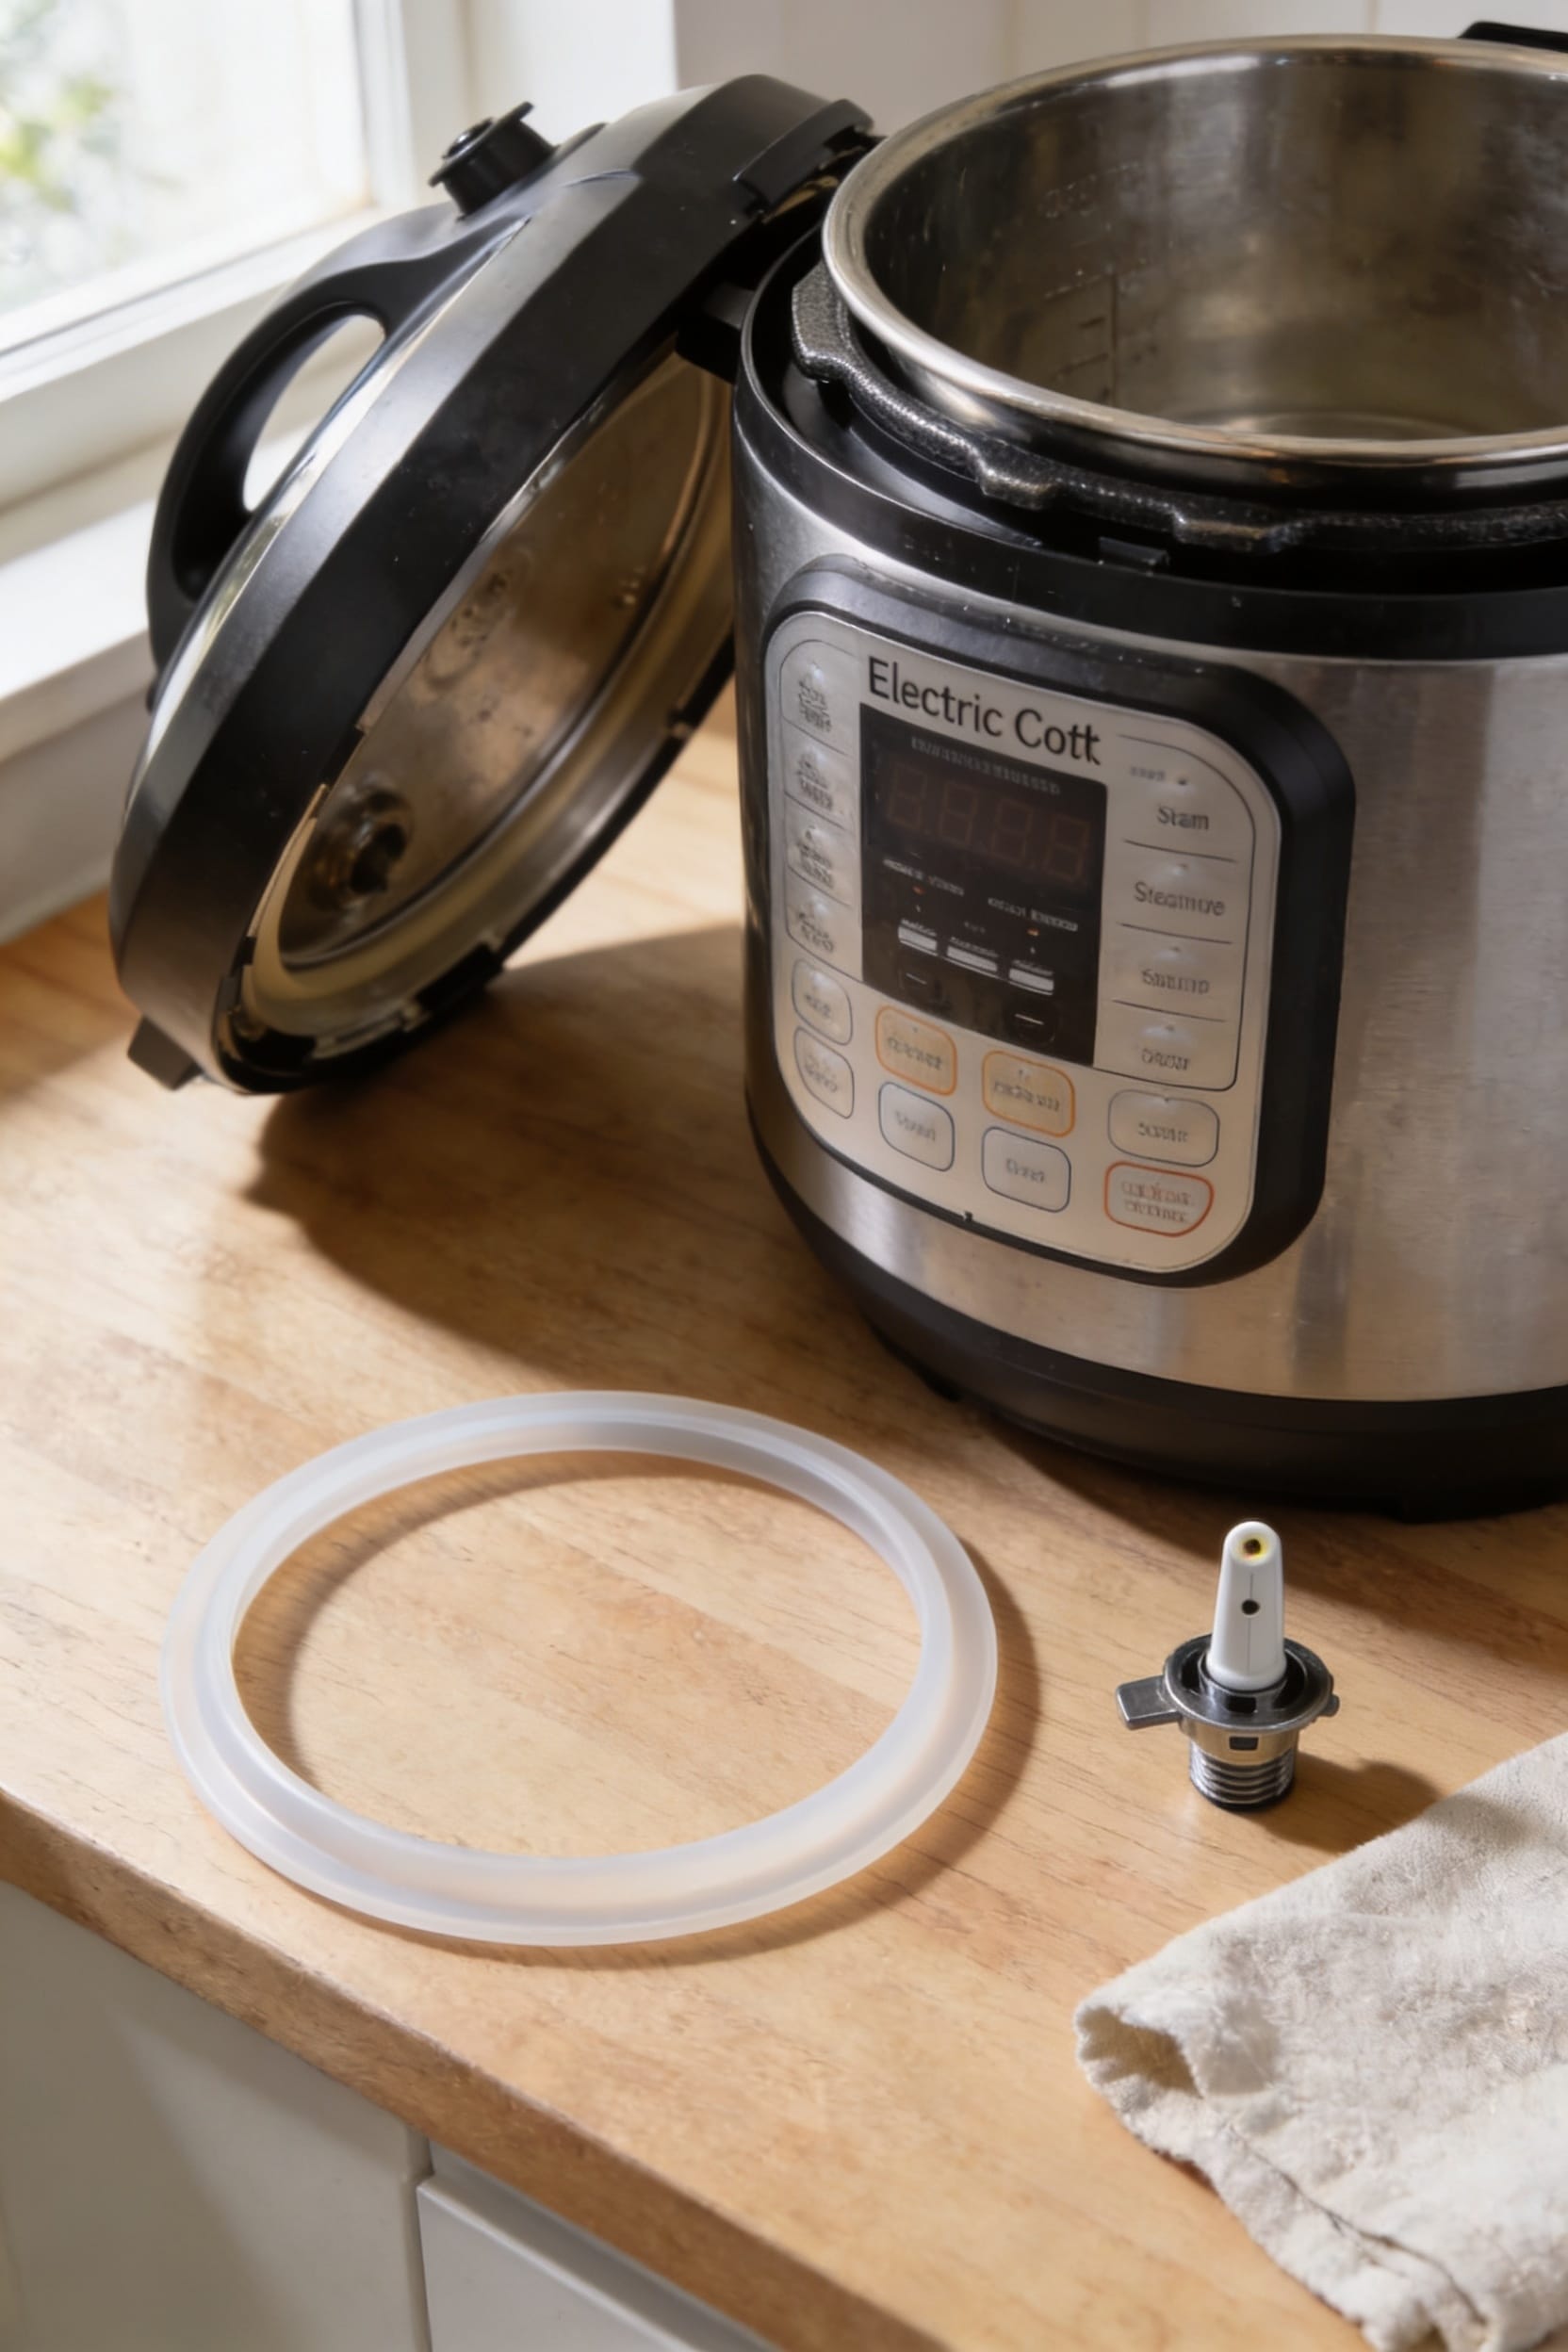
Instant Pot Not Sealing? Here’s Why and How to Fix It

Look, when your Instant Pot won’t seal, you’re probably overthinking it. Check your power connection and confirm you’re in pressure cook mode—seriously, people skip this. Then verify your sealing valve’s actually in the sealed position, inspect that silicone ring for gunk or damage, and make sure you’ve got enough liquid in there to generate steam. Finally, twist your lid until it clicks. Most sealing failures are just one of these five things, and I’ll walk you through exactly how to fix each one.
Key Takeaways
- Verify the steam release handle is in the sealed position, not venting mode, to prevent pressure loss.
- Inspect the silicone sealing ring for damage, debris, or discoloration and replace if necessary.
- Confirm the lid clicks fully into locked position and sits evenly on the rim.
- Ensure adequate liquid is in the pot to generate sufficient steam for pressurization.
- Check that power is connected properly and the Instant Pot is set to pressure cook mode.
Confirm Power and Pressure Cook Mode First
Before you start troubleshooting the sealing ring or checking your liquid levels, let’s make sure you’re not just looking at an Instant Pot that’s turned off.
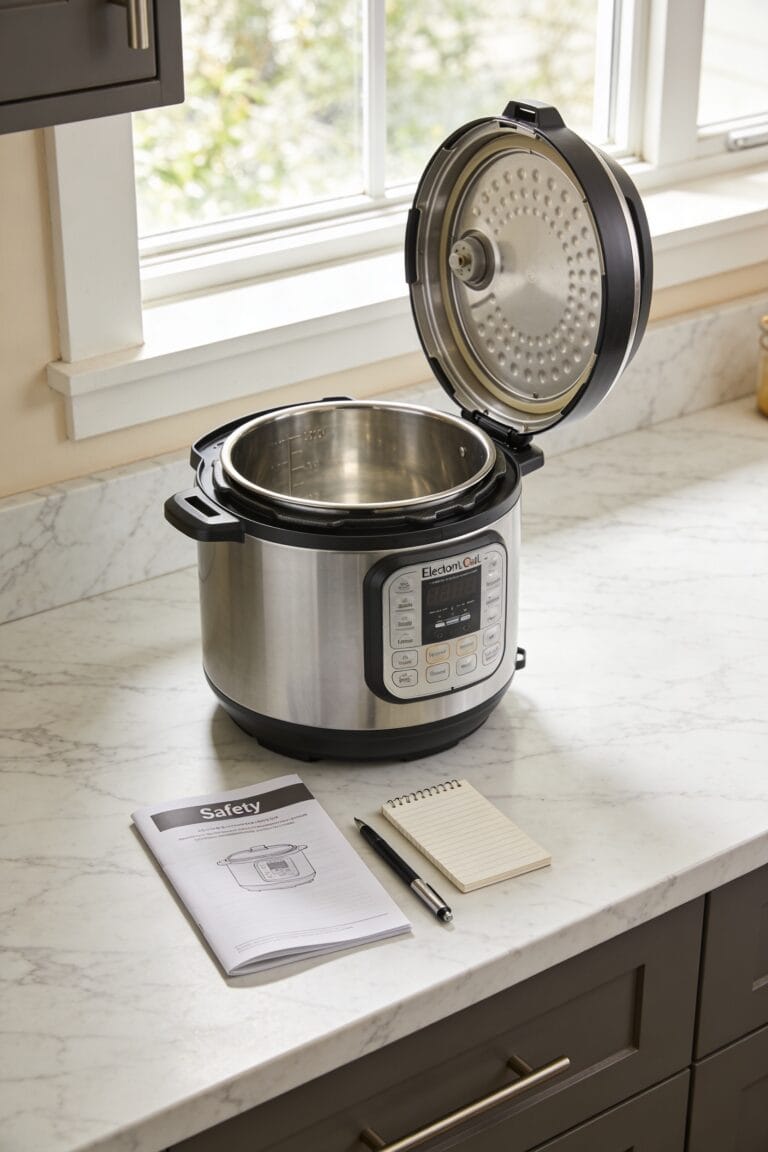
I know it sounds basic, but trust me—I’ve been there. Your power inspection should confirm the plug’s fully engaged in both the outlet and the base unit. Sometimes it’s sitting there looking innocent when it’s barely connected. Once that’s confirmed, mode confirmation comes next. You’ll need to set your Instant Pot to pressure cook mode specifically. It won’t seal if you’ve got it in some other setting. The device actually needs to reach proper pressure before your cooking cycle begins, which can’t happen without the right mode active. If pressurization keeps failing despite everything else checking out, circle back and inspect that power connection again.
Check Your Sealing Valve Position
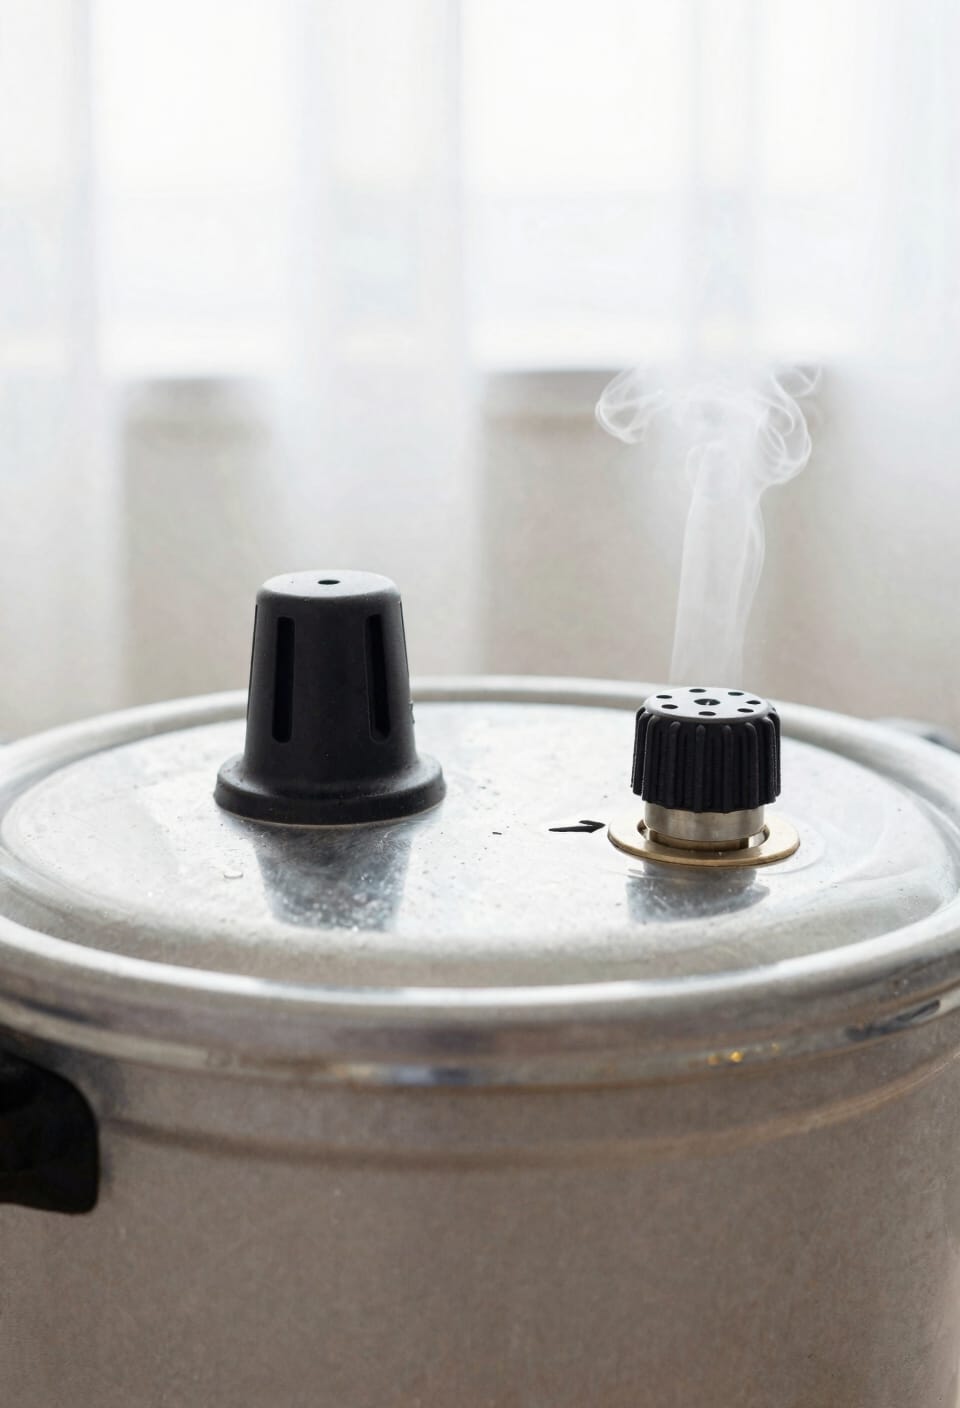
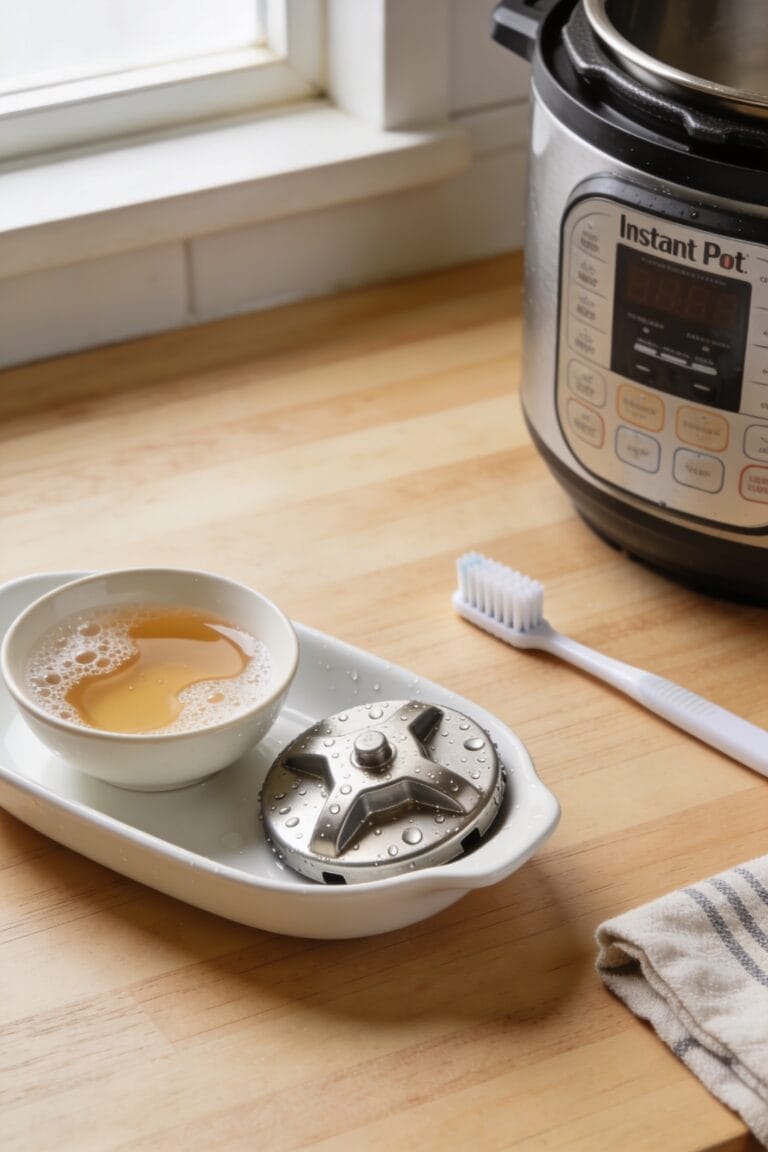
Now that your power’s confirmed and you’re definitely in pressure cook mode, let’s talk about the steam release handle—because I’m telling you, this is where most sealing problems actually live. Your valve orientation matters enormously, and I mean *enormously*. That little handle needs to be in the sealed position, not venting. When it’s in venting mode, steam just leaks right out, and your pot’ll never pressurize—it’s that simple. After you wash and reinstall everything, make sure your handle insertion is complete and fully seated. Double-check before you start cooking. Seriously, verify it. I’ve seen this one mistake derail countless cooking sessions, and it’s the easiest thing to miss because we’re all rushing around in our kitchens.
Inspect and Clean Your Silicone Sealing Ring
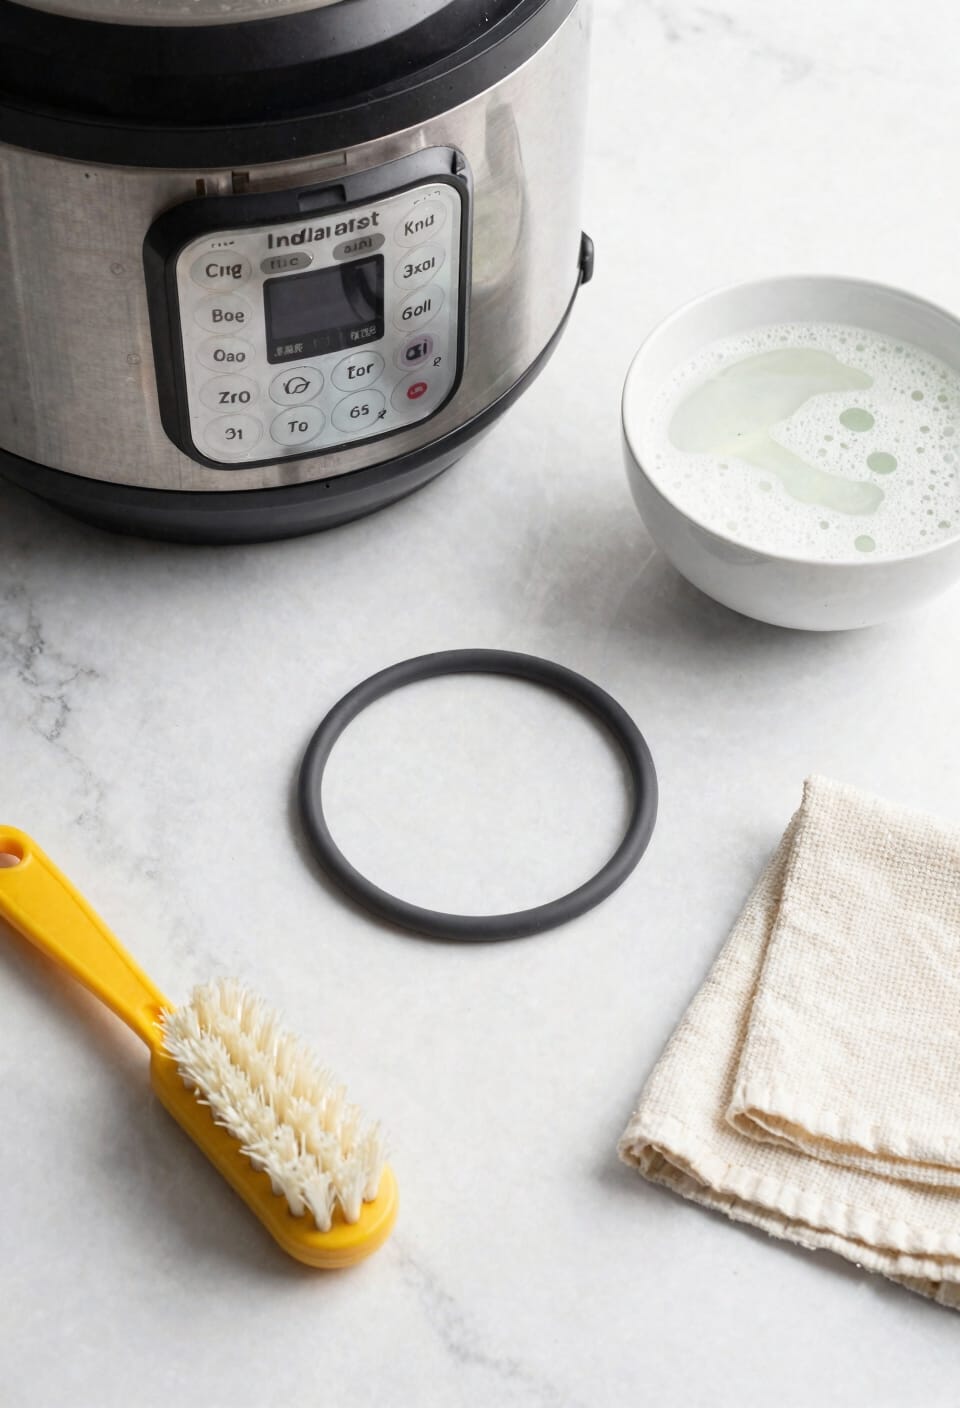
If your valve’s locked in the right position and you’re still not getting pressure, it’s time to look at the silicone sealing ring—because that little rubber component is doing all the actual heavy lifting to keep steam inside where it belongs.
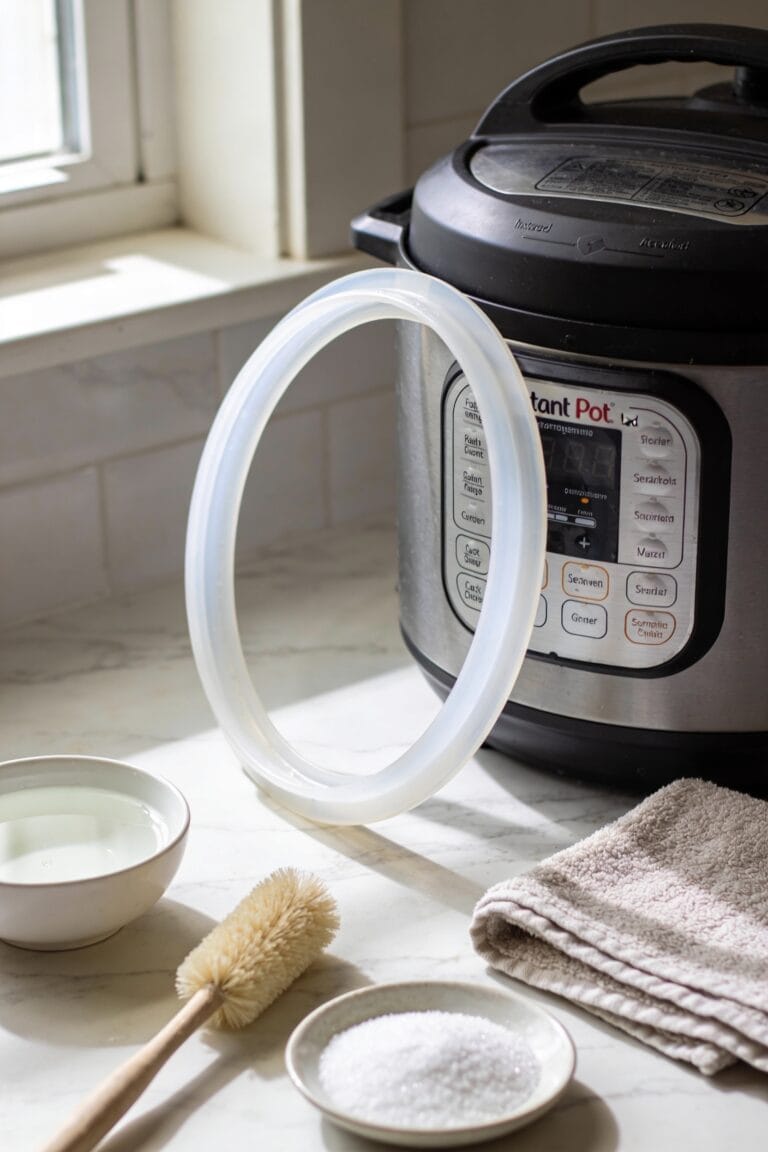
Here’s the thing: inspect that ring closely for ring discoloration, stretching, food debris, tears, or cracks. Even tiny damage compromises your seal entirely. Food buildup’s sneaky too—it’ll wreck your pressure just as effectively as a hole.
Now, replacement timing matters. Most rings need swapping around 12 months of regular use, though it depends on how hard you’re working yours. If the ring looks questionable, just replace it. They’re cheap insurance against frustration.
Clean yours thoroughly before deciding it’s shot.
Verify You Have Enough Liquid in the Pot
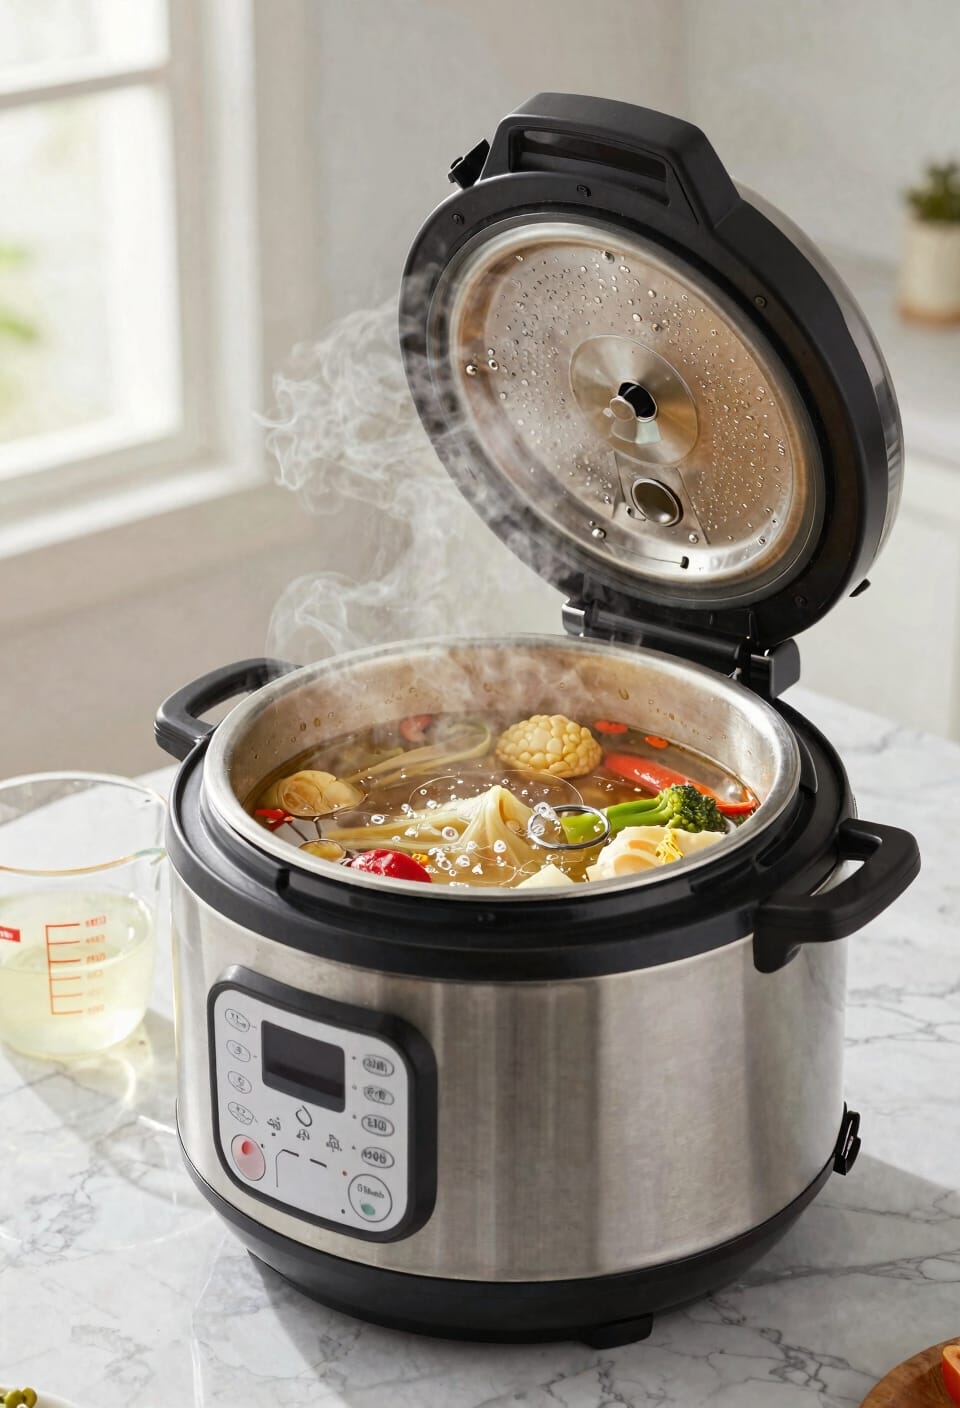
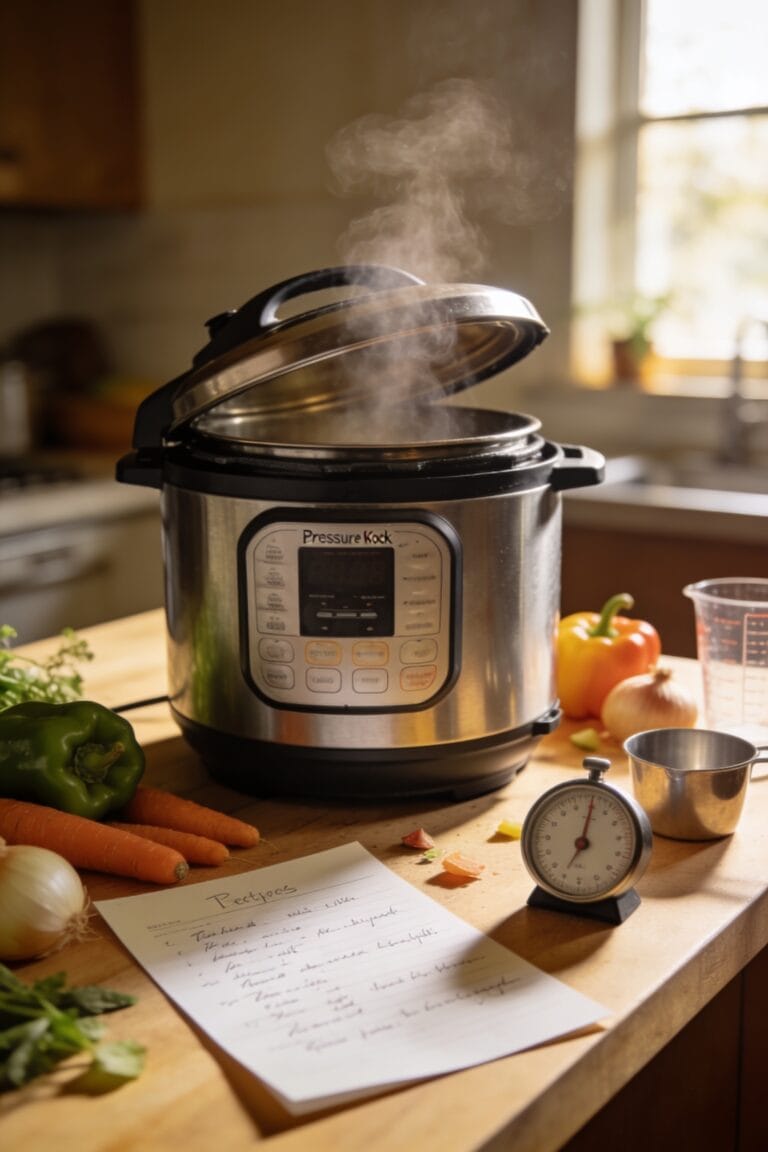
Getting enough liquid into your Instant Pot might sound obvious, but I’ve watched plenty of people skip this step and then wonder why their pot refuses to pressurize—it’s like trying to make steam without, you know, water. Here’s the thing: pressure cooking depends on adequate liquid to generate the steam quantity your pot needs to build pressure. You’re looking at a minimum, though I’d double-check your manual since models vary slightly. Cold liquid temperature works fine, but avoid filling past the designated lines. Underfilled pots simply can’t produce enough steam. Check your liquid level before you lock that lid down. It’s genuinely the easiest troubleshooting step, and honestly, it solves most sealing complaints I hear about.
Make Sure Your Lid Locks Completely
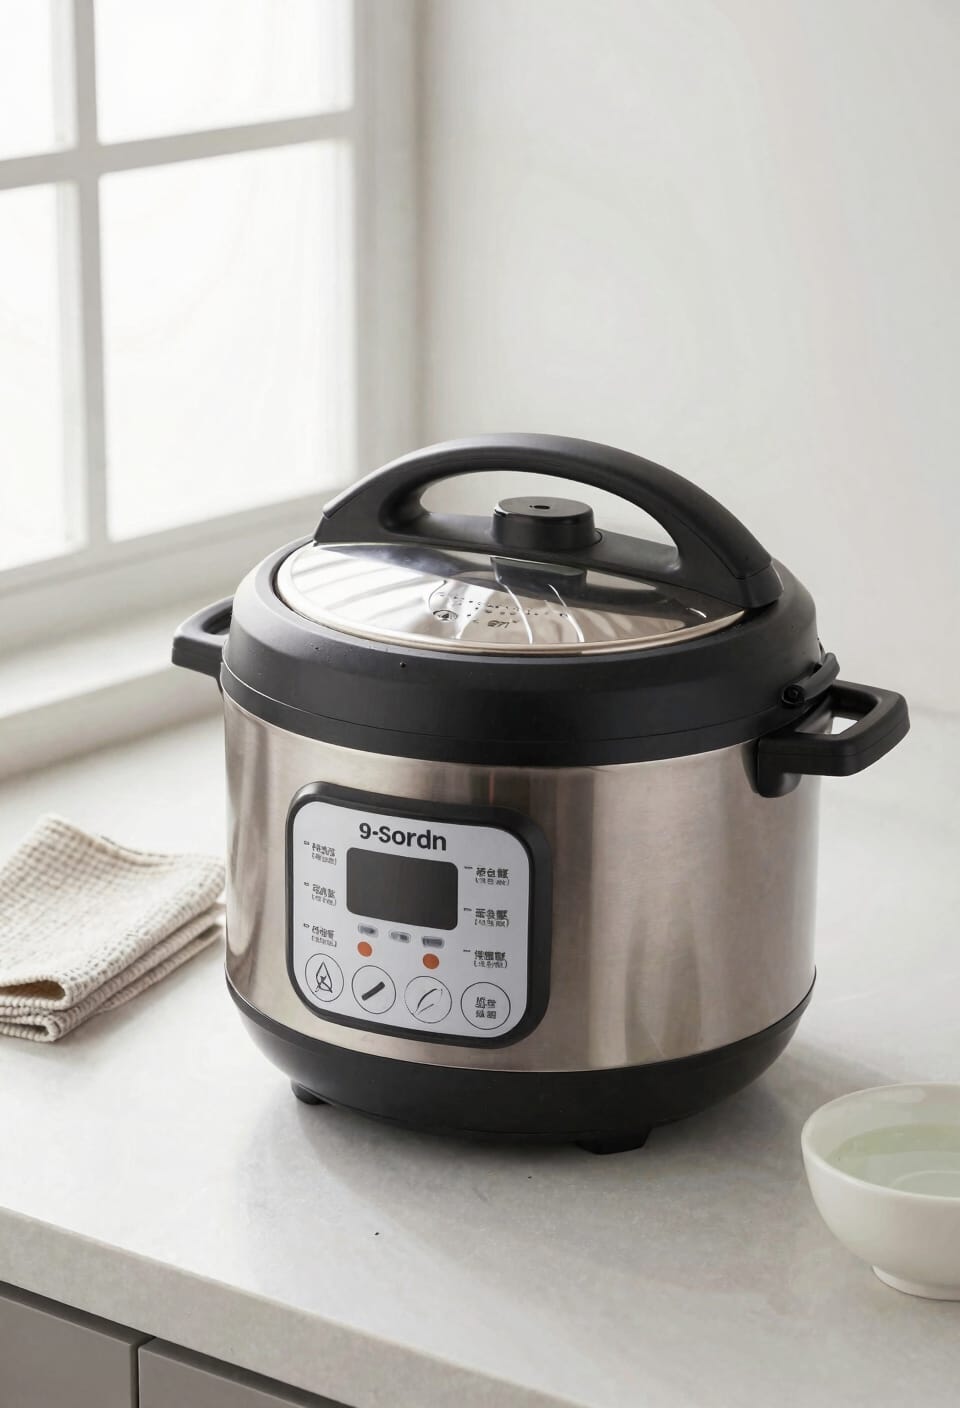
You’d be surprised how many sealing problems vanish the moment someone actually locks the lid down all the way—and I mean *all* the way, not just until it feels snug. I’ve done this myself more times than I’d like to admit. The lid needs to rotate until you hear that satisfying click, and slight lid alignment issues will absolutely torpedo your pressure buildup. Check that the lid sits evenly on the rim before twisting. For latch maintenance, make sure nothing’s blocking the locking mechanism—food debris or mineral deposits can prevent a complete seal. If your lid isn’t clicking fully, gently clean the contact points and try again. That audible closing chime? That’s your confirmation it’s actually locked.
Frequently Asked Questions
How Often Should I Replace My Silicone Sealing Ring?
I’d recommend you replace your silicone sealing ring annually and inspect it monthly. Check for discoloration, stretching, food debris, tears, or cracks. Regular maintenance guarantees your Instant Pot maintains proper pressure and cooking performance consistently.
Can I Fix an Expanded Sealing Ring Without Replacing It?
Yes, you can! Rather than rush to replace your ring, I’d suggest cold water soaking it for five minutes or freezing it for one to two minutes—both methods heat shrink the expanded silicone back to its proper, snug fit.
What Should I Do if My Float Valve Stops Working Properly?
I’d recommend cleaning your float valve first as a diagnostic step. If that doesn’t restore proper function, you’ll likely need replacement since repair options are limited. The pressure sensor depends on it working correctly for safe operation.
Why Is My Exhaust Valve Loose Behind the Anti-Block Shield?
Your exhaust valve’s gotten loose from regular use and vibration during cooking cycles. I’d recommend tightening it carefully—a stuck valve causes pressure fluctuation, preventing your Instant Pot from sealing properly.
How Do I Clean Food Debris From My Sealing Ring Effectively?
I’d recommend you wipe gently around the ring with a damp cloth first. Then soak it briefly in warm water for five minutes to loosen stubborn debris. This’ll restore your seal without causing damage.
Conclusion
Look, I’ve spent approximately one million hours troubleshooting Instant Pots, and honestly? Most sealing issues boil down to one of these five culprits. You’ve got this. Run through the checklist, check your sealing ring like it owes you money, and you’ll be pressure cooking again faster than you can say “natural release.” Your Instant Pot isn’t broken—it’s just being dramatic.