As an Amazon Associate, we earn from qualifying purchases. Some links on this site are affiliate links at no extra cost to you. Our recommendations are based on thorough research and editorial judgment.

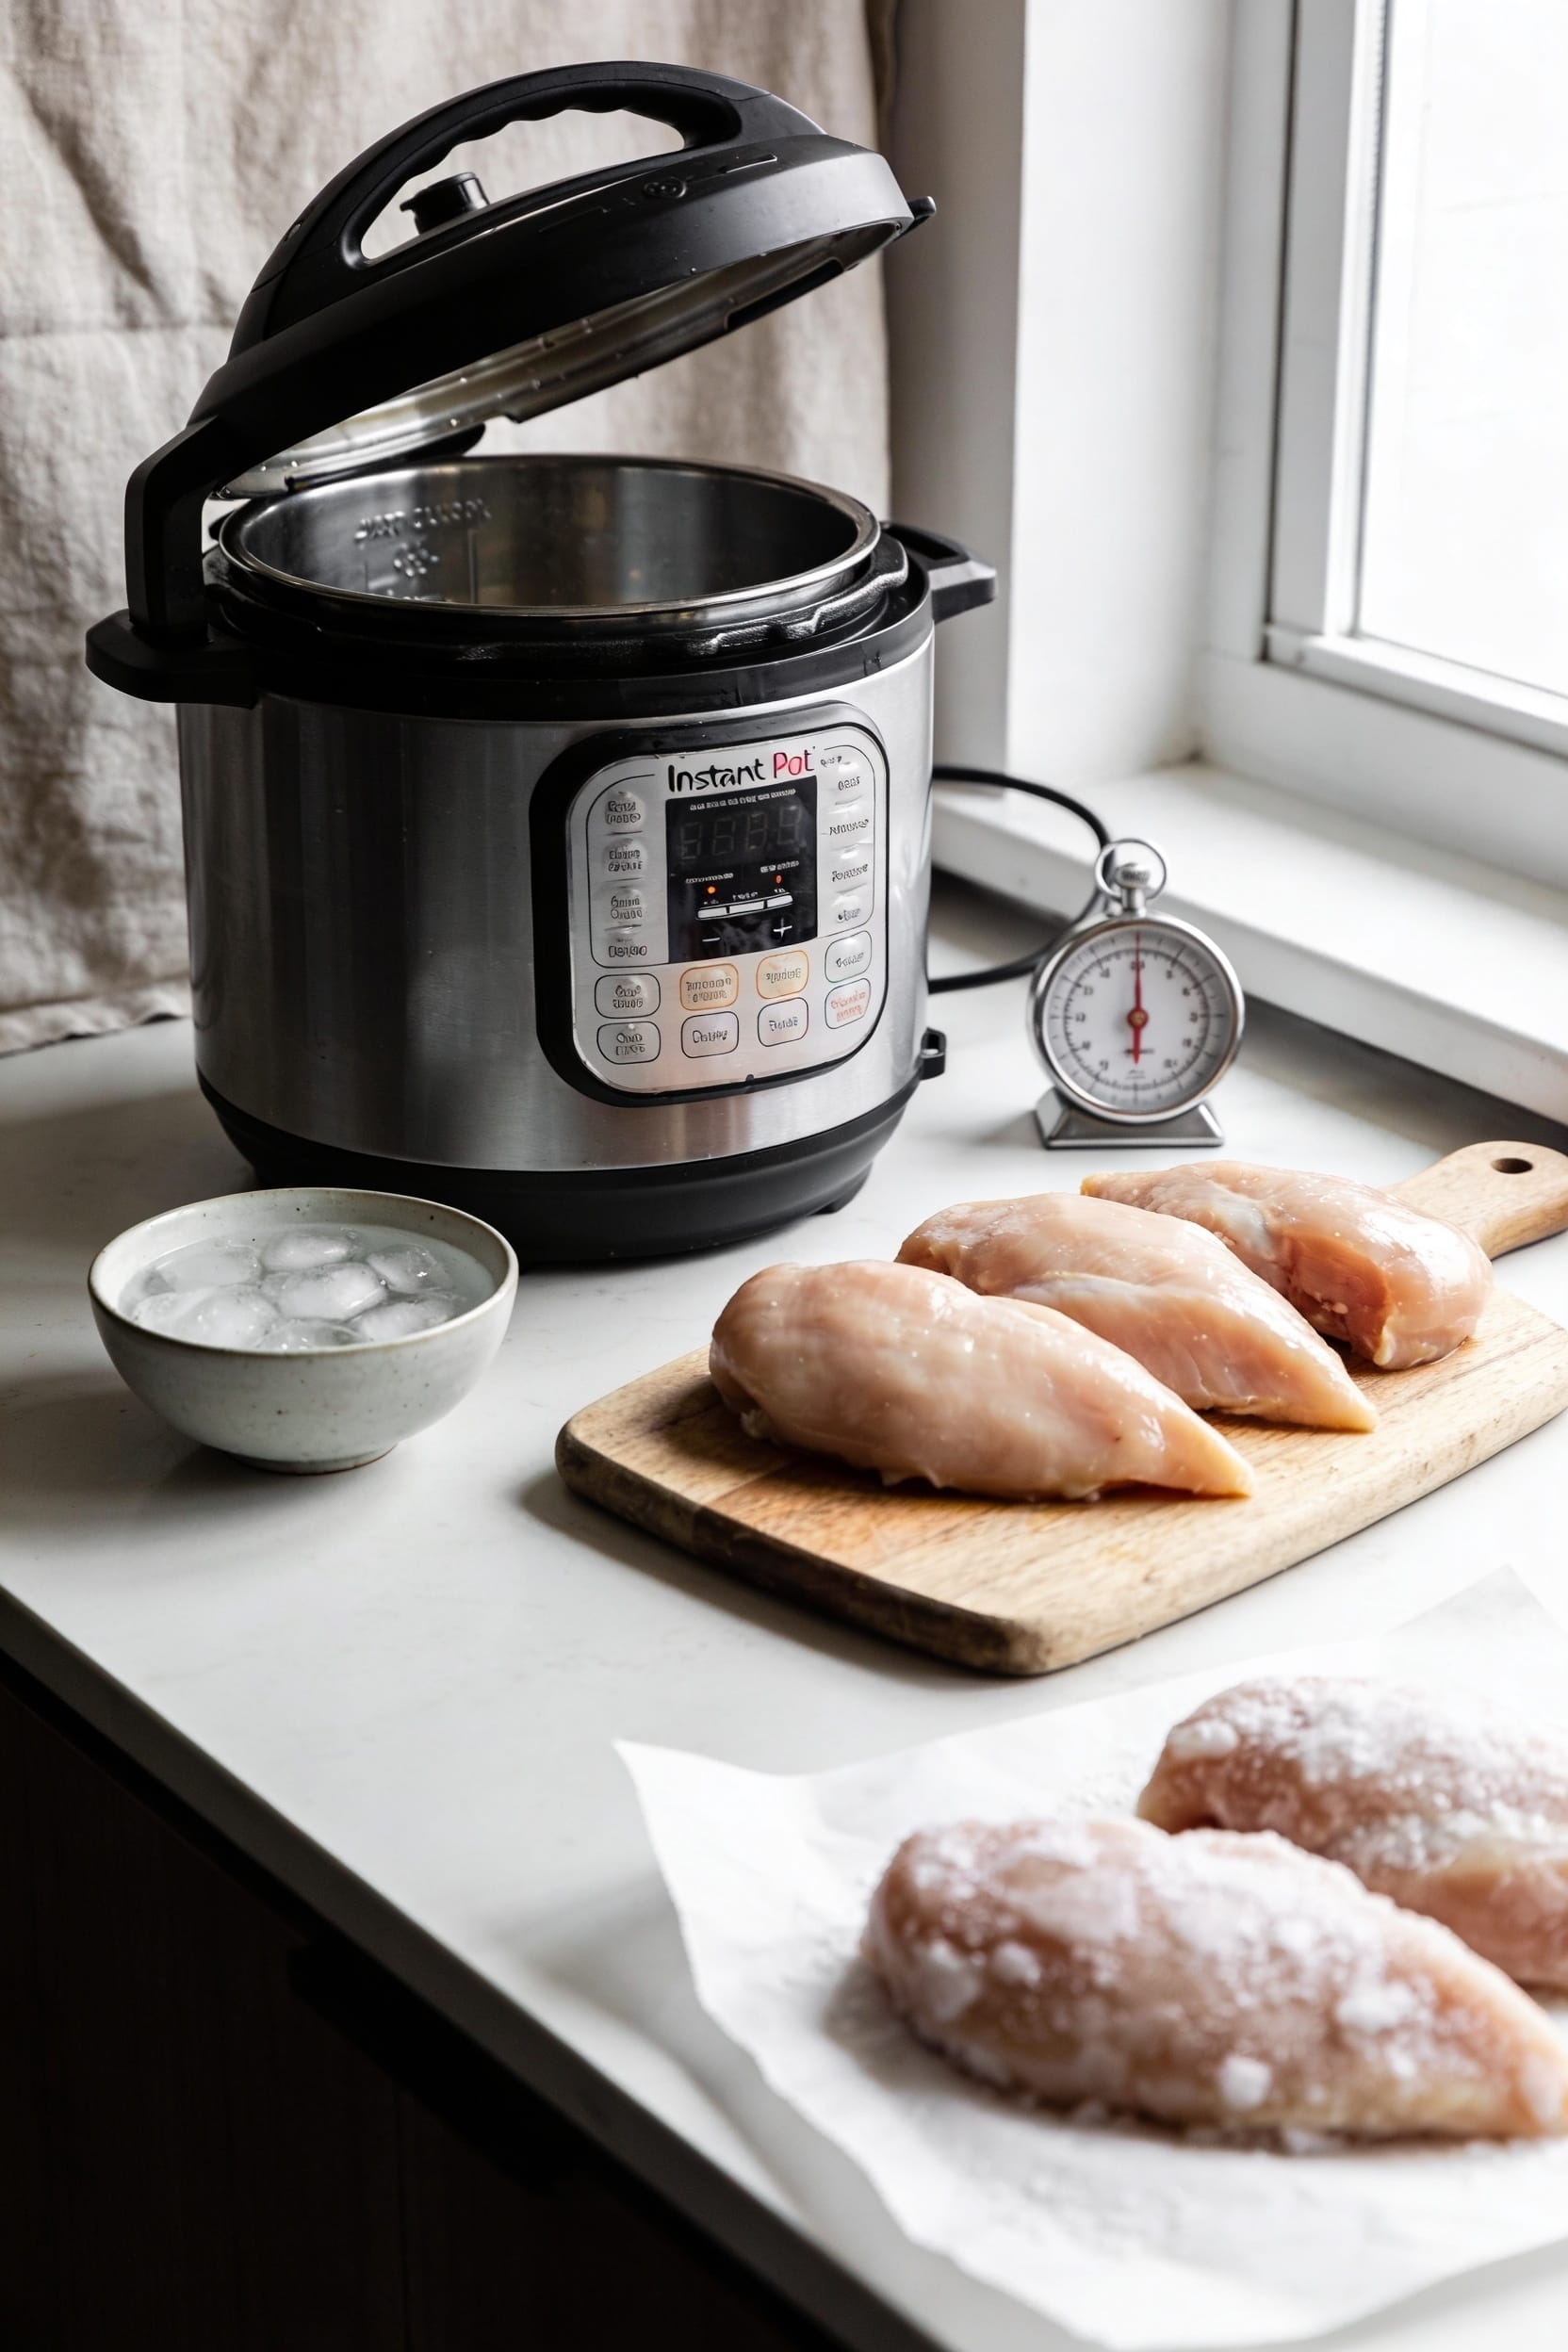
Instant Pot Chicken Breast Cooking Time: Fresh and Frozen

Fresh chicken breasts cook faster than you’d expect—six to eight minutes depending on size—while frozen ones need about ten to twelve minutes on high pressure. The difference isn’t huge, but it matters. Add a cup of water, arrange breasts in a single layer (no stacking, seriously), and hit high pressure. After cooking, let pressure release naturally for five minutes before finishing with quick release. Hit 165°F in the thickest part and you’re golden. Stick around for the specifics on timing by weight and how to rescue dry chicken.
Key Takeaways
- Fresh chicken breasts cook 6–8 minutes on high pressure; frozen breasts require 10–12 minutes depending on size.
- Arrange chicken in a single layer with spacing to ensure even cooking and prevent clumping.
- Add one cup of water to create steam; place breasts directly in liquid before sealing.
- Use natural release for five minutes, then quick release; verify 165°F in thickest part with thermometer.
- Total cooking time from sealing to plate averages 20–25 minutes including preheat, cook, and release phases.
Instant Pot Chicken Cooking Times: Fresh vs. Frozen
Since you’re probably staring at your Instant Pot wondering whether to thaw that chicken or just toss it in frozen, here’s the thing: you don’t have to choose—both work, they just take different amounts of time. Fresh chicken breasts cook faster, naturally. A 6-ounce fresh breast needs just 6 minutes on high pressure, while that same frozen breast demands 10 minutes. The difference? About 2-4 extra minutes across the board for frozen. If you’re thinking sous vide comparison, pressure cooking’s actually quicker. And if you’re exploring alt protein timings later, remember chicken’s your baseline. The real magic isn’t choosing between fresh or frozen—it’s knowing you’ve got flexibility either way. No thawing required, no stress necessary.
How Long to Cook Fresh Chicken Breasts by Size
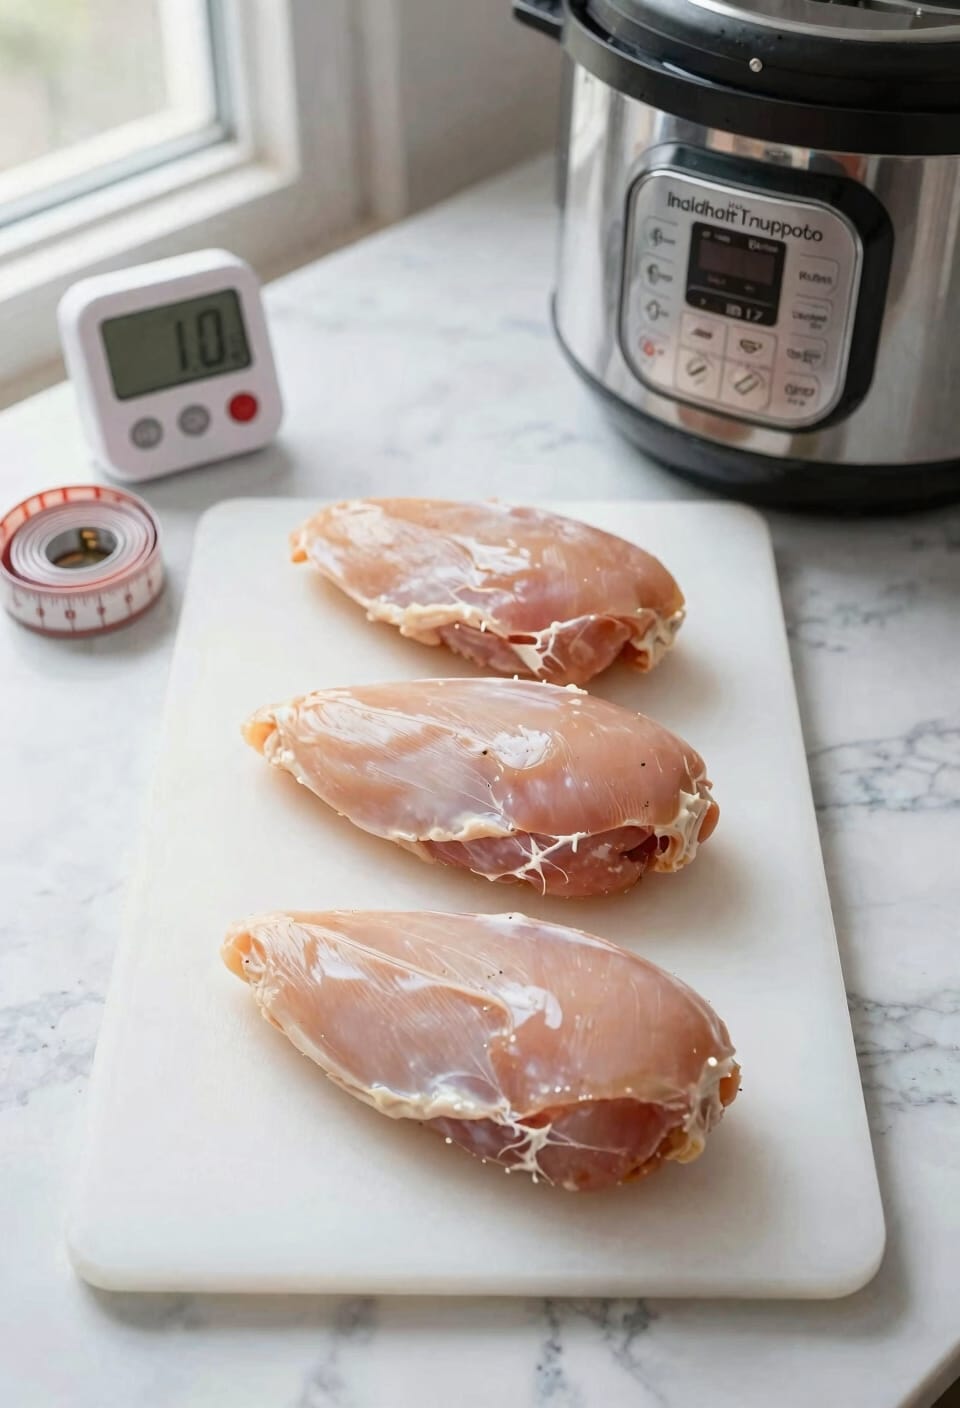
Now that you know frozen and fresh aren’t mutually exclusive, let’s get specific about what size actually matters. Here’s the thing: portion sizes dramatically affect your cooking time, and I’ve found that nailing this detail makes all the difference between juicy chicken and rubbery disappointment.
A 6-ounce breast needs just 6 minutes on high pressure. Go up to 8 ounces and you’re looking at 7 minutes. At 10 ounces, hit 8 minutes. If you’re working with boneless, skinless breasts under 2 inches thick, stick with 8 minutes. Anything thicker than that? Bump it to 10 minutes. The flavor variations you’ll notice between properly cooked sizes are genuinely worth the precision here. Undershooting leaves you with undercooked chicken, which I’m sure we can agree isn’t happening on our watch.
How Long to Cook Frozen Chicken Breasts by Size
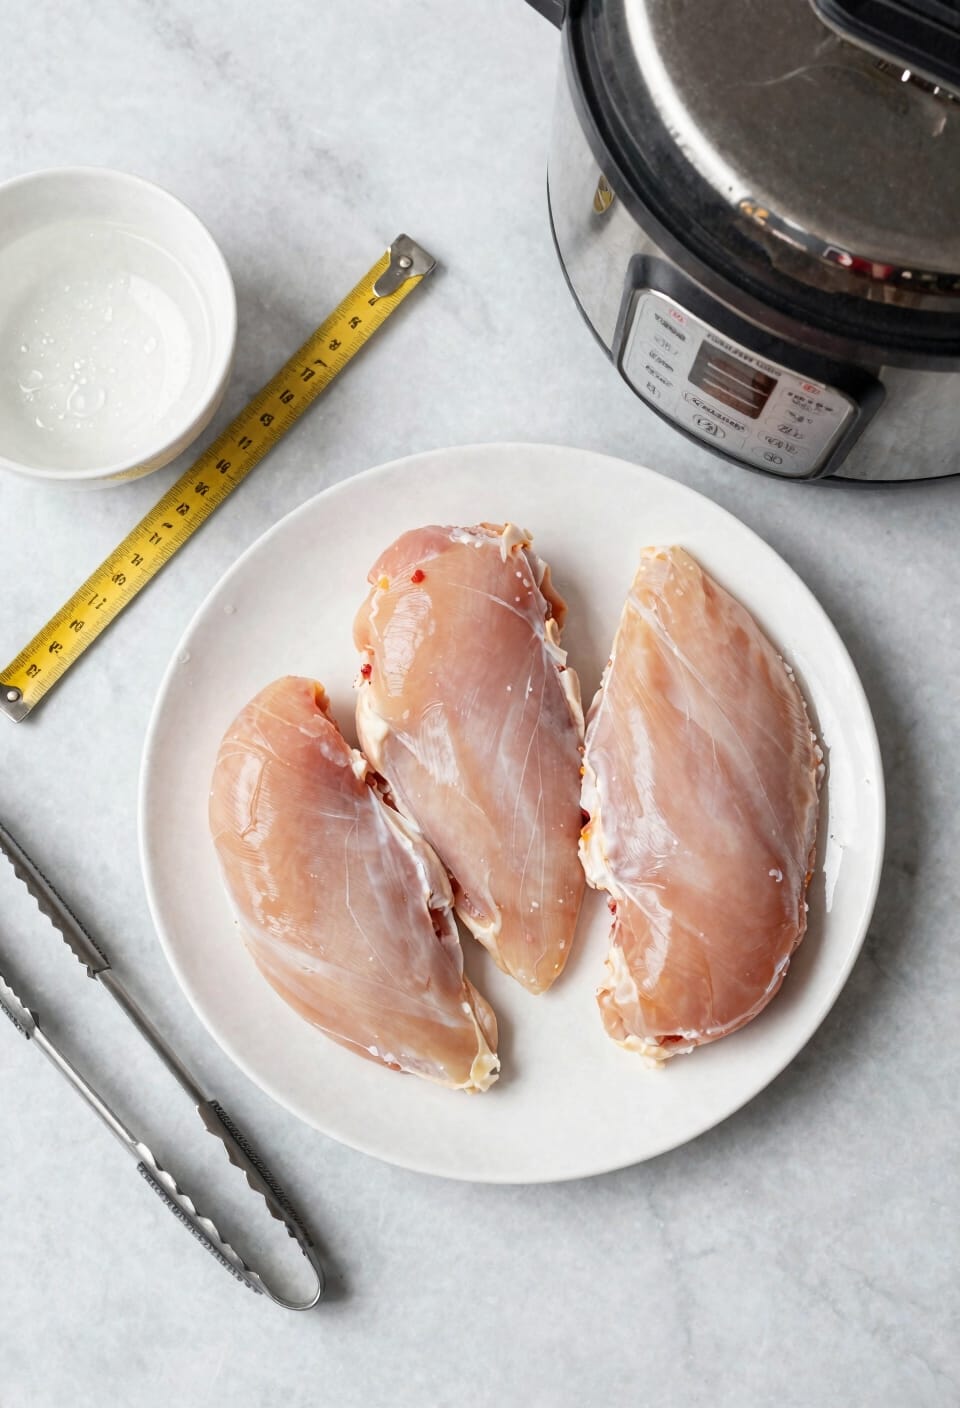
Cooking frozen chicken breasts takes a bit longer than fresh—which makes sense, right?—but the good news is that you don’t need to thaw them first, and the timing is honestly pretty straightforward once you know the sizes. A 6-ounce frozen breast needs 10 minutes on high pressure, an 8-ounce requires 11 minutes, and a 10-ounce takes 12 minutes. The key thing here is packing density: make sure your breasts aren’t clumped together in one frozen mass. Spread them out so they cook evenly. Now, marinade effects matter too—if you’re working with pre-marinated frozen chicken, you might catch slightly faster cooking since the liquid’s already penetrated the surface. Either way, you’re looking at roughly 2 to 4 extra minutes compared to fresh.
Prep Your Instant Pot: Water, Seasonings, and Settings
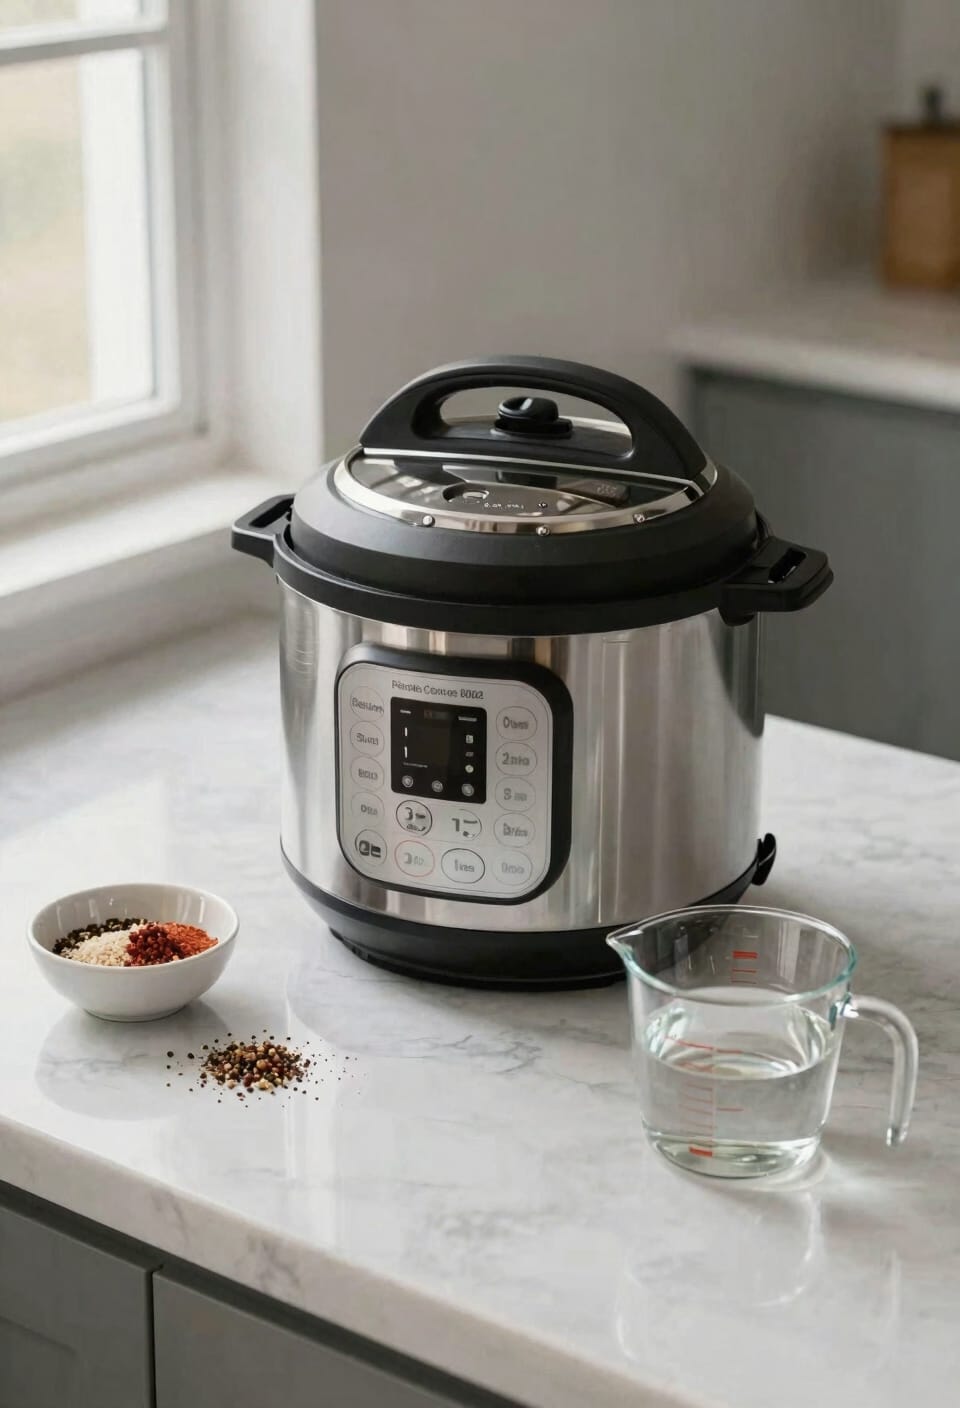
Before you seal that lid and let the pressure do its thing, you’ve got to dial in a few basics that’ll make the difference between chicken that’s tender and juicy versus chicken that tastes like a kitchen sponge. First, pour one cup of water into your insert—this creates the steam that’ll do the heavy lifting. Now, arrange your chicken (fresh or frozen, doesn’t matter) directly in that liquid. Here’s where aroma infusion happens: add your seasonings now, before sealing. Salt, garlic powder, paprika, whatever you’re feeling. Then secure that lid and flip the vent to the seal position. You’re literally one click away from perfectly cooked protein. That’s it. You’re ready.
Layer Without Stacking: The Right Way to Arrange Chicken
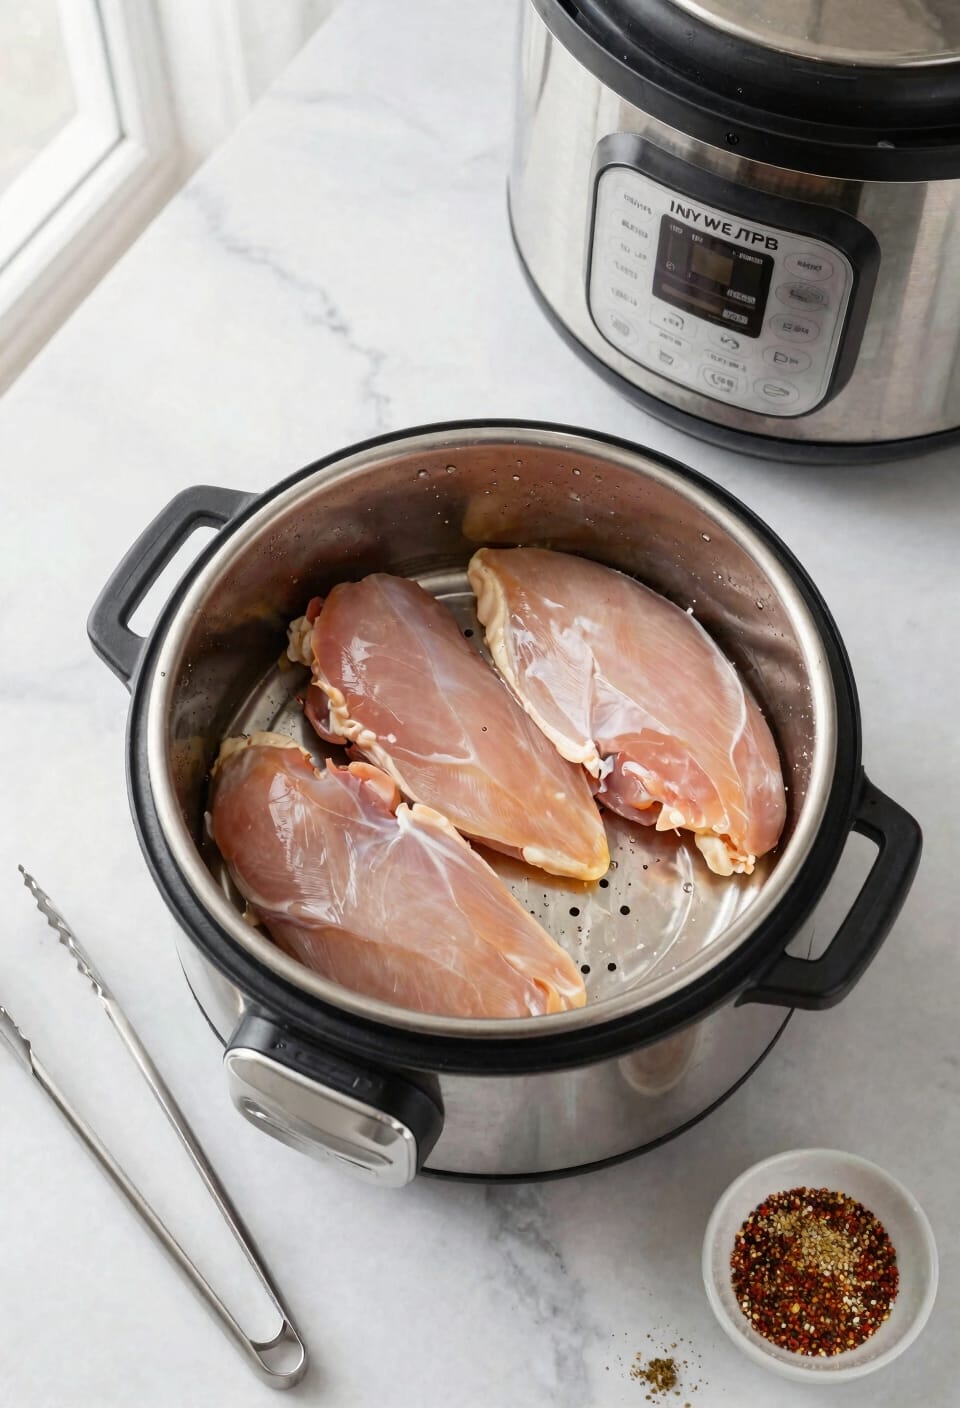
Once you’ve got your chicken in that pot of water with seasonings already doing their thing, arrangement matters way more than you’d think—and I learned this the hard way, let me tell you. You’ll want to place your breasts in a single layer, not stacked on top of each other like some kind of poultry lasagna. That stacking thing? It’s the enemy of even cooking. What you’re after is air circulation placement that lets the pressure and steam reach every surface equally. Spread them out flat across the bottom of your insert. If you’ve got frozen breasts, make sure they’re individually separated before they go in. Trust me, taking an extra thirty seconds to arrange them properly saves you from uneven cooking headaches later.
Natural vs. Quick Release: Which One Should You Choose?
Now that your chicken’s arranged perfectly in that pot, the real question hits: how do you get the pressure out? Here’s the thing—I’m a natural release person, and I’ve got reasons. Five minutes of natural release lets carryover cooking finish the job gently, which protects your texture from getting rubbery. After that, you can quick release the rest without shocking the meat.
Quick release gets you eating faster, but I’ve noticed the texture impact isn’t worth the ten-minute time savings. You’ll get drier chicken every time you blast that valve open immediately. So here’s my move: let it breathe naturally for five minutes, then quick release if you’re impatient. Your chicken stays juicier, your dinner tastes better, and everyone’s happy.
Check the Temperature: How to Test for Doneness
Testing your chicken for doneness is where most people get nervous, but I promise it’s the easiest part of the whole process. You’ll need an instant-read meat thermometer—grab one if you don’t have it already, they’re cheap and honestly life-changing.
Insert your probe into the thickest part of the breast, avoiding bone if you’ve got it. You’re looking for 165°F for food safety, though I’ll let you in on something: if you hit 160°F, your resting temperature will climb those last few degrees during the cooling period anyway. That carryover heat is real, and it’s your friend here. Don’t skip the resting period—those five minutes matter more than you’d think. Once you’ve confirmed that temperature, you’re golden.
From Start to Finish: What to Expect Timeline-Wise
If you’re the type who wants to know exactly how long you’ll be waiting before that chicken hits your plate, I’ve got good news: the Instant Pot is genuinely predictable about it. From the moment you close that lid, you’re looking at roughly 20-25 minutes total—that’s preheating (5-7 minutes), actual cooking (6-12 minutes depending on whether you’re working with fresh or frozen), and natural pressure release (5 minutes). Add your meal planning around that timeline, and you’ll nail it. What I love most? There’s virtually no cleanup time since everything happens in one pot. You’re not babysitting a stove or dirtying multiple pans. That’s the real win here—predictable results without the kitchen chaos.
What Went Wrong: Common Instant Pot Chicken Mistakes
Even with a timeline as forgiving as the Instant Pot’s, there’s still plenty of ways to end up with chicken that’s dry, undercooked, or somehow both at once. The biggest culprit I see? People overcooking. You’d think that’d be hard to do, but five extra minutes under pressure will give you an overcooked texture that tastes like gym socks. I’ve also watched folks make the mistake of using a regular spoon for quick release—spoon contamination happens when metal touches the steam valve and throws off your pressure. Don’t do that. Use tongs or wood. Another common fumble is stacking frozen breasts in one clump instead of separating them, which leaves you with a cold center and rubbery edges.
Troubleshoot Undercooked or Dry Chicken
Since undercooked chicken is basically a food safety nightmare wrapped in disappointment, let me walk you through what’s probably going wrong and how to fix it. You’re likely not cooking long enough—check that thermometer hitting 165°F in the thickest part. If you’re getting dry chicken instead, you’ve probably overcorrected. The texture recovery here is simple: don’t skip that natural five-minute release. It keeps moisture locked in.
Now, if your chicken’s consistently tough, a marinade rescue works wonders. Soak it beforehand in something acidic—buttermilk, yogurt, whatever you’ve got. That tenderizes the meat before pressure cooking even starts. And hey, don’t stack frozen breasts in clumps; they won’t cook evenly. Space matters.
Frequently Asked Questions
Can I Cook Chicken Breasts With Vegetables in the Instant Pot Simultaneously?
Yes, I can cook chicken breasts with vegetables simultaneously using vegetable layering and timing gaps. I’d place faster-cooking vegetables on top since they need less time, allowing everything to finish together perfectly.
How Many Chicken Breasts Can I Cook at Once in My Instant Pot?
I’d cook four 8-ounce breasts in my 6-quart Instant Pot—that’s my maximum capacity without compromising even cooking. You’ll want them arranged in a single layer, ensuring they’re not stacked or clumped together for consistent results.
Can I Use Broth Instead of Water When Cooking Instant Pot Chicken?
Yes, I’d recommend using chicken broth instead of water. You’ll get excellent flavor infusion throughout your chicken breasts. The cooking times remain identical—broth works just as effectively as liquid for pressure cooking.
Is It Safe to Reheat Instant Pot Chicken Breasts, and What’s the Best Method?
I’d say yes, it’s absolutely safe to reheat your Instant Pot chicken breasts if you maintain food safety standards. I recommend using a microwave with a damp paper towel for moisture retention, or reheating on the stovetop with broth.
Can I Cook Bone-In Chicken Breasts in the Instant Pot, and How Long?
You can’t teach an old dog new tricks, but you can master bone-in chicken in your Instant Pot. I’d recommend adding 2-3 minutes to standard pressure times since bone-in breasts require longer cooking for food safety.
Conclusion
Look, you’ve got this. Fresh or frozen, your Instant Pot’s got your back—timing it right means juicy chicken, not rubbery disappointment. You’ll nail the temperature, you’ll arrange them properly, you’ll avoid the common pitfalls. And honestly? Once you’ve mastered this, you’re cooking chicken faster than takeout arrives, saving money while impressing nobody but yourself—which is exactly how I like it.