As an Amazon Associate, we earn from qualifying purchases. Some links on this site are affiliate links at no extra cost to you. Our recommendations are based on thorough research and editorial judgment.
How to Cook Pork Shoulder in an Instant Pot
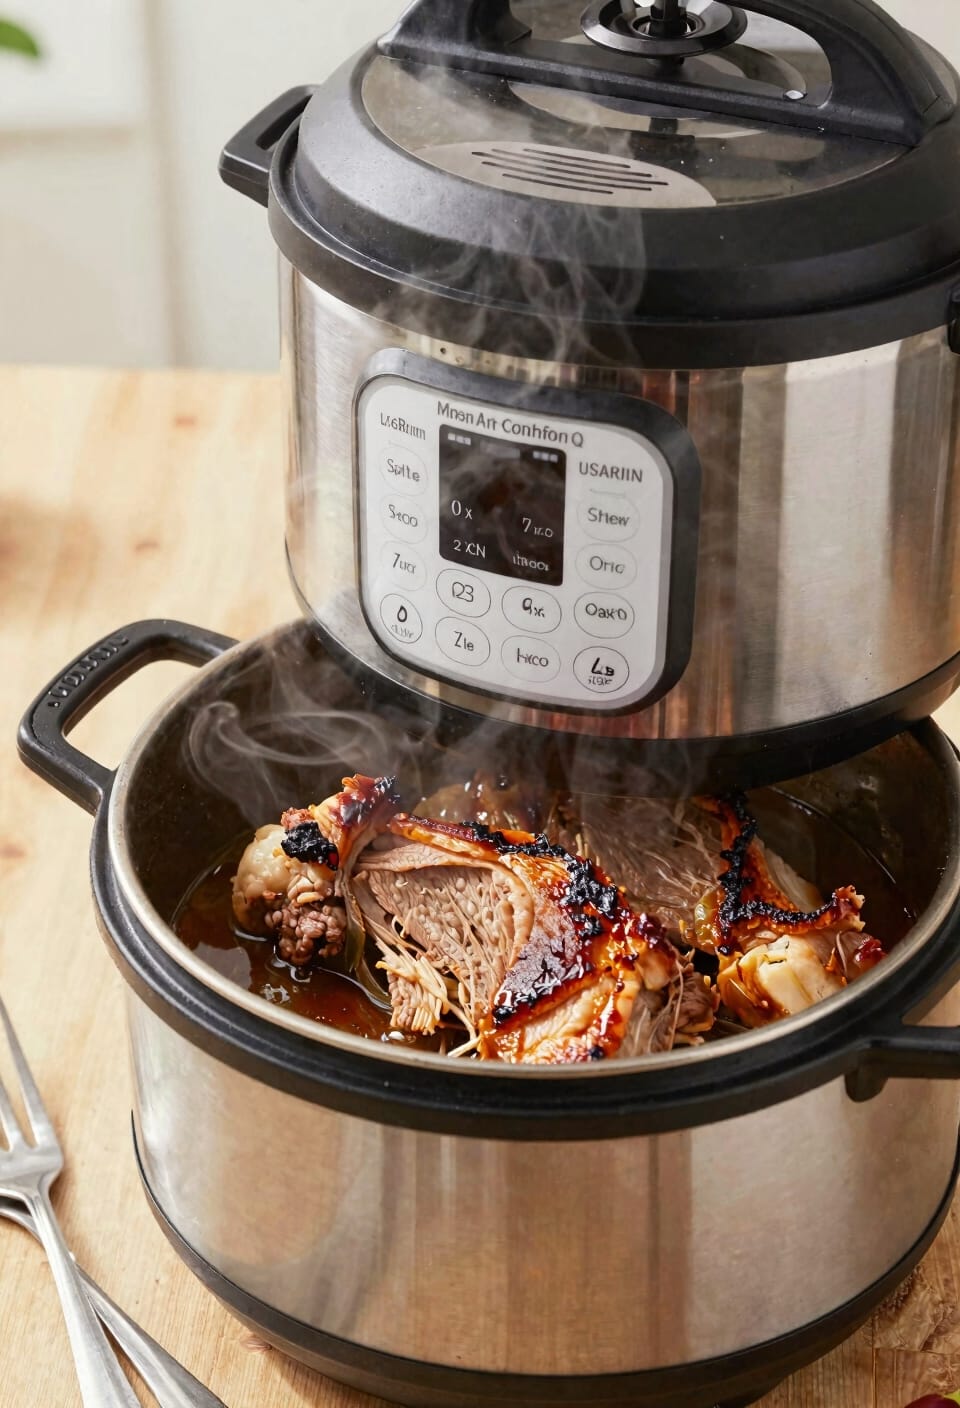
All right, here’s the thing: I’ve made plenty of tough, disappointing pork shoulders, but the Instant Pot honestly changed the game. Season your 3-5 pound shoulder overnight if you can, sear it hard in butter and oil to build flavor, then add broth and aromatics before pressure cooking on high for about 60 minutes. Let it naturally release for 15 minutes, check that it shreds easily with a fork, and you’ve got genuinely tender pulled pork without the all-day babysitting a traditional braise demands. There’s definitely more technique worth knowing about.
Key Takeaways
- Choose a 3–5 pound pork shoulder, season with a dry rub, and optionally salt overnight for enhanced flavor development.
- Sear the pork in oil and butter for 2–3 minutes per side to create a golden crust and flavorful fond.
- Deglaze the pot with 1 cup broth while scraping caramelized bits, then add onions, garlic, and fresh herbs.
- Pressure cook on high for 60 minutes, then allow 15 minutes natural pressure release before checking tenderness with a fork.
- Meat is done when it shreds easily with a fork and reaches an internal temperature of 145°F.
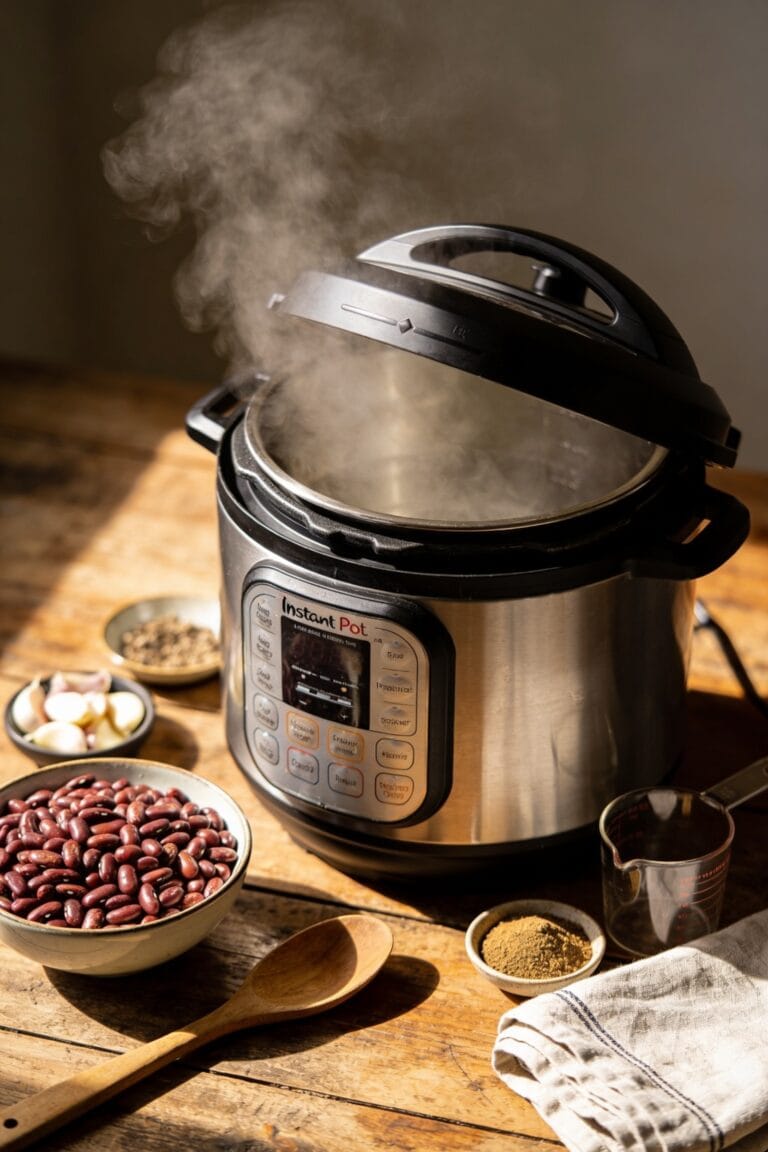
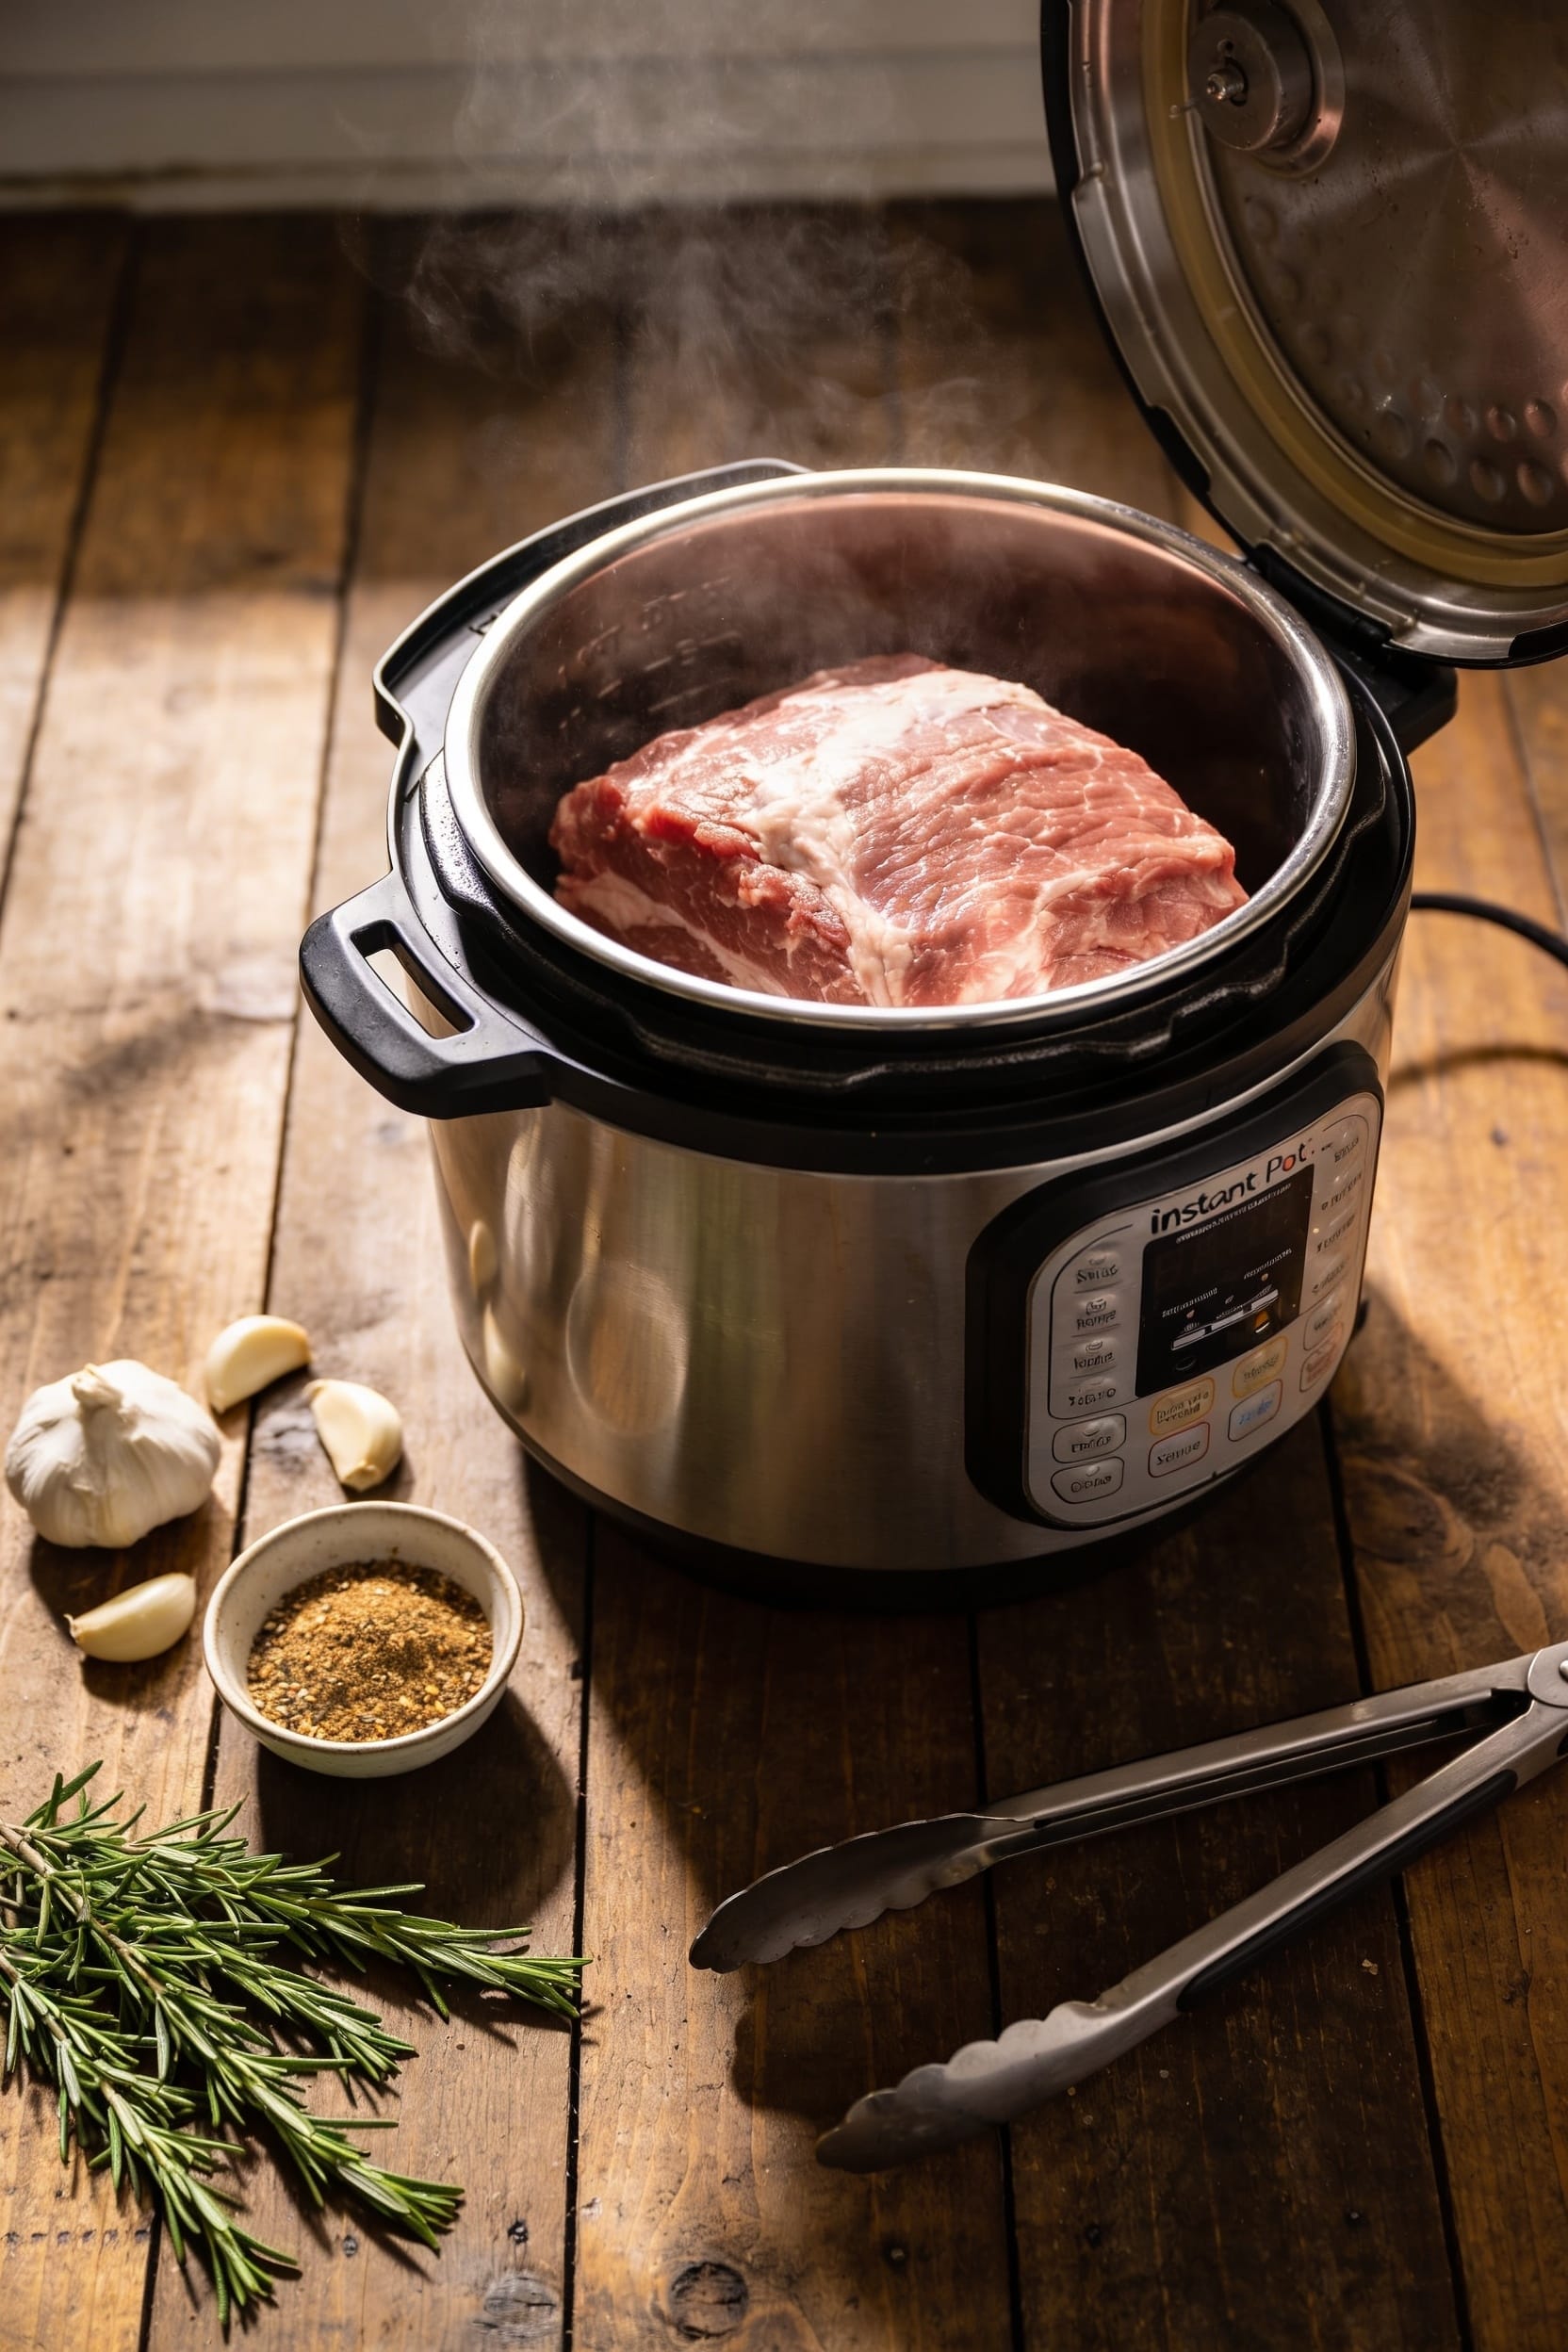
Prepare and Season Your Pork for the Instant Pot
Let me start with the most important thing: you’ve got to pick the right cut of meat, and here’s what I’ve learned after making this about a hundred times—a pork shoulder between 3 and 5 pounds is your sweet spot for the Instant Pot, anything smaller and you’re not getting enough bang for your buck, anything larger and you’re either cooking it in batches or dealing with uneven doneness that’ll drive you nuts.
Now for seasoning. I’m a big fan of overnight salting—just rub it down the night before and let it sit uncovered in the fridge. This develops flavor in ways immediate seasoning can’t touch. If you’re short on time, no shame in seasoning right before cooking.
For your dry rub, I lean on brown sugar, salt, pepper, cayenne, onion powder, garlic powder, and smoked paprika. Flavor injection through garlic cloves sliced into pockets? That’s my secret weapon. Pat everything dry before cooking—moisture’s your enemy.
Sear the Meat to Build Flavor
Now that your pork’s prepped and seasoned, it’s time to actually cook it—and this is where browning makes all the difference. Switch your Instant Pot to sauté mode and get your oil and butter combination heating. You want it hot enough that the pork develops that gorgeous hot crust immediately when it hits the pan.
Sear each piece for 2-3 minutes per side, hitting all surfaces including the top and bottom. Don’t skip this step; I know it feels fussy, but you’re building fond development—those browned bits stuck to the pot bottom create serious flavor complexity. Work in batches if your pot’s snug. Once everything’s golden, you’ve unleashed flavors that’ll make your pulled pork genuinely memorable.
Add Broth and Aromatics
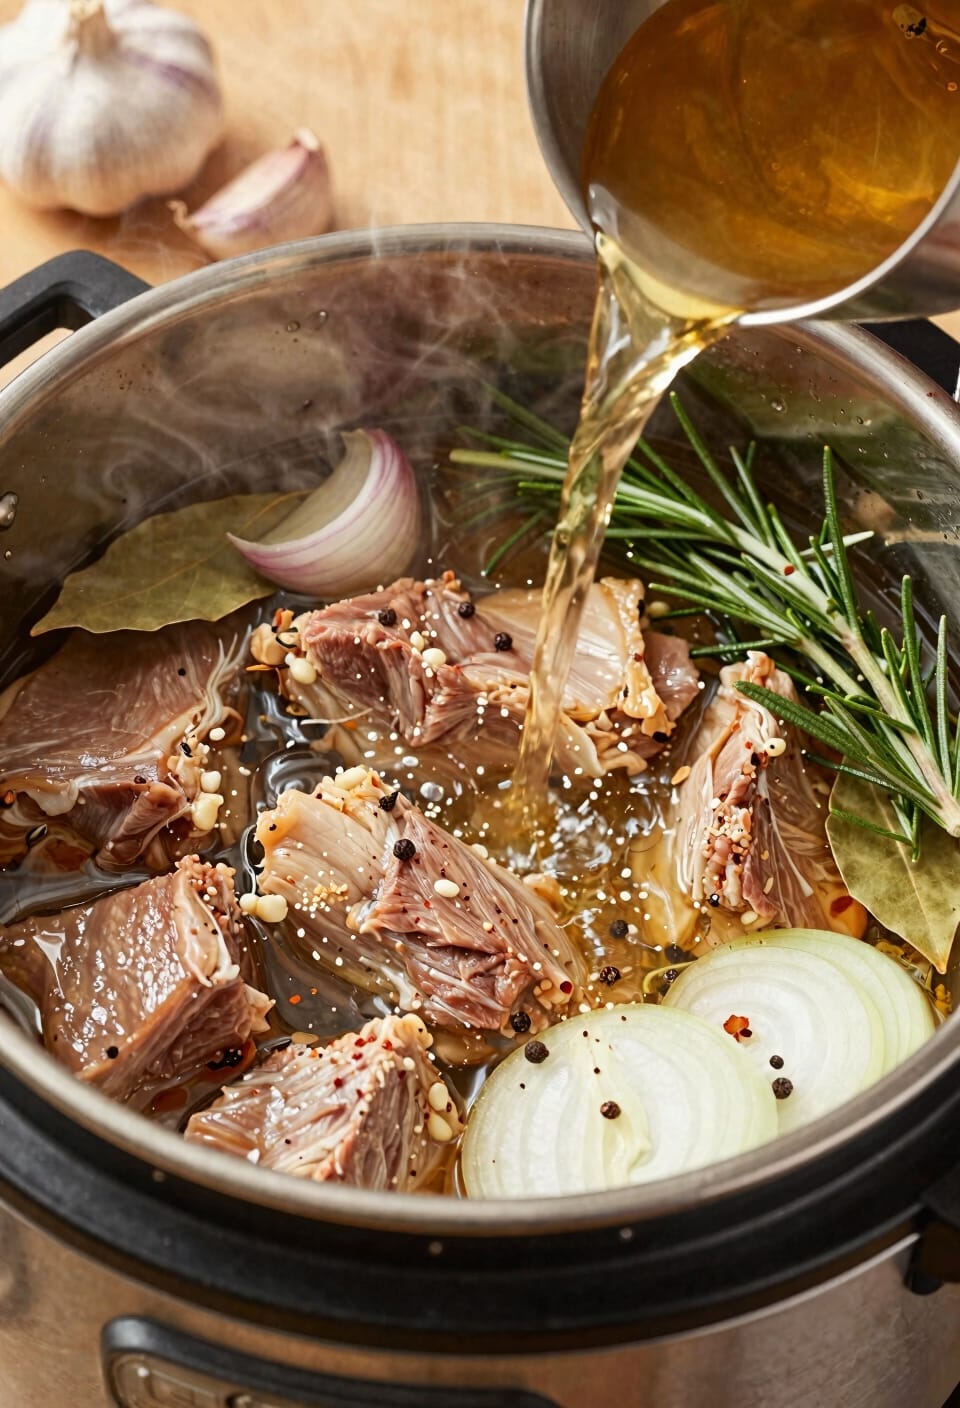
With all that fond built up on the pot bottom, you’ve got the foundation for something really good—and that’s where your broth comes in. Pour in about a cup of chicken or vegetable broth, then use a wooden spoon to scrape away those caramelized bits. They’re liquid gold, seriously.
Now add your aromatics—diced onion, minced garlic, fresh rosemary, and thyme. Let them cook for a few minutes until fragrant. This is where I sometimes sneak in a splash of balsamic reduction or apple cider vinegar for complexity, maybe some citrus zest if I’m feeling fancy. You’re building layers here, creating something with actual depth. The broth is just the vehicle—these aromatics and flavor boosters? That’s where the magic happens.
Pressure Cook Until Fork-Tender
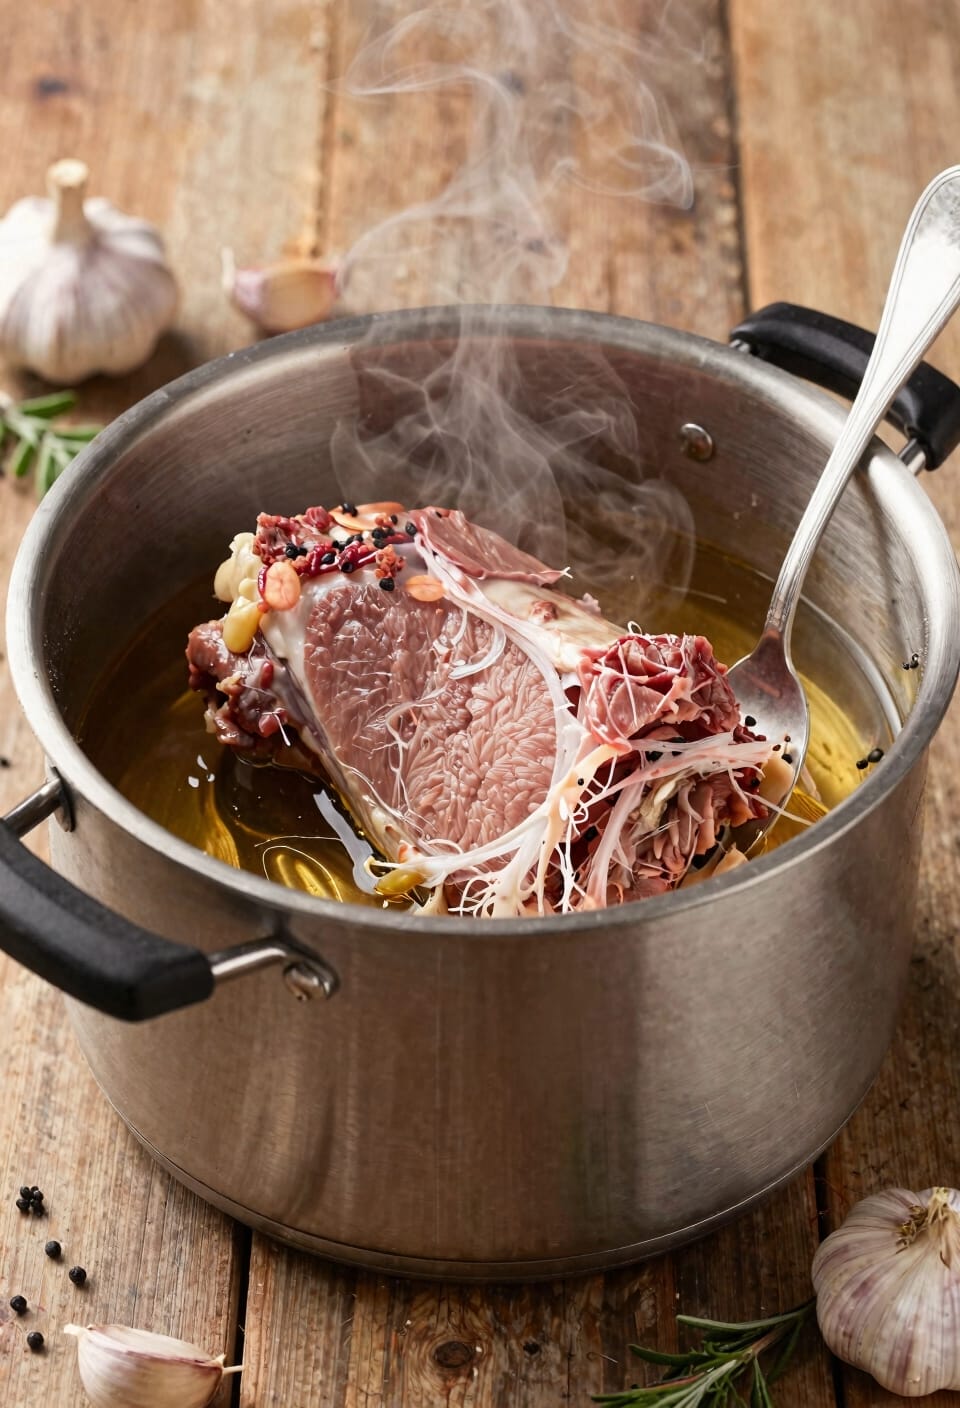
Once you’ve got that fragrant broth-and-aromatics situation going, it’s time to seal the deal—literally. Lock that lid down and set your pressure valve to sealing. Now, here’s where patience becomes your secret weapon: I’m hitting high pressure for 60 minutes on a medium-sized shoulder. Larger roasts? You might need to bump that to 90 minutes or even longer—I won’t lie, there’s some guesswork involved depending on your specific cut.
When the timer goes off, don’t rush it. Let that pressure do a slow release naturally for 15 minutes before you vent the remaining steam. This matters more than you’d think for texture testing. Once you can easily pull the meat apart with a fork, you’re golden. If it’s still stubborn, seal it back up for another 30 minutes.
Release Pressure and Check Doneness
The pressure release is where a lot of people mess up, and I say that with the kindness of someone who’s definitely been there. Let that Instant Pot sit untouched for fifteen minutes—carryover cooking’s doing the heavy lifting while you’re standing there resisting the urge to peek. Then crack the valve to quick-release what’s left.
Now comes the visual cues part. You’re looking for pork that shreds easily when you test it with a fork. If it’s still stubborn, don’t panic—just close the lid, cook another thirty minutes on high pressure, and try again.
Grab your meat thermometer and verify you’ve hit 145°F internally. You’ve earned this moment. The pork’s finally ready.
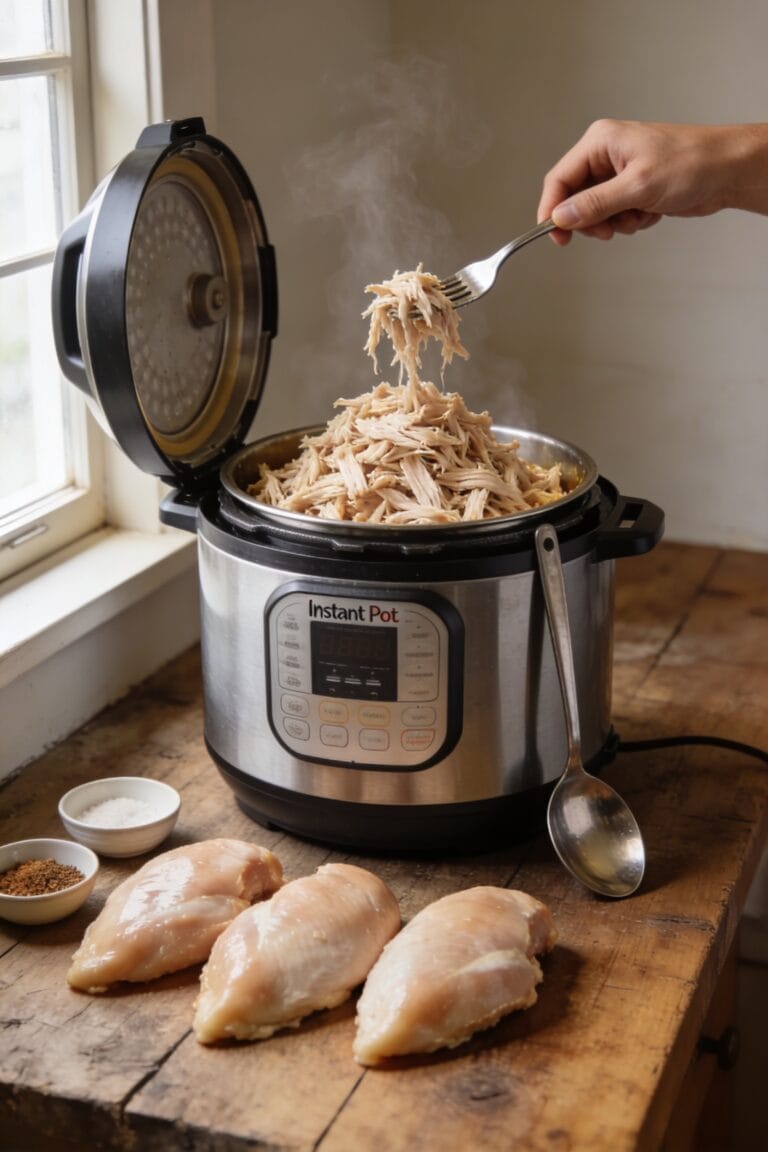
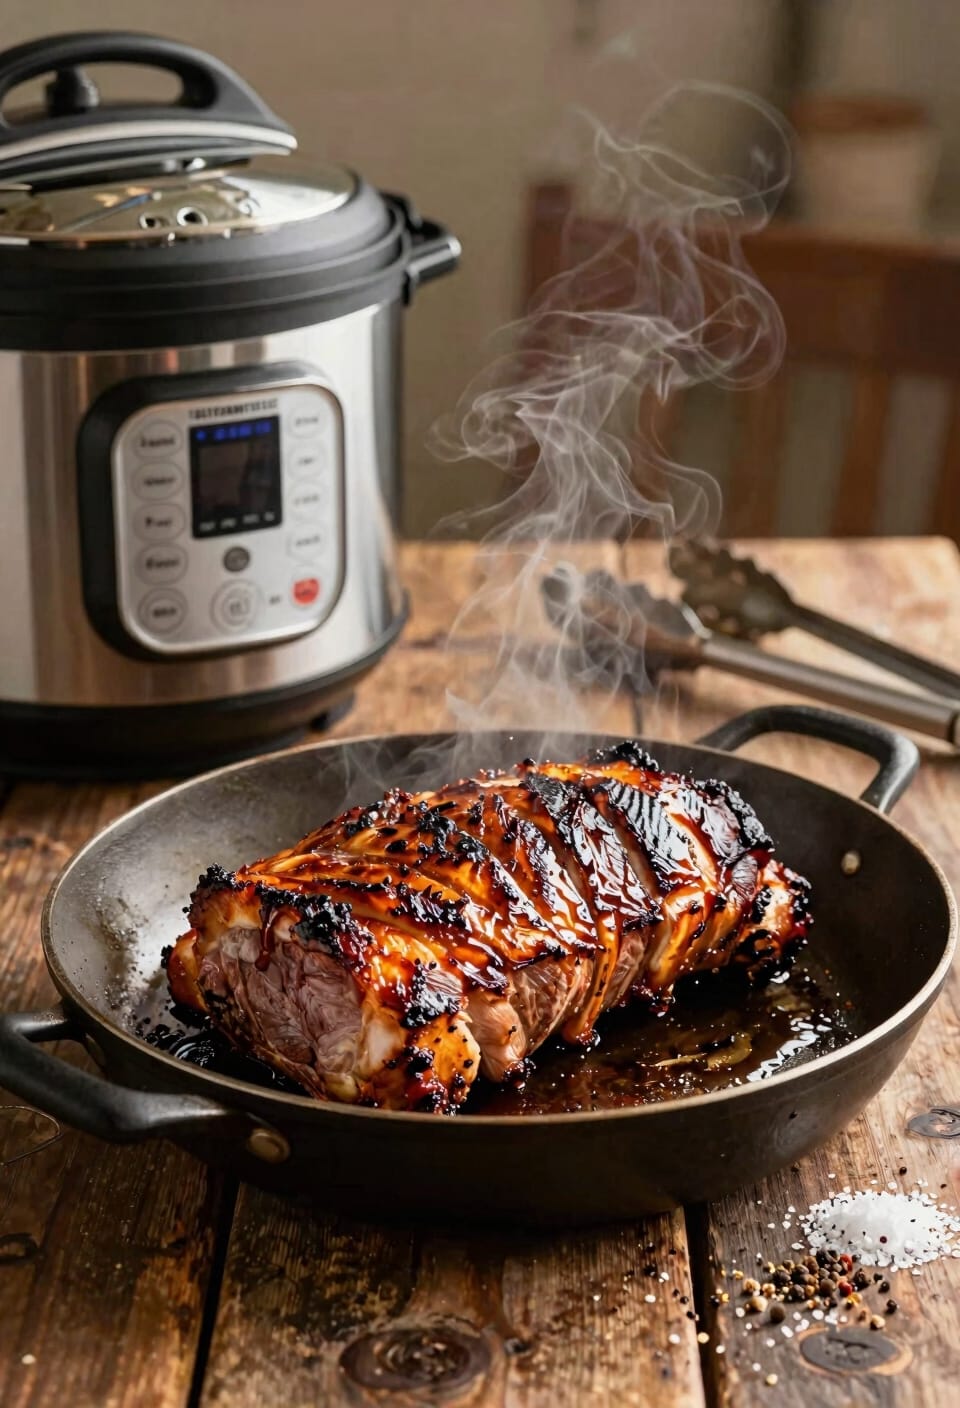
Shred and Serve Your Pulled Pork
Let your pork rest for a few minutes—I know you’re excited, but those 3-5 minutes aren’t wasted time, they’re when the meat relaxes and becomes infinitely easier to shred. Grab two forks and pull it apart into those beautiful, tender strands. Now here’s where you get creative with plate presentation: pile it high on a cutting board, drizzle some of those cooking drippings back over top, and you’ve already made it look intentional.
For flavor pairing, I’m talking BBQ sandwiches, tacos, burritos, even pizza if you’re feeling adventurous. The beauty of pulled pork is its versatility—it plays well with almost anything. Got leftovers? Freeze what you don’t use immediately; it’ll keep beautifully for three months and make future you genuinely grateful.
Frequently Asked Questions
How Long Can I Freeze Pulled Pork, and Does It Maintain Quality?
I’ll tell you that pulled pork’s freezer lifespan reaches up to three months while maintaining quality. You’ll find texture preservation remains excellent when you store it properly in airtight containers, ensuring your meal prep stays delicious.
What Are Some Serving Suggestions Beyond Traditional BBQ Sandwiches?
I’ve found that pulled pork’s versatility extends far beyond BBQ. You can craft Asian tacos with ginger-soy glazes, pile it high on loaded nachos with cheese and jalapeños, or use it for burritos and quesadillas.
Can I Make Gravy From the Cooking Drippings, and How?
Yes, I’ll make pan gravy from your drippings. I strain the liquid, then whisk cornstarch slurry—cornstarch mixed with cold water—into the heated drippings. I simmer it until it thickens, creating rich, flavorful gravy.
What Should I Do if the Pork Doesn’t Shred Easily After Cooking?
I’d literally move mountains if my pork didn’t shred easily—replace the lid and cook thirty more minutes on high pressure. You’ll master knife techniques or use slow cooker methods if needed for ultimate tenderness.
Is It Necessary to Salt the Pork Shoulder the Night Before?
No, it’s not necessary, though I’d recommend it. When I salt overnight, I’m dry brining, which enhances flavor through superior salt distribution techniques. You’ll get better results, but immediate seasoning works fine if you’re short on time.
Conclusion
Look, you’ve now nailed the nuances of no-fuss, foolproof pork perfection in your Instant Pot. That tender, succulent shoulder situation you’ve created deserves celebrating—pile it high on buns, shred it into salads, or simply savor it straight from the bowl. The beauty here is that you’ve basically become a backyard barbecue master without the hassle, heat, or hours hovering over a smoker. Your Instant Pot just did the heavy lifting.