As an Amazon Associate, we earn from qualifying purchases. Some links on this site are affiliate links at no extra cost to you. Our recommendations are based on thorough research and editorial judgment.
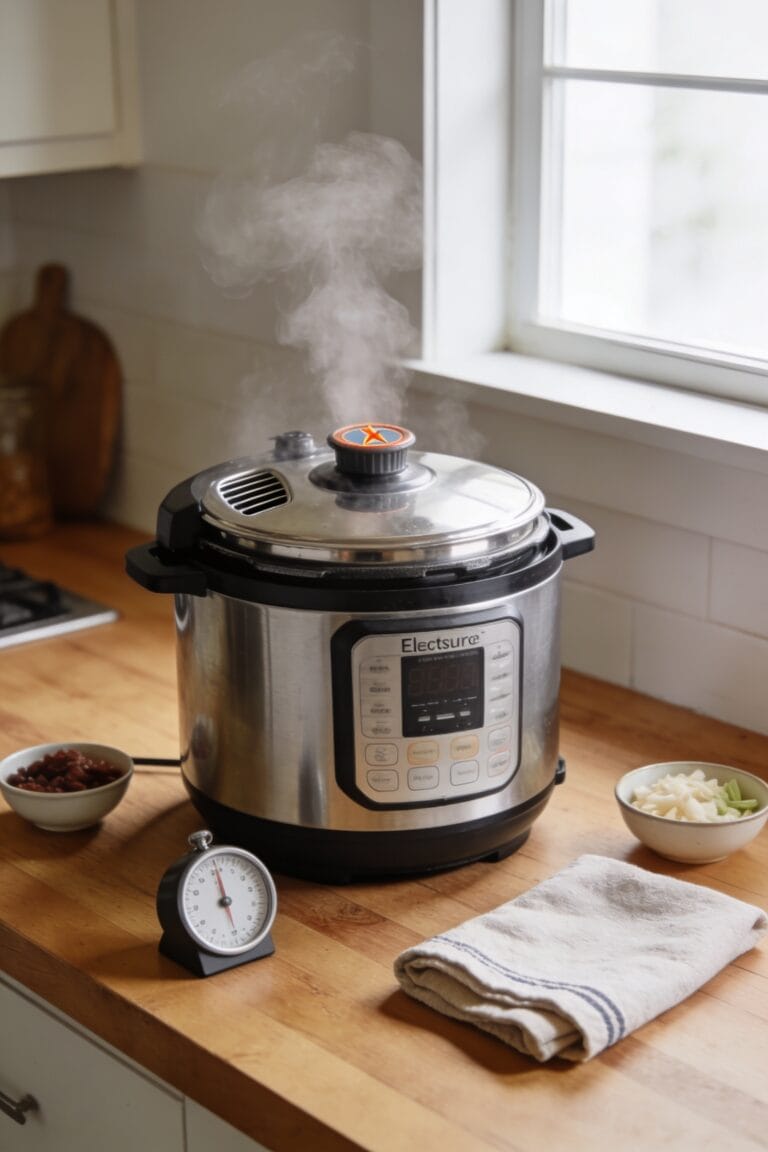
How to Make Apple Butter in an Instant Pot
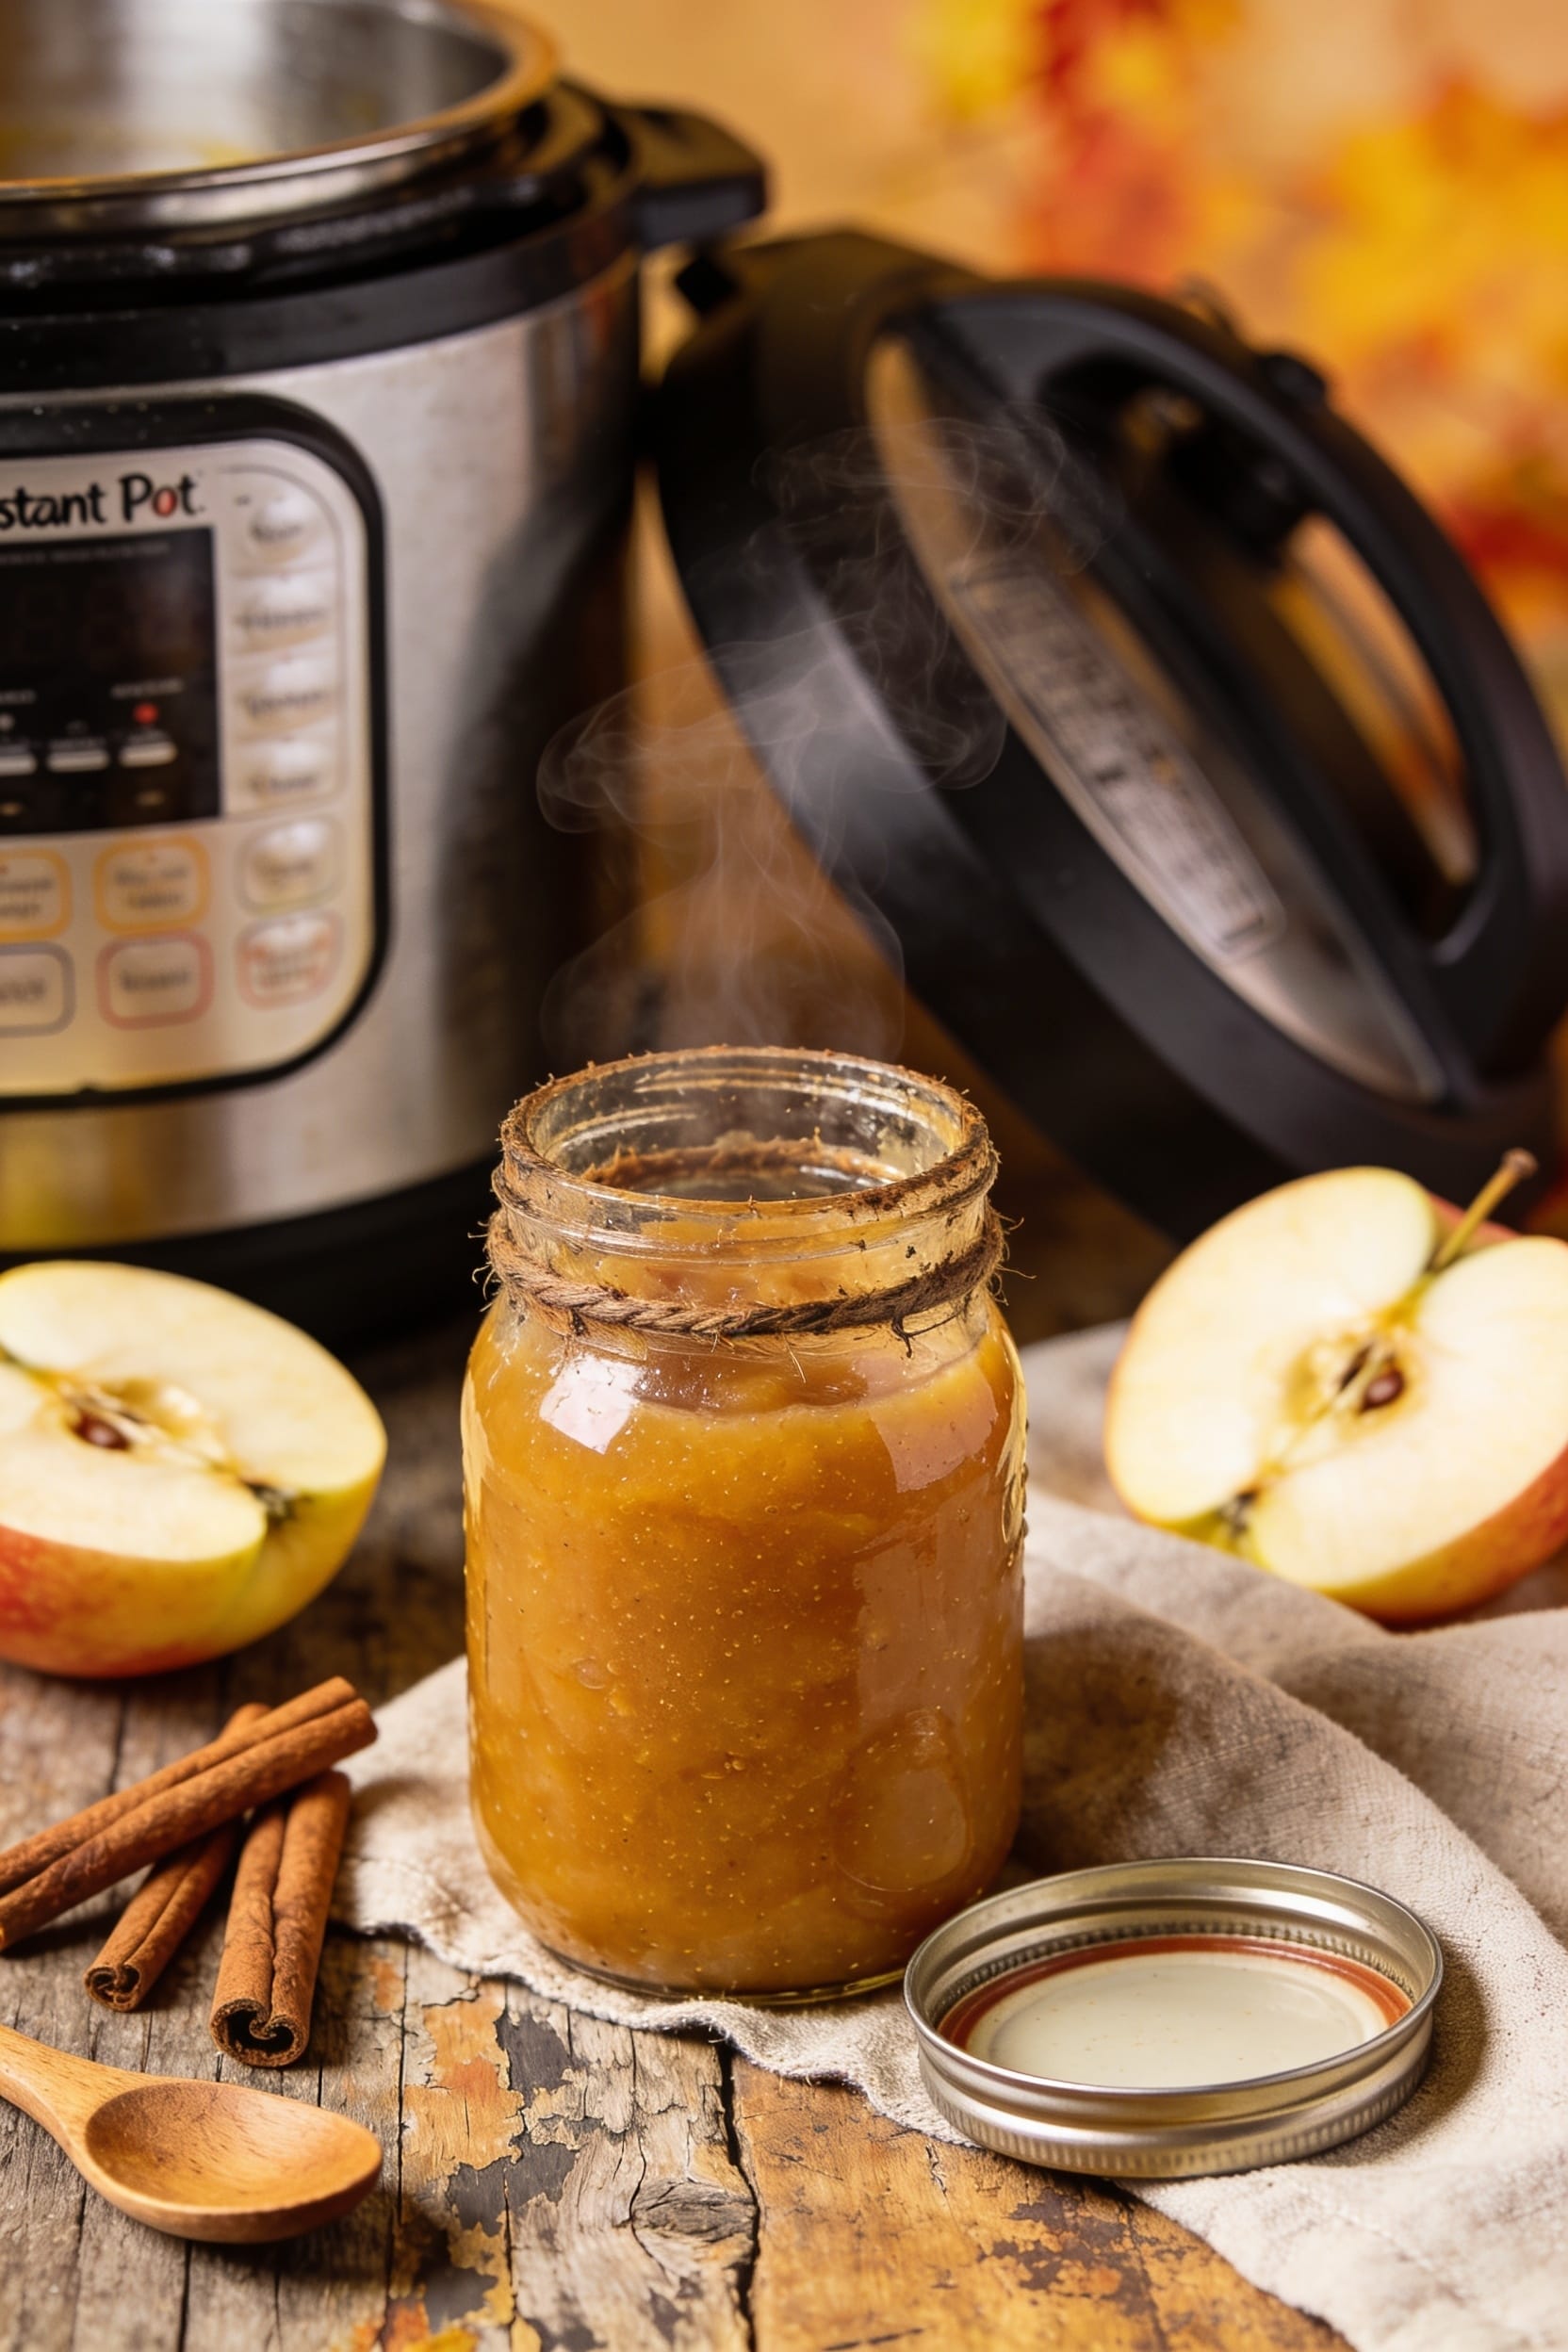
All right, here’s the thing: you’ll wash and chop your apples, toss them in the Instant Pot with brown sugar, cinnamon, vanilla, and about a cup of liquid per five pounds of fruit. Seal it up, run high pressure for fifteen minutes, then let the pressure release naturally. Blend everything smooth with an immersion blender, switch to sauté mode, and reduce it down until it’s thick and glossy—maybe thirty minutes of stirring. Cool it completely before jarring. The real magic happens in those final flavor adjustments, though.
Key Takeaways
- Prepare apples by washing, coring, and chopping into 1–2 inch pieces; peeling is optional for nutrition retention.
- Combine apples with brown sugar, cinnamon, salt, vanilla, and liquid in the Instant Pot; pressure cook on high for 15 minutes.
- Use an immersion blender to purée cooked apples to desired smoothness after natural pressure release.
- Sauté on low heat for 15 minutes to 1 hour, stirring frequently, to reduce mixture to two-thirds volume and thicken.
- Cool to room temperature, transfer to sterilized jars, and refrigerate for short-term storage or water-bath can for shelf stability.
Prepare Your Apples: Wash, Core, and Chop
All right, let’s get those apples ready—and I’m honest, this is where most people either overthink things or skip steps they shouldn’t. Wash your apples thoroughly under cool water, then core them out completely. Now, about peeling: I don’t, and here’s why. You’re leaving skin nutrition on the table if you do, plus it deepens the color beautifully. For apple selection, grab whatever you’ve got—Granny Smiths, Honeycrisps, a chaotic mix. Chop them into 1 to 2 inch pieces depending on your Instant Pot’s size. Bigger chunks take longer to break down, smaller ones cook faster. Nothing revolutionary here, just deliberate prep that sets you up for success.
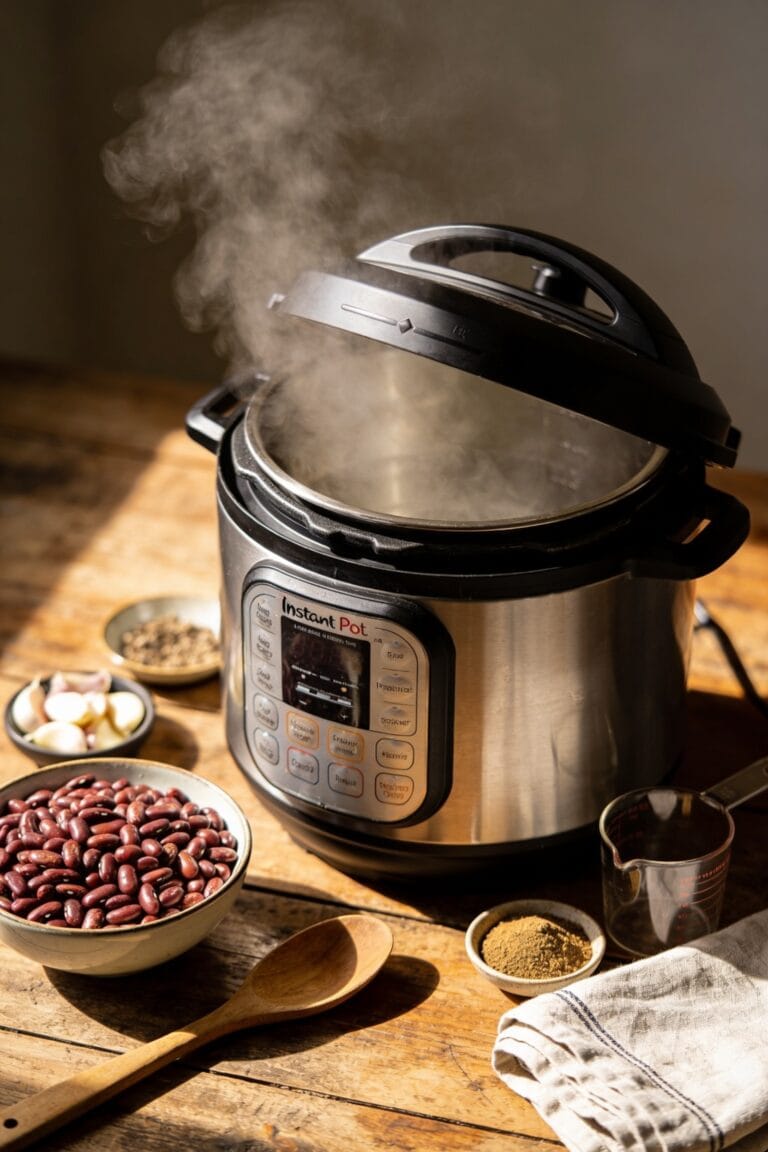
Combine Ingredients and Pressure Cook for 15 Minutes
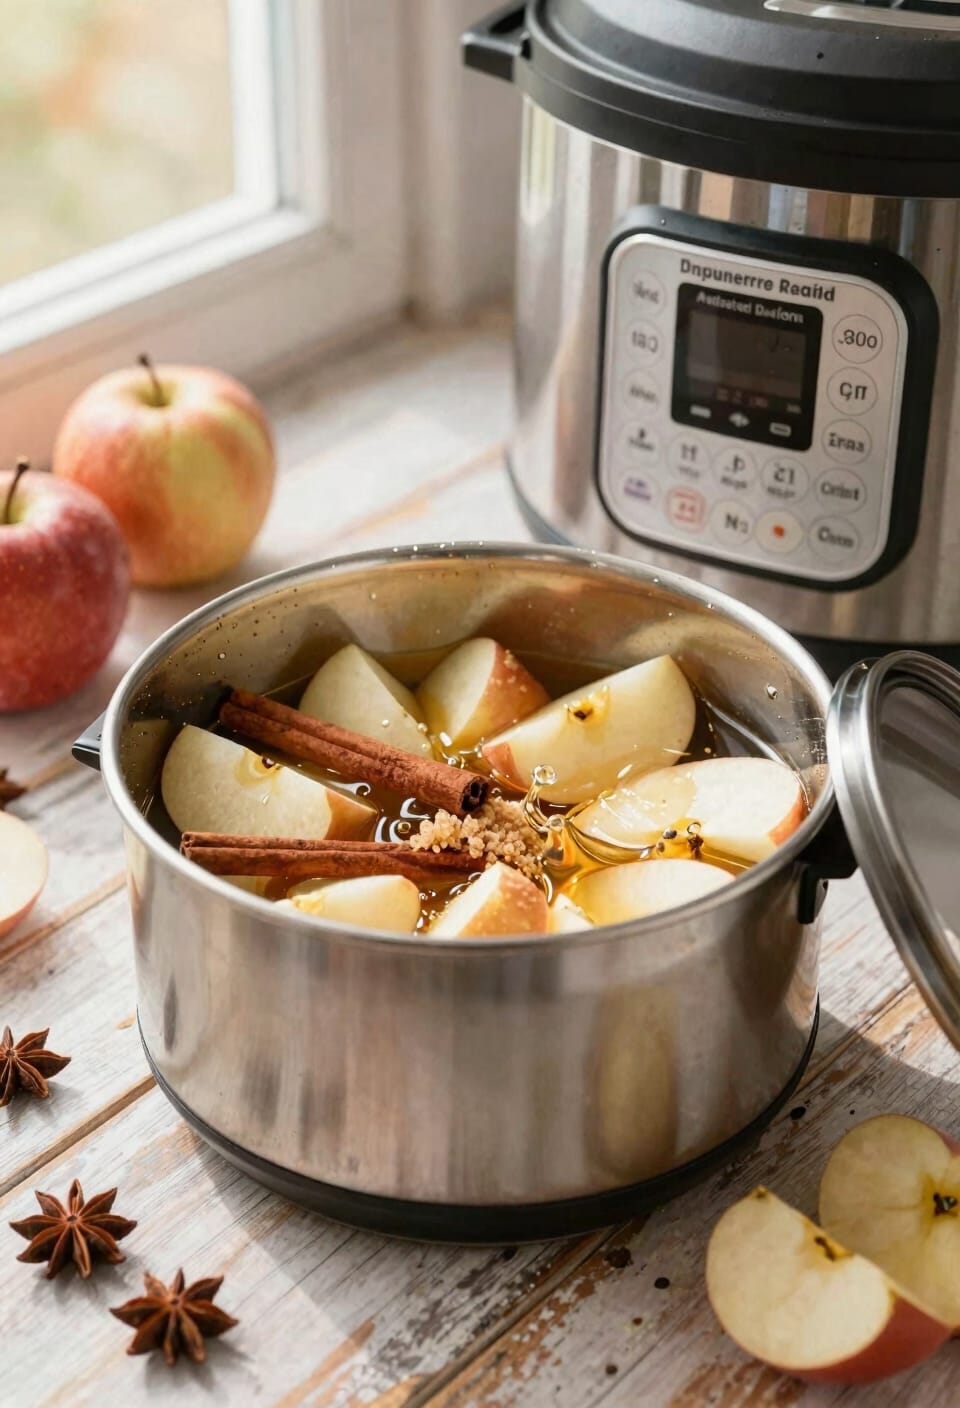
Now that your apples are prepped and ready to go, dump them into the Instant Pot along with your brown sugar, cinnamon, salt, vanilla, and whatever liquid you’re using—apple cider if you’re feeling fancy, water if you’re not, and honestly both work fine. The liquid ratio matters here; you want enough to create steam but not so much that you’re practically making apple soup. I typically use about a cup per five pounds of apples, though I’m not a scientist about it.
Seal that valve, hit high pressure, and set your pressure timing for fifteen minutes. It’s the sweet spot—long enough to break down the apples into submission, short enough that you’re not waiting forever. When it beeps, let pressure release naturally for ten to twenty minutes before venting any remaining steam.
Release Pressure Naturally, Then Quickly
Once that timer goes off and your Instant Pot’s beeping like it’s won the lottery, resist the urge to immediately yank that valve—I know the smell is incredible and you want to dive right in, but natural pressure release is where the magic happens. For the next 10 to 20 minutes, I let that slow release valve do its thing, allowing gradual cooling to occur naturally. This gentle approach prevents your apple butter from splattering everywhere and protects the apples’ delicate flavors from shock. After that natural release period, you can crack open the quick release valve to expel any remaining steam. Now your apples have relaxed into something beautiful and ready for blending.
Blend Your Apples for Smooth Apple Butter
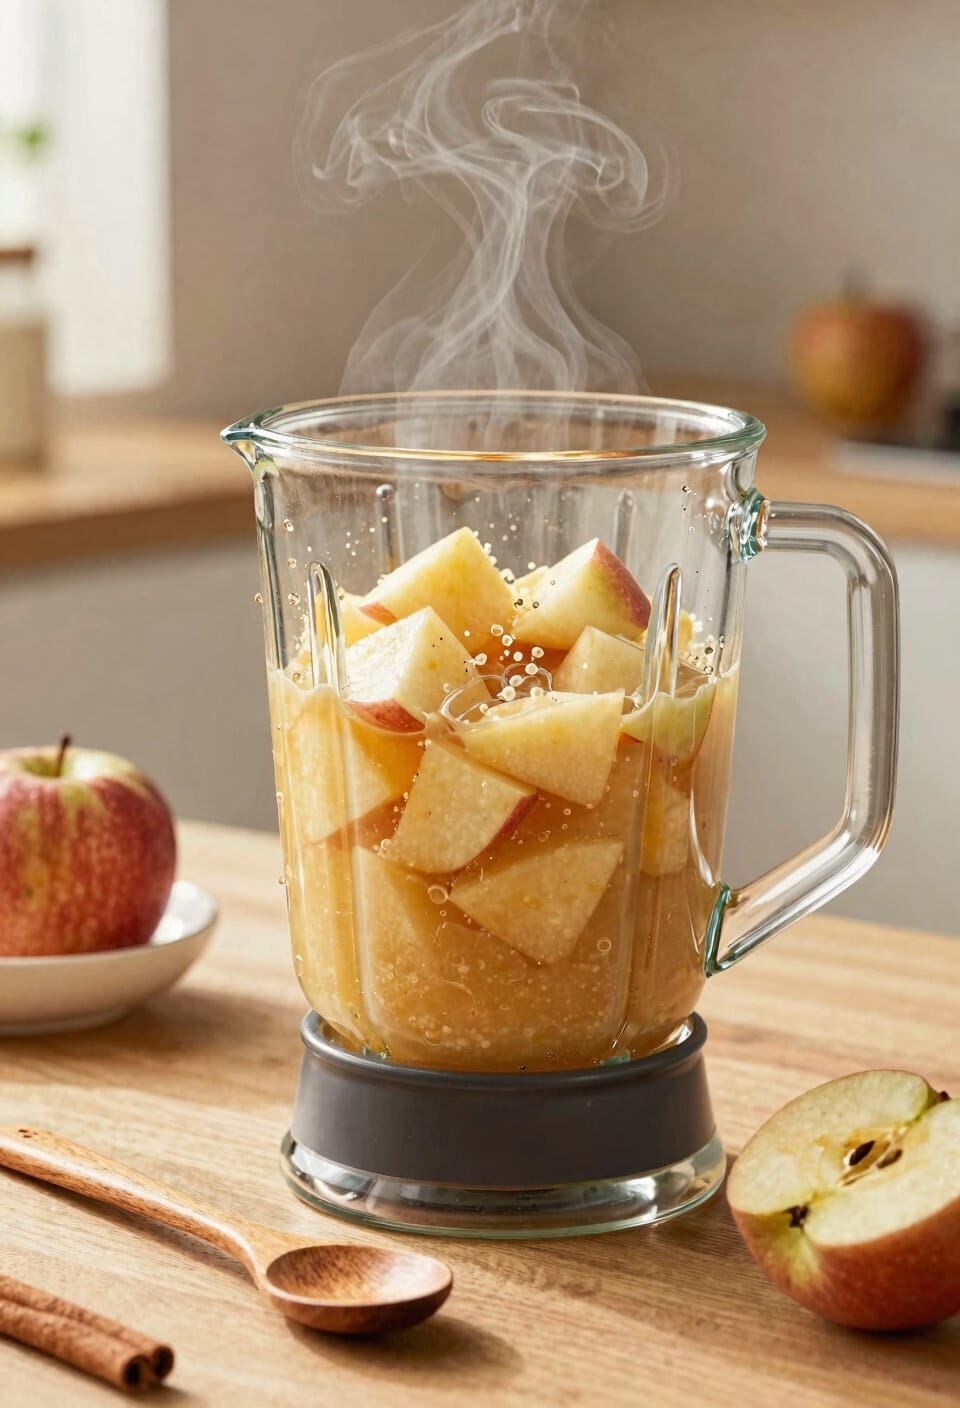
With those apples now soft as clouds and your Instant Pot finally quiet, it’s time to transform them into that silky, spreadable perfection you’re after. Here’s the thing: I use an immersion blender right in the pot—it’s faster and honestly less of a mess than transferring everything. If you’re working with a larger batch, though, batch blending in a separate blender prevents overflow and gives you better control. Just mind the thermal safety; that mixture is piping hot, so keep the lid slightly ajar and let steam escape gradually. I usually pulse rather than blend continuously, which helps me nail the exact texture I want. Some folks prefer small chunks; others demand complete smoothness. You do you.
Thicken Your Apple Butter With the Sauté Function

Your blended apples are now smooth (or textured, if that’s your thing), but they’re still too loose to be proper apple butter—right now you’ve basically got applesauce, which is fine if that’s what you wanted, but we’re after something thicker and more intensely flavored.
Now here’s where the Instant Pot’s sauté function earns its keep. Switch it to low heat and let that mixture bubble away gently for 15 minutes to an hour—depends on how thick you want it. Stir frequently to prevent scorching, and skim foam removal keeps things clean as it reduces. You’re aiming for about two-thirds of your original volume. Lower heat settings prevent excessive splattering, which is nice because apple butter eruptions aren’t anyone’s idea of fun.
Season With Vanilla, Cinnamon, and Lemon
As your apple butter reaches that perfect thick consistency, this is where the real magic happens—the seasoning stage that transforms it from merely delicious to genuinely unforgettable. I’m talking vanilla extract, cinnamon, and lemon juice—a sensory pairing that hits every note your palate craves.
Stir in your vanilla during the final sauté stage or right after pressure cooking releases. Then add cinnamon to taste, remembering that this spice intensifies as it cools. The lemon juice? That’s your secret weapon. Just a tablespoon or two cuts through the sweetness and brightens everything up.
Taste as you go. If you used whole cinnamon sticks earlier, remove them before blending. These simple additions transform basic cooked apples into something you’ll actually want on everything, whether as a garnish suggestion for yogurt or straight from the jar at midnight.
Cool and Jar Your Apple Butter
Once you’ve dialed in those flavors and your apple butter’s looking like glossy, deep-brown perfection, patience becomes your next ingredient—and I know that’s easier said than done when something smells this good.
Here’s the thing: let that apple butter cool on cooling racks until it reaches room temperature. I’m talking genuinely cool, not just warm-to-the-touch. This prevents condensation from forming inside your jars, which’ll mess with shelf life.
While you’re waiting, handle jar sterilization. Run your mason jars through the dishwasher or boil them for ten minutes. You want them bone-dry and ready.
Once everything’s cooled, transfer your apple butter into those sterilized jars. Seal them up and store in the fridge for short-term use, or process them through a canning bath if you’re feeling ambitious about shelf-stable preservation.
Store in the Fridge or Can for Shelf Life
The beautiful part about apple butter is that it gives you options, depending on how long you want to keep it around and how much counter space you’re willing to sacrifice. For cold storage, just pop your cooled jars straight into the fridge—you’ll get a solid two to three weeks of shelf life, maybe longer if you’re lucky. Now, if you’re thinking bigger picture and want actual shelf stability, the canning route is your friend. Process those jars in a water bath, follow proper canning guidelines, and you’ve got yourself shelf-stable apple butter that’ll last through winter and beyond. Honestly, I do both depending on my mood and how generous I’m feeling with gifts.
Fix Watery, Chunky, or Underseasoned Results
If your apple butter didn’t turn out quite right the first time, don’t sweat it—I’ve absolutely been there, and the good news is that most common problems are totally fixable. Got something watery? Run the sauté function again for another 15-30 minutes, stirring frequently to reach that proper consistency. For texture remedies with chunks you didn’t want, use your immersion blender for a smoother result, or transfer to a food processor if you’re working with a larger batch. If it tastes flat, seasoning adjustments are your friend—try adding cinnamon, vanilla, or a squeeze of lemon juice. Taste as you go. You’ve got this.
Try Maple, Allspice, or Brown Sugar Variations
Experimenting with different flavor combinations is honestly where apple butter gets fun, because once you’ve nailed the basic technique, you’re really just playing in the spice cabinet to find what makes your version sing.
I’m partial to a maple pairing—add it during the sauté phase and watch how it deepens everything. Brown sugar works similarly, bringing warmth without overpowering the apples. Now, spice balancing is where things get tricky. Allspice adds complexity that cinnamon alone can’t touch, but go easy; a quarter teaspoon transforms the whole batch. Cloves are sneaky—they’ll muscle out every other flavor if you’re not careful.
Start conservative. You can always stir in more during those final adjustments, but you can’t un-ring that bell.
Frequently Asked Questions
Can I Make Apple Butter With Store-Bought Applesauce Instead of Fresh Apples?
I’d say yes, you can use store-bought applesauce, though you’ll need fewer sugar adjustments since it’s already sweetened. The texture comparison shows applesauce requires less reduction time. A flavor boost from cinnamon or vanilla helps compensate for less complexity than fresh apples provide.
How Do I Know if My Apple Butter Has Reached the Correct Thickness Consistency?
I’d love to tell you it’s complicated, but it’s actually simple. I use two visual cues: the mixture should coat your spoon thickly, and a spoon dragged through it shouldn’t immediately fill the gap. That’s it.
What’s the Difference Between Natural and Quick Pressure Release for This Recipe?
I’d recommend natural release first—it lets pressure drop gradually over 10-20 minutes, preserving your apple butter’s texture. Quick release vents steam immediately, which you can use afterward for any remaining pressure.
Can I Use a Food Processor Instead of an Immersion Blender for Blending?
Yes, you can definitely use a food processor instead of an immersion blender. Like Prometheus bringing fire, it’ll transform your cooked apples into smooth butter. I’d recommend texture testing in batches to avoid overflow and achieve your preferred consistency.
How Long Does Homemade Apple Butter Last in the Refrigerator Before Spoiling?
I’d recommend storing your homemade apple butter in the refrigerator for about three to four weeks. Watch for spoilage signs like mold, off-odors, or unusual discoloration. When you notice these, it’s time to discard it.
Conclusion
I’ve made apple butter in my Instant Pot dozens of times now, and here’s what blows my mind: Americans throw away roughly 133 billion pounds of food annually, and a huge chunk of that is apples. You’re literally taking something most people toss and turning it into homemade gold in under an hour. That’s not just delicious—it’s genuinely smart cooking.