As an Amazon Associate, we earn from qualifying purchases. Some links on this site are affiliate links at no extra cost to you. Our recommendations are based on thorough research and editorial judgment.
How to Cook Pinto Beans in an Instant Pot
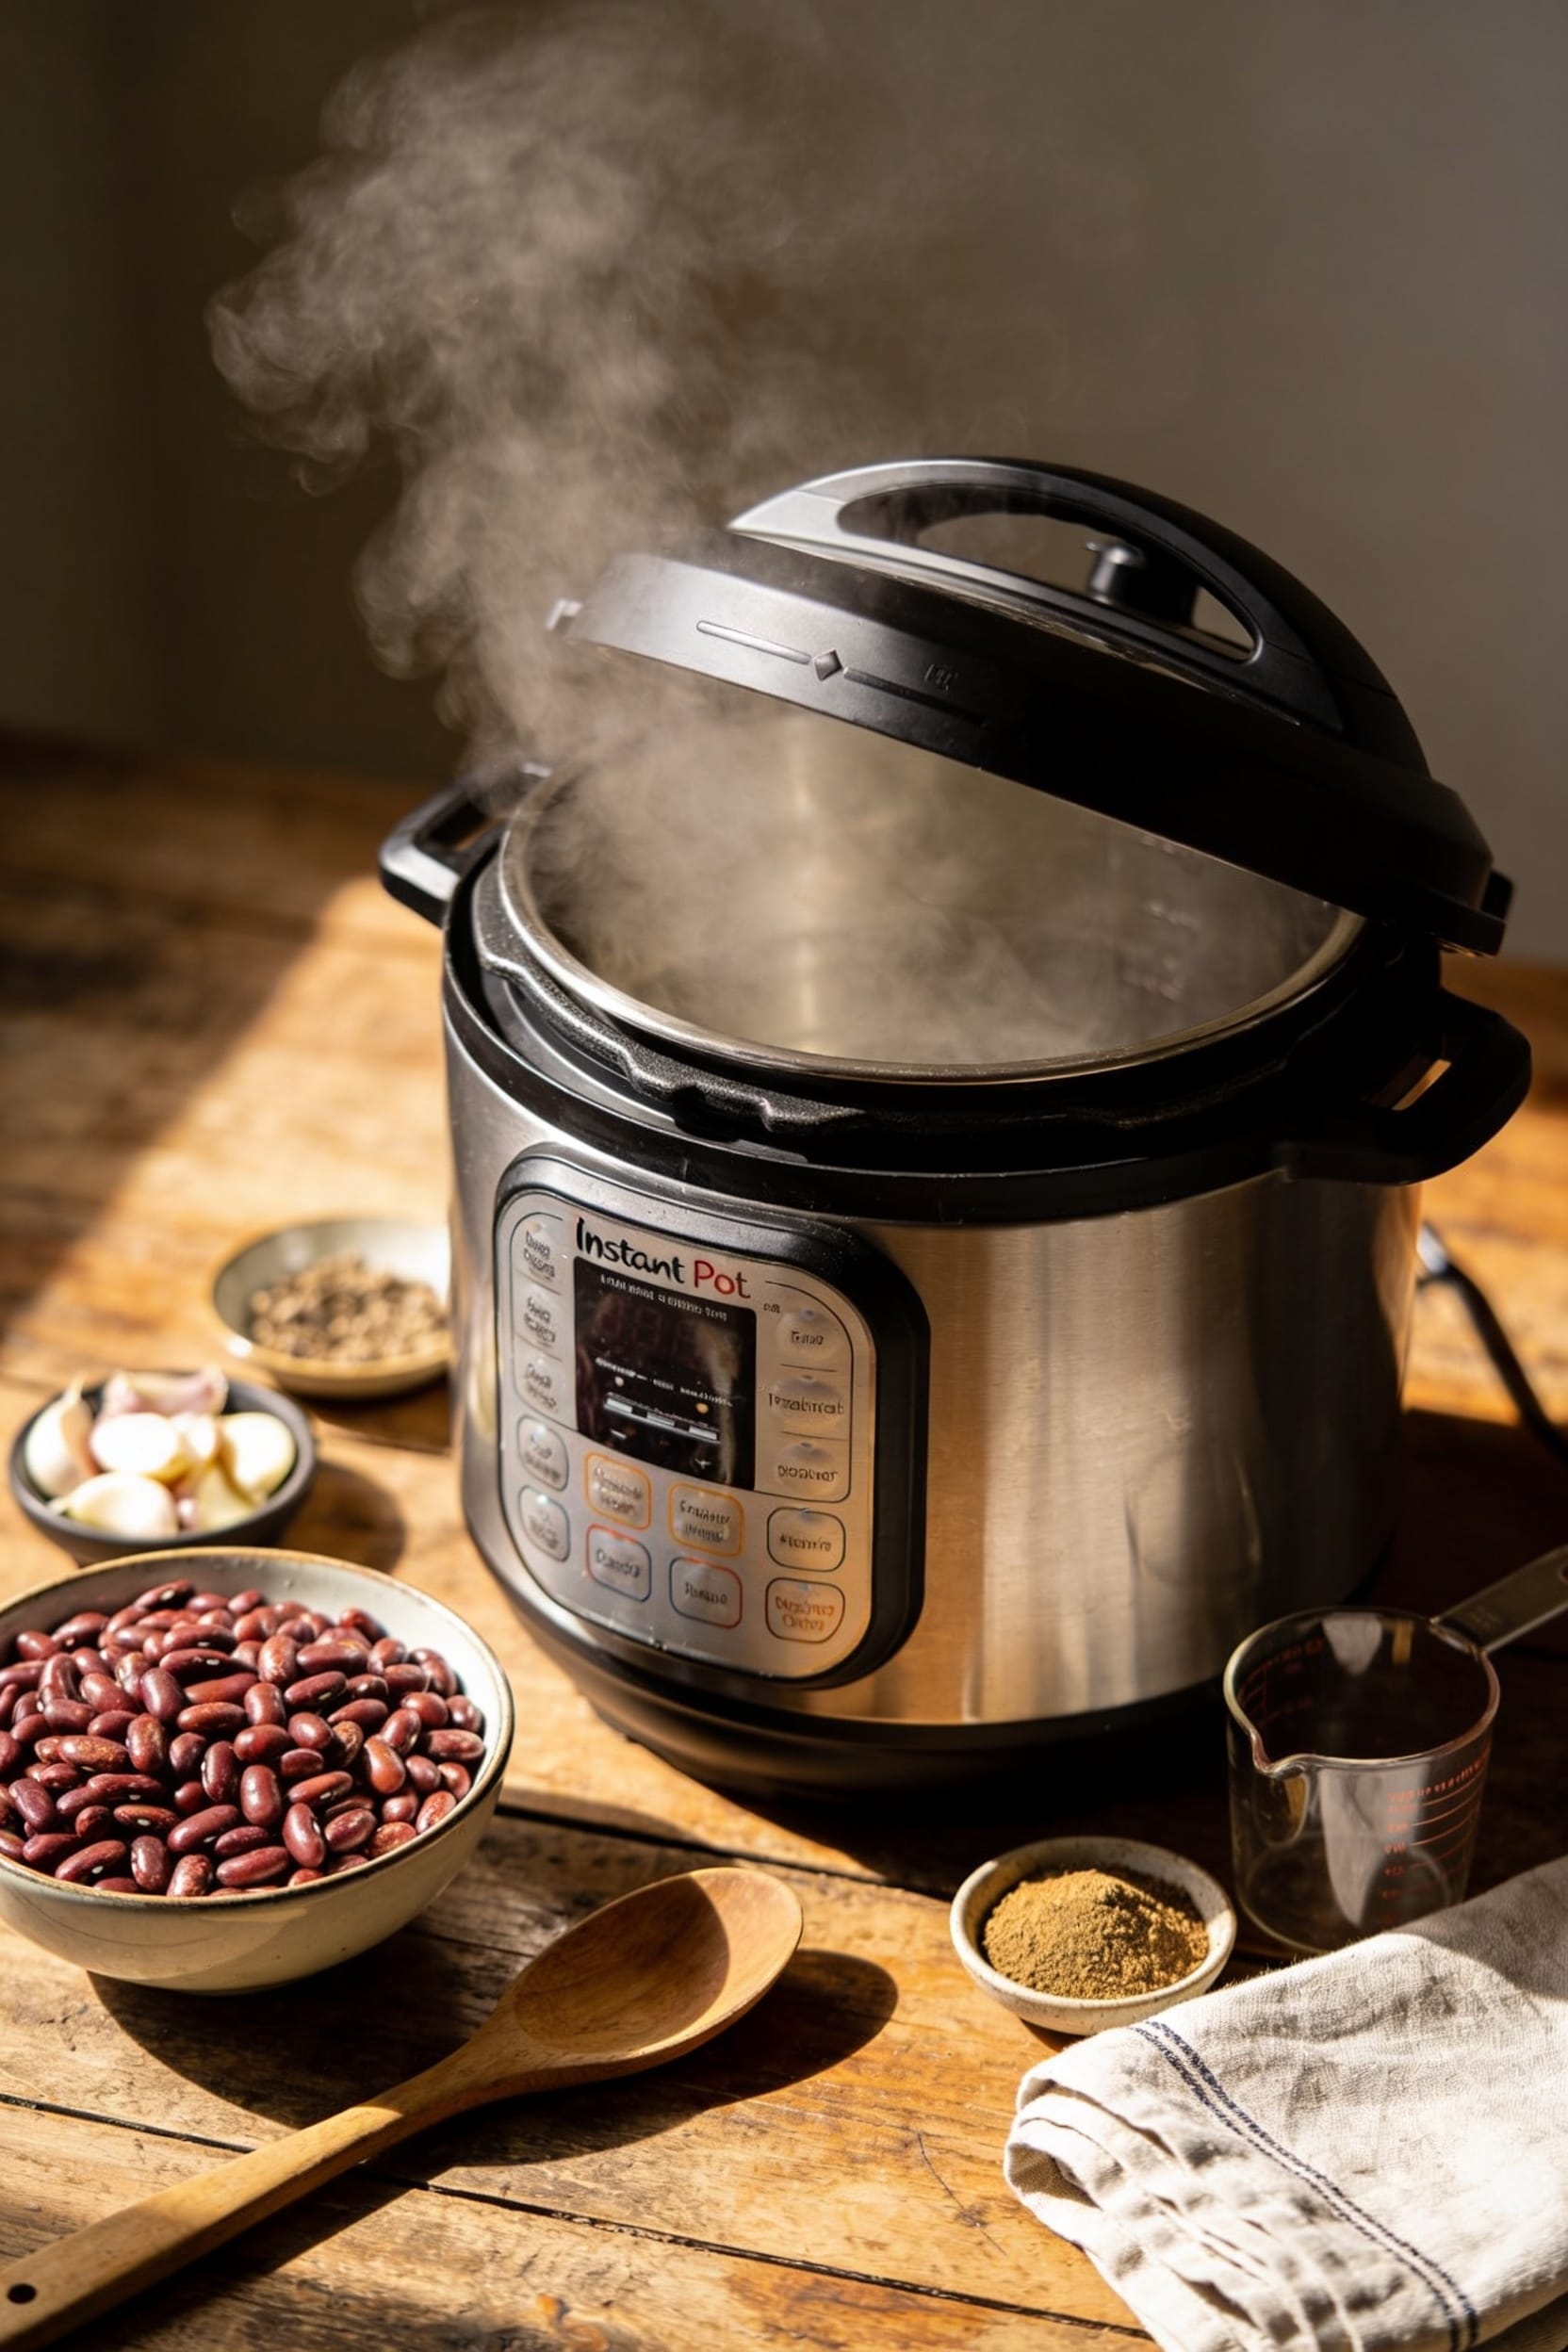
Rinse your beans first—seriously, pick out the rocks—then decide if you’ve got time to soak them or not. Use a 1-to-3 ratio of beans to water, throw in some aromatics like garlic and bay leaf, then pressure cook unsoaked beans for 40–50 minutes or soaked ones for just 10–15 minutes. Let the pressure release naturally for about 15 minutes before cracking the lid, and you’re after that creamy-but-still-intact texture, not bean paste. There’s definitely more nuance to nailing this.
Key Takeaways
- Rinse one cup of dried pinto beans and remove debris, then transfer to the Instant Pot with three cups water or broth.
- Cook unsoaked beans for 35–50 minutes at high pressure, or soak 8–12 hours first, then cook 10–15 minutes at high pressure.
- Add aromatics like bay leaves, garlic, onion, and spices such as cumin during cooking for enhanced flavor layering.
- After cooking, allow natural pressure release for 15 minutes, then quick-release remaining pressure to avoid steam burns.
- Store cooked beans in their cooking liquid in an airtight container; refrigerate up to five days or freeze for several months.
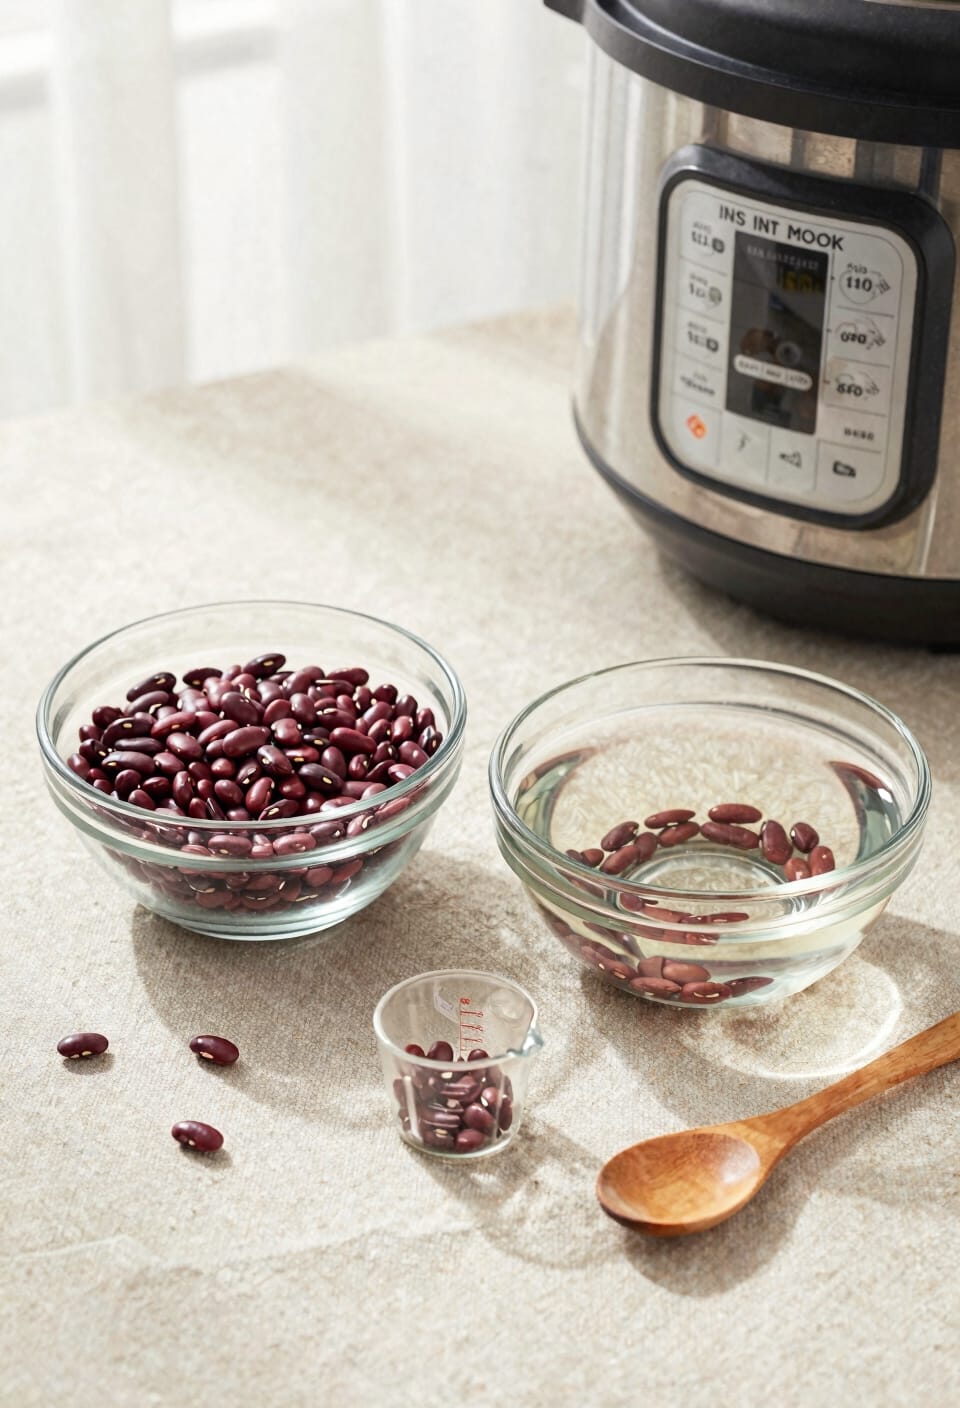
Rinse and Sort Your Beans to Remove Debris
Before you dump those dried pinto beans straight into your Instant Pot, you’ll want to give them a proper once-over—and I’m not talking about a quick rinse under the tap and calling it a day. Pour a cup measurement of your beans onto a plate and inspect them carefully for impurities like pebbles, broken pieces, or anything that looks off-color. Dried beans are agricultural products, so they pick up dust and debris during packaging. Once you’ve sorted through them, rinse everything thoroughly under cold water. This removes the remaining grit and gets your beans genuinely clean. Transfer the drained beans directly into your Instant Pot. Trust me, this five-minute step prevents crunching down on a rock during dinner—not the texture anyone’s after.
Decide: Soak Your Beans or Cook Them Straight
Now here’s where you’ve got a real choice to make, and honestly, it depends entirely on how much time you’ve got and how patient you’re feeling.
Skip soaking and cook your beans straight? They’ll need about 40-50 minutes at high pressure. You’re looking at genuine quick digestion thanks to the Instant Pot’s power, so there’s real merit here if you’re short on time.
Prefer soaking? Go for 8-12 hours, then drain and rinse before cooking. Your beans’ll finish in just 10-15 minutes. I’ll be straight with you—soaking isn’t necessary, but it does speed things up considerably and creates better bean pairing with delicate flavors.
Pick whichever fits your schedule. Both methods work beautifully.
Get the Water-to-Bean Ratio Right
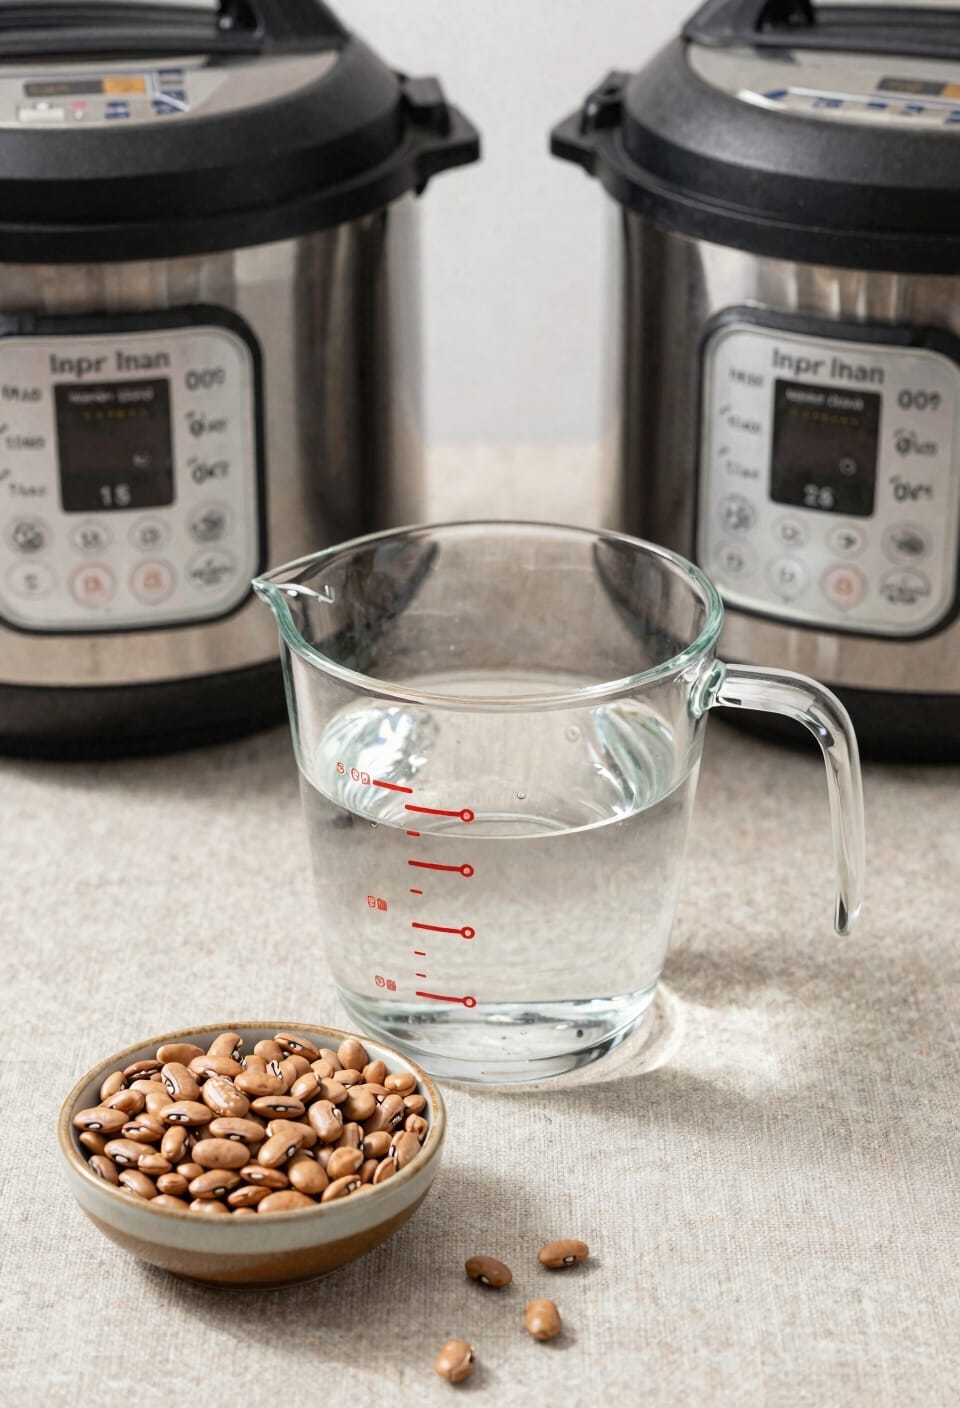
Once you’ve settled on your soaking strategy, there’s one thing that’ll make or break your beans: getting enough liquid in that pot. I use a standard 1-to-3 ratio—one part dry beans to three parts water or broth. For most batches, that’s about six cups of liquid total, though bean density varies slightly depending on your specific batch and pot calibration.
Here’s the thing: you want your beans fully submerged, not just barely covered. Pressure cooking works best when there’s adequate liquid surrounding everything. The good news? Any extra cooking liquid that remains is actually flavorful and worth keeping. You can drain it or serve it alongside your beans—I’m not judging either choice. Just make sure you’ve got enough to start.
Layer Flavors While Cooking, Not After
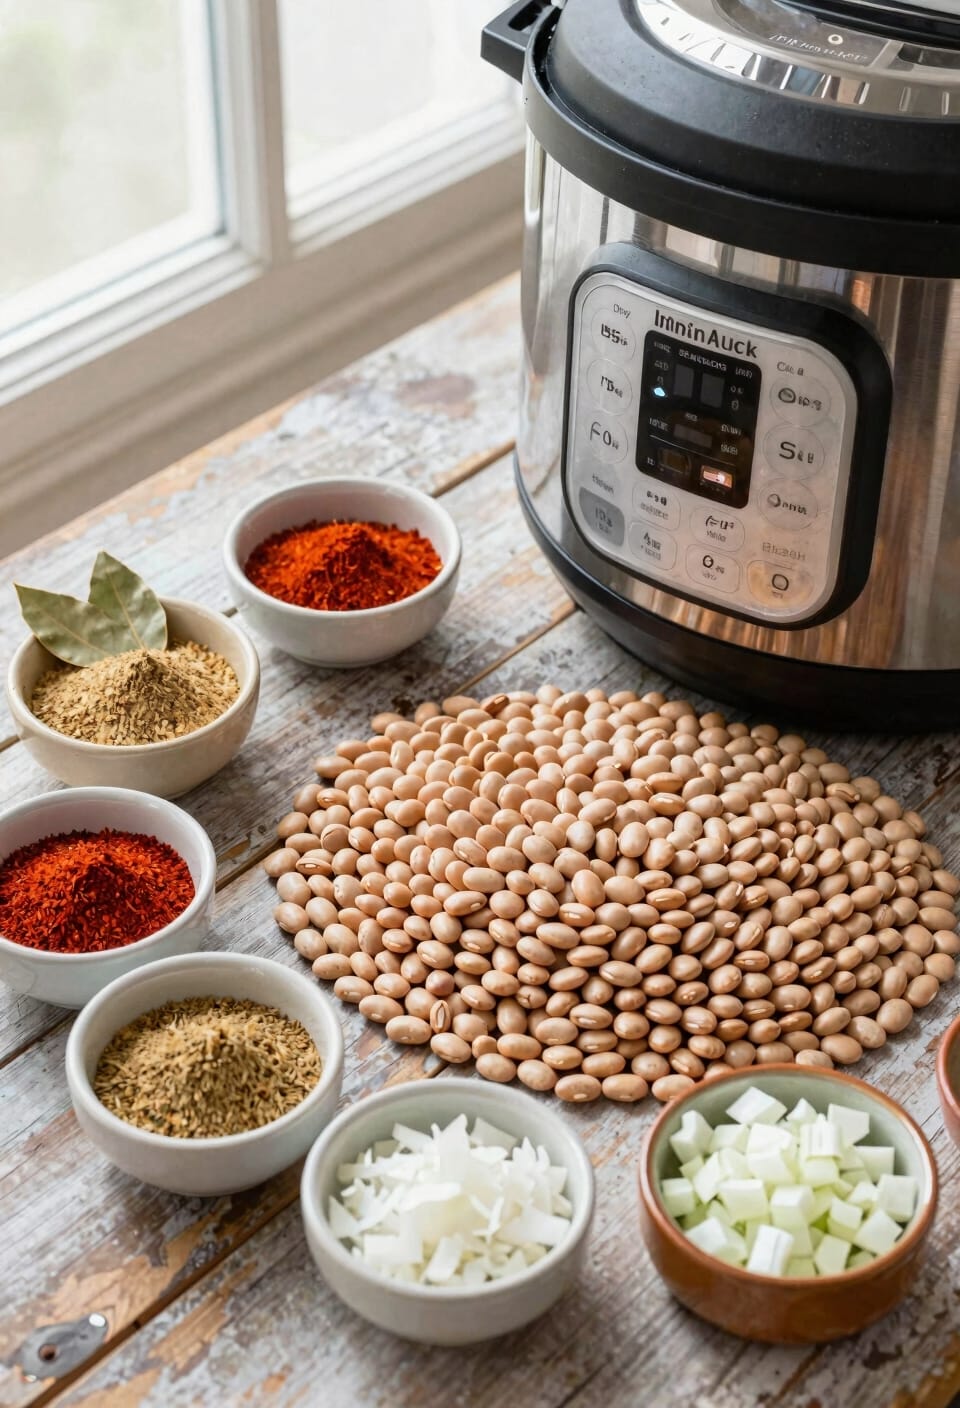
All right, here’s where a lot of people mess up: they dump their beans in with water, maybe throw in some salt at the end, and wonder why everything tastes kind of flat. You’ve got to build depth while those beans are actually cooking. Toss in bay leaves, garlic, onion, maybe some jalapeño if you’re feeling it. This is when you enhance aromatics—let them infuse into the beans themselves, not sit on top after. Ground cumin, chili powder, even a splash of chicken broth instead of plain water—these choices matter now. Salt goes in during cooking too, not after. You’re not seasoning finished beans; you’re building flavor into them from the start.
Pressure Cook Your Beans: Time by Method
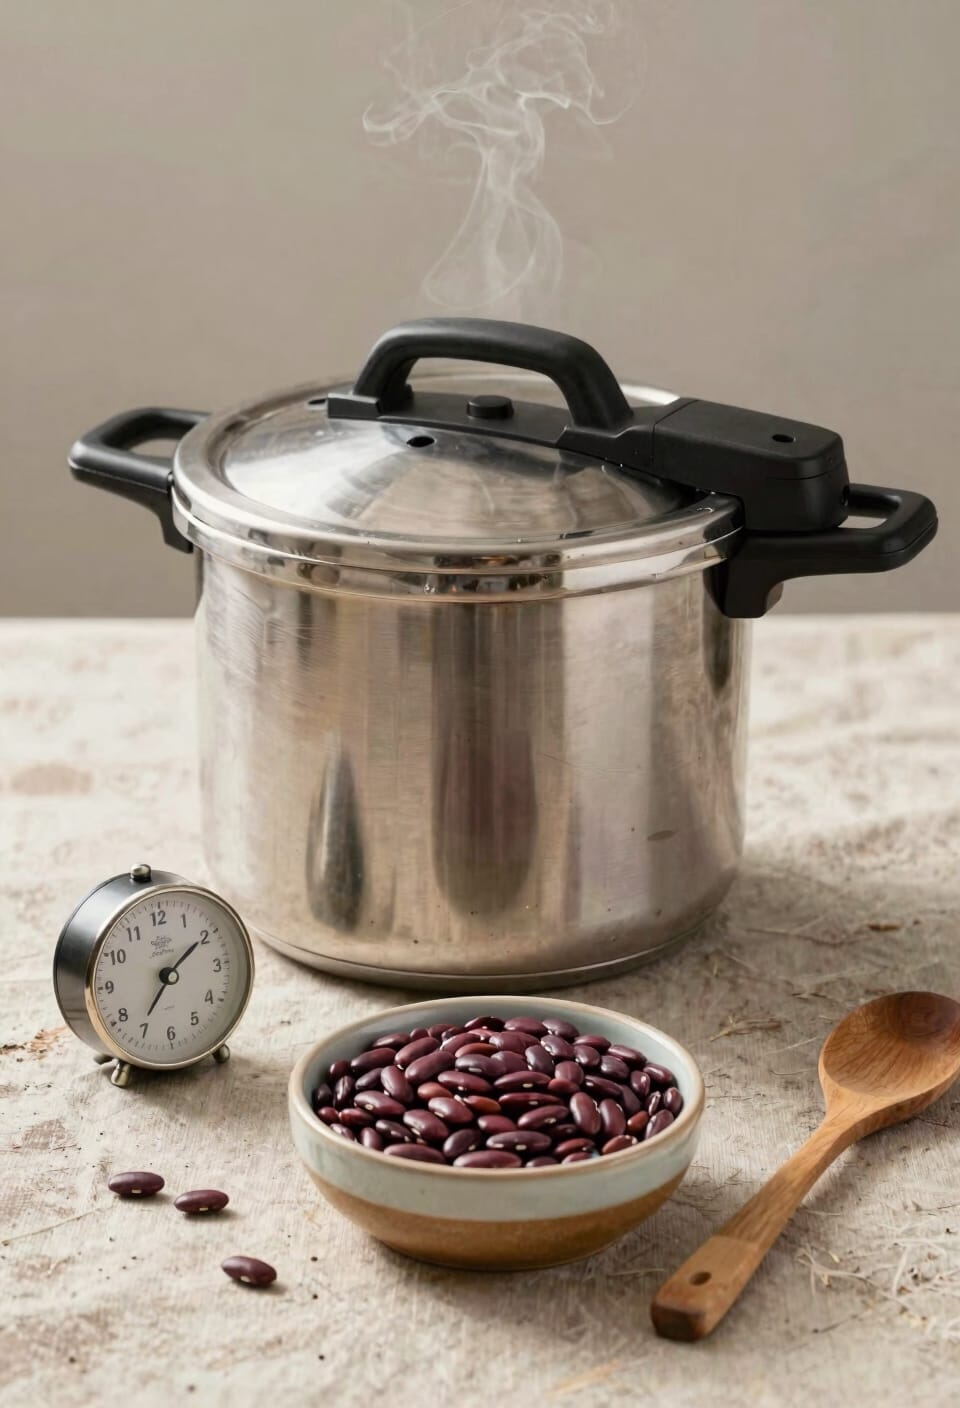
Your cooking time depends entirely on whether you soaked your beans or not, and I’m not going to pretend there’s one magic number that works for everything. Unsoaked beans need 35–50 minutes at high pressure, while soaked ones knock that down to a mere 10–15 minutes. Now, here’s the thing: before that countdown even starts, your Instant Pot needs 10–15 minutes just to reach full pressure. So we’re talking roughly an hour total from start to finish.
I should mention that pressure variations and altitude adjustments affect timing slightly—higher altitudes need a few extra minutes. After cooking finishes, let the pressure release naturally for 15 minutes before venting the rest. Your beans’ll be tender but still holding their shape.
Let Pressure Release Before You Open the Lid
That beeping sound your Instant Pot makes when cooking finishes? Don’t touch anything yet. Here’s the thing: you’ve got to let that pressure release naturally for about 15 minutes before you even think about opening the lid. This isn’t me being overly cautious—it’s a legitimate safety reminder. Steam hazards are genuinely dangerous. All that pressurized steam inside wants out, and if you quick-release too fast, you’re asking for nasty burns.
I let the pot sit undisturbed after the beep. It’s actually convenient because I use that time to set the table or grab a serving spoon. Once those 15 minutes pass, you can switch the steam valve to venting for a quick release. Then tilt that lid away from your body when you crack it open. Your face will thank you.
Check for Proper Texture and Season to Taste
Once you’ve got that lid off and the steam’s cleared, stir the beans and take a good look at what you’ve got. Do a quick texture testing—grab one and bite it. You’re looking for beans that are creamy inside but still hold their shape, not mushy paste. If they’re still a touch firm, that’s actually fine; they’ll soften slightly as they cool anyway.
Now for taste balance. Start with salt, then black pepper. Taste again. You might find they need more seasoning than you’d expect, since the cooking liquid dilutes flavors. If you went the Mexican-style route with cumin and garlic, this is when you fine-tune those notes. Add conservatively and keep tasting—you can always add more, but you can’t take it back.
Troubleshoot Common Issues: Hard or Mushy Beans
Even when you’ve nailed the seasoning, sometimes the beans don’t cooperate—they’ll come out either stubbornly hard or turned into mush, and I’ve definitely been there myself. Hard beans usually mean insufficient cooking time or old beans past their prime, so bump up your pressure cooking by five minutes next round. Mushy beans? That’s typically overcooking, especially with soaked beans that need less time anyway. All right, here’s where bean chemistry matters: older beans have thicker seed coats that resist softening, while fresher ones cook faster. Check your equipment maintenance too—if your Instant Pot’s sealing ring‘s worn, you’re not reaching proper pressure. Replace it if you’re noticing inconsistent results across batches.
Refrigerate or Freeze Cooked Pinto Beans
Since you’ve just spent over an hour getting those beans to perfect tenderness, you’ll want to make sure they don’t go to waste—and I’m here to tell you that storing cooked pinto beans properly is genuinely easier than cooking them in the first place. Your storage options are straightforward: refrigerate them in an airtight container for up to five days, or freeze them for several months. I like freezing in portions—ice cube trays work great—so I’m not thawing a massive batch when I only need a cup. The shelf life extends considerably when frozen, which means you’re always ready for quick meals. Either way, store them in their cooking liquid; it keeps them moist and flavorful. Future you will be grateful.
Frequently Asked Questions
Can I Cook Pinto Beans in an Instant Pot Without Any Liquid?
No, you can’t cook pinto beans in an Instant Pot without liquid. I’d recommend using water or broth because dry beans need liquid to soften properly when sealed under pressure.
What Causes a Strong Sulfur Smell When Cooking Pinto Beans?
I’ll tell you—that absolutely revolting stench comes from sulfur compounds released during cooking. Bacterial activity in the beans breaks down proteins, creating those absolutely unbearable odors you’re detecting.
How Long Do Cooked Pinto Beans Stay Fresh in the Refrigerator?
I’d store your cooked pinto beans in an airtight container for three to four days in the refrigerator. For longer refrigerator lifespan and storage tips, freeze them in portions for up to three months instead.
Can I Use Vegetable Broth Instead of Chicken Broth or Water?
I’d absolutely recommend vegetable broth as your liquid. It’s an excellent vegetable substitution that’ll enhance your beans beautifully. You’ll achieve great flavor balance without any compromise—the savory notes complement pinto beans perfectly.
Why Did My Instant Pot Not Reach Full Pressure During Cooking?
Studies show that 80% of pressure cooker issues stem from sealing problems. Your pot likely didn’t reach full pressure due to a faulty seal or insufficient heat. Check your sealing ring’s condition and make sure the lid’s properly locked before cooking.
Conclusion
Look, here’s the thing—I used to think instant pot cooking was some kind of magic, but it’s really just physics and patience working together. You rinse, you layer, you trust the process, and suddenly you’ve got perfect pinto beans in under an hour. No mysterious failures, no guessing games. Once you nail this method, you’ll never go back to stovetop cooking. Your future self will thank you.