As an Amazon Associate, we earn from qualifying purchases. Some links on this site are affiliate links at no extra cost to you. Our recommendations are based on thorough research and editorial judgment.
How to Bake a Cake in an Instant Pot
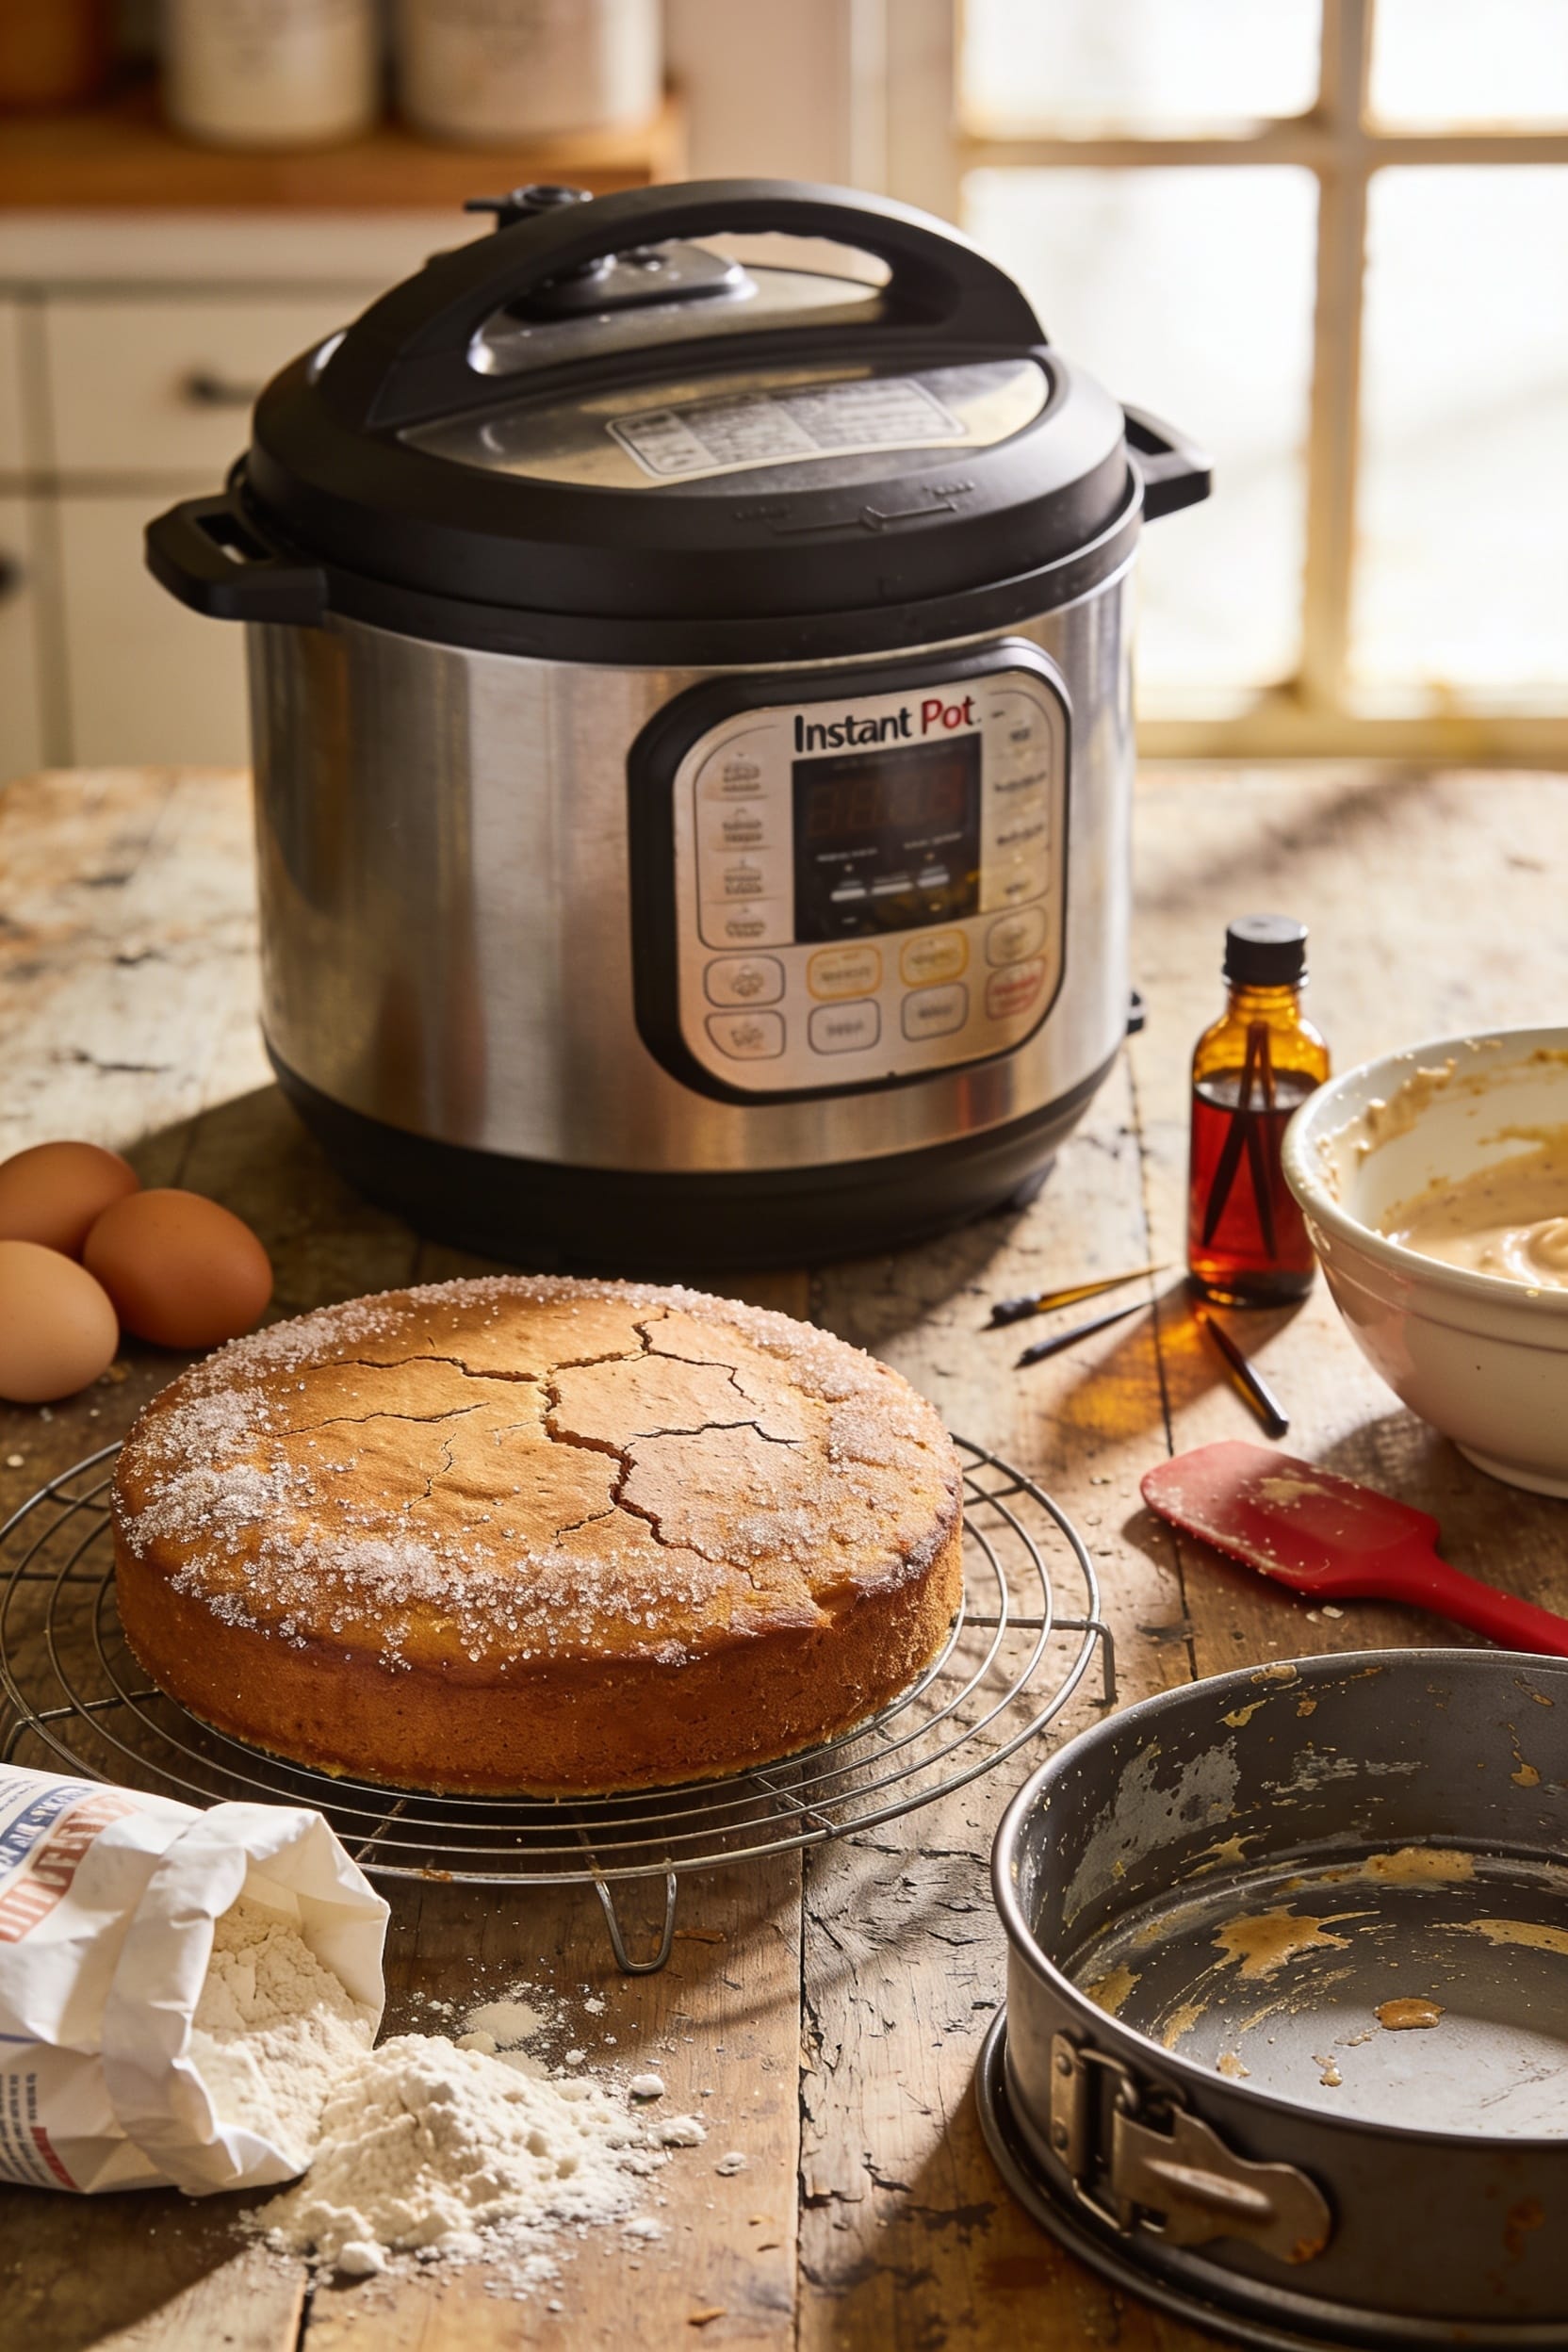
Look, baking a cake in your Instant Pot sounds bonkers until you realize the sealed environment traps steam and distributes heat evenly, making it faster and more reliably moist than your oven. Spray a 6-inch pan, line it with parchment, seal it tight with foil, and sit it on the trivet with water below. Mix your batter at the last second—seriously, don’t let it sit—then pressure cook on high for 25 minutes (longer for denser cakes). Once you nail the basics, the frosting and stacking part’s where things get fun.
Key Takeaways
- Prepare a 6–7-inch cake pan with cooking spray, parchment paper, and foil to seal moisture out completely.
- Mix batter immediately before pouring to preserve leavening activity from baking soda and baking powder reactions.
- Cook on high pressure for 25 minutes for box cakes or 50 minutes for dense chocolate cakes.
- Test doneness using a toothpick for mostly clean results with few moist crumbs around 205–210°F internal temperature.
- Cool in pan for 5–10 minutes, invert onto wire rack, chill before leveling, then frost and store airtight.
Prepare Your Instant Pot Pan and Trivet
Set yourself up for success right from the start—this is where a lot of people trip up, and I’ve been there too. You’ll want a 6 or 7-inch round cake pan or springform pan that actually fits inside your Instant Pot without jamming. Coat it thoroughly with cooking spray, line the bottom with parchment paper, then spray again for maximum nonstick coating protection. Now add a double layer of aluminum foil over the top, sealing it firmly around the edges to keep moisture out.
Here’s the thing: place your trivet inside the pot before adding water. If you’re worried about spilling batter while lowering the pan, use a foil sling as your safety net. It’ll save you from a sticky situation—literally.
Add Water and Position Your Trivet
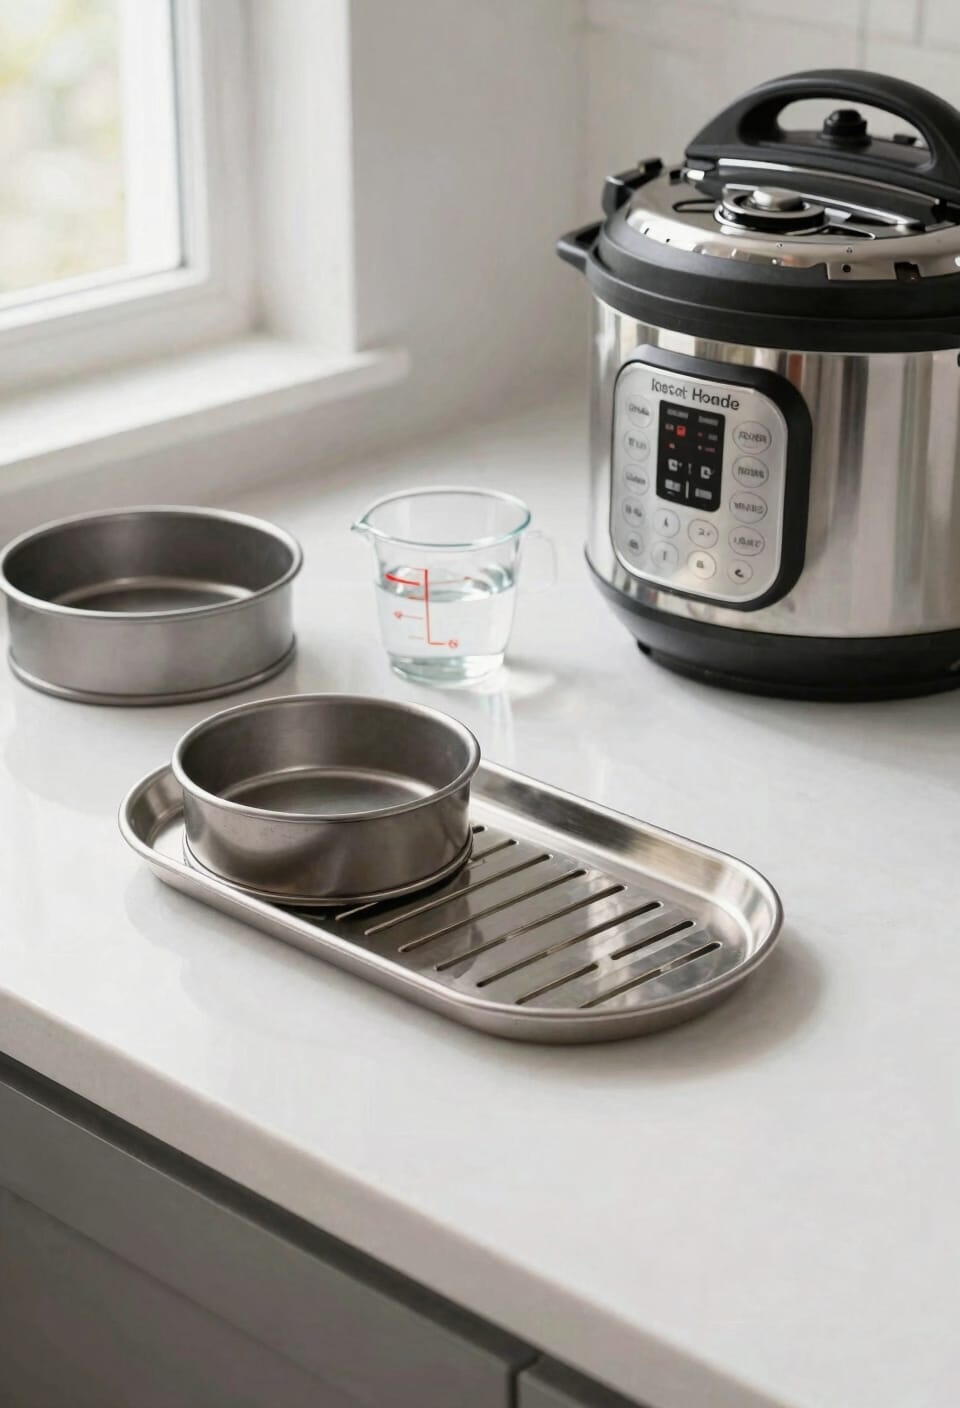
Once your water’s in, place the trivet on top. This metal rack creates the elevated surface your cake pan needs—without it, you’re baking directly on the pot bottom, which is a disaster waiting to happen. Position your cake pan carefully on the trivet afterward, then lower everything into the inner pot. You’ve now got the foundation ready for actual baking.
Mix Your Batter at the Last Possible Moment
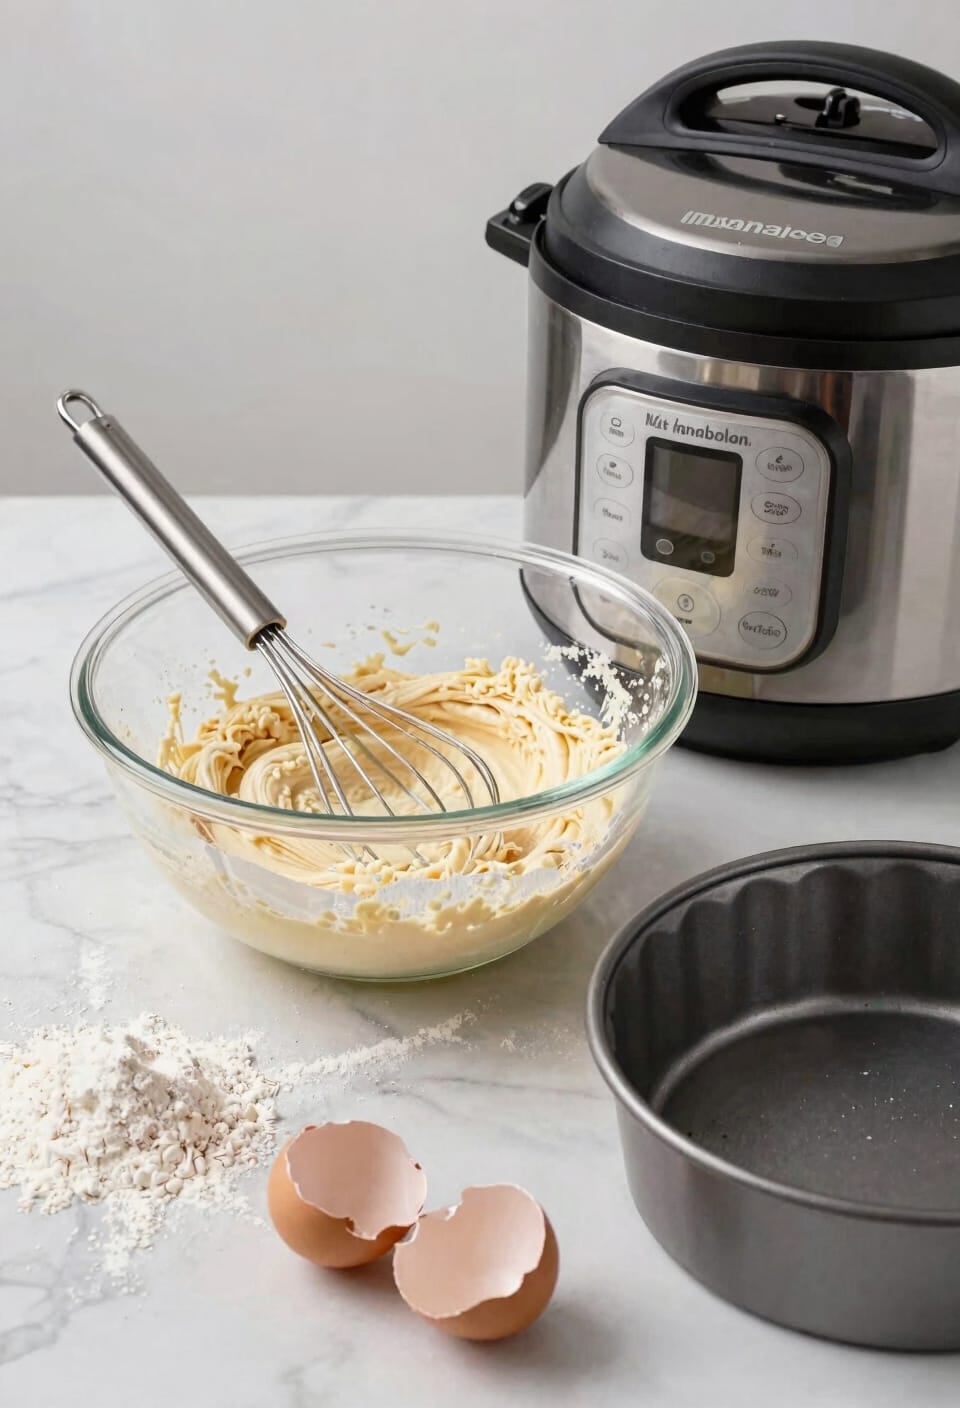
Now here’s where timing matters more than you’d think: mix your batter right before you pour it into that pan on the trivet. I’m talking minutes before, not hours. Here’s the thing—once you combine those dry ingredients with the wet ones, the leavening chemistry starts firing up immediately. Baking soda and baking powder don’t wait around for you to get your act together. They’re already reacting, already creating those tiny air bubbles that’ll make your cake rise properly in the Instant Pot’s pressure environment. If you mix too early and let that batter sit, you’re basically deflating your cake before it even starts cooking. So get everything prepped, measured, and ready to go first. Then mix. Then pour. It’s annoying, but your cake’ll thank you for it.
Choose Your Instant Pot Pressure Level and Cook Time
Your pressure level and cooking time are where things get a little finicky, and I’m not gonna pretend there’s one magic number that works for everything. Box cakes typically need 25 minutes on high pressure, while denser chocolate cakes demand 50. Carrot cake’s the rebel—it wants low pressure for 40 minutes followed by a 15-minute natural release. Here’s the thing: different pressure profiles handle different cake types differently. Whole wheat chocolate? High pressure, 35 minutes, quick release immediately after. These timing adjustments matter because you’re working in a sealed environment where moisture behaves differently than your regular oven. I’d recommend starting conservative with your first attempt, then tweaking based on results.
Check Doneness Without Overcooking
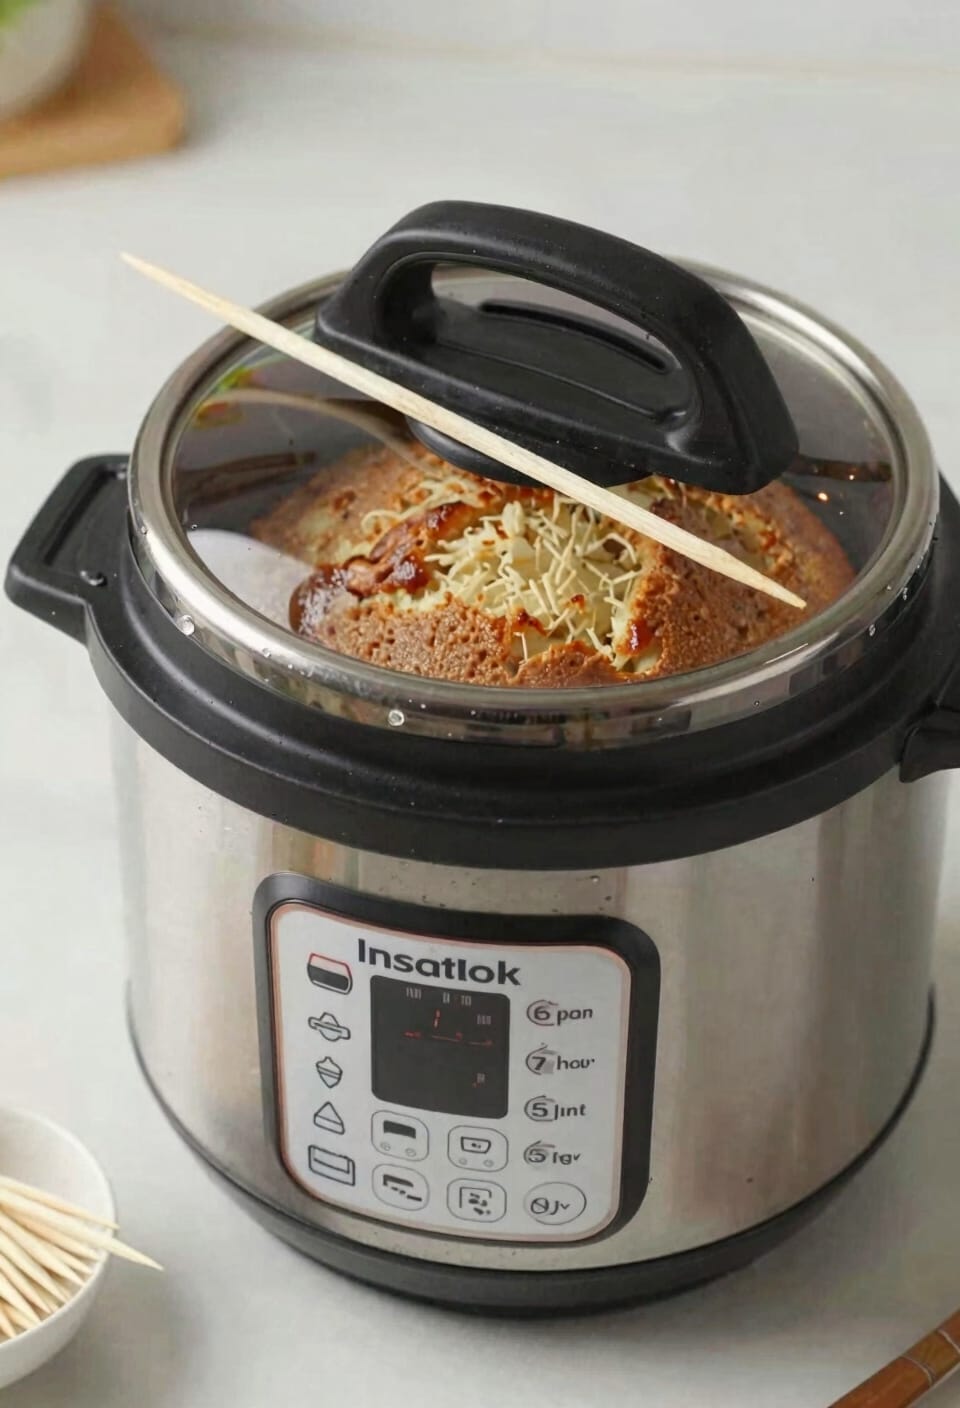
The timer goes off and you’re hit with that moment of truth—is your cake actually done, or are you about to crack into a gooey mess? Here’s the thing: I always use the toothpick test first. Insert it into the center and pull it out—you want mostly clean with just a few moist crumbs clinging to it. If it comes out wet and batter-covered, your cake needs more time. Now, I’ll admit I’m paranoid about undercooking, so I also check the internal temperature when I’m unsure. You’re targeting around 205-210°F at the center, depending on your cake type. Don’t just trust one method—layer them together. Release that pressure immediately once you’ve confirmed doneness, because lingering heat’ll dry everything out faster than you’d think.
Cool and Remove Your Cake Safely
After you’ve confirmed your cake is done and released that pressure, patience becomes your best friend—and I know that’s easier said than done when you’re staring at a freshly cooked cake through the Instant Pot window. Let it rest slightly in the pan for about five to ten minutes. This gives it time to set up and makes unmold gently way easier. When you handle steam rising from that pan, protect hands with thick kitchen towels or oven mitts—that stuff’s seriously hot and sneaky. Once cooled a bit, carefully invert the cake onto a wire rack and remove the pan completely. This prevents condensation from making your cake soggy. I know you want to frost it immediately, but trust the cooling process. Your future self will thank you.
Flatten Your Cake Layers for Stacking
Before you can stack and frost, you’ve got to deal with that rounded dome on top of your cake—and honestly, it’s one of those steps that separates a homemade cake that *looks* homemade from one that looks intentional. A leveling tool makes this dead simple. I use a serrated knife in a pinch, but a proper cake leveler gives you consistent, even cuts every time. Here’s my trick: chill your layers first. Cold cake is way less crumbly and way more forgiving to work with. You’ll get cleaner cuts and less waste. Just pop those cooled layers in the fridge for twenty minutes or so. Then position your leveling tool parallel to the cake’s surface and slice that dome off with one smooth motion. You’ll end up with flat, stackable perfection.
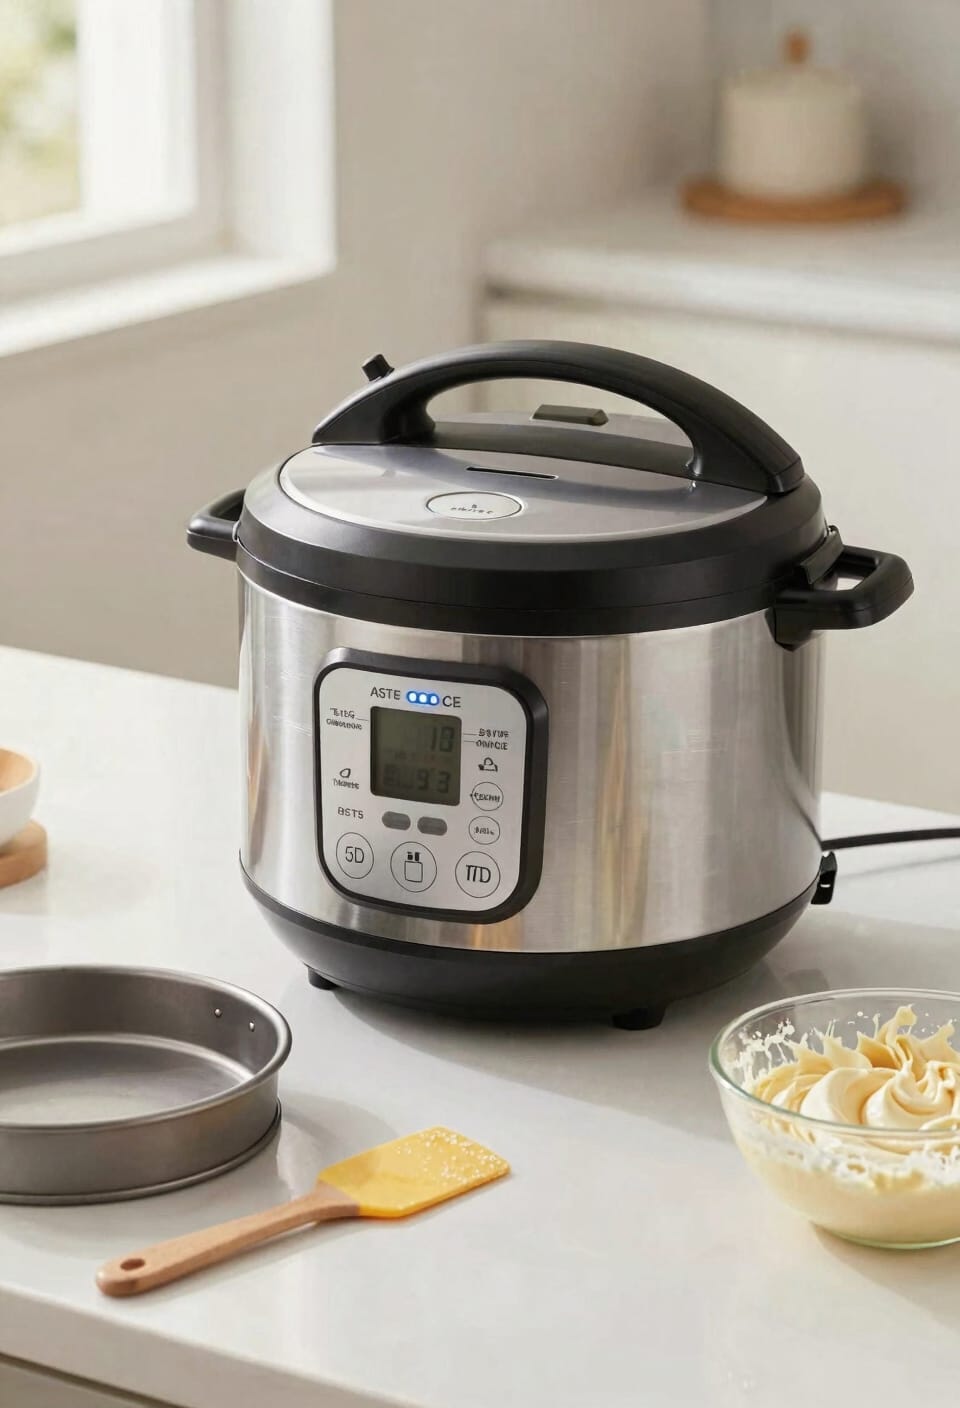
Prepare Your Frosting While the Cake Cools
Mixing up your frosting while your cake’s still cooling is honestly one of those moves that makes the whole process feel less chaotic—you’re not scrambling at the end trying to get everything ready at once. I’ll grab softened butter and powdered sugar, beating them together with my hand mixer until I’ve got that smooth, spreadable consistency that works for layering. Now here’s where flavor variations come in—a splash of vanilla, some cocoa powder, maybe a pinch of salt to make everything pop. The beauty is you’ve got time to play around while those cake layers settle. By the time you’re done fiddling with your frosting, your cake’s cooled enough to handle, and you’re ready to stack and frost without any real wait.
Stack, Chill, and Slice Your Cake
Once your frosting’s ready and your cake’s cooled to the point where it won’t fall apart in your hands, you’re in the home stretch. Stack those layers together with frosting between them, then spread more over the top. Now comes the part that actually matters: refrigeration for chill stabilization. I’m talking at least an hour, maybe two if you’ve got the time. This isn’t just about making it pretty—it firms everything up so your precise slicing actually works instead of turning into a frosting-smeared mess.
When you’re ready to cut, use a long, sharp knife dipped in hot water between each slice. The heat helps the blade glide through without dragging everything sideways. Trust me on this one.
Store Your Instant Pot Cake
With your cake now sliced and ready to go, here’s the thing about storage: how you stash this beauty away makes a real difference in whether it stays moist and delicious or turns into a sad, stale puck by day three. Store your cake in airtight containers at room temperature if you’re planning to demolish it within two days—which, let’s be honest, is the dream scenario. For longer keeping, pop it in the fridge; the storage temperature won’t dry it out as fast as you’d think, especially if you’re using those airtight containers religiously. Frozen cake works too—wrap it tight and it’ll hang around for a month. Just thaw it at room temperature before serving. Your future self will thank you.
Frequently Asked Questions
Can I Bake Multiple Cakes Simultaneously in My Instant Pot?
I wouldn’t recommend baking multiple cakes simultaneously. Your Instant Pot’s limited interior space doesn’t accommodate double layering or stacked pans safely. You’d risk uneven cooking, pressure issues, and potential spills compromising both cakes’ quality.
What Is the Best Way to Prevent My Cake From Sticking to the Pan?
I’ll thoroughly grease your pan with cooking spray, then line it with parchment paper for maximum protection. I’d also recommend coating it a second time with nonstick spray. For floured bundt pans, make sure you’re dusting every crevice completely.
How Do I Know if My Instant Pot Is Large Enough for Cake Baking?
I’d recommend checking your Instant Pot’s capacity against a 6 or 7-inch round pan’s diameter. Most standard models accommodate these pan sizes comfortably, ensuring proper cake capacity without crowding the inner pot.
Can I Use Fresh Ingredients Instead of Boxed Cake Mix in an Instant Pot?
Yes, you can use fresh batter with whole eggs instead of boxed mix. I’d recommend adjusting cooking times slightly since homemade recipes vary. Alternative flour types may also require time adjustments for best results.
What Should I Do if My Cake Comes Out Undercooked After the Recommended Time?
I’d seal the lid, add time in 5-minute increments on high pressure, then use quick release. If it’s still wet, I’d use foil to cover the top and vent pressure carefully before checking doneness again.
Conclusion
Look, baking a cake in your Instant Pot isn’t magic—it’s just smart cooking. You’ve got a tool that does the heavy lifting, and now you know how to use it. Like a Swiss Army knife in your kitchen, your pressure cooker’s more versatile than you probably thought. Your next dinner party dessert is waiting, and honestly, nobody needs to know you didn’t slave away for hours.