As an Amazon Associate, we earn from qualifying purchases. Some links on this site are affiliate links at no extra cost to you. Our recommendations are based on thorough research and editorial judgment.
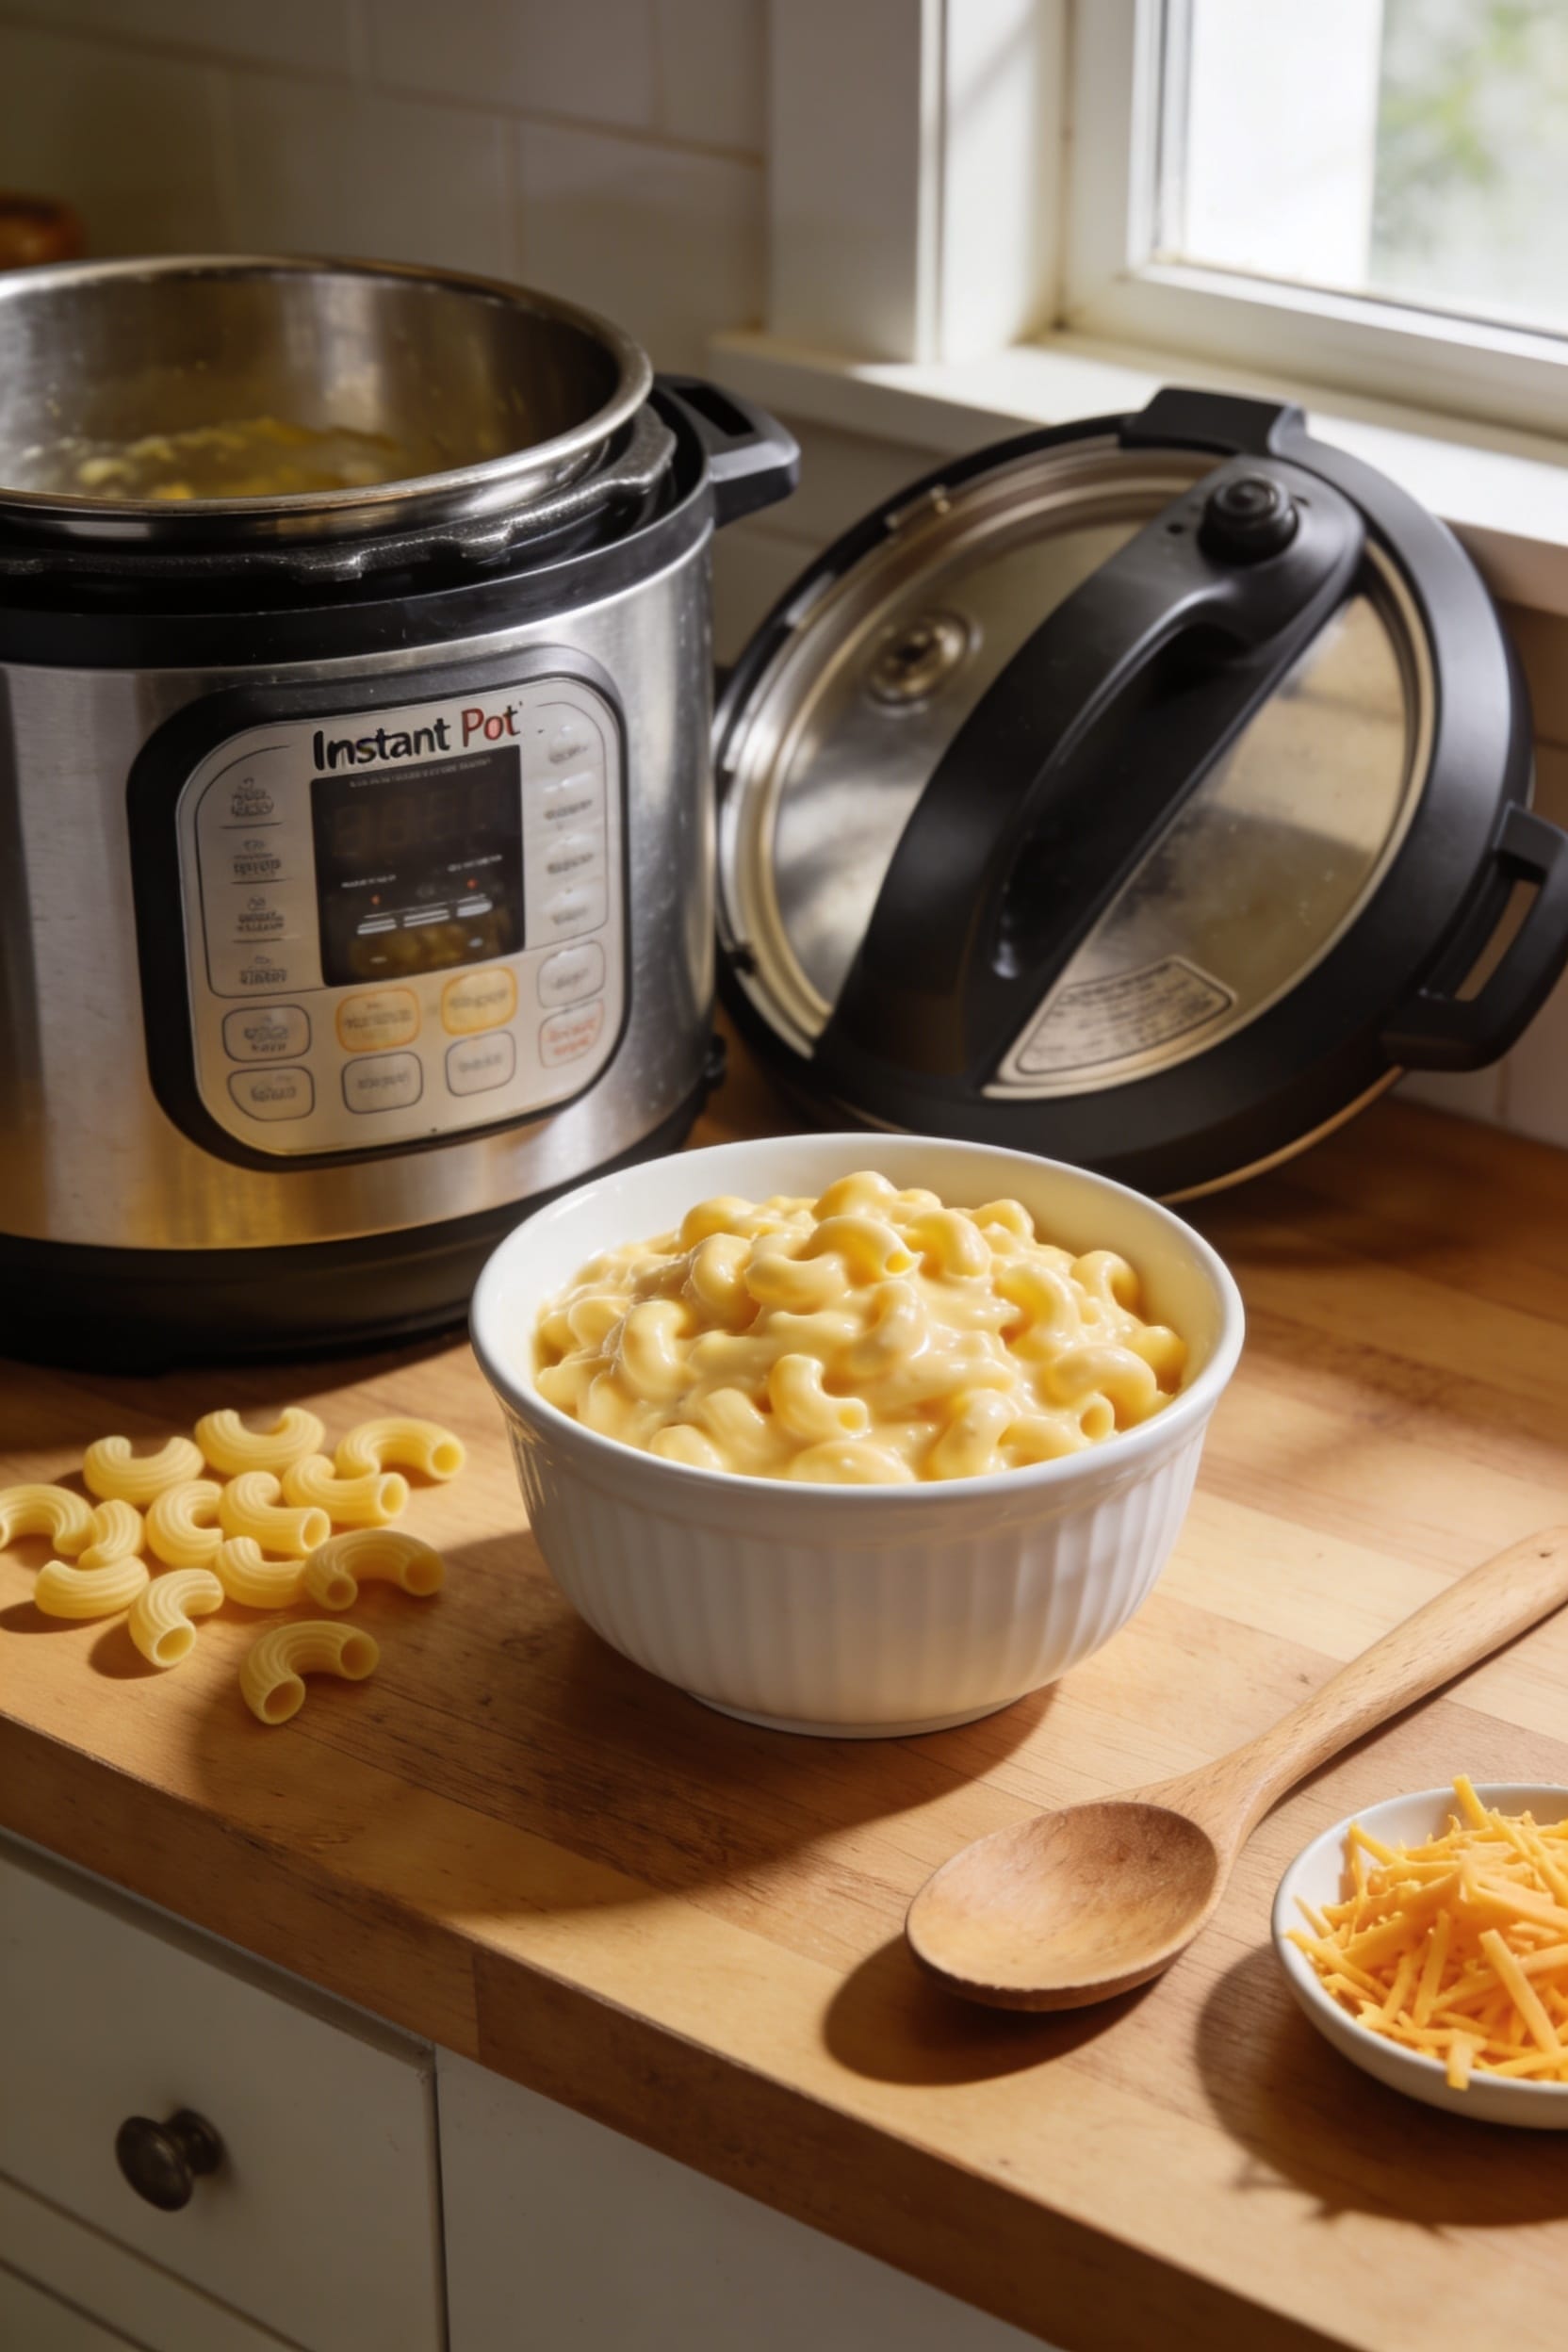
How to Make Mac and Cheese in an Instant Pot
All right, here’s the thing: you’re gonna combine dry elbow macaroni with four cups of chicken broth straight into your Instant Pot—no pre-boiling required. Cook it on high pressure for three to five minutes, let it naturally release for about four minutes, then stir in a blend of sharp cheddar, mozzarella, Monterey Jack, Parmesan, and cream cheese that you’ve shredded yourself. Melt butter first, add cheese gradually, pour in some milk, and boom—creamy sauce without the graininess. There’s definitely more technique to nailing this.
Key Takeaways
- Use hand-shredded cheese blend (cheddar, mozzarella, Monterey Jack, Parmesan, cream cheese) for optimal melting and smooth texture.
- Combine dry elbow macaroni with four cups chicken broth directly in Instant Pot; stir well to prevent clumping.
- Cook on high pressure for three to five minutes, then allow natural release for four minutes before quick release.
- Melt butter, gradually add cheese handfuls while stirring, then pour in milk or cream until sauce reaches silky consistency.
- Enhance with add-ins like bacon, spinach, or broccoli; store leftovers in airtight containers refrigerated up to four days.
Choose Your Cheeses for the Best Flavor
Look, I’m going to level with you—the cheese is basically the entire point of mac and cheese, so you might as well get this part right. I use a blend of aged cheddars, mozzarella, Monterey Jack, Parmesan, and cream cheese. Why so many? Each one brings something different to the party. Sharp cheddar gives you that bite, mozzarella stretches beautifully, Monterey Jack melts like butter, and Parmesan adds this nutty depth that makes people ask what your secret is. Cream cheese? It’s your insurance policy for smoothness. Now, here’s what matters: understanding melting points. You want cheeses that actually melt, not turn into a grainy mess. That’s why I skip the pre-shredded stuff—the anti-caking agents are your enemy. Grab a block and shred it yourself. Trust me on this.
Combine Pasta and Liquid in Your Instant Pot
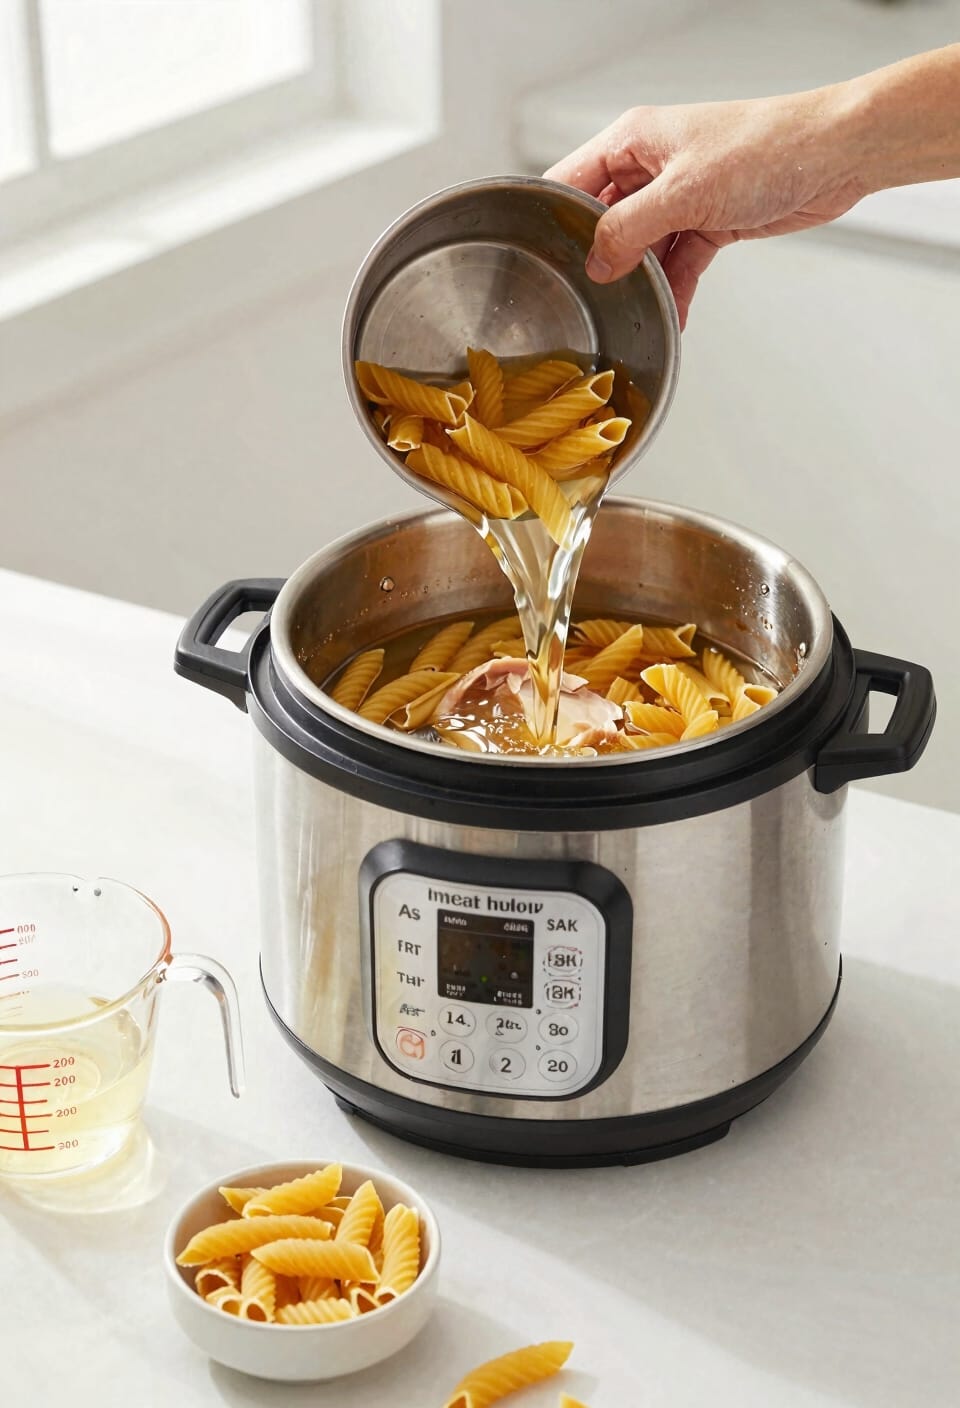
With your cheese situation locked down, it’s time to actually get the pasta cooking, and here’s where the Instant Pot earns its keep—you’re going to dump everything in at once, no pre-boiling required. Grab your dry elbow macaroni straight from the box at room temperature, add it directly to the pot with your four cups of liquid (chicken broth if you’re smart about it), and toss in a pinch of salt. Measurements accuracy matters here because you’re not draining pasta the traditional way—this liquid becomes part of your sauce. Stir everything together so the noodles aren’t clumped up on the bottom. That’s legitimately it. Close the lid, set it to high pressure for three to five minutes depending on your pasta type, and you’re golden.
Cook on High Pressure
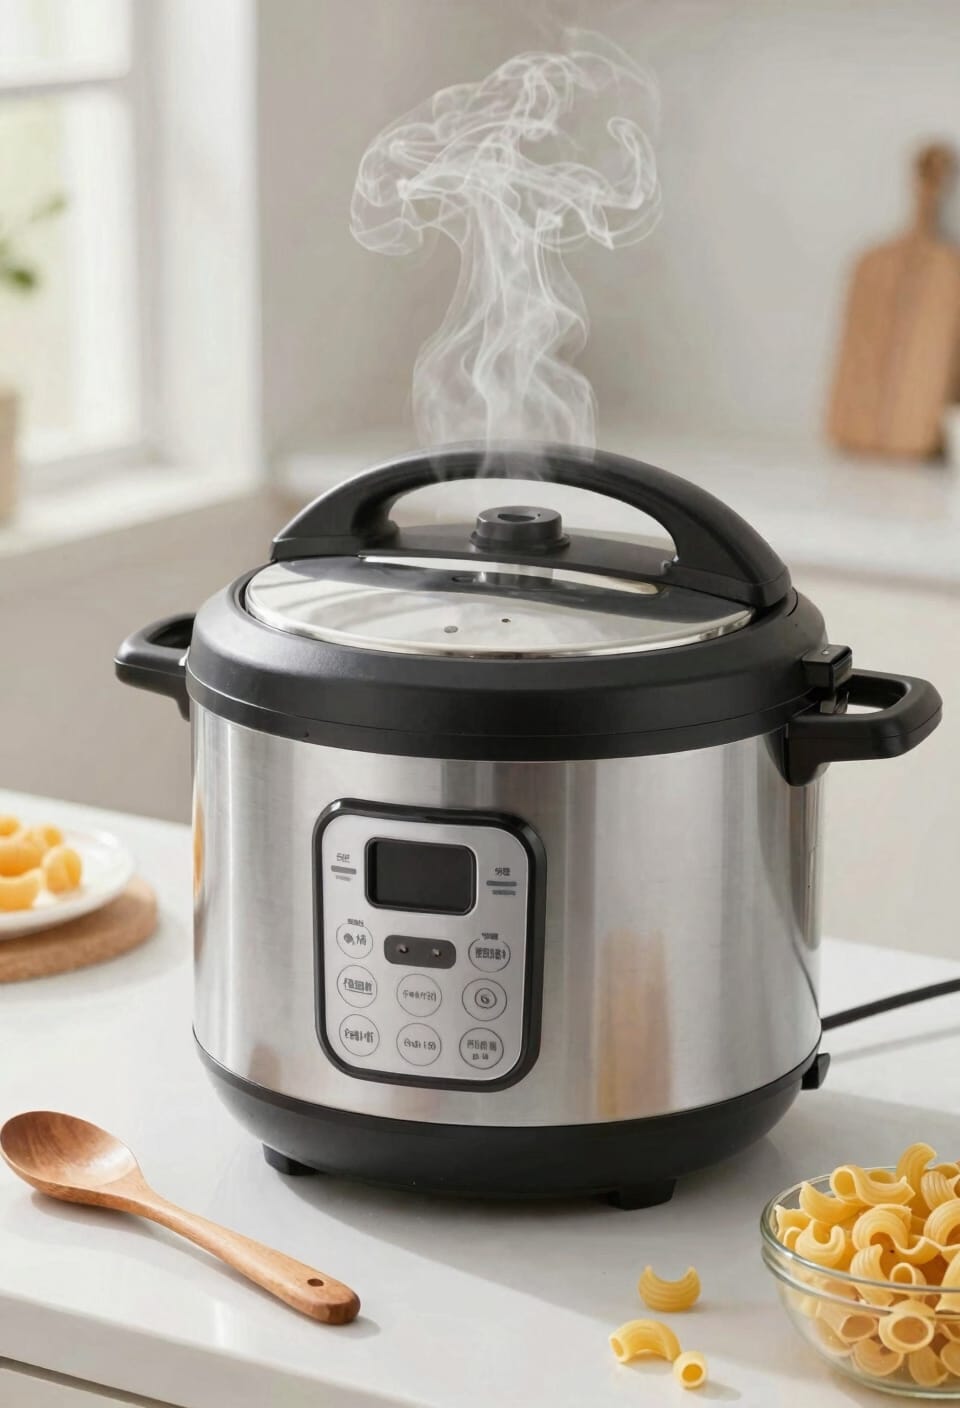
Once you’ve got everything stirred together and the lid sealed, you’re basically just babysitting the machine at this point—set it to high pressure and let it rip for three to five minutes depending on whether you’re working with regular elbow pasta or one of those fancy shapes that takes a beat longer to soften. The pressure timing matters here because undercooked pasta’s a real bummer, but mushy noodles are debatably worse. Your sealing techniques count too—make sure that valve’s positioned right so pressure actually builds. I usually set it and walk away, maybe check my phone once. When the timer beeps, don’t get excited and hit quick release immediately. I let it sit naturally for about four minutes first, which prevents that angry sputtering and keeps your pasta from turning into mush soup.
Quick Release and Finish
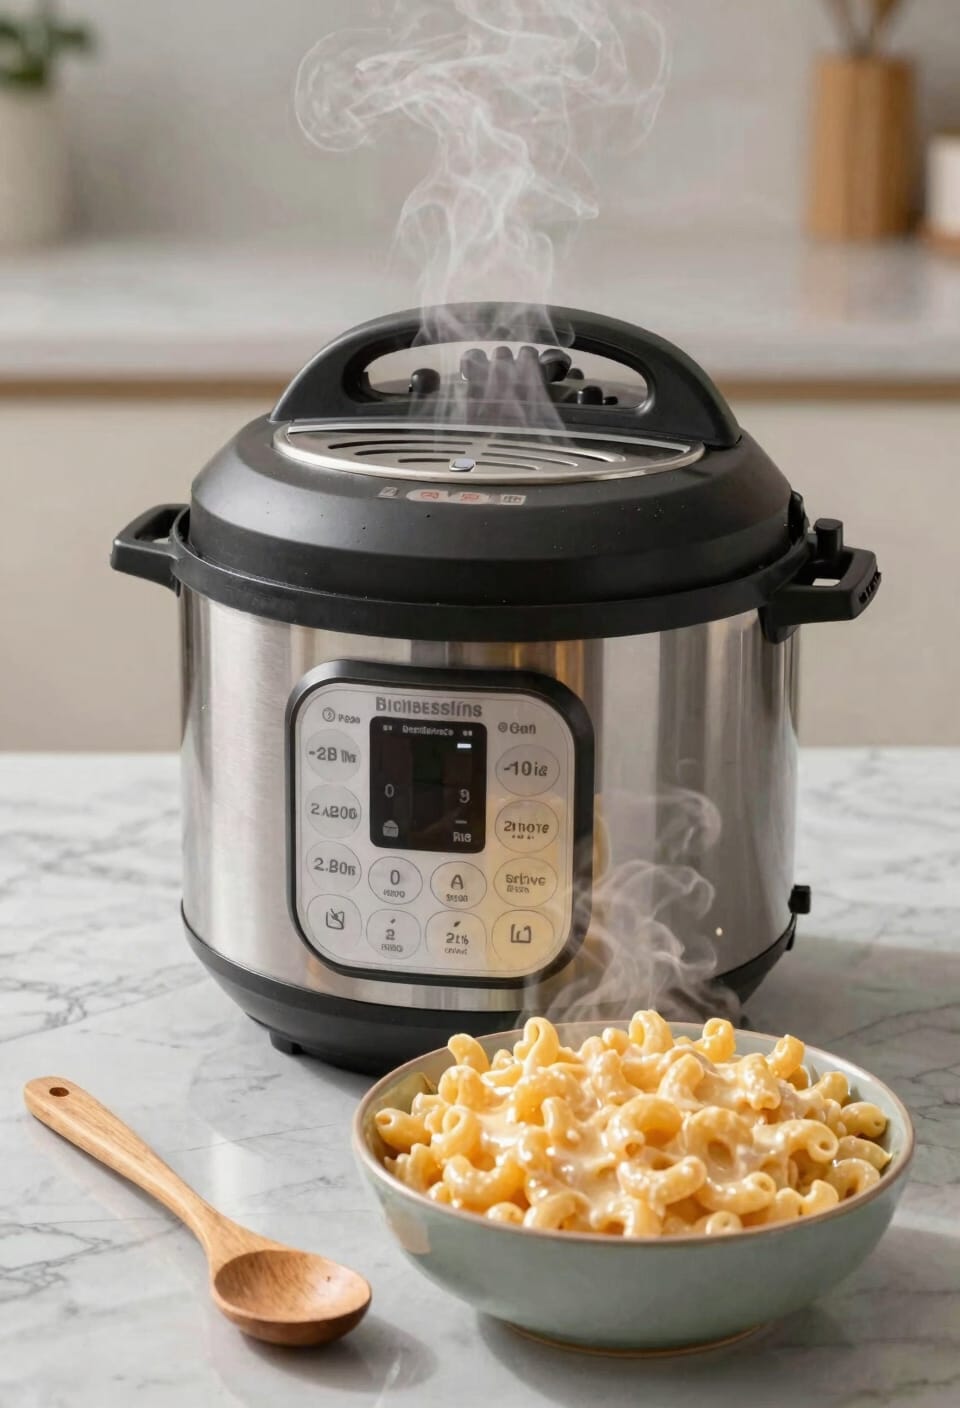
After that natural release finishes its thing, you’ll manually quick release the remaining pressure by carefully moving the valve to the venting position—I use a wooden spoon to flip it so I don’t scald my fingers, which I’ve definitely done before and don’t recommend. The pressure venting happens fast, so step back and let the steam do its work. Once the pin drops and you’re safe to open the lid, give everything a good stir. The residual heat hanging around in there will help finish cooking any pasta that’s still slightly firm. Now comes the fun part: stir in your cheese handfuls, melting each batch completely before adding the next. Taste it, adjust your seasonings, and serve while it’s hot and creamy.
Stir in Your Cheese Sauce
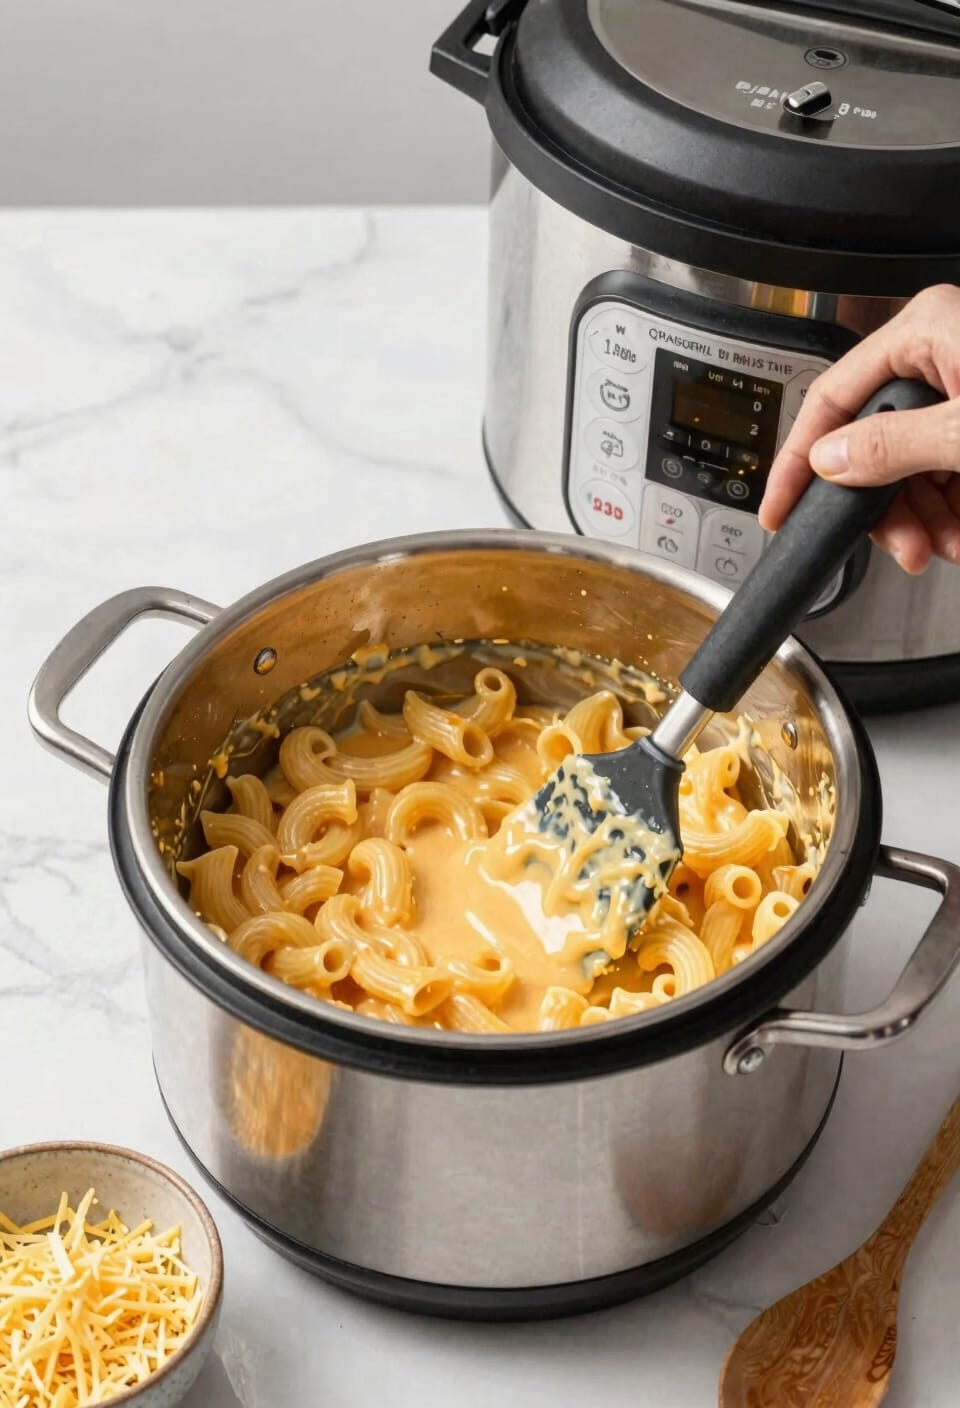
Now that your pasta’s had a moment to rest and finish cooking, grab your cheese and get ready for the best part—building the sauce that’ll make everyone at the table go quiet. Melt your butter first, then add your cheese handful by handful, stirring between each addition so nothing clumps up on you. This gentle folding method prevents that grainy texture nobody wants. Pour in your milk or cream—whatever you’ve got—and keep stirring with a wooden spoon until everything’s melted and smooth. Watch your sauce temperature; you’re looking for hot but not scorching. Once it’s silky, taste it and adjust your seasonings. That’s when you know you’ve nailed it.
Taste and Adjust Seasonings
Your silky cheese sauce is staring back at you from the pot, and here’s where a lot of people stop—but you shouldn’t. Taste it. Actually taste it. I know it’s hot, so blow on that spoon like you mean it.
Now here’s the thing: this is your moment to adjust acidity and seasoning. If it tastes flat, mustard powder or a pinch more black pepper wakes it up. Salt it to your preference—you’ll know when it’s right. The sauce should sing, not whisper.
Before you serve, consider herb toppings like fresh chives or crispy bacon bits. They’re not just pretty; they add textural contrast and flavor complexity that transforms a good mac and cheese into something genuinely memorable. Don’t skip this step.
Customize With Add-Ins
Since you’ve already nailed the seasoning, this is where you get to have actual fun with your mac and cheese. Crispy bacon crumbles add a salty, smoky dimension that elevates the whole dish—I’m talking a handful stirred in right before serving. Spinach inclusion works beautifully too; just wilt it in during the sauté phase before adding your cheese sauce, and you’ve secretly gotten vegetables into what’s ostensibly comfort food. Broccoli’s another solid play if you’re feeling virtuous. The beauty here is you’re not locked into tradition. Jalapeños, caramelized onions, panko for topping—whatever makes you actually want to eat this thing. Just remember the pasta’s already cooked, so you’re mostly layering flavors onto something that’s already solid.
Store and Reheat Your Leftovers
All right, so you’ve made a giant pot of mac and cheese and actually managed to portion it out like a responsible human instead of eating the whole thing in one sitting—I respect that. Store your leftovers in airtight storage containers and refrigerate them; they’ll keep for up to four days. When you’re ready to eat again, you’ve got options. I like using the sauté function for about two to three minutes to gently reheat while thickening the sauce slightly. The keep warm setting works too if you want a gentler approach—just let it sit there while the cheese fully melts without scorching. Either way, taste for salt and pepper before serving because seasoning always gets lost in the fridge’s cold abyss.
Frequently Asked Questions
Can I Use Regular Pasta Instead of Elbow Macaroni in My Instant Pot Mac and Cheese?
Yes, I’d recommend trying whole wheat penne or gluten free fusilli instead. You’ll need to adjust your cooking time based on the pasta’s thickness—thinner shapes cook faster, so I’d start with 3 minutes and check.
What’s the Difference Between Natural and Quick Pressure Release for This Recipe?
I’ll tell you the key difference: natural release lets steam vent slowly through depressurization, preventing your noodles from overcooking, while quick venting immediately releases pressure—I’d recommend natural first for mac and cheese.
How Do I Prevent My Cheese Sauce From Becoming Grainy or Clumpy?
I’ll prevent graininess by adding cheese in handfuls with stirring between additions, melting butter first for proper emulsion, and keeping temperatures controlled. Quality cheese selection matters—I’ll use sharp cheddar and cream cheese for smoothness.
Should I Use Water or Broth, and Does It Significantly Affect the Final Dish?
I’d recommend using broth for superior flavor impact. Your broth selection markedly enhances the dish’s savory depth compared to plain water. Low-sodium chicken broth works best, eliminating the need for extra salt during cooking.
Can I Make This Recipe in a Regular Pot Instead of an Instant Pot?
Yes, I’d recommend a stovetop adaptation for cookware tips: boil pasta separately first, then combine with butter, cheese, and milk in your pot over low heat, stirring constantly to prevent scorching and guarantee smooth sauce consistency.
Conclusion
I’ve watched my Instant Pot transform humble pasta into liquid gold more times than I can count. That creamy comfort pooling in your bowl? It’s more than dinner—it’s a small rebellion against chaos, a warm embrace in stainless steel form. You’ve got this recipe now, the power to conjure comfort whenever you need it most. That’s something worth celebrating, truly.