As an Amazon Associate, we earn from qualifying purchases. Some links on this site are affiliate links at no extra cost to you. Our recommendations are based on thorough research and editorial judgment.
How to Make Shredded Chicken in an Instant Pot
All right, here’s the thing: layer your chicken in the pot with a cup of broth, season it generously with salt, pepper, garlic powder, and whatever herbs you’ve got—paprika, oregano, the works. Seal it up, pressure cook on high for 10 minutes if it’s fresh (12–18 if frozen), then let the pressure release naturally for about 5–10 minutes before venting. Once it cools slightly, shred it with two forks, toss it back in those flavorful juices, and you’re done in under 30 minutes. Stick around if you want to know how to keep it from drying out.
Key Takeaways
- Layer chicken in the pot with 1 cup broth, salt, pepper, garlic powder, onion powder, and herbs like smoked paprika or oregano.
- Set Instant Pot to high pressure for 10 minutes (fresh breasts), 12–18 minutes (frozen breasts), or 13 minutes (thighs).
- Allow 5–10 minutes natural pressure release, then quick-release remaining pressure before opening the lid.
- Cool chicken briefly, then shred using two forks while keeping the meat in the cooking liquid to retain moisture.
- Store shredded chicken with cooking juices in sealed containers up to three days refrigerated or three months frozen.
Combine Chicken, Broth, and Seasonings
All right, here’s where the magic starts—and I’m not overstating it. You’ll layer your chicken breasts or thighs into the pot with a cup of broth or water as your cooking foundation. Now for the seasonings—salt, pepper, garlic powder, and onion powder give you a solid baseline, but here’s where herb layering transforms this from basic to genuinely delicious. I’ll add smoked paprika, dried oregano, or Italian seasoning depending on what I’m craving. The real secret? Those spices need spice blooming in that hot liquid, which happens once pressure builds. Don’t overthink it—just arrange your chicken evenly, sprinkle everything on top, and let the pot do the heavy lifting. You’re about five minutes away from tender, flavorful results.
Set Up Your Instant Pot and Add Liquid
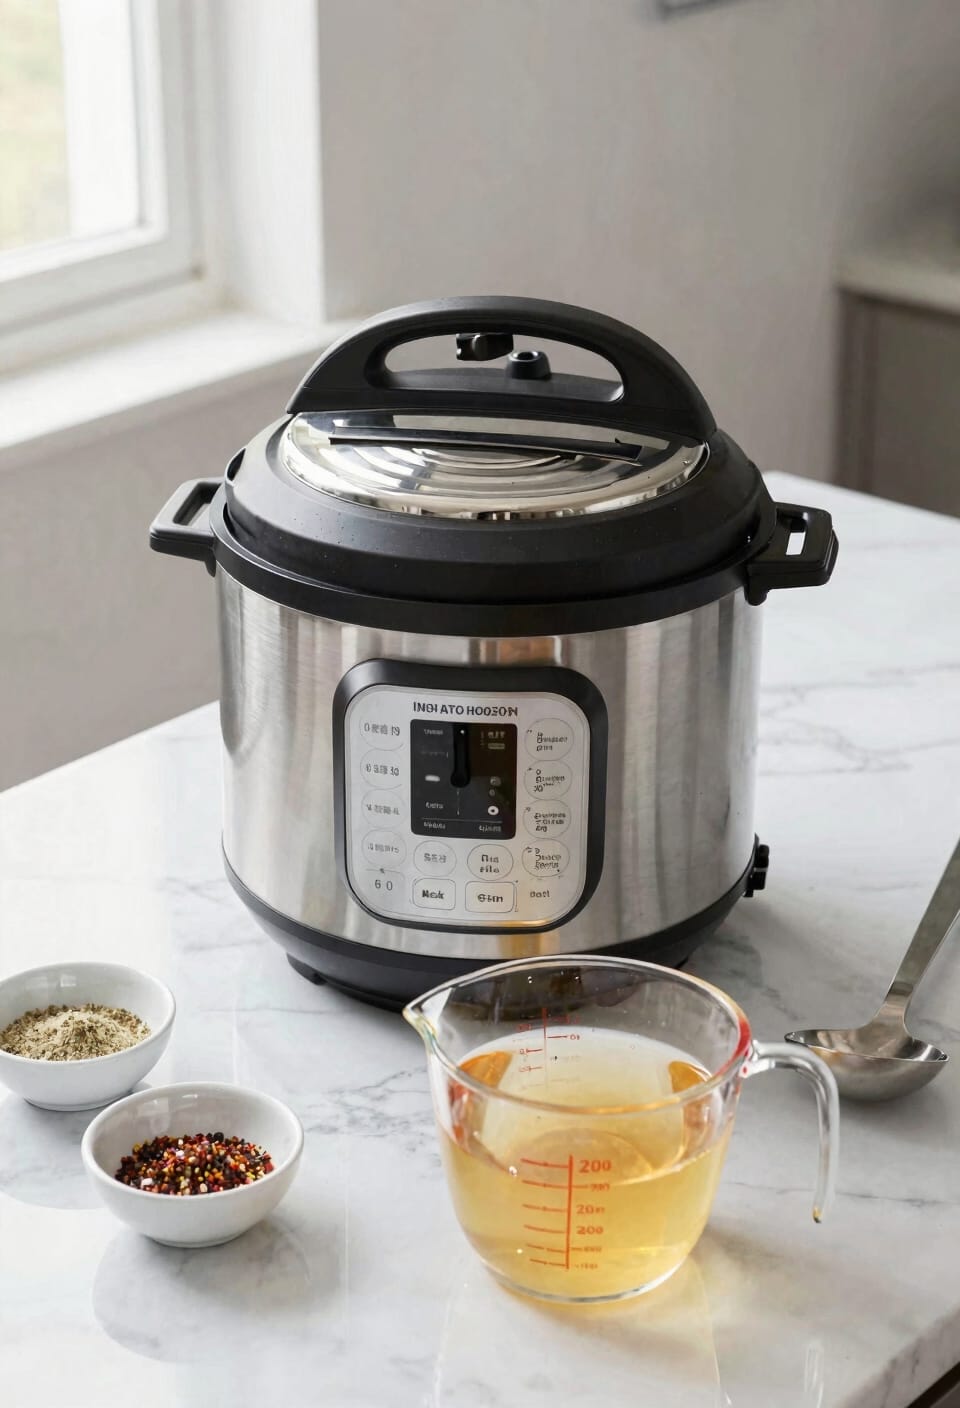
Since you’ve got your chicken seasoned and ready, it’s time to get that Instant Pot actually working for you—and this part is straightforward, which I appreciate. First, do a quick power check to make sure everything’s functioning. Then pour in your cup of chicken broth or water—this is your cooking medium, the foundation for everything. Now here’s what matters: make certain that sealing ring is clean and properly seated, because a compromised seal means your pressure won’t build correctly, and we’re not resetting this whole thing. Position that valve to “sealing” so pressure actually stays put during cooking. That’s it. You’re ready to pressure cook.
Pressure Cook in Your Instant Pot (10–18 Minutes)
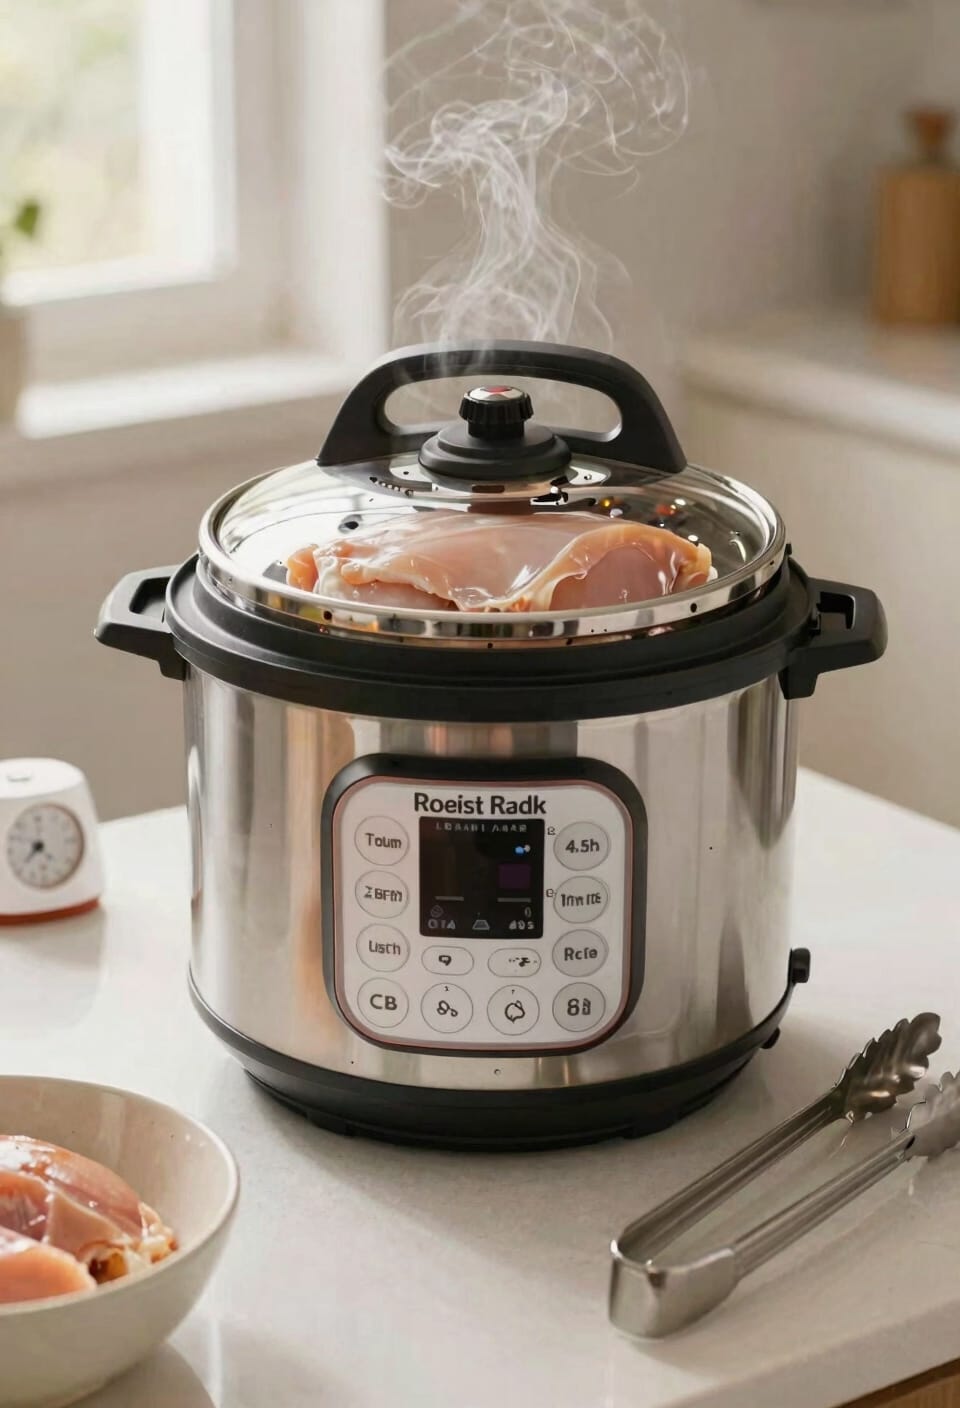
Close that lid and hit the pressure cook button—now the actual magic happens. Set it to high pressure, and here’s where timing matters: fresh chicken breasts need 10 minutes, while frozen ones demand 12–18 depending on thickness. If you’re cooking thighs, go with 13 minutes. I know that’s a range, and I’m not being cagey—frozen chicken’s just unpredictable, especially at high altitude where everything cooks differently anyway.
Don’t stress about the pressure buildup taking 8–10 minutes before the countdown even starts. That’s normal. The residual heat is doing work for you. Once the timer hits zero, let it sit untouched for 5–10 minutes naturally, then quick-release what’s left. Your chicken’ll be ridiculously tender and juicy.
Release Pressure and Cool the Chicken
Now that your timer’s hit zero, you’ve got to let that pressure come down gradually before you touch anything—and I mean *anything*. This resting time is where the magic happens. Switch your valve to “venting” after about 5-10 minutes of natural release, which lets any remaining pressure escape safely. Those safety checks matter because opening the lid too early risks a steam explosion that’ll redecorate your kitchen in ways you didn’t authorize.
Once the pressure’s fully released and the lid pops open easily, you’ll see your chicken sitting there, steaming and ready. Let it cool for a few minutes so you don’t burn your fingers—nobody’s impressed by blisters. The chicken’s already cooked through, so this cooling period just makes shredding it actually manageable.
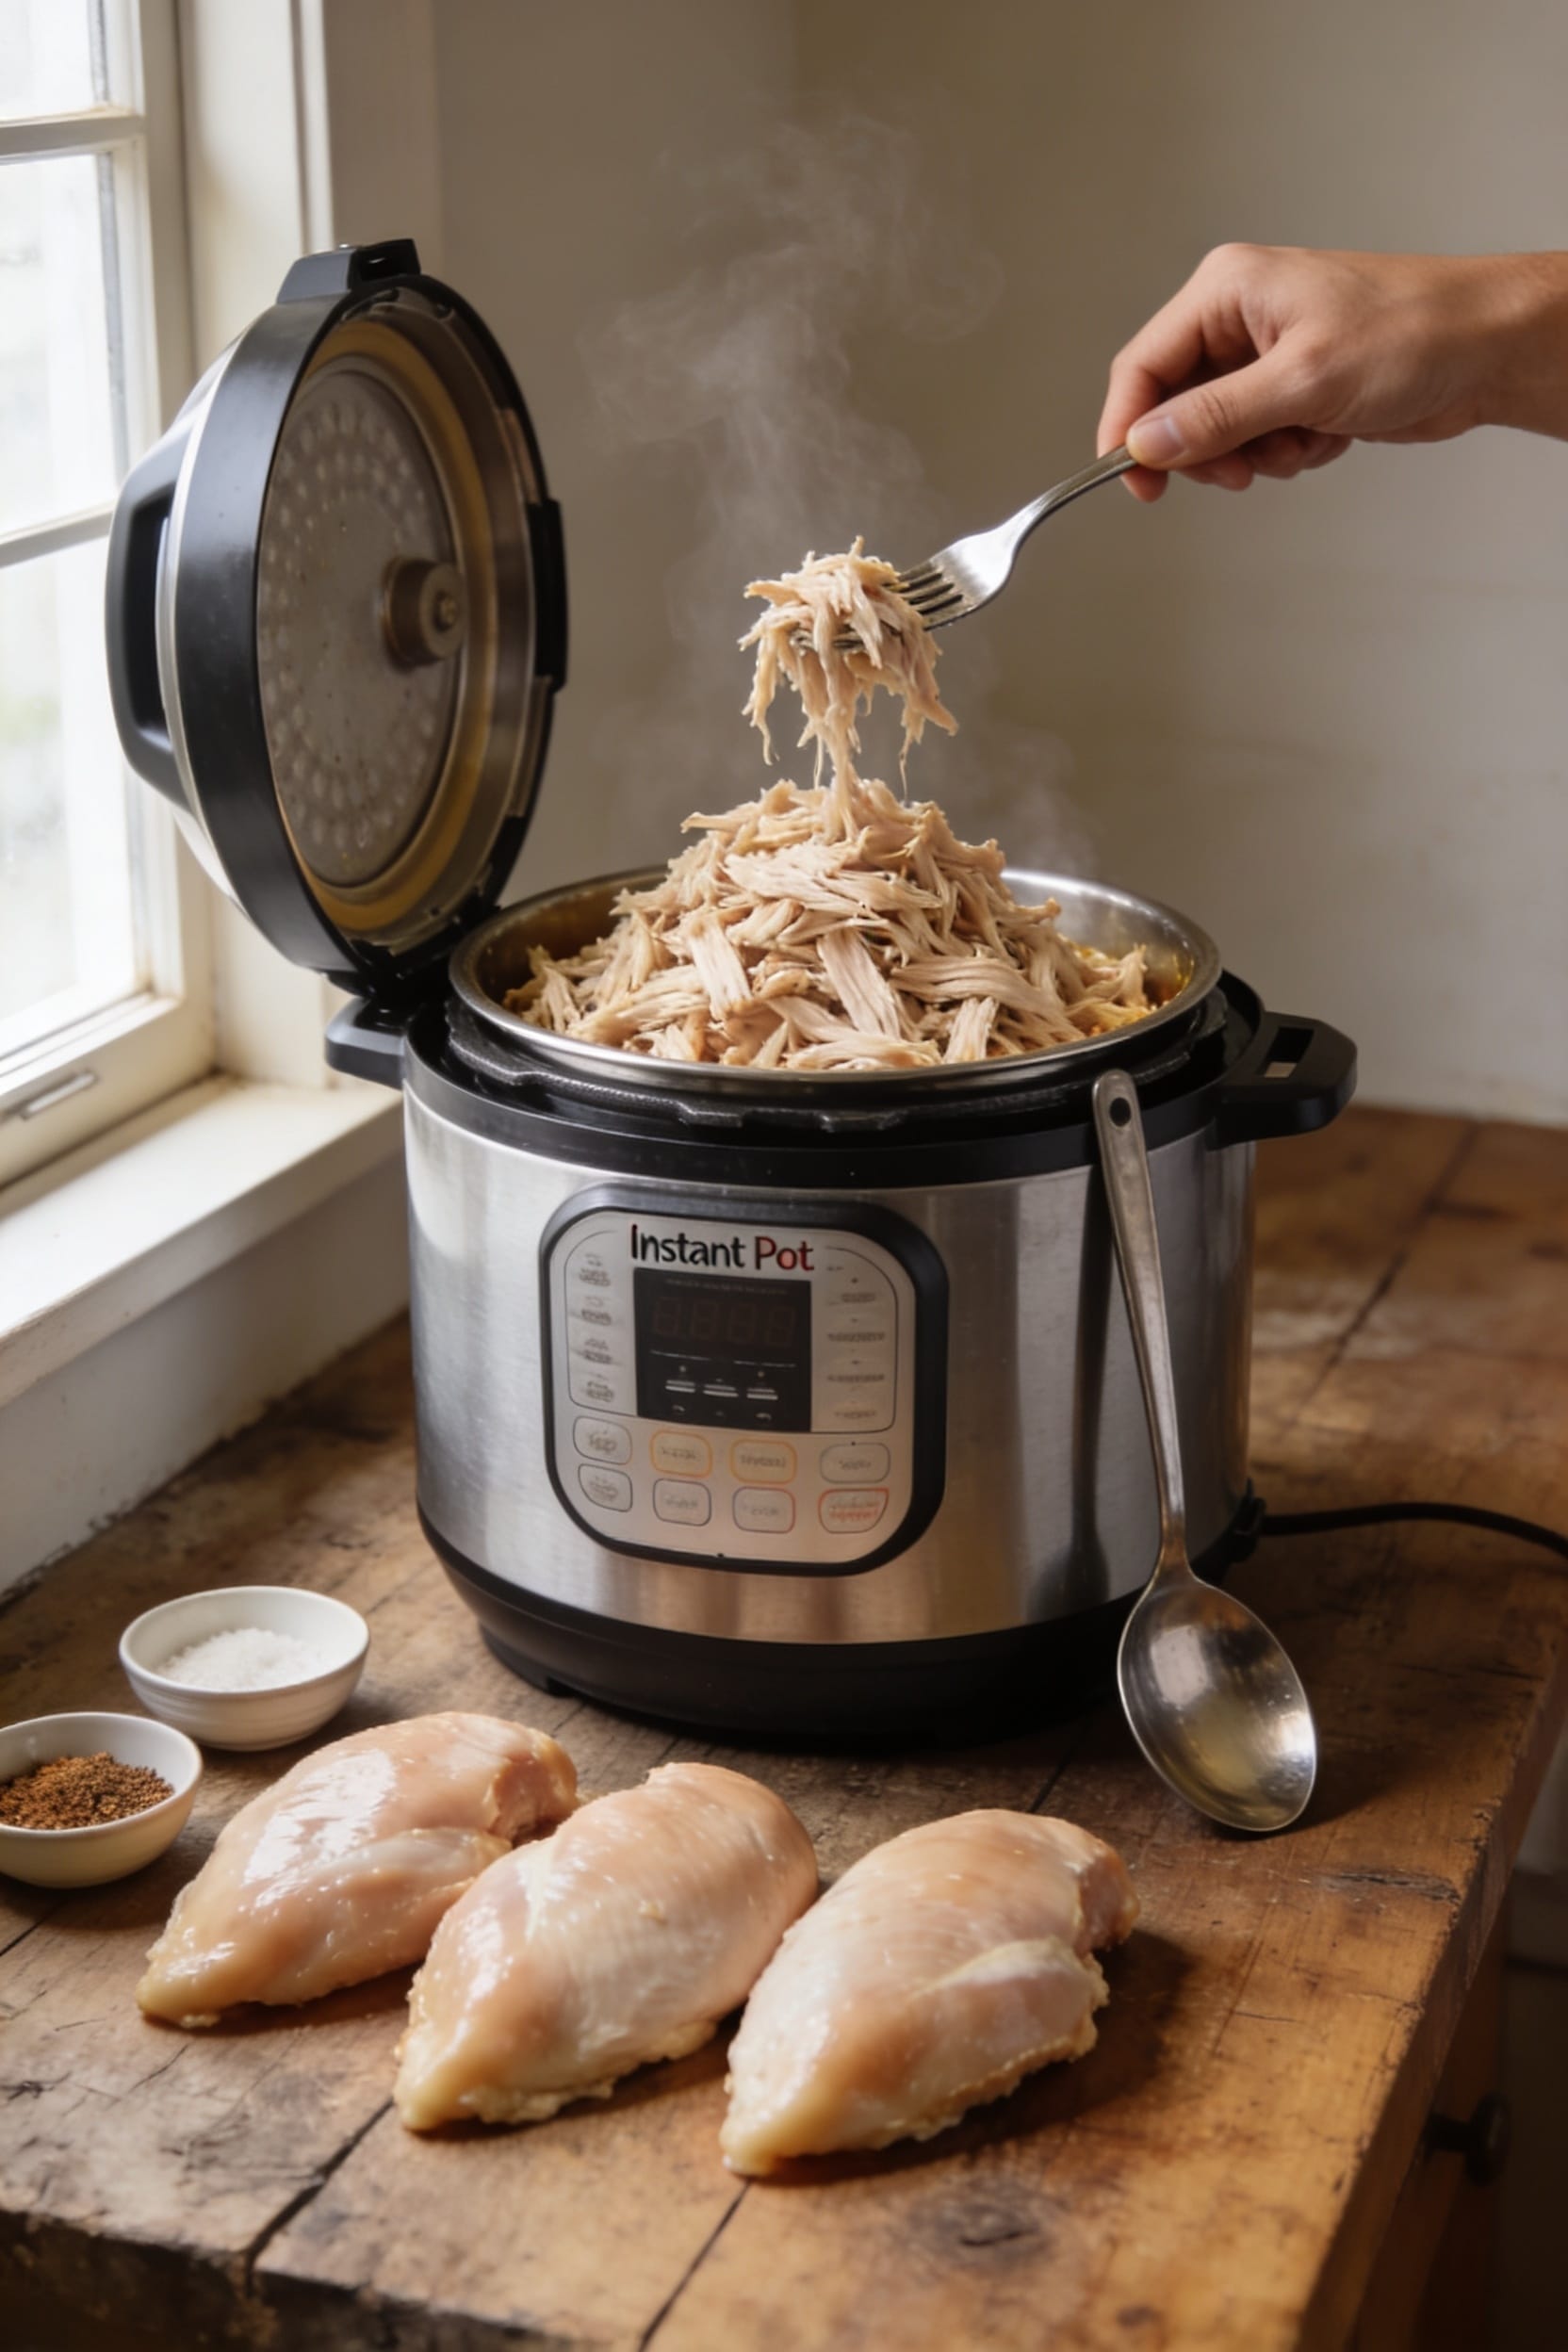
Shred Chicken and Lock in Moisture
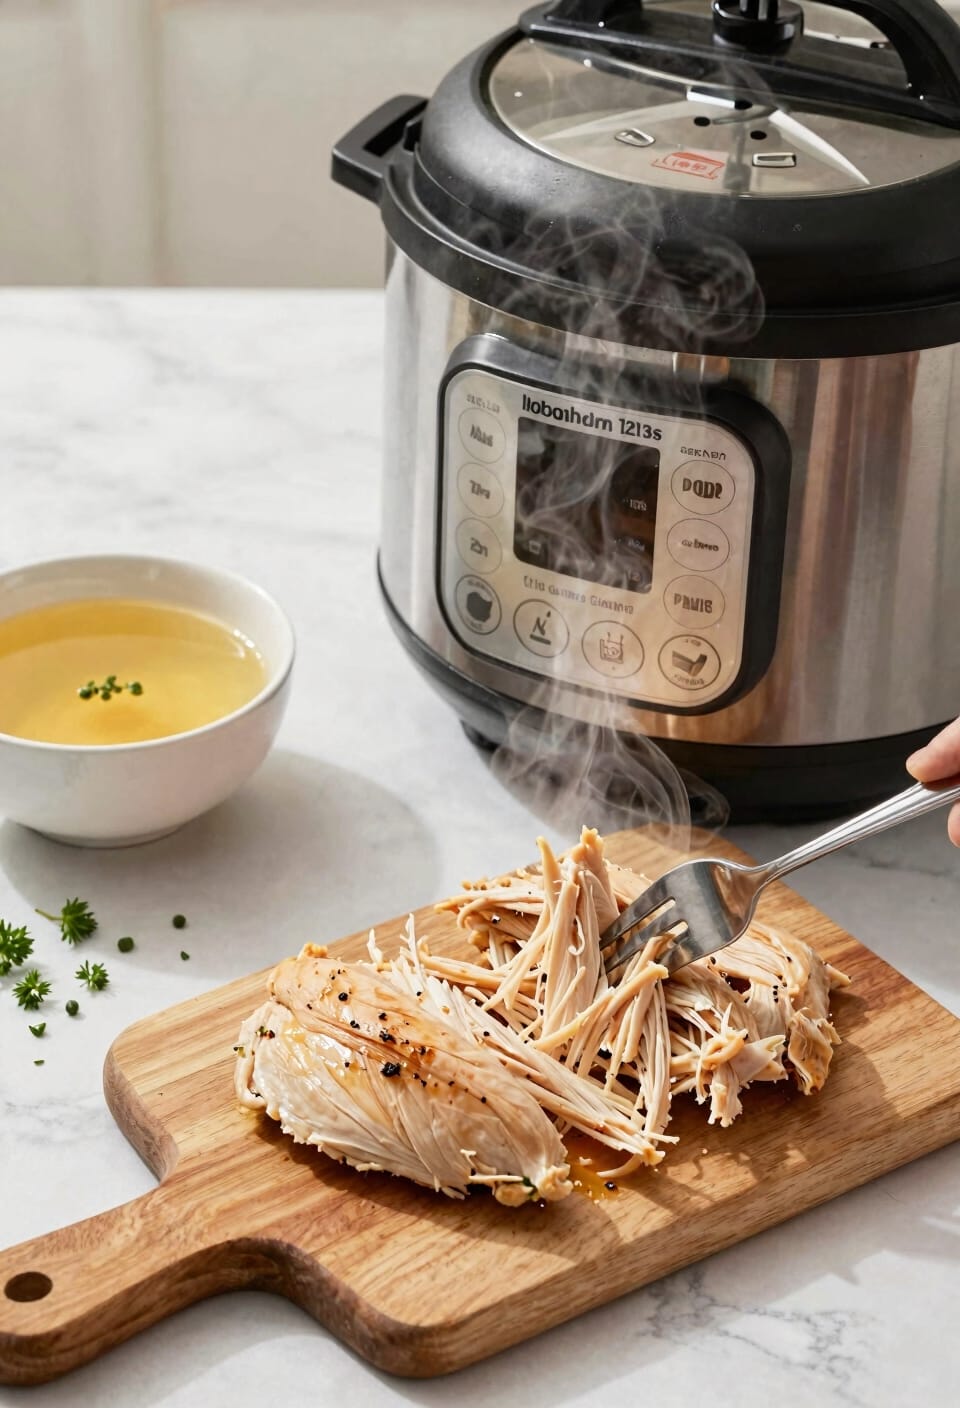
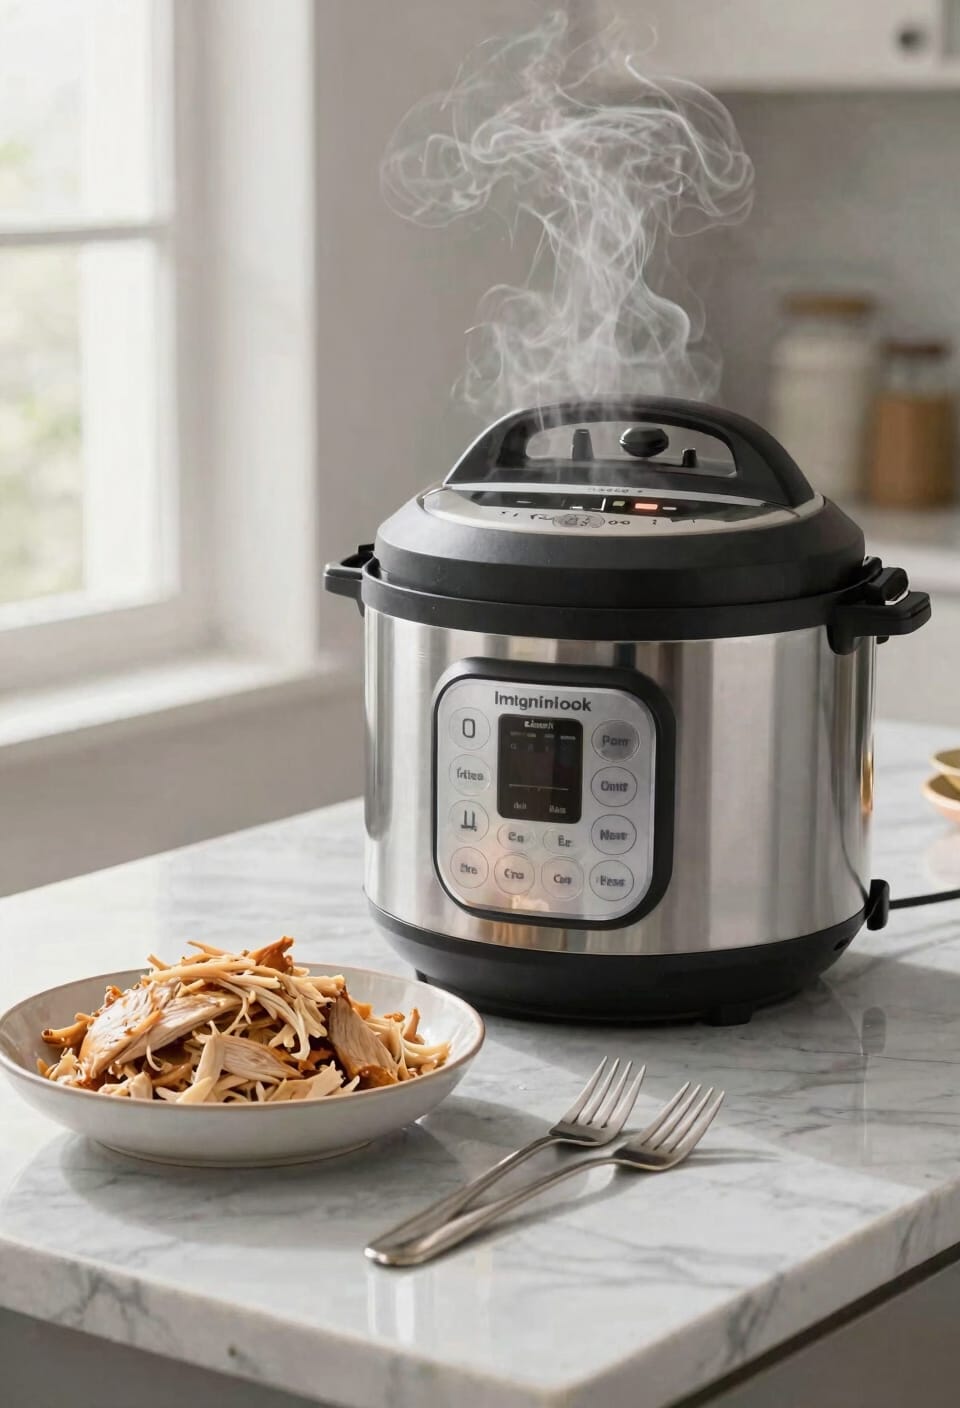
Once that chicken’s cool enough to handle, you’re ready to pull it apart—and this is where most people either nail it or accidentally turn their dinner into chicken paste. I’m team two-forks here. You grab one fork in each hand and just shred away, letting the meat naturally separate into those satisfying chunks. Now, here’s the thing: don’t drain that liquid yet. Toss your shredded chicken back into the pot with those cooking juices still there. That resting time in the broth? That’s your secret to flavor infusion and moisture lock-in. The chicken reabsorbs all those seasoned juices, staying juicy instead of turning into disappointing dry strings. Give it a good stir to coat everything evenly. That’s it. You’ve basically won already.
Keep Your Chicken Fresh: Fridge and Freezer Storage
With your shredded chicken resting in all those juices, you’re basically holding onto liquid gold—and I’m not about to let you waste it. Keep that liquid with your chicken; it’s your secret weapon for preventing the dreaded dry-chicken situation down the road.
For fridge rotation, I store mine in sealed containers up to three days, which honestly works great for my weekly meal prep habit. Want to stretch things further? Freeze it. Three months is your window, and vacuum sealing is genuinely worth the effort here—it prevents freezer burn like nothing else and saves space. Portion everything before freezing so you’re not thawing a giant brick when you only need half. Keep those juices in there too. Your future self will thank you.
Troubleshoot Common Instant Pot Chicken Problems
Even if you’ve nailed the cooking time and followed every step perfectly, you might still end up with chicken that’s either rubbery as a hockey puck or somehow still pink in the middle—and I’m here to tell you that neither of those outcomes means you’ve failed at life, just at this particular recipe. Dry shredding usually happens when you skip the natural pressure release or drain your liquid too early. Let that chicken sit in its juices for five to ten minutes before shredding. Uneven seasoning? You’re probably not tossing thoroughly enough with the cooking liquid afterward. Make sure every strand gets coated. If your chicken’s still pink, you likely underfilled your broth or stacked pieces too thick. Next time, arrange them in single layers and use the full cup of liquid.
Frequently Asked Questions
Can I Use Chicken Breasts and Thighs Together in the Same Batch?
I’d recommend against mixing them since white meat and dark meat have different cooking times. Your breasts’ll finish at ten minutes while thighs need thirteen, creating uneven texture and flavor balance issues.
What’s the Difference Between Natural and Quick Pressure Release Methods?
Natural release lets pressure drop gradually over 5-10 minutes, while quick release vents it immediately. I’d recommend natural release first to keep your chicken moist, then quick release for any remaining pressure.
How Do I Prevent Shredded Chicken From Drying Out During Storage?
I’d keep the cooking liquid with your shredded chicken to add moisture during storage. You can also vacuum seal portions to lock in juiciness. Store in sealed containers for up to three days refrigerated or freeze for months.
Can I Cook Shredded Chicken From Completely Frozen Without Thawing First?
I’d cook frozen chicken a million times before thawing! You can absolutely use frozen breasts—I’d recommend 12-18 minutes at high pressure depending on frozen thickness. Safety timing varies, so make certain they’re fully cooked before shredding.
What Texture Should Shredded Chicken Have When Using a Hand Mixer?
I’d recommend using a hand mixer to achieve super-fine shredded chicken with tender strands and uniform consistency throughout. You’ll get a much smoother, more delicate texture than the two-fork method produces.
Conclusion
Look, you’ve just opened the secret sauce to weeknight dinners—shredded chicken so tender it practically melts like butter on your tongue. Your Instant Pot transforms tough cuts into silky strands of pure convenience in under twenty minutes. That’s not just cooking; that’s time travel. Stock your fridge with these golden batches, and you’ve basically handed yourself the keys to effortless meals for days. You’re welcome.