As an Amazon Associate, we earn from qualifying purchases. Some links on this site are affiliate links at no extra cost to you. Our recommendations are based on thorough research and editorial judgment.

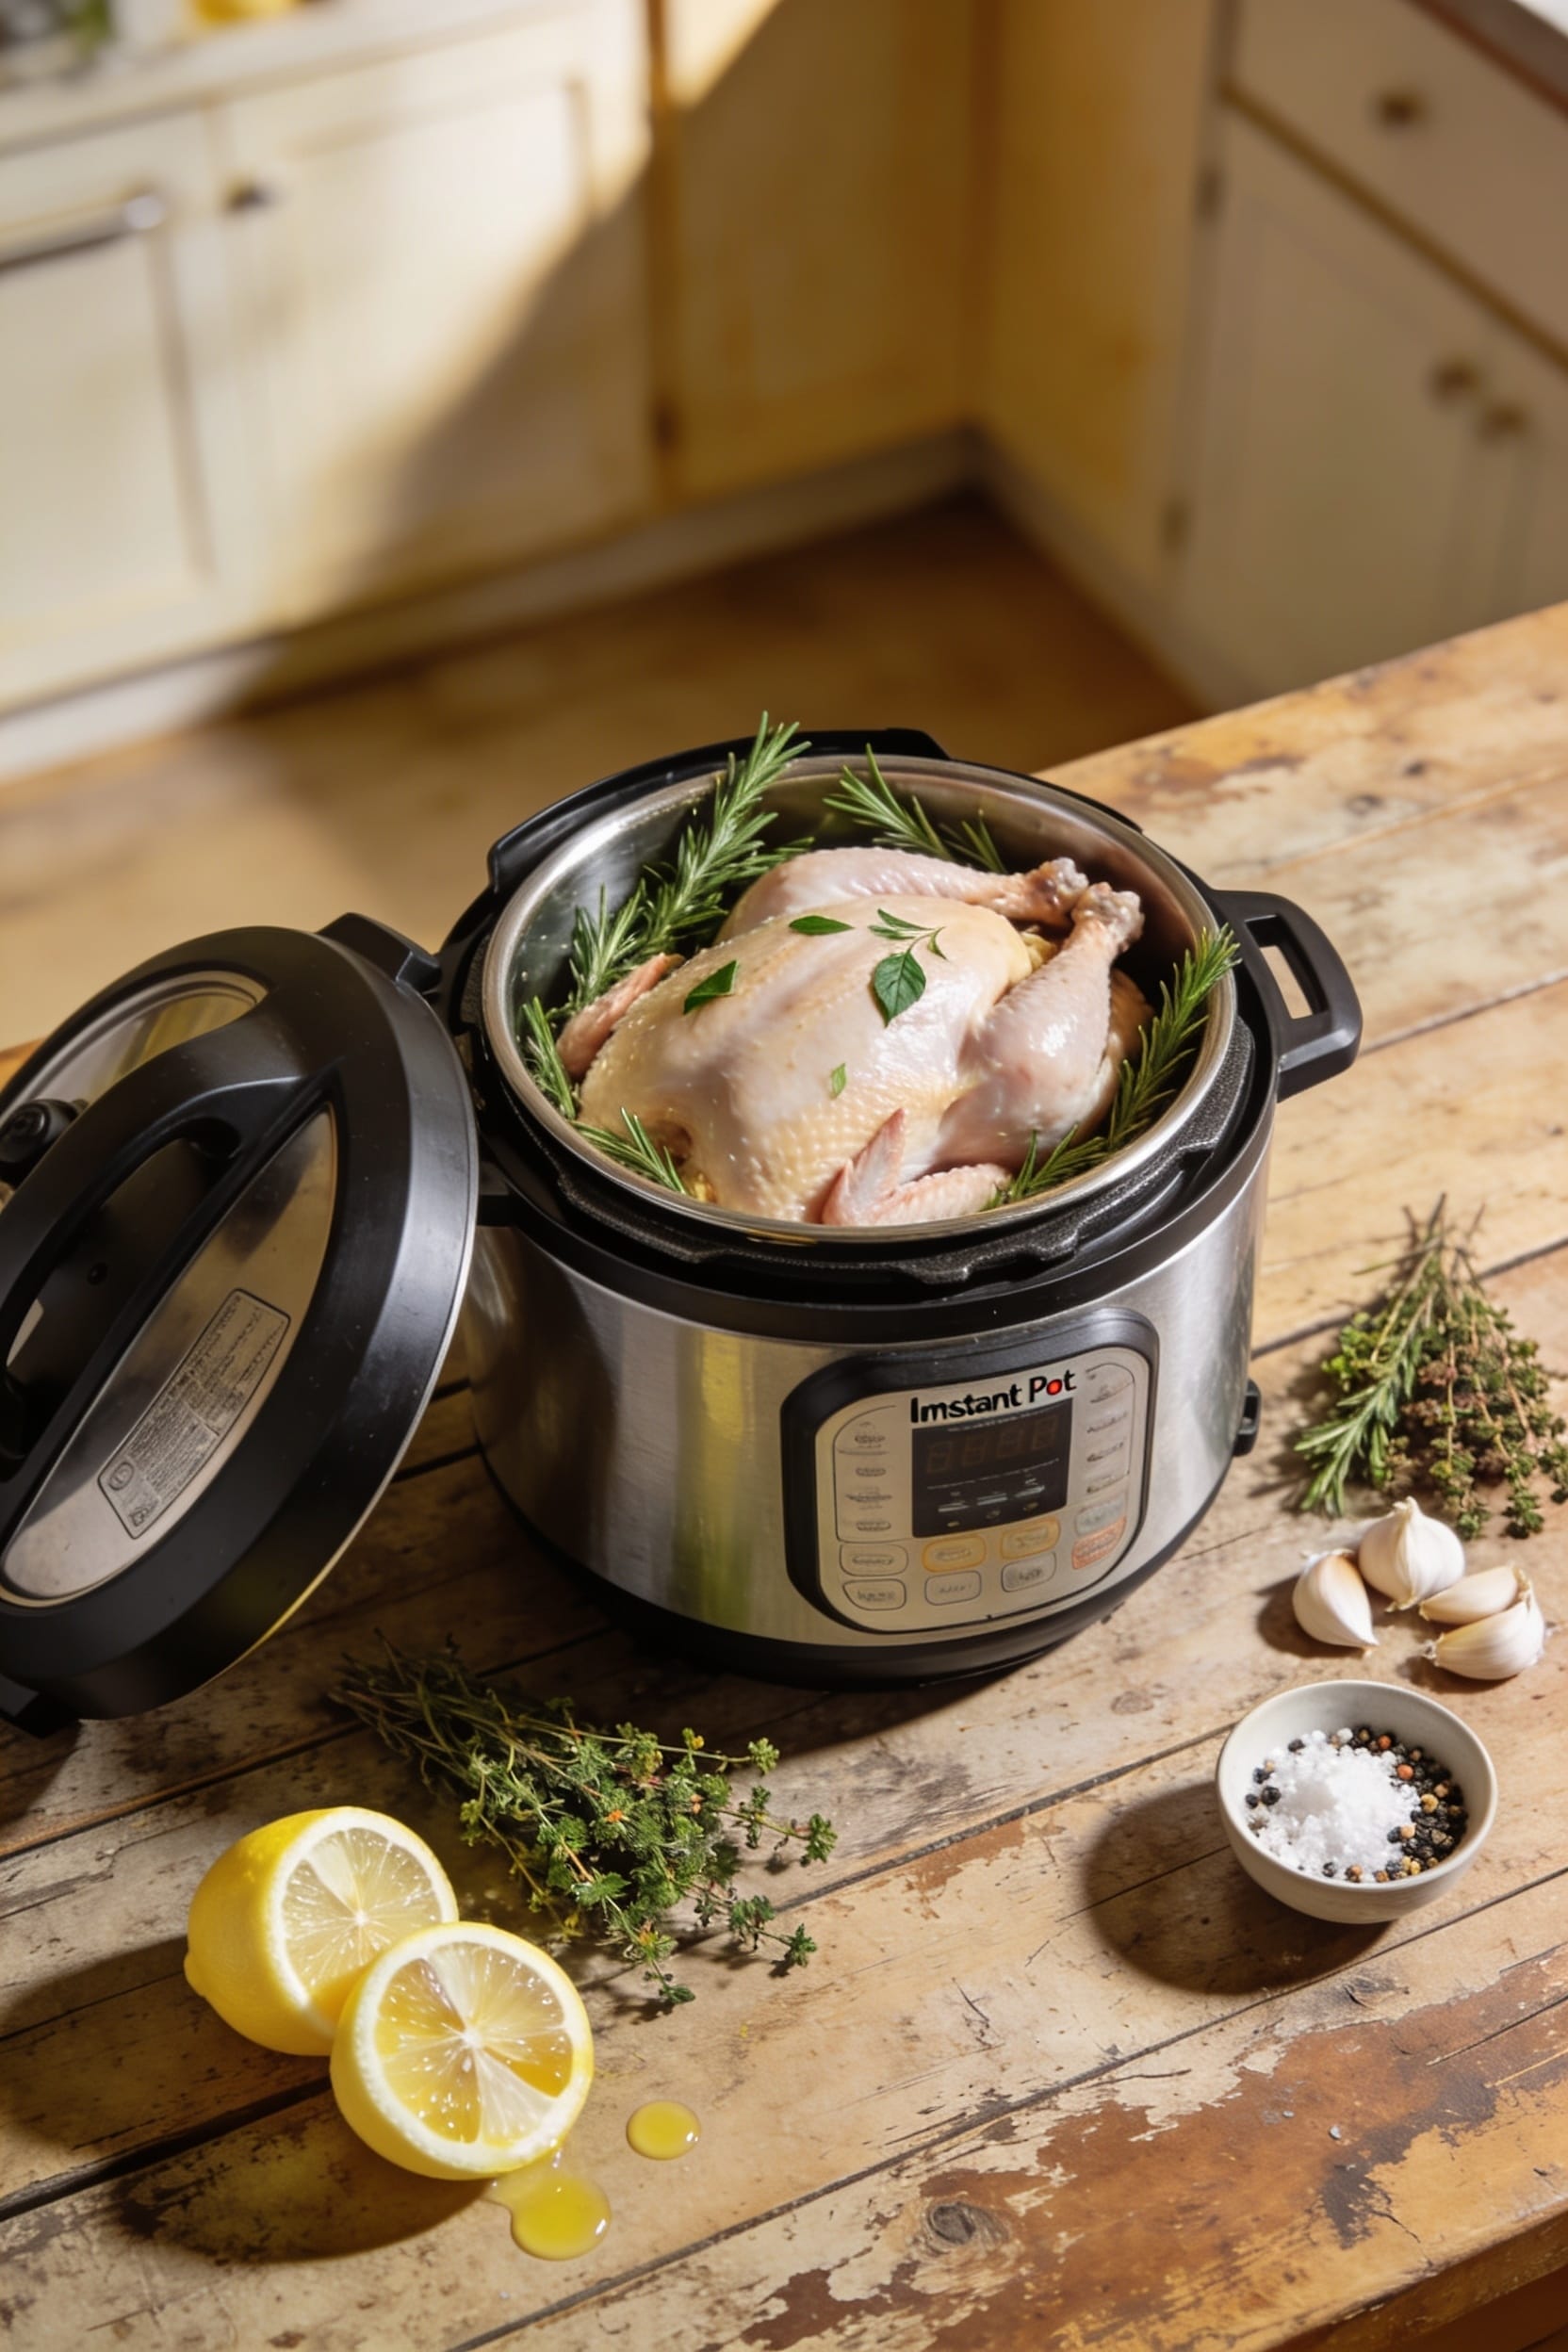
How to Cook a Whole Chicken in an Instant Pot

you’ll brown your chicken first to build real flavor, then add liquid and a trivet to your pot. Cook at high pressure for about six minutes per pound—a three-pounder needs eighteen minutes—then let pressure release naturally for fifteen to thirty minutes. Check that thigh hits 165°F, rest it five minutes, and you’ve got juicy meat with skin that doesn’t taste like disappointment. Stick around if you want the secrets that actually make this work.
Key Takeaways
- Brown the chicken 5 minutes per side before pressure cooking to develop flavorful Maillard reaction and seal juices.
- Cook at high pressure using 6 minutes per pound; a 4-pound chicken requires approximately 24 minutes of cooking time.
- Place chicken breast-side up on a trivet with 1 cup liquid and aromatics to ensure even, moist pressure cooking.
- Allow 15–30 minutes of natural pressure release after cooking to complete carryover cooking and prevent meat from drying out.
- Verify internal temperature reaches 165°F in the thickest thigh before resting 5–10 minutes to redistribute juices throughout meat.
Prep and Season Your Whole Chicken
Start by pulling your chicken out of the fridge and letting it come closer to room temperature—I’d give it 30 minutes or so, which honestly just means you’ve got time to pour a cup of coffee and mentally prepare yourself for what’s about to happen. Remove the giblets and neck from the cavity, then pat everything dry with paper towels. Moisture is your enemy here. Now rub your bird down with oil and season generously with salt, pepper, garlic powder, paprika, and whatever herbs you’ve got lying around. Consider making a herb paste with citrus zest mixed into softened butter—rub it under the skin for flavor that actually goes somewhere. Stuff the cavity with lemon, onion, and aromatics if you’re feeling fancy. Finally, tie the legs together with kitchen twine to keep everything compact and cooking evenly.
Why Browning Matters Before Pressure Cooking
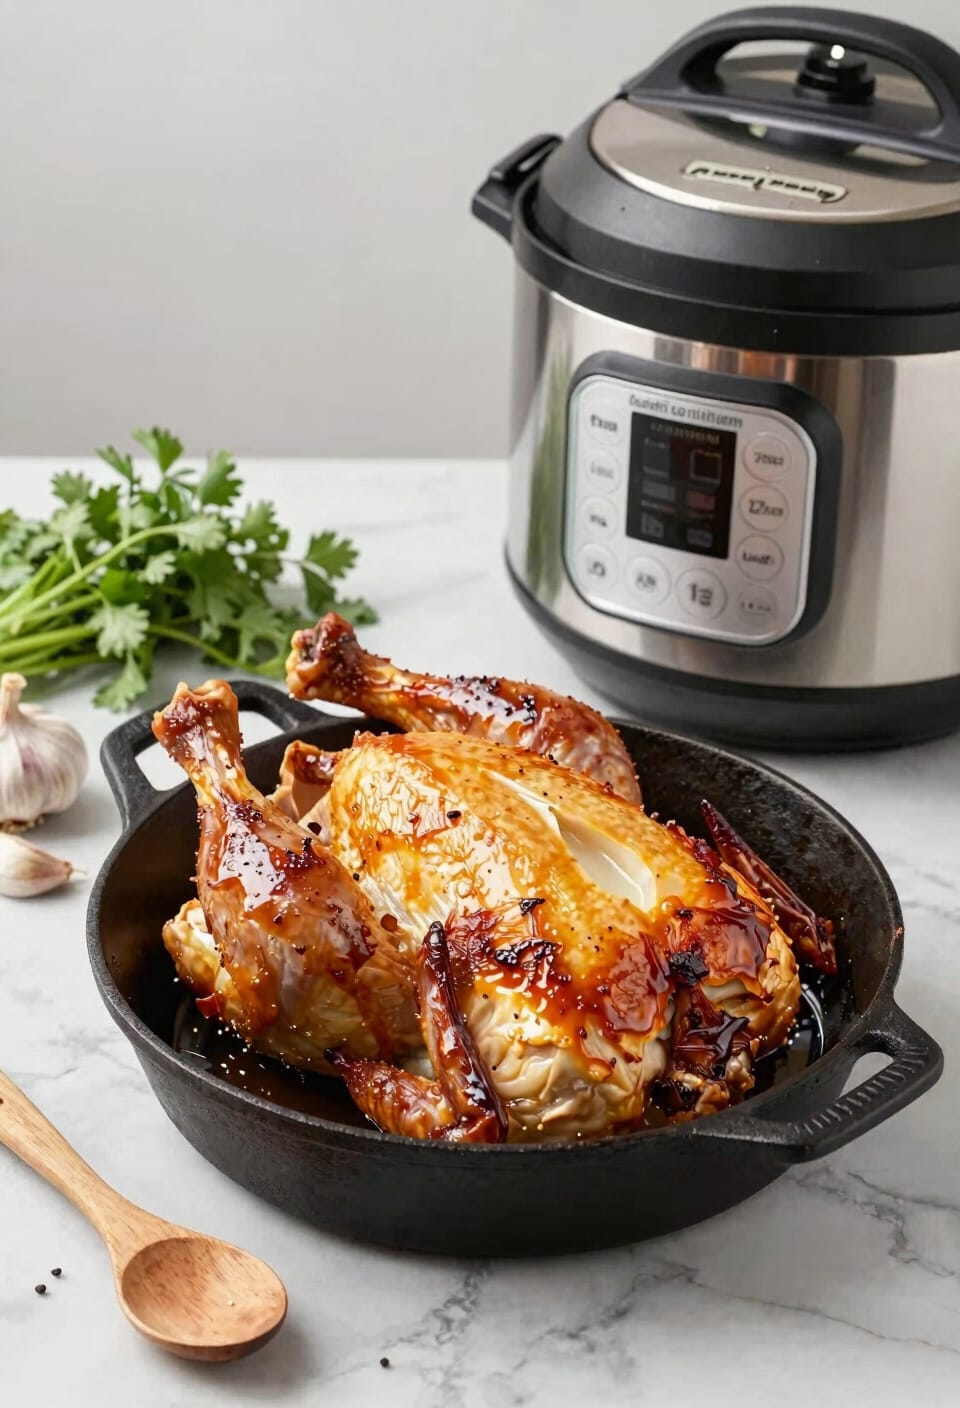
Now that your chicken’s all prepped and trussed up like a present, you might be wondering if we really need to brown it first—can’t we just throw it in the pot and call it a day? Here’s the thing: browning matters because it kickstarts flavor development through the Maillard reaction, where heat transforms proteins and sugars into complex, delicious compounds. You can’t get that depth from pressure cooking alone.
Beyond flavor, browning creates texture contrast—a golden, slightly crispy exterior against tender meat inside. It’s also about surface sealing; that browned skin helps keep the chicken’s juices locked in during cooking rather than steaming away into oblivion. Trust me, skipping this step leaves you with flavorless, mushy skin. Five minutes per side is all you need.
Set Up Liquid and Trivet in Your Instant Pot
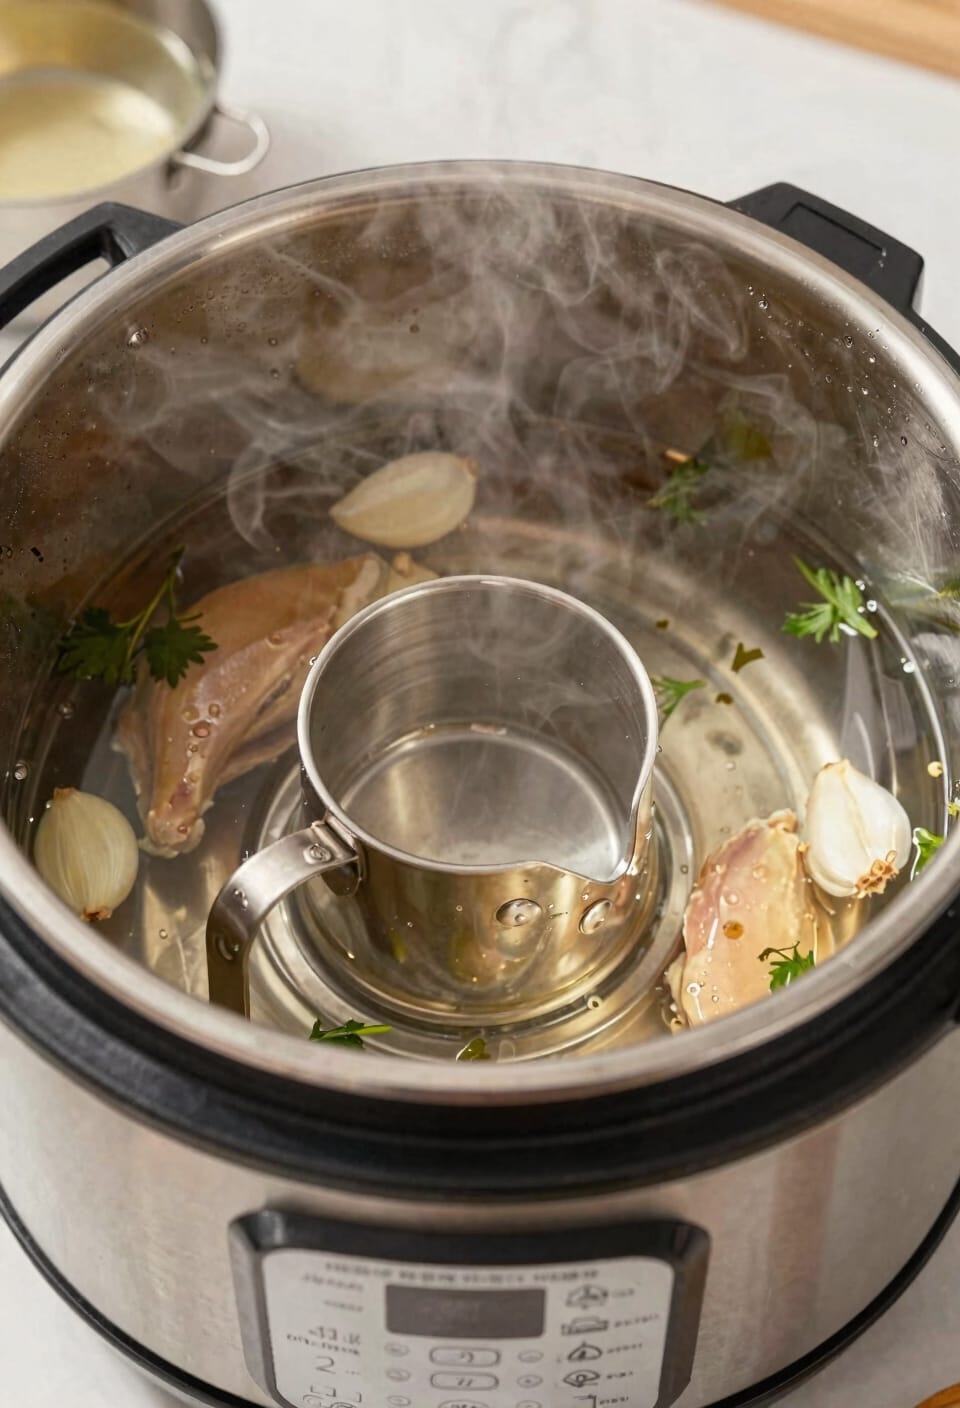
Once your chicken’s been properly browned and you’ve deglazed that pot—seriously, don’t skip scraping up those flavorful browned bits—you’re ready to build the foundation for pressure cooking. Add about a cup of water, broth, or apple cider to that pot and keep scraping. Now here’s where the trivet comes in. I’m partial to a silicone trivet with handles because it’s honestly easier to maneuver, but a regular trivet works fine too. Position your chicken breast-side up on that trivet, then toss some aromatics—onion, apple, whatever you’ve got—underneath or around it. The liquid creates steam, the trivet keeps your chicken elevated, and everything works together. You’re basically creating the perfect pressure-cooking environment.
Calculate Cook Time by Chicken Weight
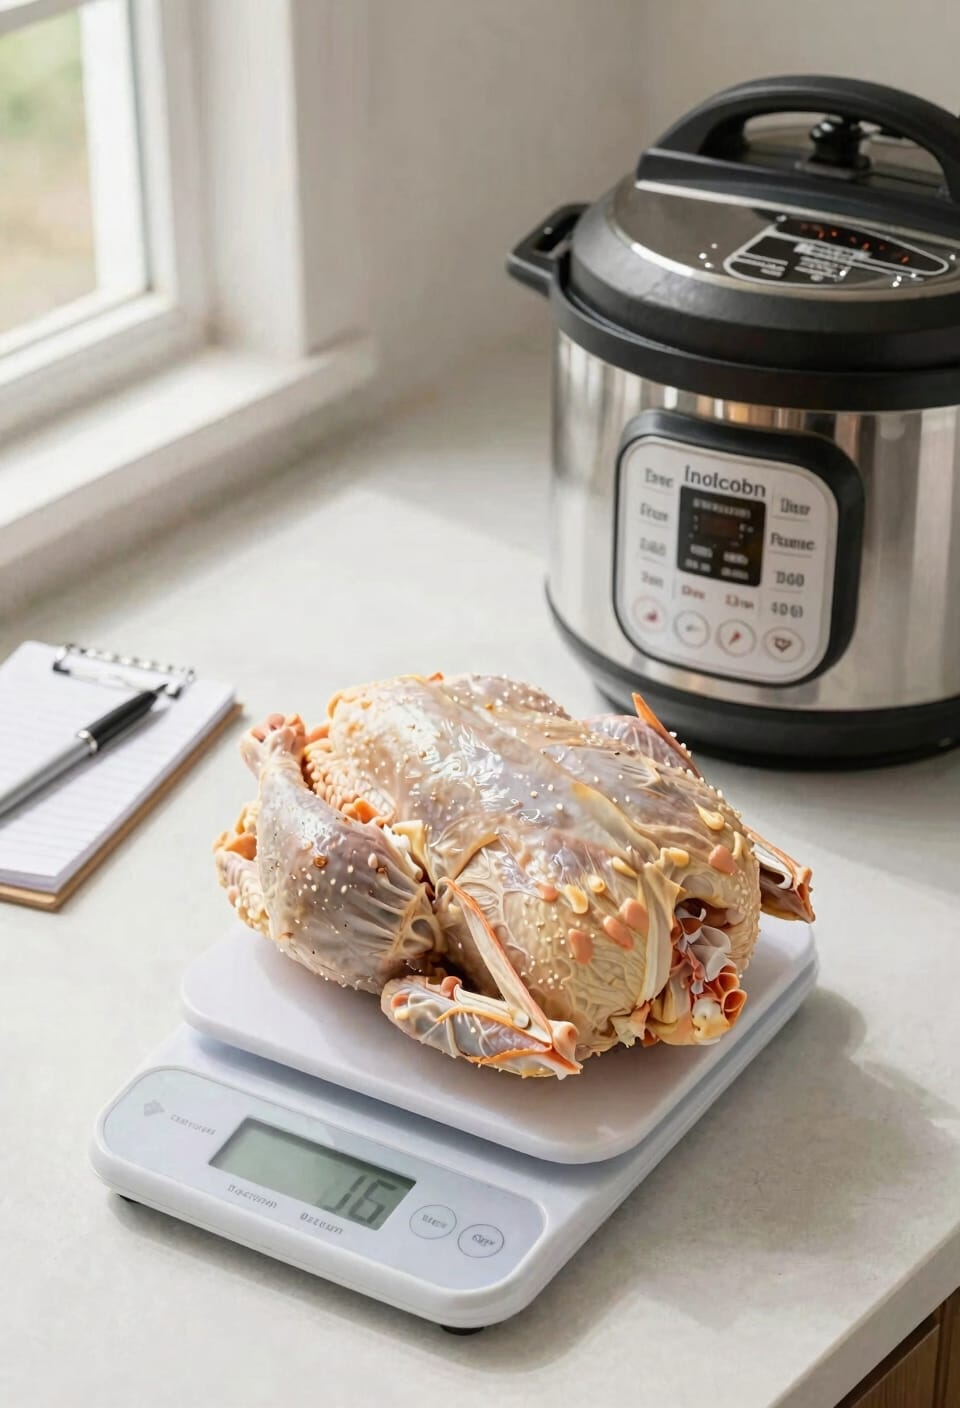
The beauty of pressure cooking is that the math is genuinely simple: six minutes per pound on high pressure, and you’re done. For pound conversion, a three-pounder needs eighteen minutes, four pounds takes twenty-four, five pounds runs thirty, and six pounds hits thirty-six. I know that sounds rigid, but here’s the thing—it actually works. What saves you from overcooking is carryover cooking and that natural pressure release you’ll do for fifteen to thirty minutes afterward. The chicken keeps gently cooking while the pressure drops, so don’t panic if your timing feels loose. Always verify with a meat thermometer anyway—that 165°F internal temp is your real finish line, not the clock.
How to Know When Your Chicken Is Done
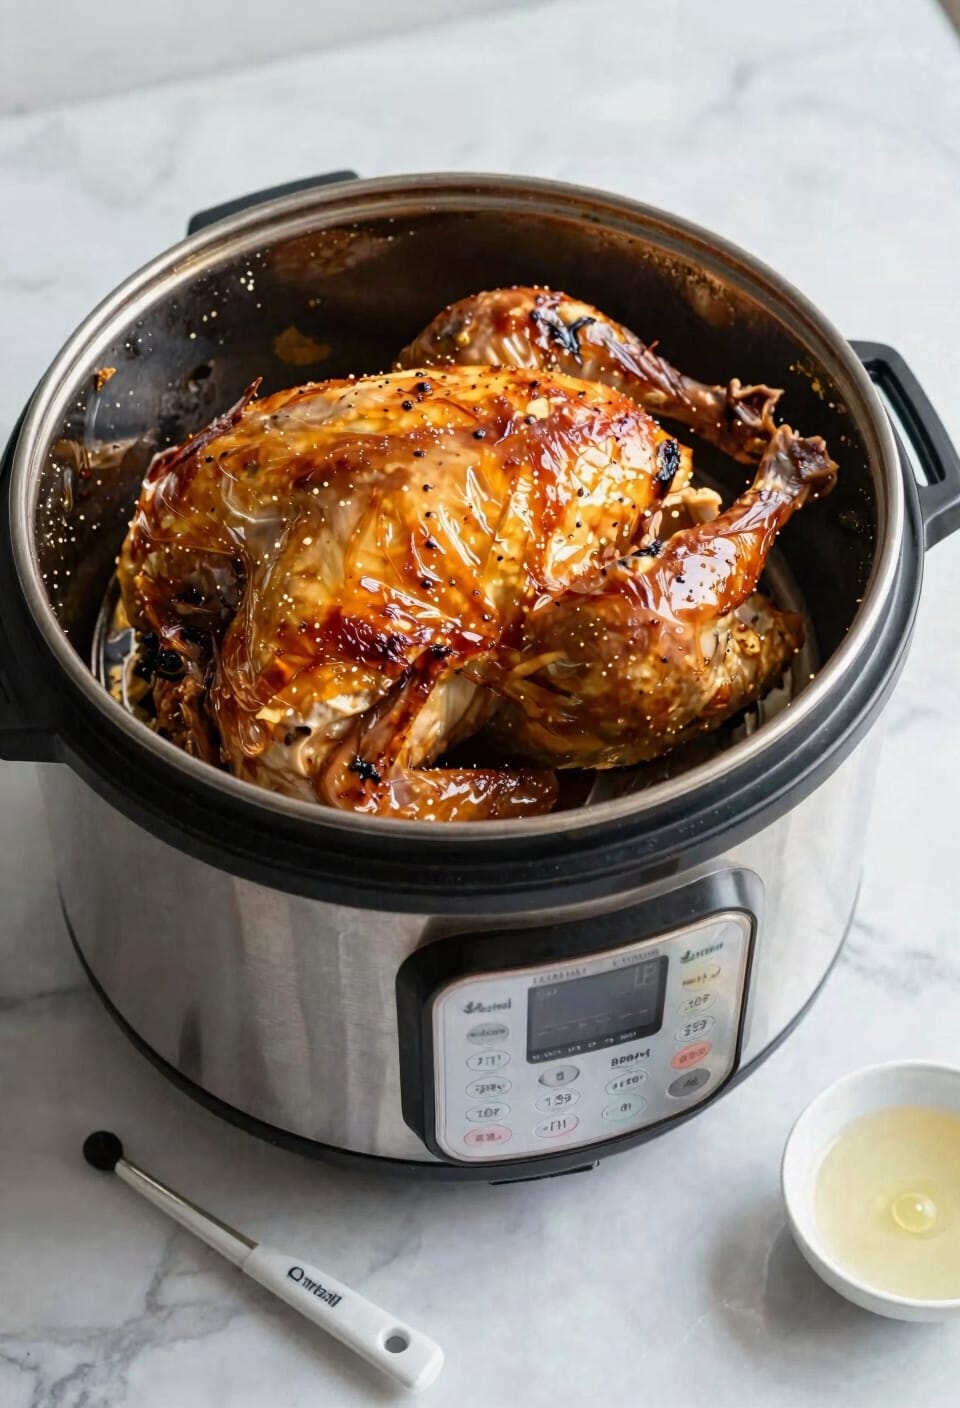
Pull that chicken out of the pot and let me give you the real talk on doneness—because a meat thermometer is your only honest friend here, everything else is just educated guessing. You’ll want to insert that thermometer into the thickest part of the thigh without touching bone. Aim for 165°F, which is your juiciness indicator that the chicken’s cooked through without drying out. That’s the sweet spot where you get food safety and actual flavor living together in harmony. Now, if you’re broiling for crispy skin afterward, you’ve already nailed the internal temp during pressure cooking. Trust the numbers, not the color or how the juices look. Your thermometer won’t lie to you, and honestly, neither should you to yourself about whether it’s done.
Optional: Crisp the Skin and Let It Rest
Here’s the thing—if you want crispy skin (and honestly, why wouldn’t you?), you’re going to need to run that chicken under the broiler for a few minutes after it comes out of the Instant Pot. Transfer it to a baking sheet first, then crank your oven to high broil and let those skin searing methods work their magic for three to eight minutes, depending on how dark you like it. Watch it closely because things can go from golden to charred pretty quick.
Now, before you dig in, let that bird rest for five to ten minutes. This resting technique lets the juices redistribute throughout the meat instead of running all over your cutting board like a tragedy. You’ll end up with more tender, flavorful chicken. Trust me on this one.
Frequently Asked Questions
Can I Cook a Frozen Chicken in the Instant Pot, or Must It Be Thawed?
I’d recommend thawing your chicken first for best results. While you can cook frozen chicken, I’ve found that thawing techniques like refrigerating overnight guarantee even cooking and better texture. The knowledge base emphasizes using completely thawed chicken for peak outcomes.
What Should I Do With the Bones and Giblets After Cooking the Chicken?
Ever wondered what to do with those leftovers? I’d save the bones and skin for leftover stock, while composting giblets if you prefer. You’ll create delicious broth and reduce waste simultaneously.
How Much Liquid Do I Need for an 8-Quart Instant Pot Specifically?
I’d recommend using 1 to 1.5 cups of liquid for your 8-quart Instant Pot. Following pressure guidelines, this amount guarantees proper steam circulation while you’re cooking that whole chicken perfectly.
Can I Use Vegetable Broth Instead of Water or Apple Cider for Cooking?
Yes, I’d absolutely recommend vegetable broth instead of water or apple cider. You’ll get a wonderful flavor infusion throughout your chicken. It’s my preferred choice for adding depth and richness to the meat while cooking.
Is It Safe to Quick Release Pressure Instead of Natural Release?
I don’t recommend quick releasing—you’ll risk losing the seal integrity and miss out on carryover temperature cooking, which keeps your chicken tender. I’d suggest natural release for 15-30 minutes instead for better results.
Conclusion
Look, I’ll be straight with you—the Instant Pot cuts your chicken cooking time by roughly 70% compared to traditional roasting. That’s massive. Now you’ve got all the moves down, from prepping to crisping that skin. You’re ready to make weeknight dinners way less stressful. Honestly, once you nail this method, you’ll wonder why you ever did it any other way. Go make some chicken.