As an Amazon Associate, we earn from qualifying purchases. Some links on this site are affiliate links at no extra cost to you. Our recommendations are based on thorough research and editorial judgment.
How to Deep Clean an Instant Pot (Complete Guide)
Look, I deep clean my Instant Pot regularly because mineral buildup and curry ghosts take over faster than you’d think. Start by unplugging the unit completely, then disassemble the lid—pop off the anti-block shield, slide out the sealing ring, and remove the pressure valve. Hand-wash the stainless steel liner with warm water and a brush, then tackle stains with white vinegar or baking soda paste. Clean all lid components thoroughly, run a pressure cycle with vinegar to cut through stubborn deposits, and polish the exterior with a microfiber cloth. Keep scrolling for the specific techniques that’ll transform your pot from questionable to genuinely clean.
Key Takeaways
- Unplug the Instant Pot and ensure the base is completely cool before beginning any cleaning work.
- Remove and hand-wash the sealing ring, anti-block shield, and pressure release valve separately for thorough cleaning.
- Hand-wash the stainless steel liner with vinegar or baking soda paste to eliminate mineral buildup and stains.
- Use white vinegar under pressure to cut through deep buildup without dish soap to prevent valve clogging.
- Polish the exterior with a microfiber cloth while unplugged, paying special attention to rim edges and chrome.
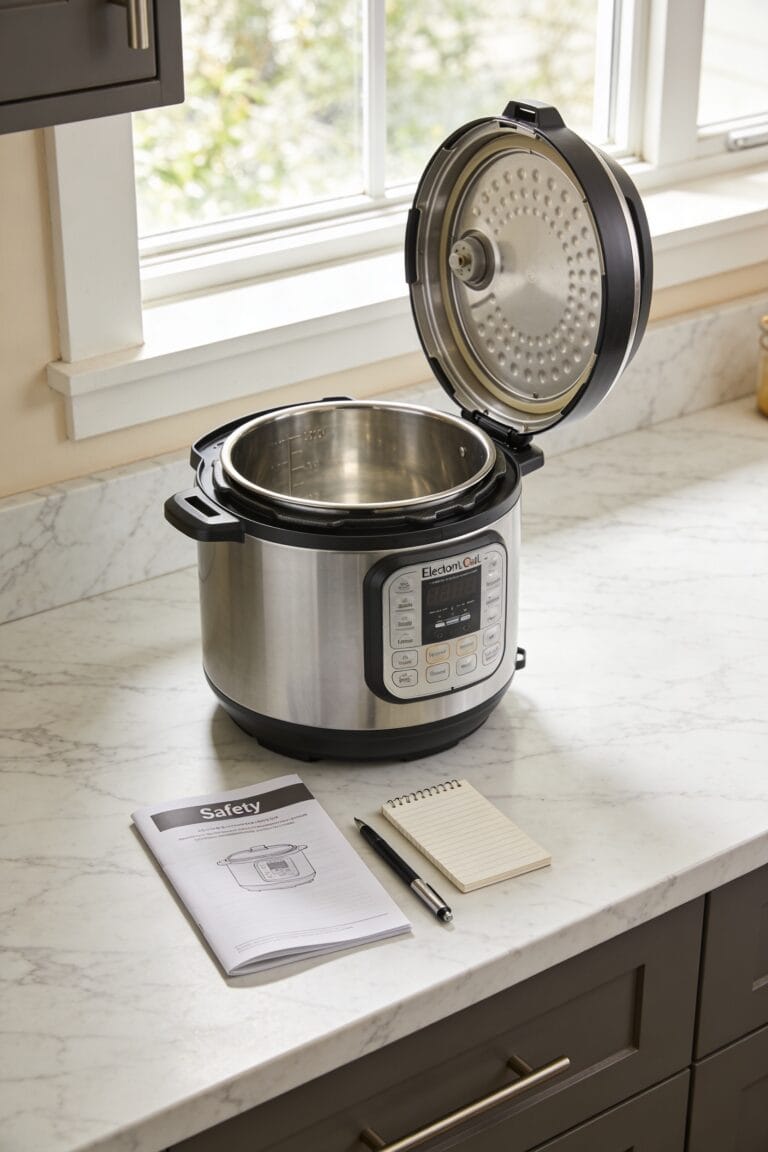
Unplug and Prepare: Getting Started Safely
Before you touch anything on your Instant Pot, you’ve got to unplug it—and I mean really unplug it, not just flip it off and hope for the best. Electricity and water are basically mortal enemies, so this step isn’t optional or negotiable.
Once that cord’s disconnected, give yourself a quick safety checklist: make sure the base is completely cool, clear any clutter around your workspace, and gather your cleaning supplies nearby. I like to organize everything first because fumbling around mid-clean is how accidents happen.
For cord storage while you’re working, loop it loosely and set it somewhere safe away from your cleaning station. You don’t want water splashing near live electricity, obviously. Take your time here—rushing this part defeats the whole purpose of doing things safely.
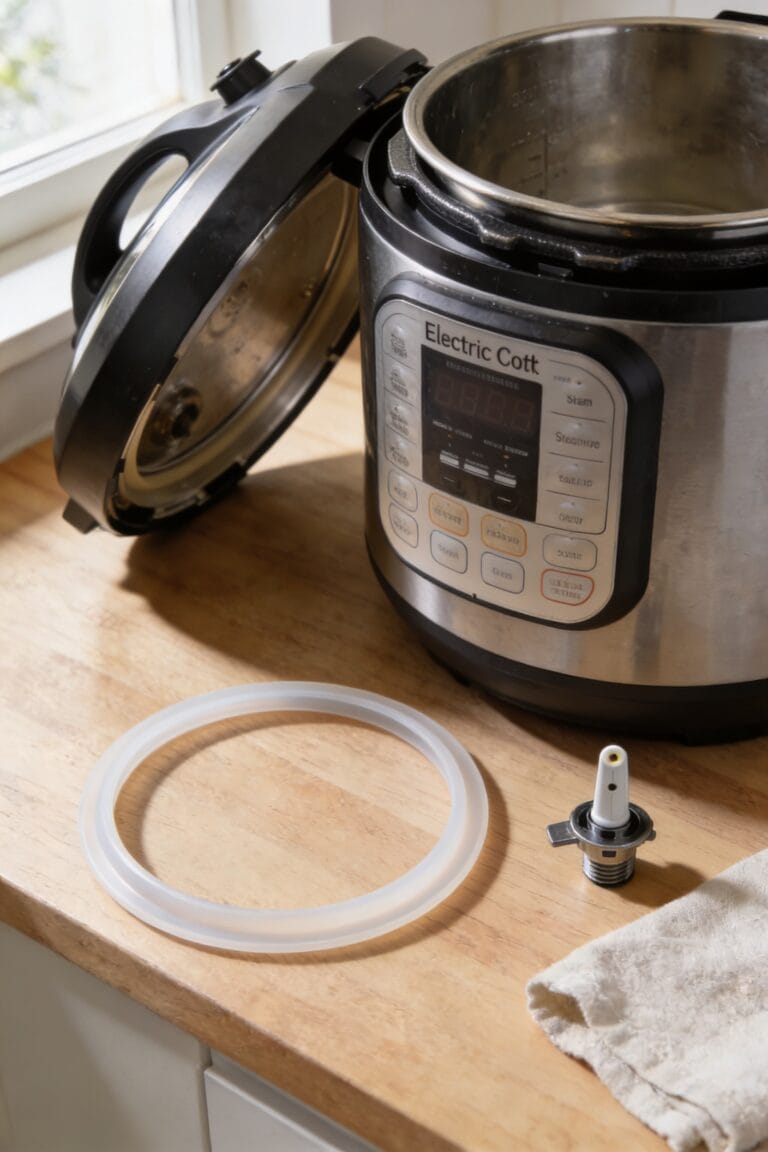
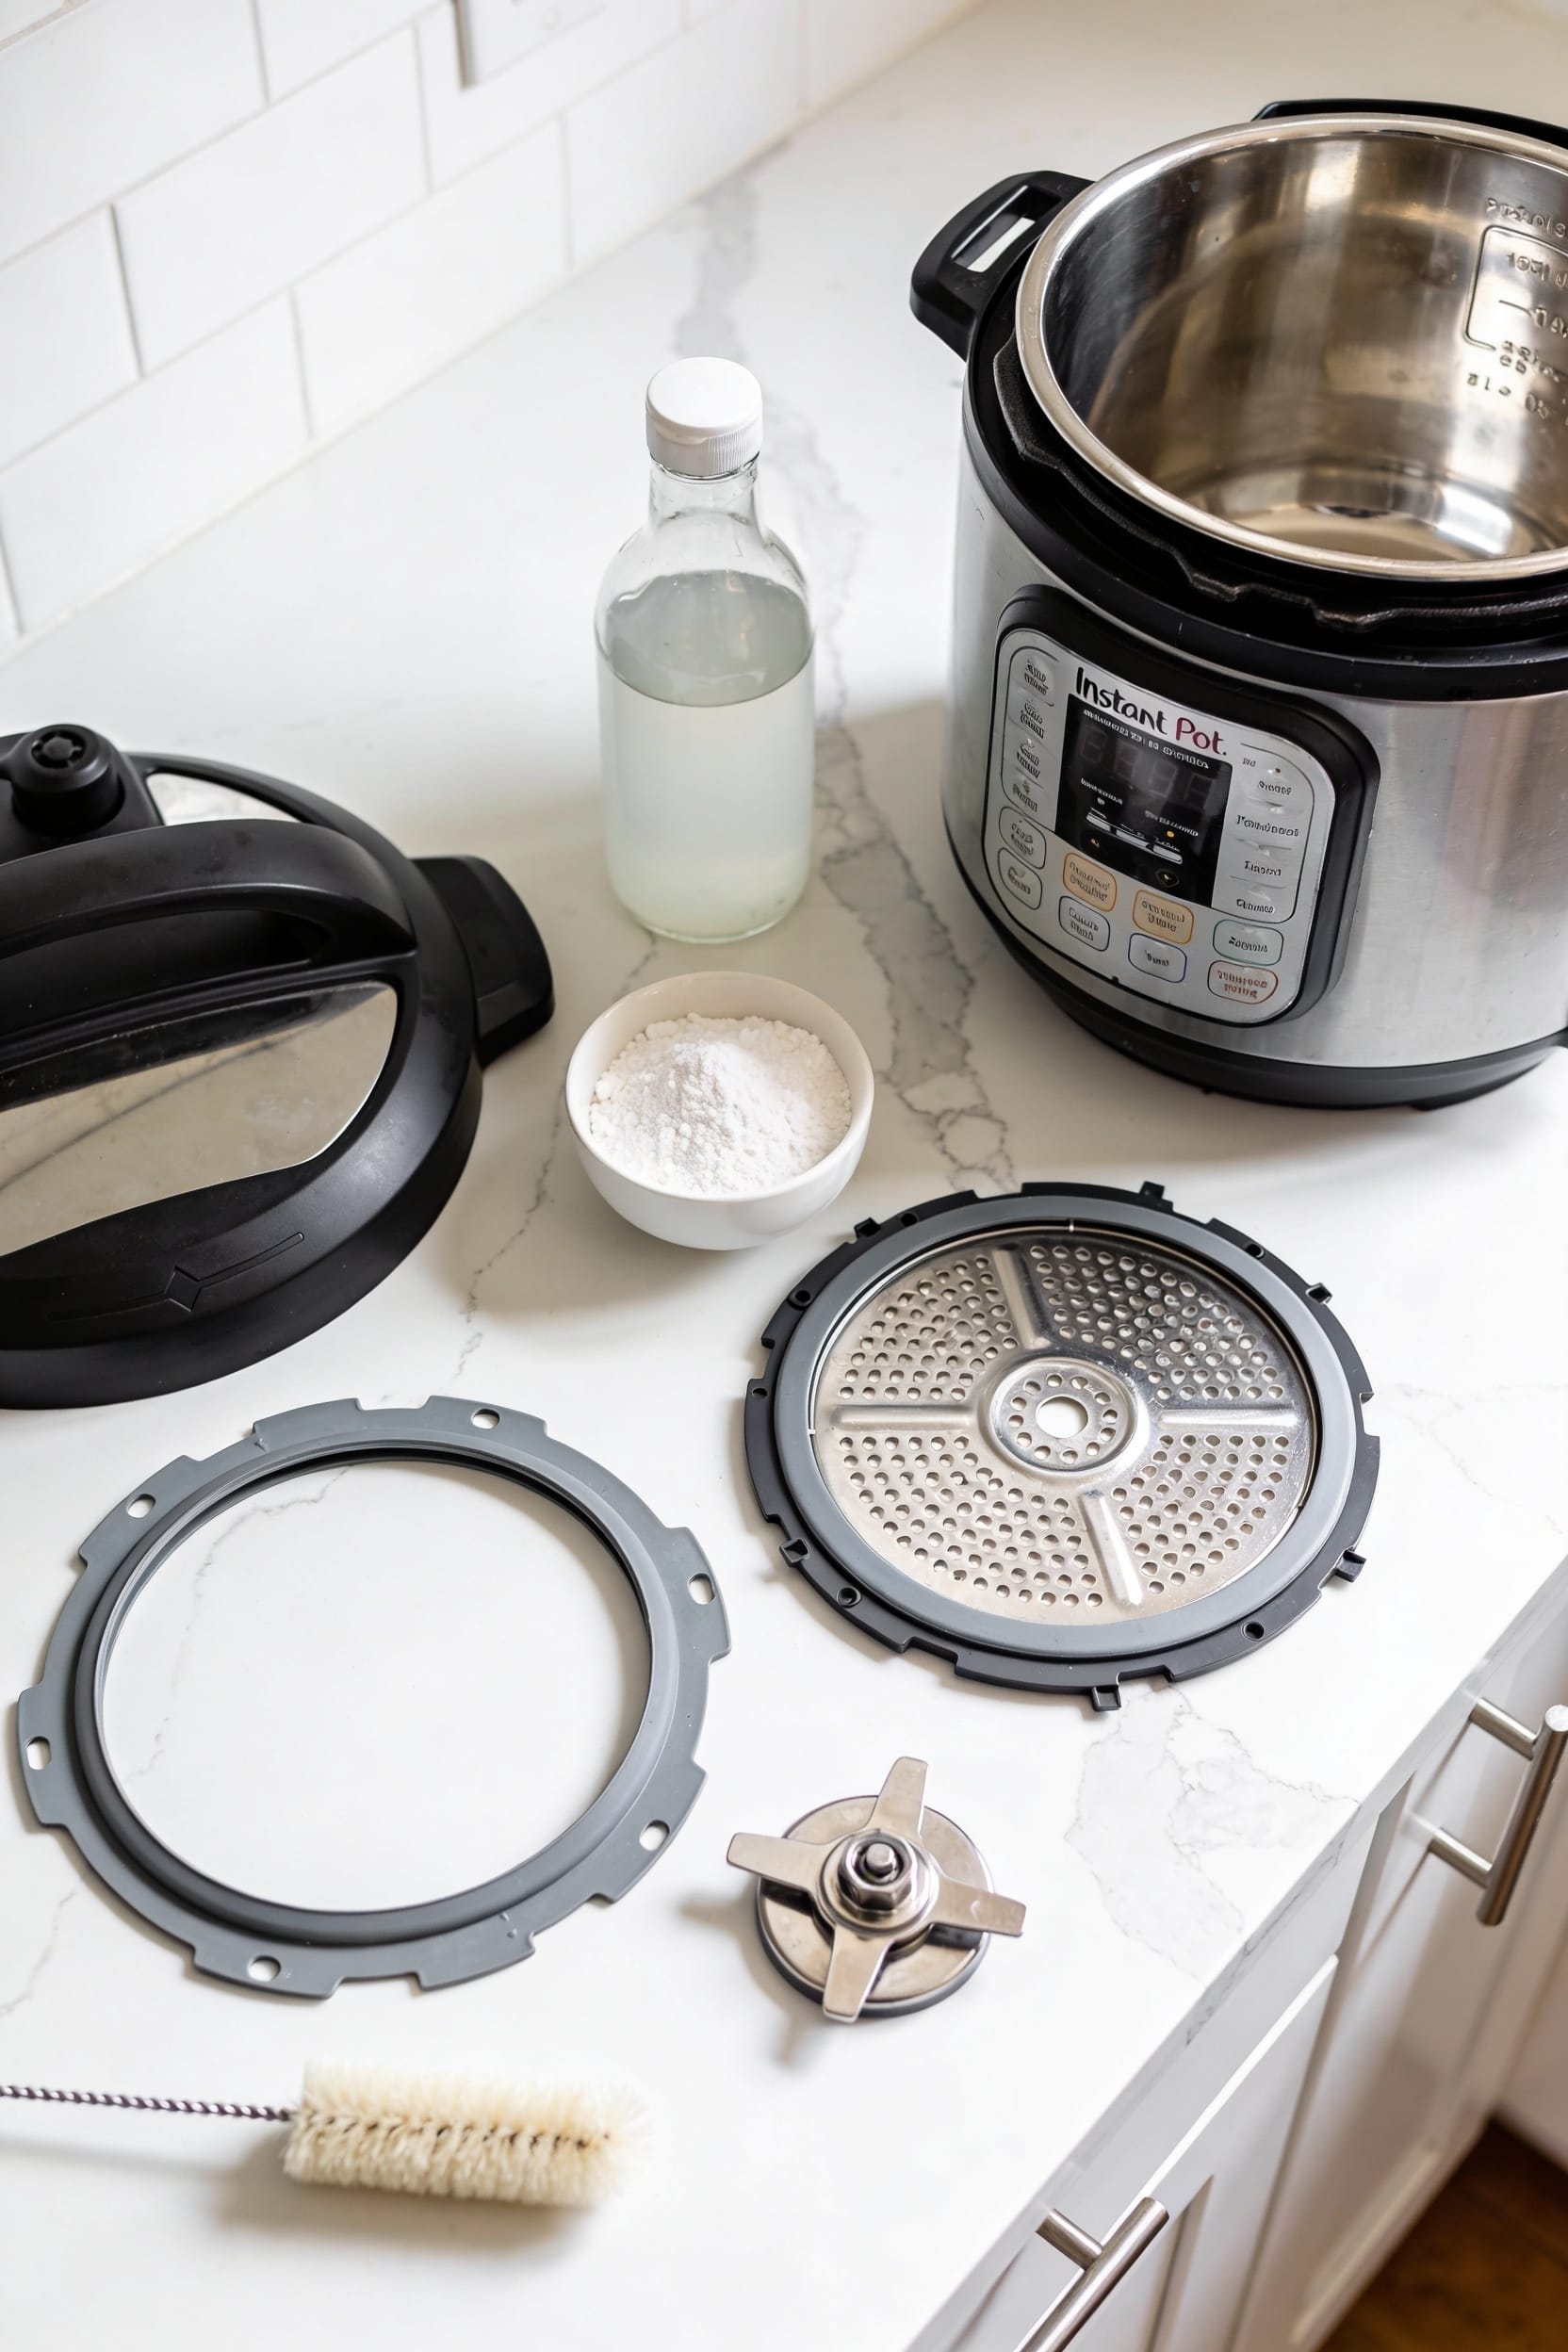
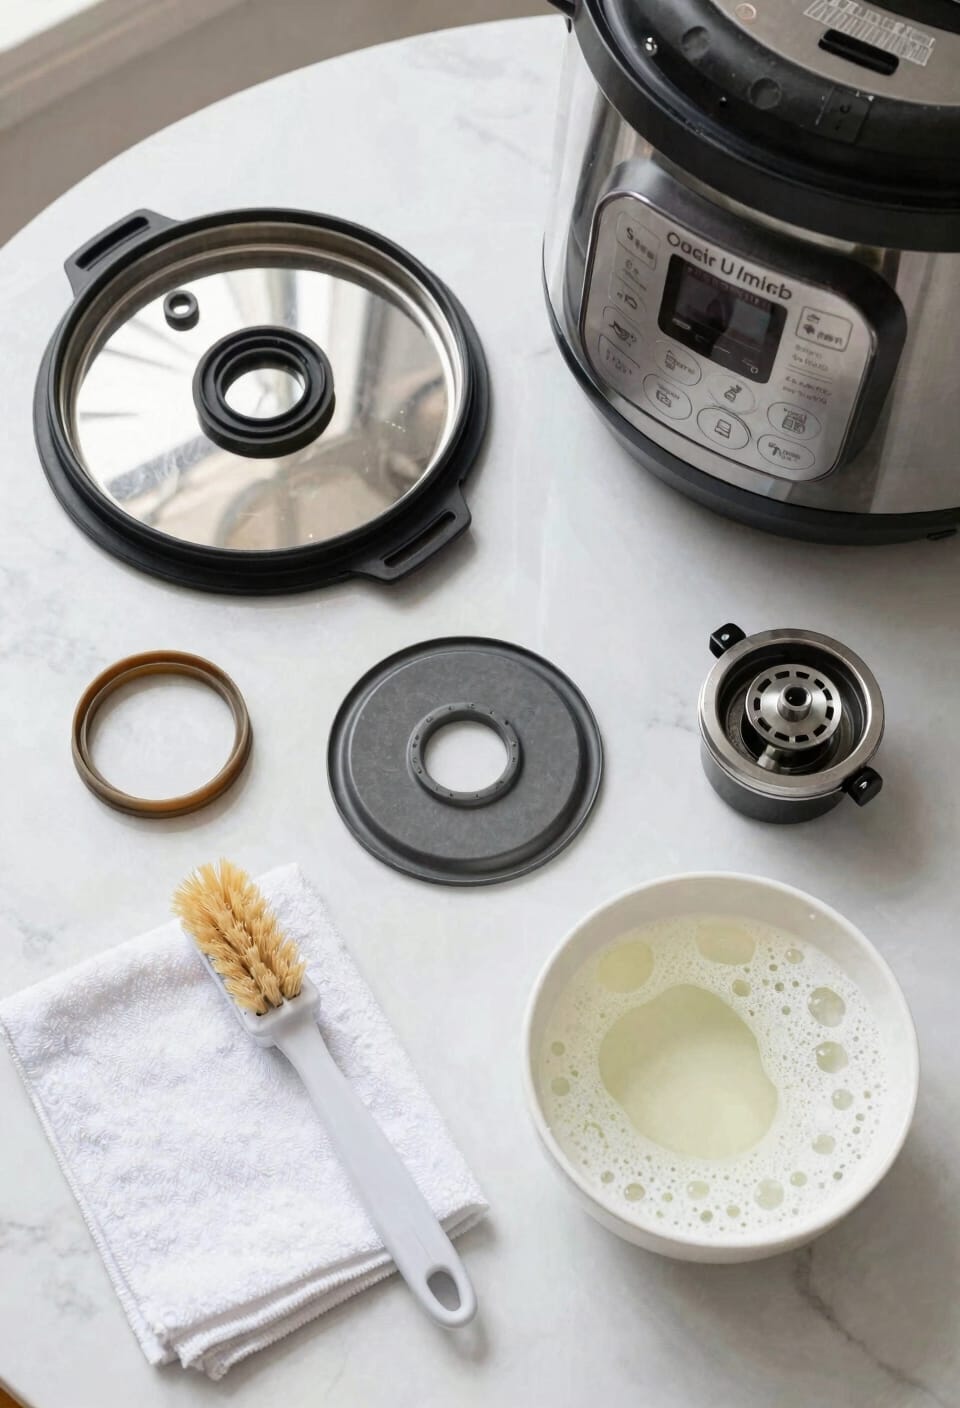
Remove Instant Pot Lid Components for Deep Cleaning
Now that you’ve got your base wiped down and your workspace organized, it’s time to break down the lid—and I’m not being dramatic when I say this is where the real deep clean happens. You’ll need to remove three key components: the sealing ring, anti-block shield, and pressure release valve. Start by pressing your thumb against the anti-block shield toward the lid rim—it’ll pop right off. The sealing ring slides out easily too. Once everything’s detached, I recommend labeling what you’ve removed so reassembly doesn’t turn into a frustrating puzzle later. Store these components safely in a designated spot, keeping them organized and accessible. All individual lid pieces are dishwasher-safe, making cleanup genuinely painless.
Recommended Products

Coated with Swiss Diamond's revolutionary non-stick coating.

10-in-1 functionality pressure cooker: Pressure cook, slow cook, sous vide, sauté, rice, sterilizer, yogurt maker, food warmer, cake baker and steamer. Voltage: 120 volts.

10 Cooking Functions: Pressure cook, slow cook, sous vide, sauté, sterilize, cook yogurt and rice, bake, steam, or simply keep warm, all in one easy appliance.
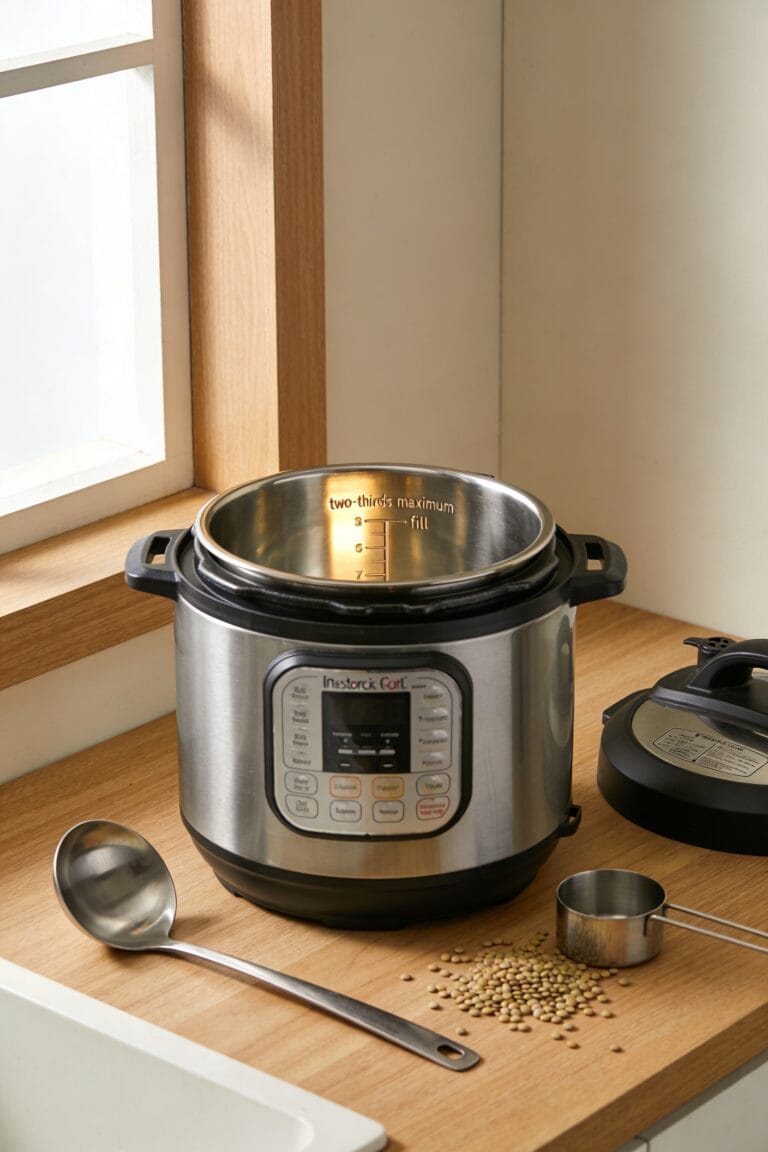
Wash the Stainless Steel Liner Step by Step
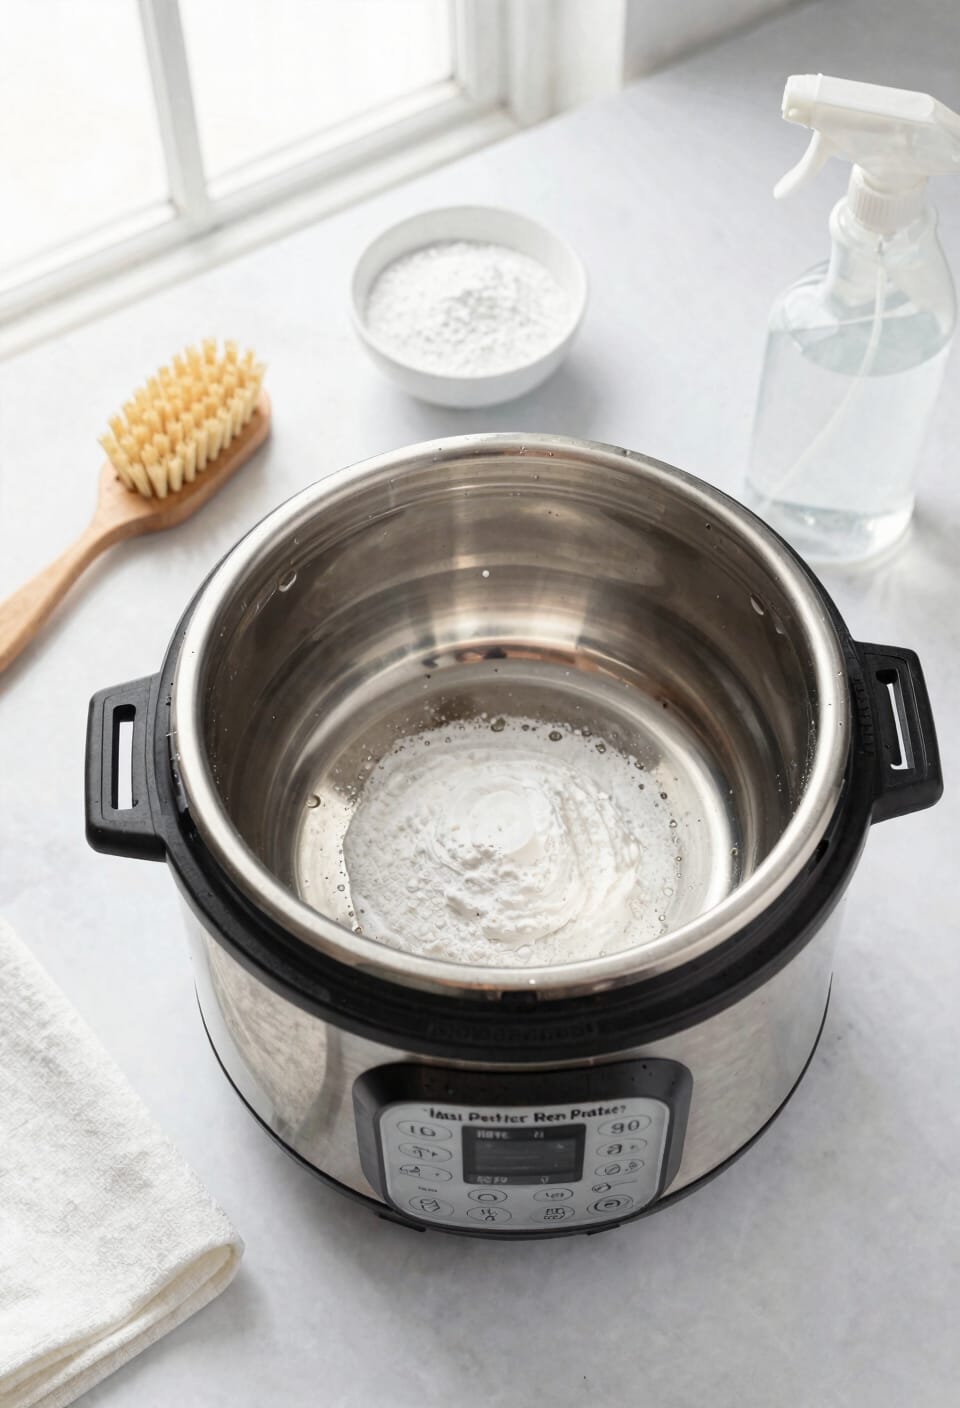
With your lid components safely tucked away, you can finally give that stainless steel liner the attention it deserves. I like hand-washing mine with a dishwashing brush and warm water—it’s honestly therapeutic, and you get to see exactly what you’re dealing with. For water spots and mineral buildup, here’s the thing: white vinegar is your secret weapon. Let it sit for five minutes, then use your standard rinse technique with fresh water. If stubborn spot removal is needed, grab some Barkeeper’s Friend or a non-abrasive stainless steel cleaner for those rainbow-hued mineral stains. Sure, the liner’s dishwasher-safe, but I find the hands-on approach catches what machines miss.
Recommended Products
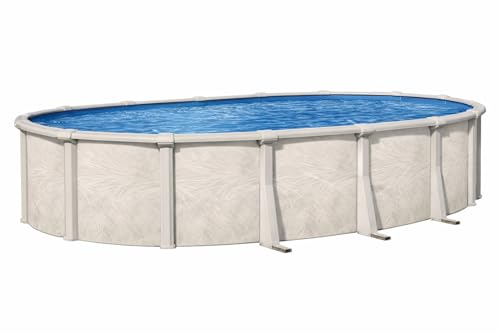
RESIN COATED STEEL - This elegantly designed above ground pool features a super strong steel wall that has been hot dip galvanized for protection. The copper bearing steel wall is resin coated both on the inside and outside offering great protection against premature rusting while offering maximum longevity.

【Size Guide】: 42"W x 21"D x 48"H wall mount. For better performance, wall mount range hoods should be the same width as or 3"- 6" wider than your cooktop. The height range between your cooktop and the copper hood should be 30" to 36" (33" is recommended). We can make any hood size you need, please contact our custom service via Amazon.com for a quote.

COMPLETE SETUP - Includes everything you need to start swimming! Slide-lock resin A-frame ladder with barrier in taupe color, Widemouth Skimmer, 25 gauge overlap liner, 4 bags of Rx Clear Luster Filter Media and a sand filter system w/ pump.
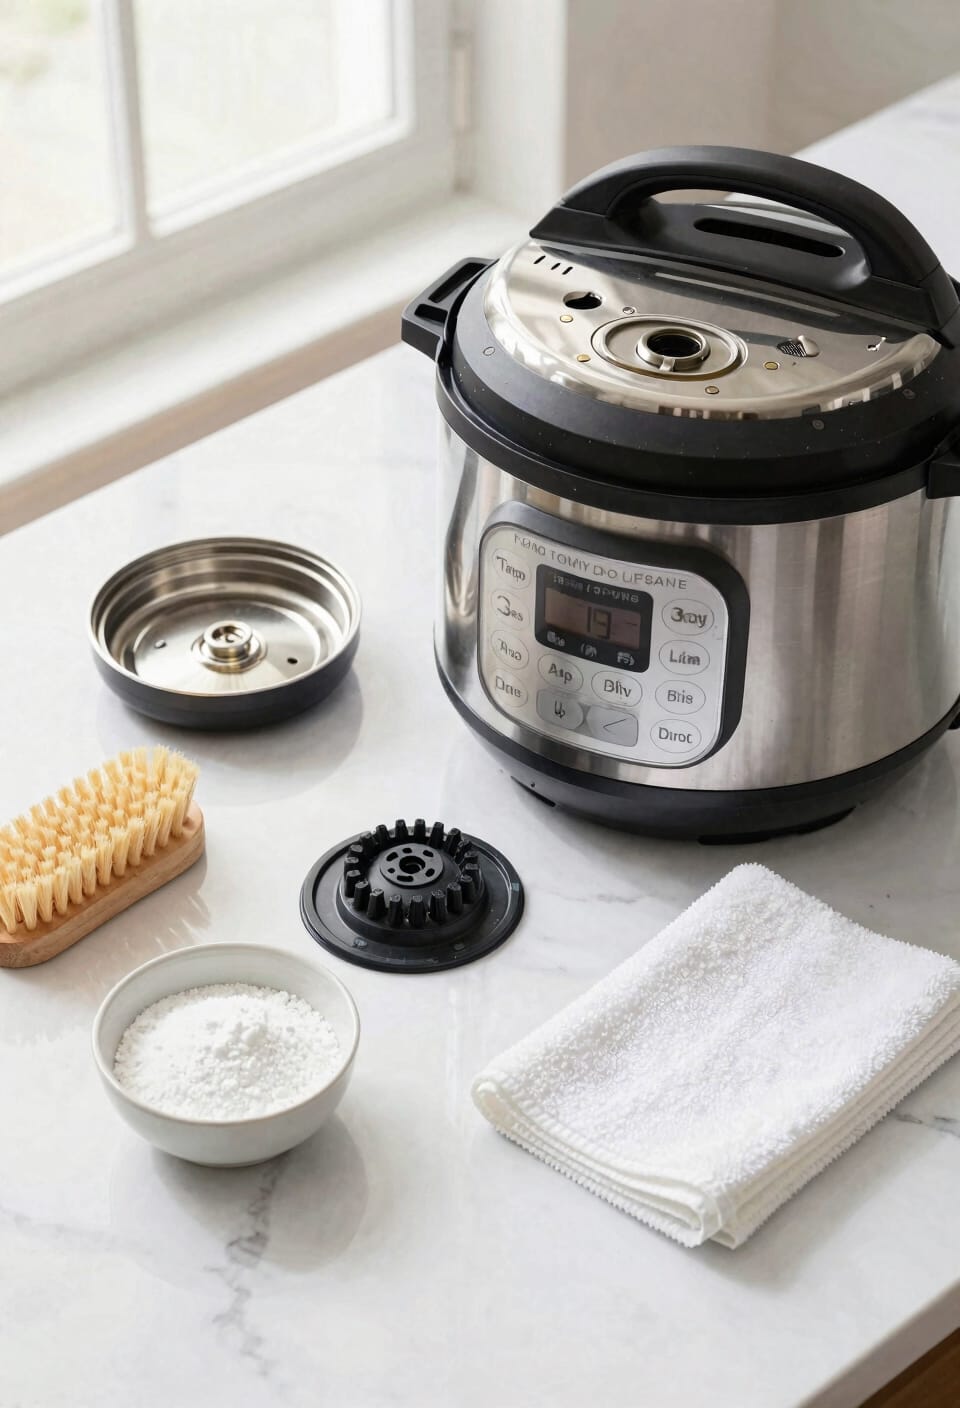
Deep Clean Lid Parts and the Anti-Block Shield
Having tackled the liner, you’re ready for the part of your Instant Pot that collects more funk than you’d expect—the lid and its various components. Remove the sealing ring, anti-block shield, and pressure release valve before starting your lid maintenance routine. All these pieces are dishwasher-safe, which is genuinely convenient, but hand washing with a dish brush works just fine too. Air dry everything thoroughly. Now, that anti-block shield deserves special attention—it catches splatter like nobody’s business, especially after cooking saucy foods. Use thumb pressure on the side toward the rim to remove it. Don’t skip vent inspection either; make sure that valve moves freely. Clean it with the same care you’d give a delicate instrument, because it’s keeping you safe.
Recommended Products

Effortlessly cook your favorite meals with this pots and pans set. Non stick cookware made in Switzerland and designed for easy cleanup and even cooking results.

Spacious Cooking Space: 738 sq. in. cooking space in total, including 566 sq. in. porcelain-enameled cast iron cooking grates and 172 sq. in. chrome-plated steel wire warming rack that accommodates about 34 hamburgers simultaneously

The #1 wood-burning camping stove recommended by Backpacker Magazine and serious survivalists including Discovery Channel's Matt Graham.
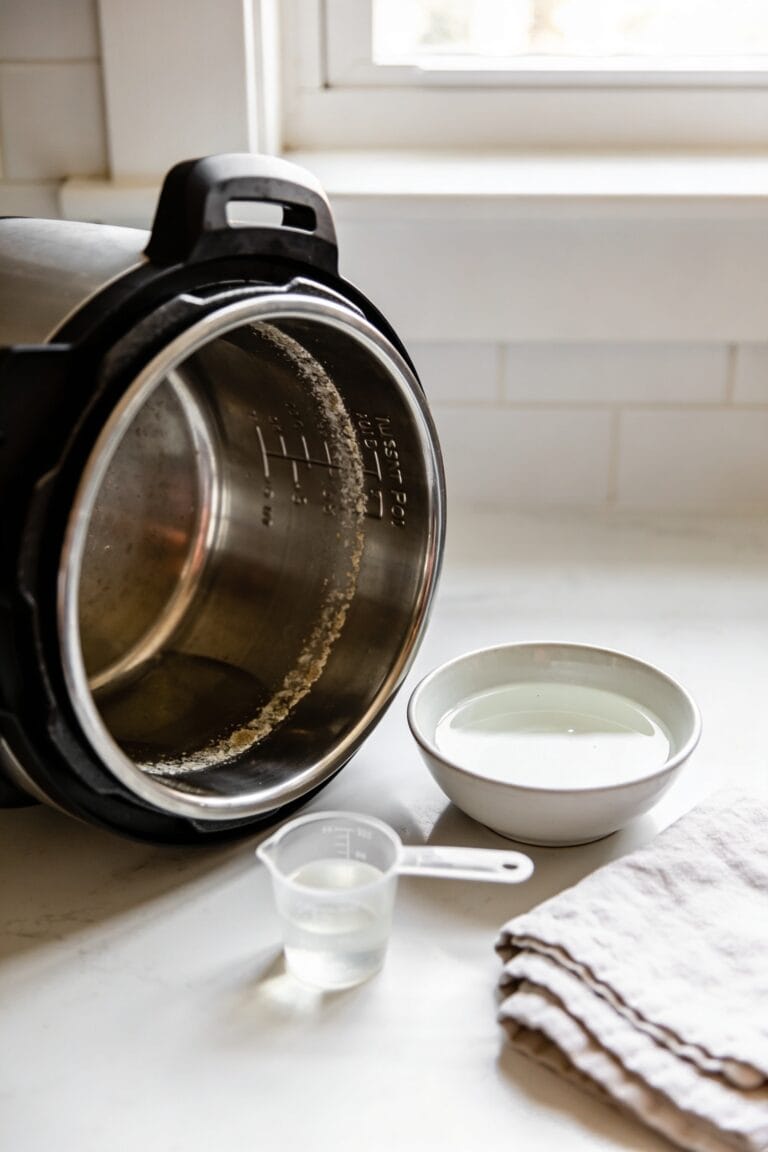
Remove Stains: Vinegar and Baking Soda Methods
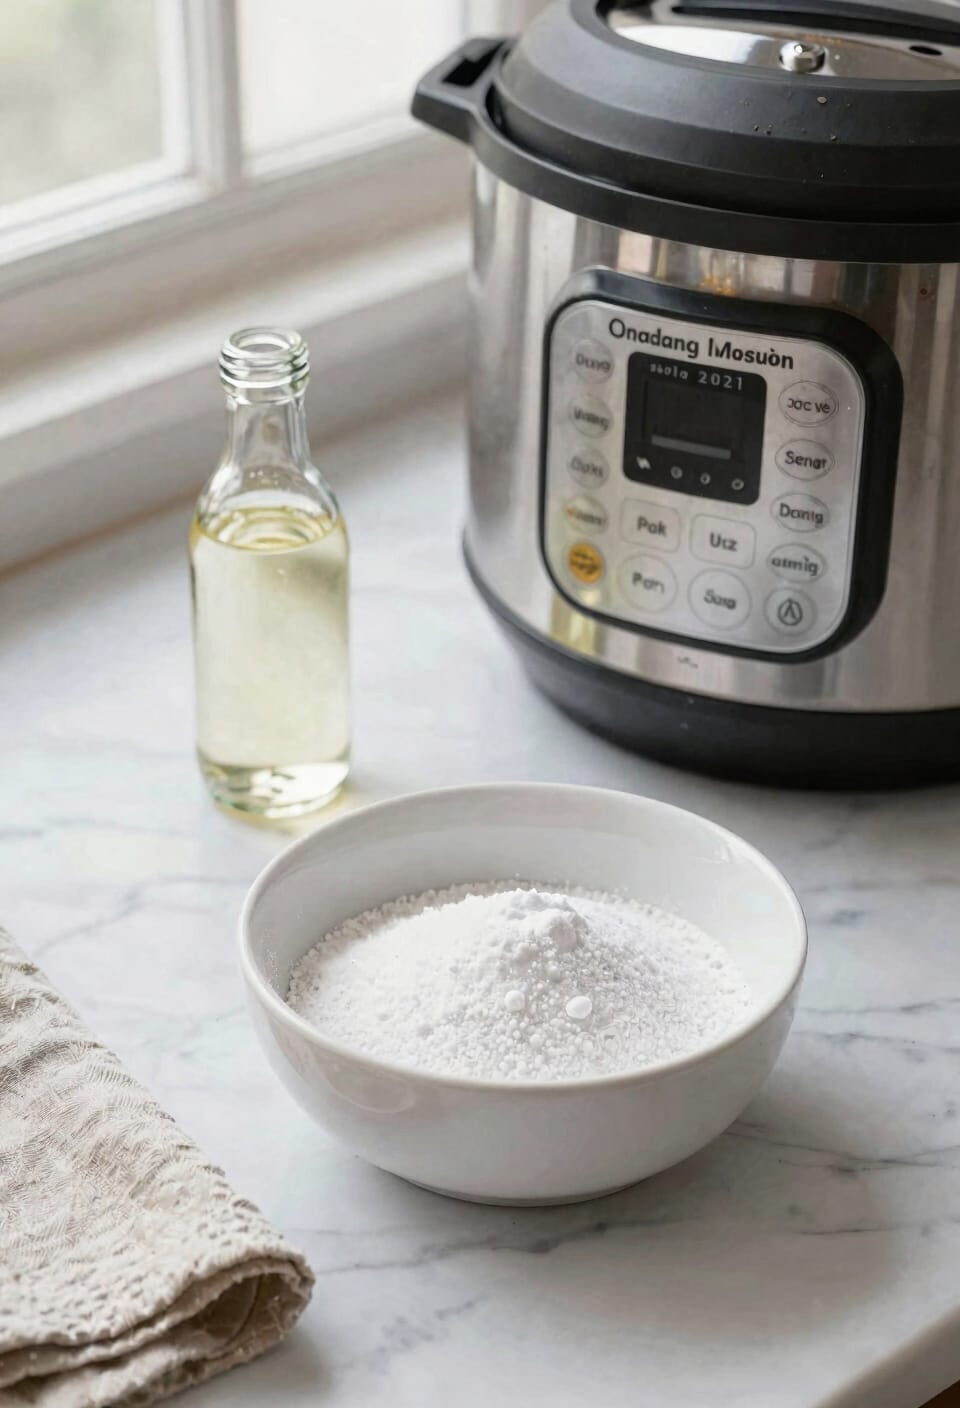
Even the most diligent cleaning routine can leave you staring at stains that refuse to budge—those stubborn mineral deposits, hard water marks, and mystery discolorations that make your beautiful stainless steel liner look tired. Here’s the thing: white vinegar is your secret weapon. For a vinegar poultice, let white vinegar sit in the bottom for five minutes, then rinse thoroughly. If that doesn’t cut it, mix baking soda with water to create a baking paste and apply directly to problem spots. For hard water stains, soak a damp sponge in vinegar or lemon juice and work it in. Now, avoid steel wool entirely—it’ll scratch your liner and you’ll regret it. These all-natural methods work surprisingly well without harsh chemicals.
Recommended Products

CONCENTRATED FORMULA: With a 10% acetic acid concentration, our vinegar is more potent than regular culinary vinegar, offering robust flavor and efficient cleaning.

Mojave holds an old-world look, featureing geometric patterns, neutral tones, and wool texture adding warmth and elegance to entryways, bedrooms, and living spaces.

[Flexible Modular Sofa] This modular sofa can be freely combined according to your needs and can adapt to various living spaces. Two seater sofas are suitable for small apartments or spaces, while three seater sofas are suitable for medium-sized apartments. L-shaped sofas, U-shaped sofas, V-shaped sofas, and eight seater sofas are suitable for large spaces such as living rooms, salons, and gatherings. Paired with additional ottomans, they can flexibly add more resting areas.
Eliminate Odors From Your Sealing Ring
Once you’ve tackled those stubborn stains, you’ll probably notice something else hanging around your Instant Pot—that funk that builds up in your sealing ring. Here’s the thing: that rubber ring is basically a odor magnet, trapping all sorts of smells from your cooking adventures. I’ve found the easiest odor removal method is scrubbing the ring with baking soda, which actually works. Direct sunlight does wonders too—stick it outside for a few hours and let nature handle it. Since the sealing ring is dishwasher-safe, toss it in there regularly. And if odors keep returning despite everything, don’t hesitate on ring replacement; a fresh one’s cheap insurance against permanent funk.
Recommended Products


2 RINGS: 2 rings are included - Integral part of the instant pot safety mechanisms; These authentic instant pot sealing rings are designed, engineered, and built with the optimal material to achieve the highest safety standards

Instantpot replacement parts: 2 × instantpot sealing ring, 1 × instantpot steam release valve, 1 × float valve, 3 × float valve gasket, 1 × anti-block shield, 1 x anti-blocking shroud bracket, 2 x valve sealing ring.
Deep Clean Under Pressure Without Clogging Valves
Through the magic of steam and pressure, your Instant Pot can actually clean itself—but here’s where most people mess up. Skip the dish soap entirely during pressure steaming; it creates soapy foam that clogs your valves faster than you can say “warranty void.” I learned this the hard way, obviously.
Here’s the thing: white vinegar alone is your best friend for valve maintenance. Pour it into the liner, seal everything up, and let the pressure do the work. The vinegar cuts through buildup without creating problematic suds. Avoid mixing baking soda and vinegar under pressure too—that foaming action might seem like cleaning magic, but it’s actually sabotage.
Keep it simple. All-natural methods work, and your sealing valve stays clear.
Polish the Base and Exterior for Shine
Your Instant Pot’s exterior deserves some love too, because let’s face it—a shiny base looks way better than one covered in dust and fingerprints. I always unplug mine first, then grab a microfiber polishing cloth and give the whole thing a proper wipe-down. You’d be amazed how much grime settles on there between uses.
For chrome touch up work around the base and any metallic accents, that same microfiber cloth does wonders without scratching anything. The rim especially benefits from attention—I use a small brush along the edges where dust loves to hide. A damp microfiber cloth handles general exterior surfaces beautifully, restoring that shine that reminds you why you paid good money for this thing in the first place.
How Often to Deep Clean Your Instant Pot?
The frequency of deep cleaning really depends on how hard you’re actually using the thing—I’m talking daily pressure cooking versus occasional rice reheating. If you’re cooking multiple times a week, I’d suggest monthly maintenance to keep everything running smoothly and prevent odor buildup in that sealing ring. A seasonal overhaul works fine for lighter users, though honestly, I check my lid components more often than that just out of habit.
The real tell? When you notice discoloration on the stainless steel liner or catch a whiff of something funky, that’s your signal something needs attention. Don’t wait for problems to pile up. Regular checkups beat scrambling later.
Frequently Asked Questions
Can I Use Steel Wool or Abrasive Scrubbers on the Stainless Steel Liner?
No, you shouldn’t use steel wool or abrasive scrubbers on your stainless steel liner—they’ll scratch the surface. I’d recommend you avoid abrasives entirely and instead use gentle polish techniques like Barkeeper’s Friend or microfiber cloths for best results.
Is the Sealing Ring Dishwasher-Safe or Should It Only Be Hand Washed?
You’ve got options here—I can toss my sealing ring in the dishwasher for convenience, yet I often hand wash it instead. It’s dishwasher safe, but hand washing lets me inspect it thoroughly for odors and debris buildup.
What Causes Bluish or Rainbow Discoloration on the Stainless Steel Interior?
You’ll notice bluish or rainbow discoloration when you’ve got mineral buildup or salt residue from hard water. Sometimes metal leaching from water hardness causes this too. I’d recommend using a non-abrasive stainless steel cleaner to restore it.
Can I Use Dish Soap When Doing a Deep Clean Under Pressure?
No, I wouldn’t use dish soap during under-pressure cleaning because it creates soapy foam that clogs your valve. For pressure safety, I’d recommend soap alternatives like white vinegar or baking soda instead.
How Does Direct Sunlight Help Remove Persistent Odors From the Sealing Ring?
Like nature’s invisible eraser, I’ll tell you direct sunlight works through sunlight chemistry that breaks down odor molecules. UV rays trigger odor degradation in your sealing ring, naturally eliminating those stubborn smells without chemicals.
Conclusion
All right, here’s the thing—a sparkling clean Instant Pot isn’t just about looks. It’s about tasting your food, not last week’s curry. Once you’ve scrubbed away the grime, polished that stainless steel base, and banished the phantom garlic smell from your sealing ring, you’ll actually enjoy using the thing. Regular maintenance keeps your pot humming along like it’s supposed to. You’ve got this.