As an Amazon Associate, we earn from qualifying purchases. Some links on this site are affiliate links at no extra cost to you. Our recommendations are based on thorough research and editorial judgment.

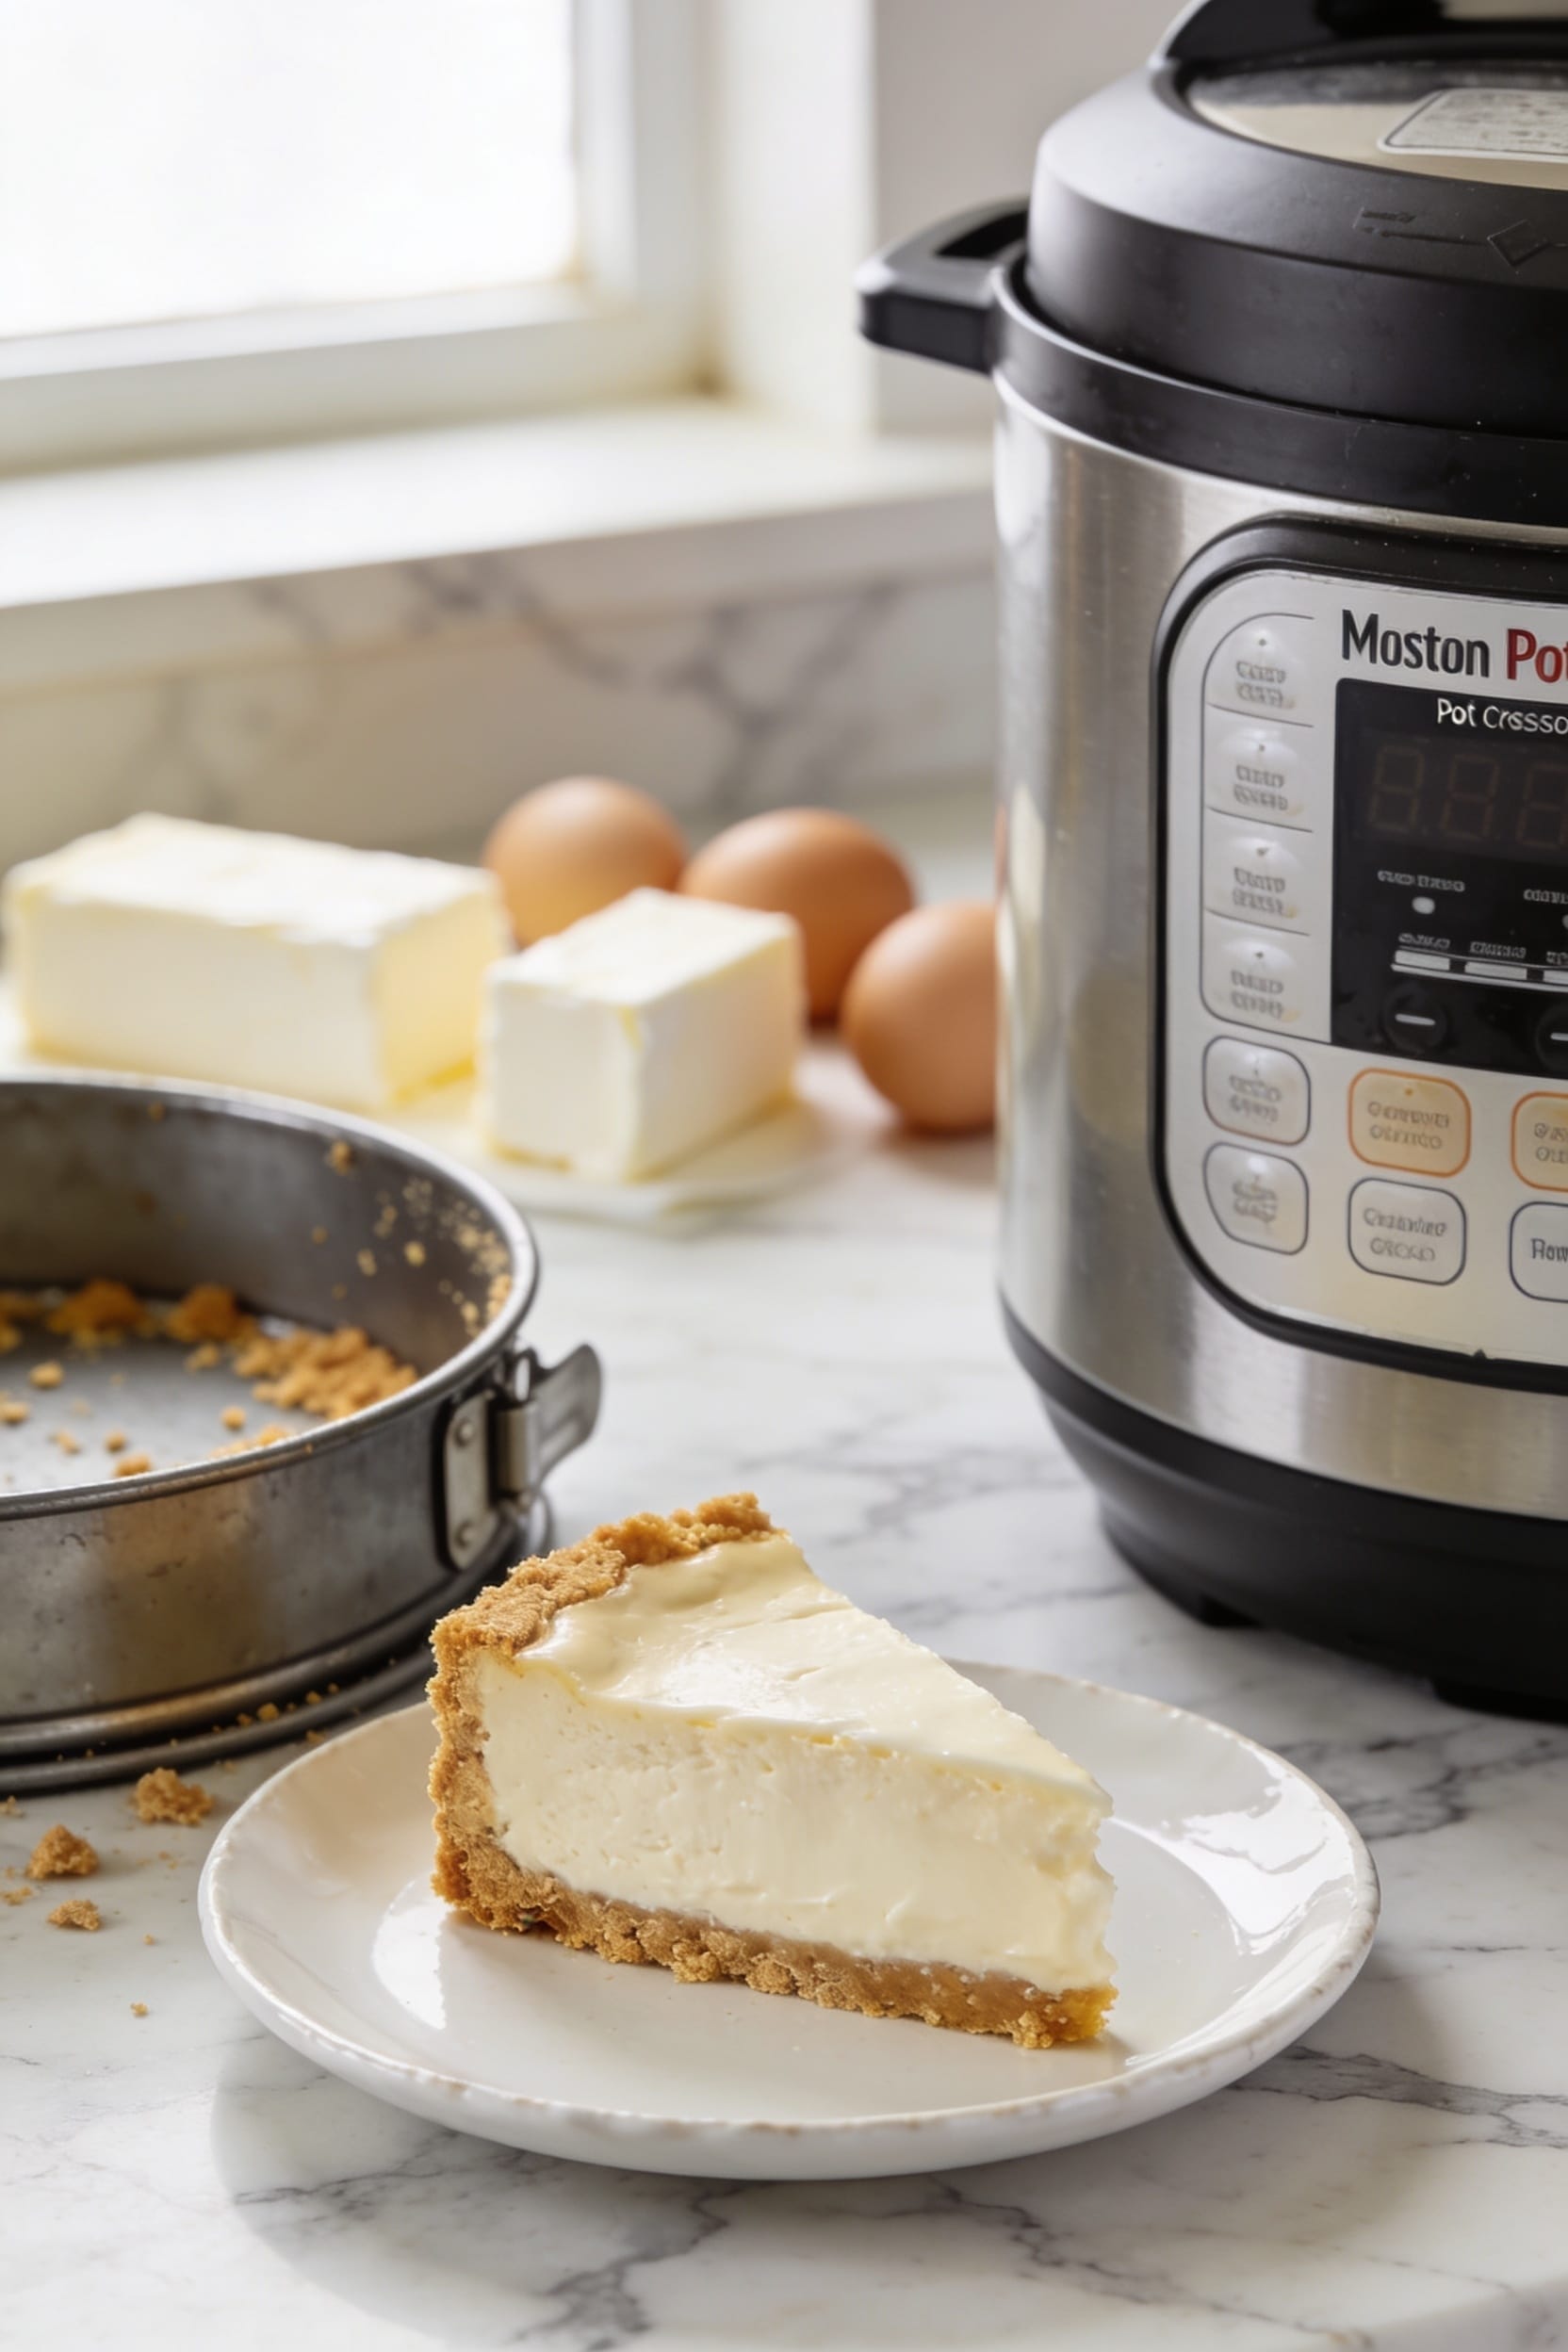
How to Make Cheesecake in an Instant Pot

Look, here’s the thing—Instant Pot cheesecake basically can’t fail because steam does all the heavy lifting. You press a graham cracker crust into a springform pan, mix room-temperature cream cheese with sugar and eggs on low speed (air bubbles are your enemy), then pressure cook for 27 minutes. The sealed environment cooks everything evenly, no cracking, and you’re done in under an hour instead of wrestling with your temperamental oven. The real magic happens during cooling, so stick around for those details.
Key Takeaways
- Prepare a graham cracker crust by mixing crumbs with melted butter, pressing firmly into a 6–7 inch springform pan.
- Beat room-temperature cream cheese until smooth, then gradually add sugar and sour cream on low speed to minimize air bubbles.
- Pour filling into foil-wrapped pan, place on trivet in Instant Pot with 1–1½ cups water, and pressure cook 27 minutes.
- Release pressure naturally for 25 minutes, then manually quick release, leaving cheesecake in pot for one hour at room temperature.
- Refrigerate cheesecake at least 4–6 hours or overnight before serving for optimal texture and flavor development.
Why Instant Pot Cheesecake Works Better (and Faster)
Look, I’ve made enough cheesecakes in regular ovens to know they’re basically a high-stakes gamble—you’re constantly worried about water bath leaks, uneven baking, and those awful cracks that make you question your life choices. The Instant Pot changes everything. You get faster consistency because the sealed environment creates perfect steam circulation, cooking your cheesecake evenly from all sides instead of that uneven top-brown, center-underbaked disaster. The moisture retention is genuinely superior too—that sealed chamber means you’re not losing water to the oven’s dry heat, so your filling stays creamy and dense rather than drying out. Twenty-seven minutes under pressure replaces an hour of anxiety, and honestly, the results are smoother. You’re not gambling anymore.
Gather Your Instant Pot Cheesecake Ingredients and Equipment
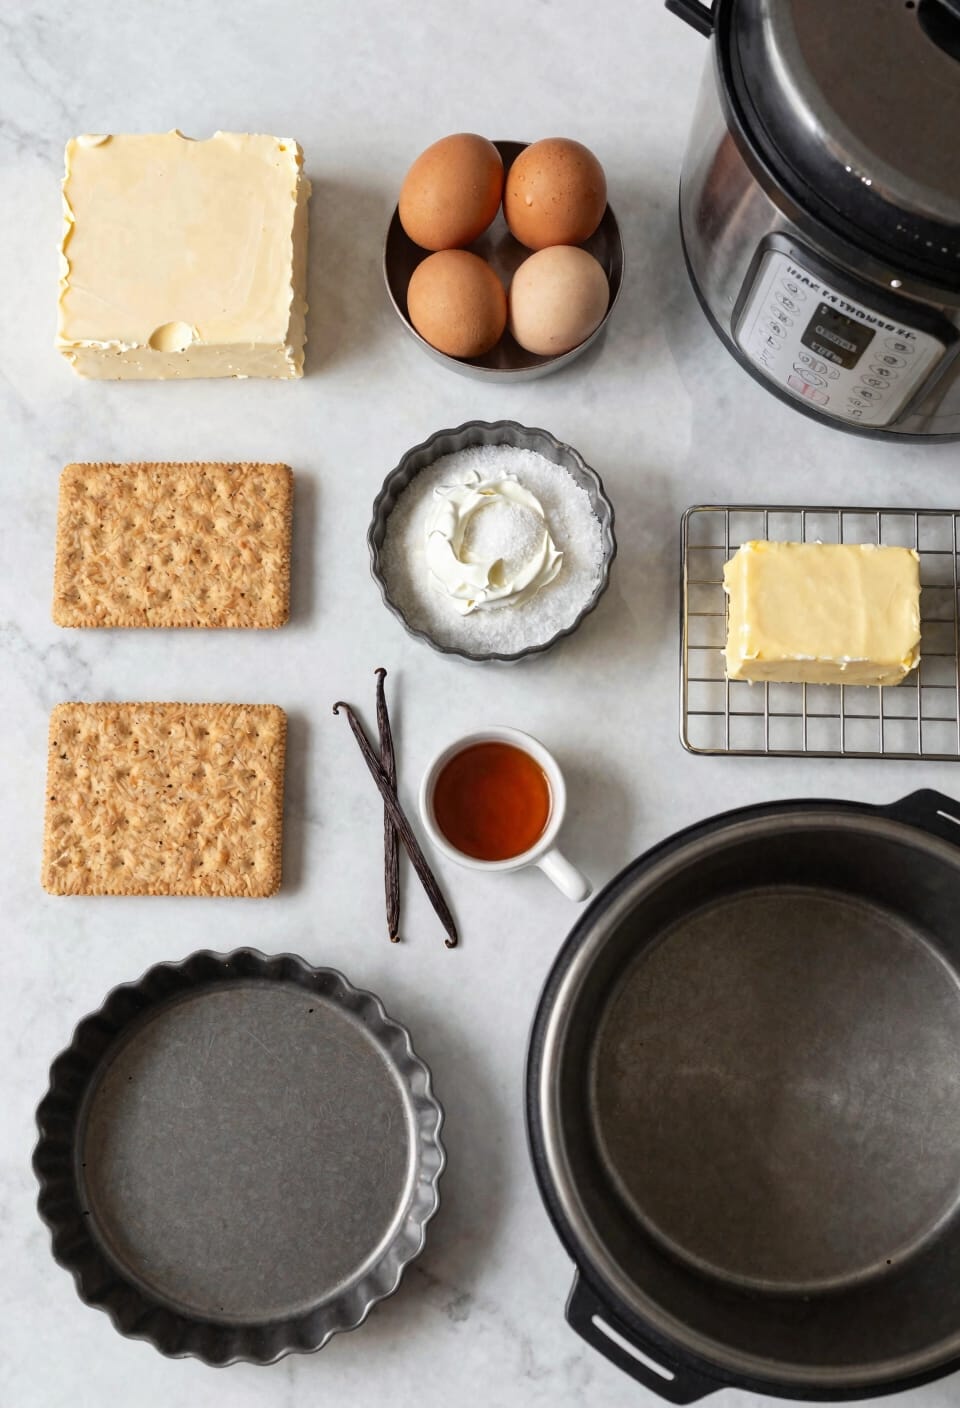
Now that you’re sold on ditching the oven anxiety, let’s get you set up so you can actually pull this off. Tool selection matters here—you’ll need a 6-7 inch springform pan, an electric mixer, and an Instant Pot that’s at least 6 quarts. Grab some aluminum foil for wrapping and a trivet to keep things elevated.
Ingredient-wise, you’re looking at cream cheese, sour cream, eggs, sugar, and graham crackers. Nothing fancy. For ingredient substitutions, Greek yogurt works if you’re out of sour cream, though the texture shifts slightly. Some people swap regular sugar for brown sugar for deeper flavor—I’m not mad about it. The beauty here is that cheesecake’s pretty forgiving once you understand the pressure cooking method. Gather everything cold before you start mixing.
Build a Graham Cracker Crust That Holds
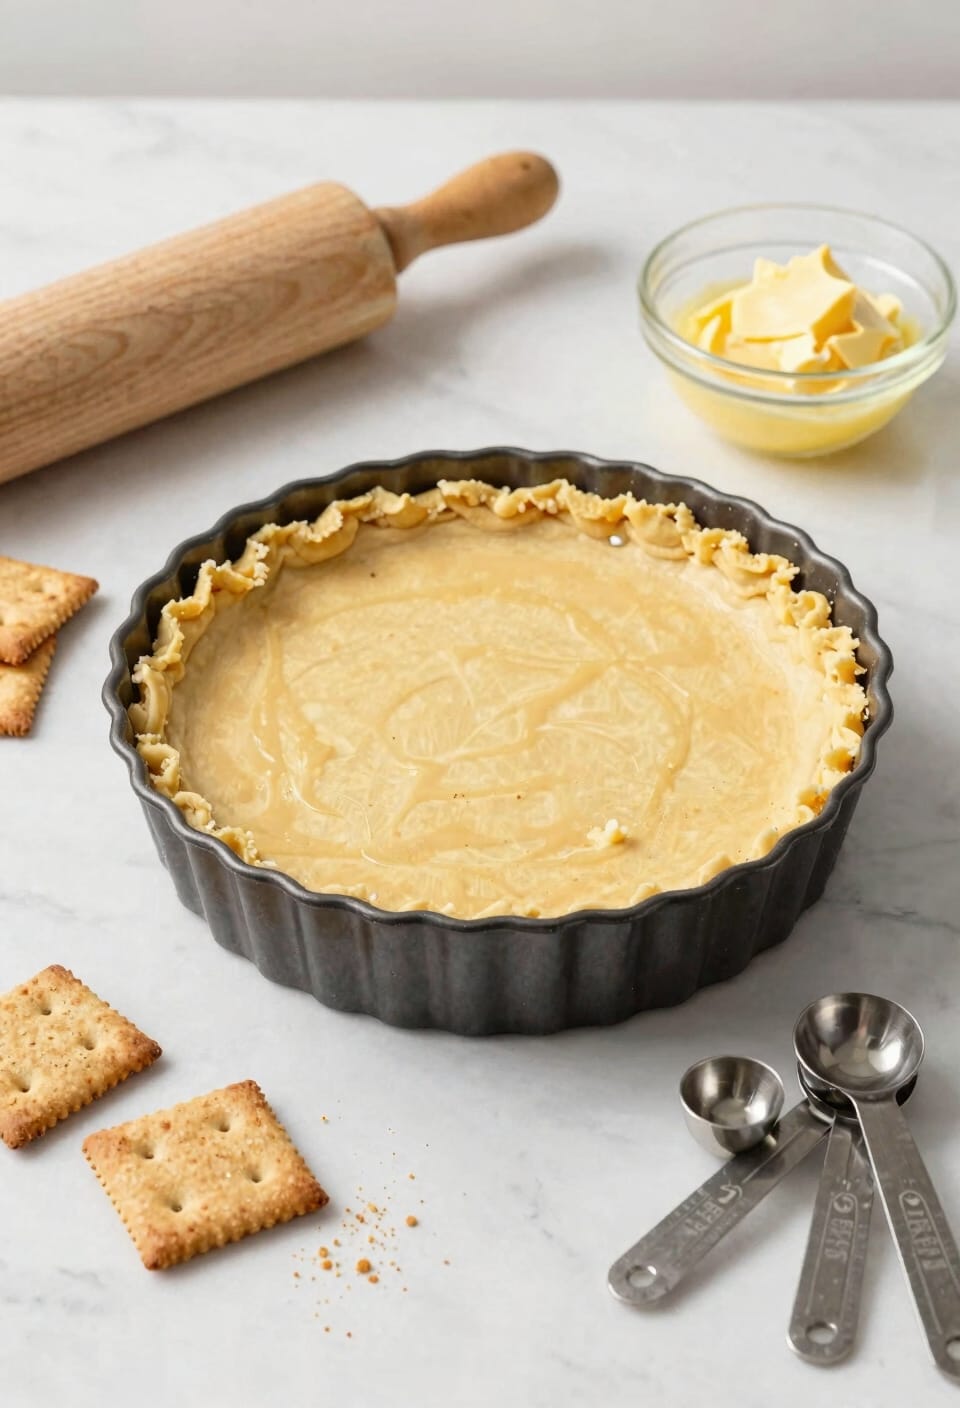
Building a solid crust is where most people trip up, and I’m here to tell you it’s actually the easiest part of this whole operation. You’ll pulse whole graham crackers into crumbs—don’t overthink it—then combine them with melted butter and a tablespoon of sugar. The butter ratio matters here; you’re aiming for that sand-like texture that holds together without turning into a brick. Press everything firmly into your springform pan‘s bottom and up the sides about an inch. Crumb compression is key, so don’t be gentle. You can bake this at 350°F for ten minutes to firm things up, or just freeze it for fifteen to twenty minutes. Either way, you’ve now got a foundation that won’t betray you.
Mix Your Filling Without the Cracks
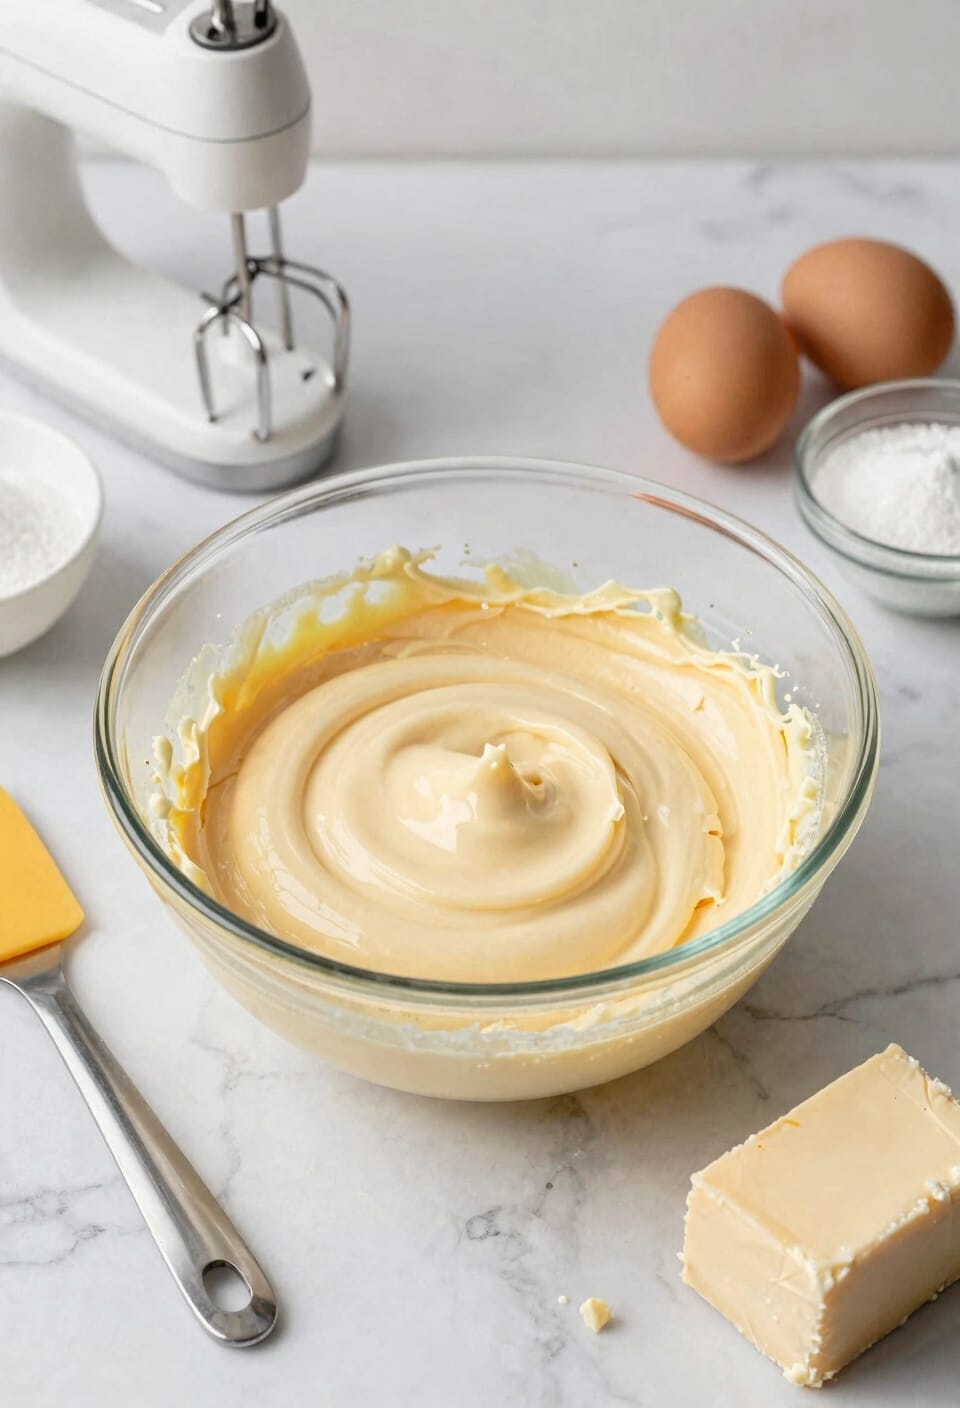
While your crust is chilling, here’s where people get nervous—the filling. I’m going to level with you: the secret to avoiding cracks isn’t magic, it’s restraint. Beat your room-temperature cream cheese until it’s smooth, sure, but then dial it back. Add sugar gradually on low speed—this is where you avoid beating it like you’re angry at it. That’s how air bubbles sneak in, and air bubbles create surface texture problems that’ll haunt you later. Mix in sour cream and eggs one at a time, keeping that mixer on low. After you pour everything into your crust, tap the pan gently to release stubborn air pockets. Trust me, this patience pays off.
Set Up Your Instant Pot for the Water Bath
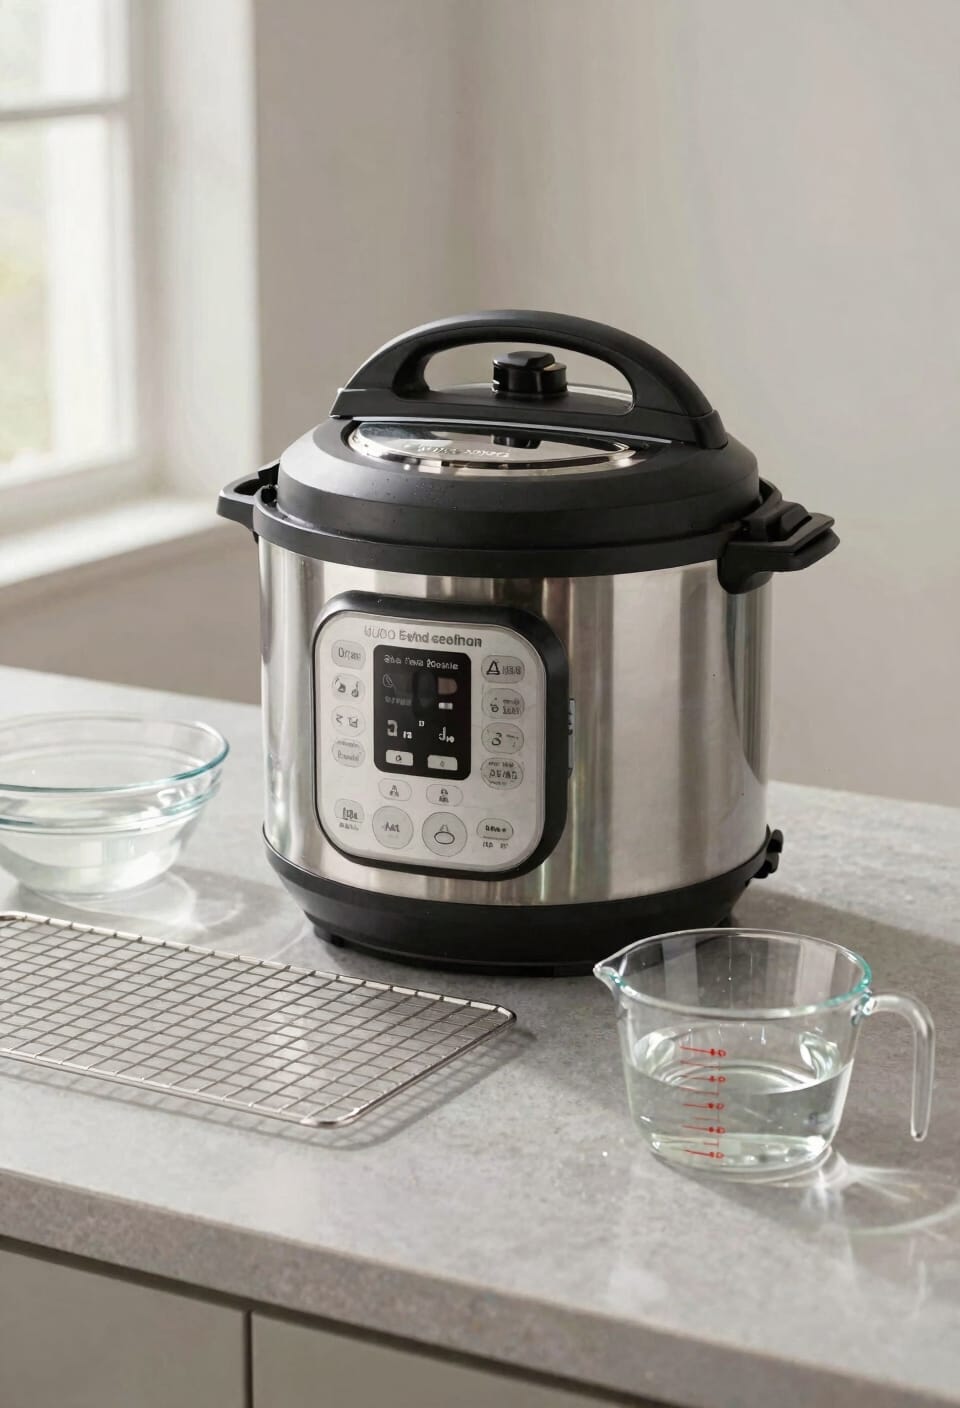
Once your filling’s ready to go, it’s time to set up the Instant Pot itself, and this part matters more than you’d think. Pour 1 to 1½ cups of water into the pot bottom—your water level directly affects steam control, which keeps that cheesecake from cracking. Add your metal trivet or rack; this lifts your springform pan above the water so it steams rather than boils. Center your foil-wrapped pan on top, then seal that lid and flip the valve to sealing. You’re effectively creating a humid oven in there. Now comes the satisfying part: hit high pressure, disable keep warm, and let it work. The steam does the heavy lifting while you relax.
Pressure Cook for 27 Minutes on High
Set your timer for 27 minutes on high pressure and hit start—this is the moment where all that prep work pays off, and honestly, it’s the easiest part of the whole operation. The Instant Pot‘s steam infusion does the heavy lifting now, gently cooking your cheesecake from the outside in while you literally do nothing.
You’ll hear the pot hiss and pressurize, which sounds dramatic but it’s totally normal. What’s happening inside is this beautiful texture contrast developing—the edges set while the center stays creamy and custard-like. Don’t crack the lid open to peek. I know you want to, but resist. Those 27 minutes are sacred, and interrupting them ruins everything you’ve built toward.
Release Pressure in Two Stages
After those 27 minutes of patient waiting, you’re not quite done yet—and that’s actually the secret to a crack-free cheesecake, so listen up. Here’s the thing: you’re going to release pressure in two stages, not all at once. First, let that Instant Pot sit undisturbed for a full 25 minutes of natural pressure release. I know it’s tempting to rush, but this gradual depressurization is doing the heavy lifting—it prevents your cheesecake from cracking as the steam venting happens slowly and evenly. After those 25 minutes, manually quick release whatever pressure remains. The two-stage approach respects what’s happening inside that pan, letting your dessert cool gently instead of shocking it with sudden pressure changes.
Cool and Chill Your Cheesecake Properly
The pressure release was the hard part, but now comes the part where patience actually matters even more—and I say that as someone who’s eaten raw cake filling straight from a bowl more times than I’d like to admit.
Leave your cheesecake in the Instant Pot for a full hour at room temperature. I know you’re dying to dig in, but this gradual cooling prevents those ugly cracks from forming across the top. After that hour, transfer it to the fridge for at least 4-6 hours—overnight’s even better.
Here’s the thing: texture testing matters. A properly chilled cheesecake should be firm but not rubbery. You’ll know you’ve nailed it when a fork glides through cleanly without dragging. That’s when you run a knife around the edges and finally, finally get your slice.
Troubleshoot Problems Before and During Cooking
Even though you’ve followed every instruction perfectly up to this point, something can still go sideways in the Instant Pot—and honestly, it usually comes down to one of a few predictable culprits. If your filling looks too thin before cooking, that’s a texture adjustment waiting to happen; you might need an extra egg or less sour cream next time. Watery cheesecake? You probably didn’t let that natural release finish its full 25 minutes. For flavor variations, underseasoning happens constantly—vanilla gets lost in the pressure environment, so don’t be shy with it. Cracks appearing mid-cook mean your batter had too much air beaten in. Mix on low speed after that initial beat, and you’ll dodge that disaster. These fixes aren’t failures; they’re just how you learn what your particular setup demands.
Frequently Asked Questions
Can I Use a Regular Springform Pan Instead of a 6-7 Inch One?
I’d recommend sticking with a 6-7 inch pan if you can. A bigger pan’ll make your cheesecake thinner with a layered crust that won’t bake evenly in the Instant Pot’s limited space and cooking time.
What if My Cream Cheese Isn’t at Room Temperature When I Start?
Did you know 73% of baking failures stem from ingredient temperature? I’d recommend softening methods like microwaving in 10-second bursts or leaving it on the counter. These quick fixes prevent lumpy batter and guarantee smooth cheesecake texture.
How Do I Know if My Cheesecake Is Fully Cooked Inside?
I’ll check if your cheesecake’s done using the toothpick test. Insert one in the center—it should come out clean. You want a slight jiggly center, not completely set, since it’ll firm up while cooling.
Can I Make This Recipe in a Different Sized Instant Pot?
You might worry about uneven cooking, but I’ve found smaller pots work fine—you’ll just need to adjust pressure and scale time down slightly. Larger models may require longer cooking for the center to set properly.
What Causes Cracks on Top and How Do I Prevent Them?
I’ve found that overbaking and incorporating too much air cause cracks. I prevent them by mixing on low speed, using a water bath setup, tapping the pan to release bubbles, and avoiding the keep warm function.
Conclusion
You’ve just pulled off what seemed impossible—a creamy, crack-free cheesecake in under an hour. By pure coincidence, the Instant Pot‘s steam and precise heat do exactly what your oven never could: they cradle your dessert like it actually matters. Now you’ll find yourself making this constantly, justifying it as “faster than ordering,” which isn’t quite true but feels true at midnight when you’re standing there with a fork and a plate.