As an Amazon Associate, we earn from qualifying purchases. Some links on this site are affiliate links at no extra cost to you. Our recommendations are based on thorough research and editorial judgment.

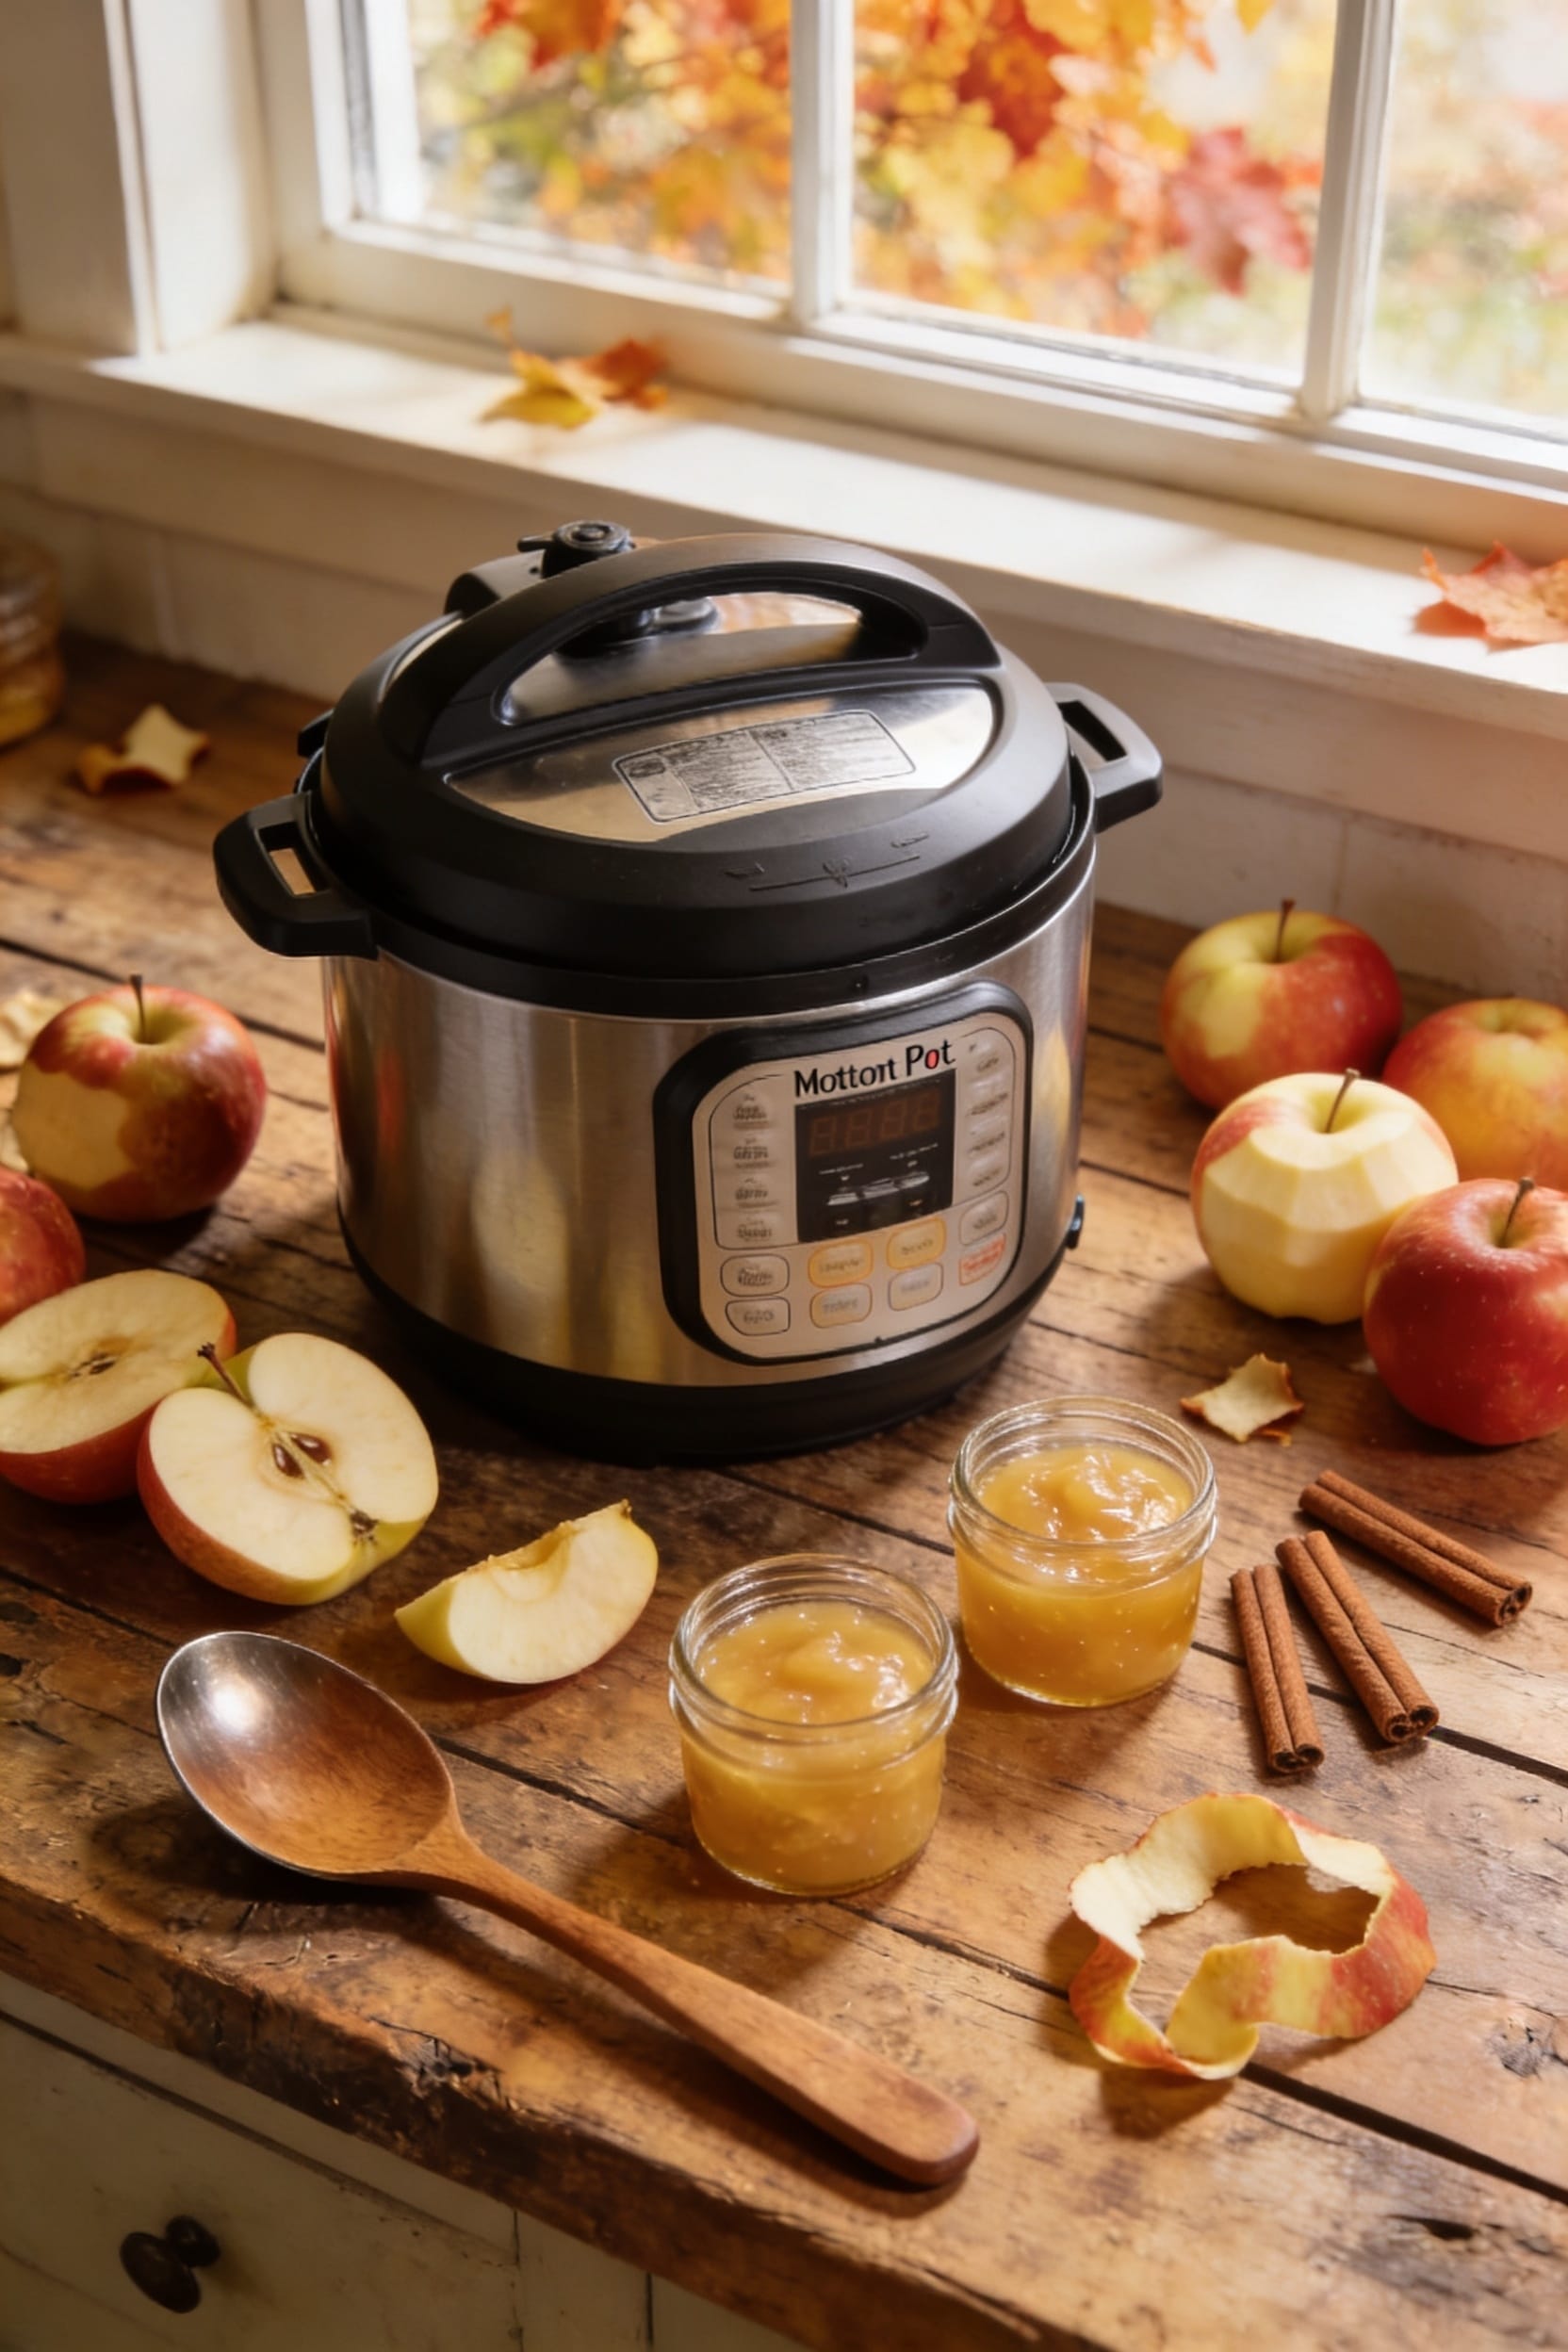
How to Make Applesauce in an Instant Pot

Look, making applesauce in an Instant Pot is ridiculously straightforward. Chunk up your apples—sweet and tart varieties work best—then pressure cook on high for 3–10 minutes depending on how smooth you want it. Quick release, blend or mash to your preference, then season with cinnamon, lemon juice, and a pinch of salt. Taste as you go before adding sweetener. Store it in the fridge for a week or freeze it for months. There’s honestly more nuance to nailing this than you’d think.
Key Takeaways
- Cut apples into 1-inch chunks, core them, and combine sweet and tart varieties for balanced flavor.
- Use Pressure Cook on High for 3–10 minutes depending on desired texture: chunky, smooth, or mashable.
- Quick Release pressure immediately after cooking to prevent burnt bottom, then use immersion blender or masher.
- Taste applesauce first, then season gradually with cinnamon, lemon juice, salt, and honey or sugar.
- Refrigerate in airtight containers for 5–7 days or freeze for 3–4 months for longer storage.
Select and Prep Apples for Even Pressure Cooking
All right, here’s the thing about applesauce—it’s only as good as the apples you start with, and I’m not just saying that to sound fancy. I combine sweet and tart varieties because that balance means you’re not dumping in sugar like you’re sweetening coffee. Go for organic varieties when you can; they tend to have better flavor.
Now here’s where most people mess up: uniformity matters. I cut my apples into roughly 1-inch chunks so they cook evenly in the Instant Pot. Uneven sizes mean some pieces turn to mush while others stay firm, which is annoying. Peeling’s optional—the skins break down anyway and give you extra nutrients. Just core them out and you’re ready to go.
High Pressure, 3–10 Minutes: Choose Your Applesauce Texture
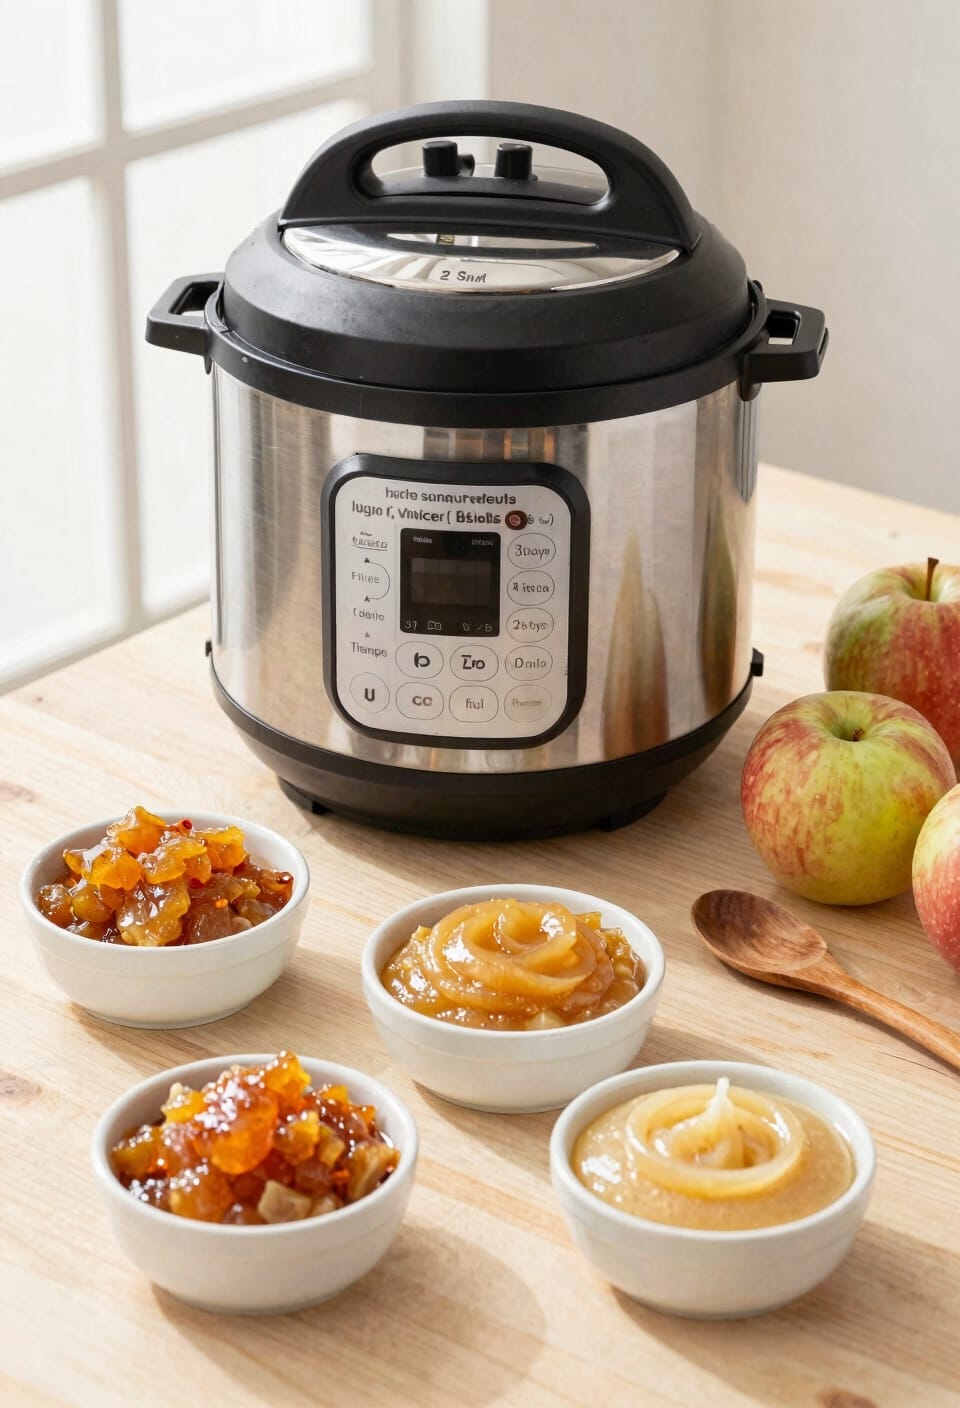
Now here’s where the cooking actually happens, and it’s genuinely simple—throw everything in the pot, secure the lid, make sure that vent is sealed, and hit the Pressure Cook button on high. The pressure gradients build quickly inside, and here’s where you get to decide your texture destiny. Want chunky applesauce? Three to four minutes, then quick release those steam dynamics and you’re done. Prefer something smoother? Push it to eight or ten minutes instead. The longer you cook, the softer those apples get, which means less blending work later. I usually split the difference around six minutes—gives me something pleasant to mash without turning everything into baby food. Your call entirely.
Quick Release and Blend to Perfection
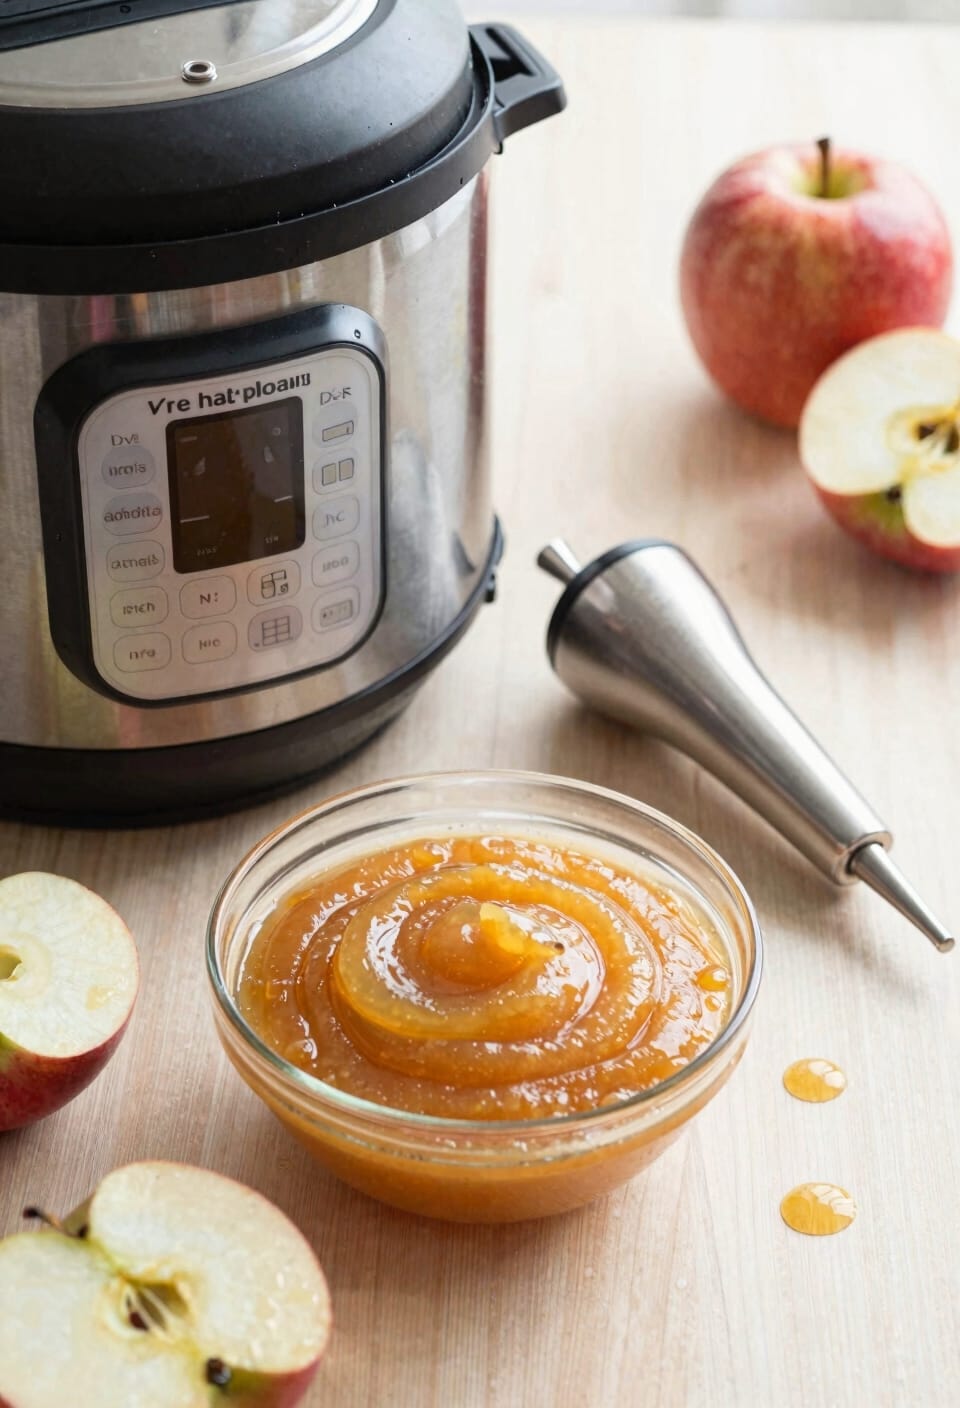
Once your timer goes off, you’ve got a choice to make about pressure release, and honestly, I’m team quick release for applesauce—it stops the cooking dead and prevents that burnt-on-the-bottom situation that nobody wants to deal with. Just adjust your valve from sealing to venting, but steam caution here—that vapor’s hot enough to hurt, so keep your face and hands back. Let it hiss for a minute or two until the pressure equalizes. Now for blending. I grab my immersion blender for smooth, effortless applesauce, but you could use a potato masher if you’re feeling the chunky vibe. Either way, you’re moments from finished sauce that tastes homemade because, well, it is.
Taste as You Go: Spices, Sugar, and Lemon
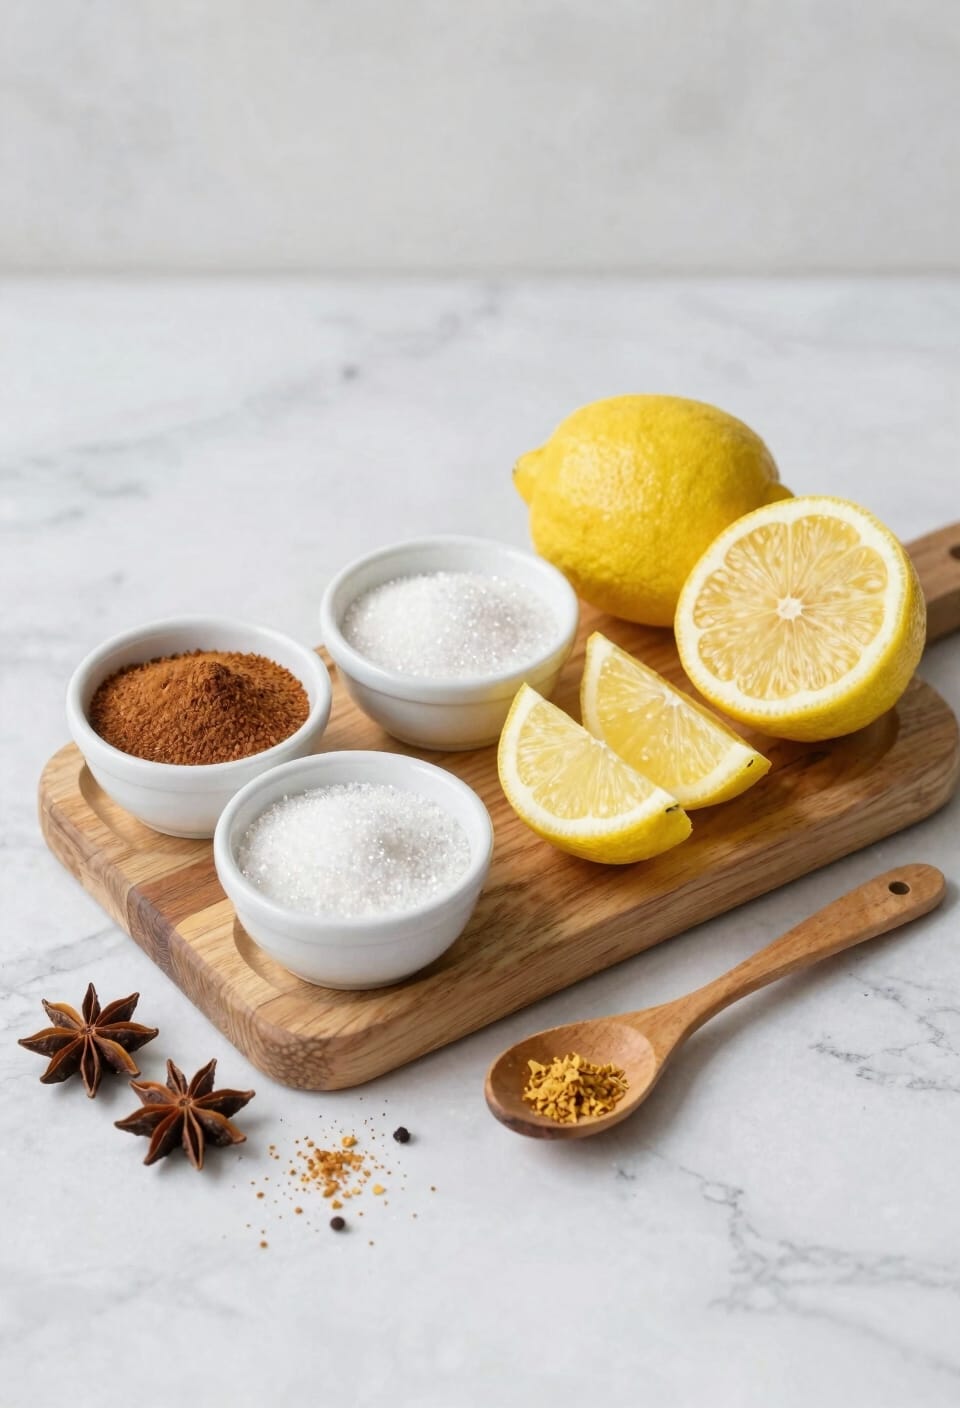
With your applesauce blended to your liking, you’re at the moment where good sauce becomes *your* sauce—and that’s where tasting and adjusting comes in. I always grab a spoon and taste first, no shame in that. Now, spice layering is where things get interesting. Start with a pinch of cinnamon, then a squeeze of lemon juice. Taste again. The lemon brightens everything and prevents that dull, oxidized taste you get if you’re not careful. If you need to adjust sweetness, add honey or sugar gradually—you can always add more, but you can’t take it back. A tiny bit of salt? Game-changer. It won’t make things taste salty; it’ll just make everything taste more like itself. Trust your palate.
Refrigerate, Freeze, or Can Your Applesauce
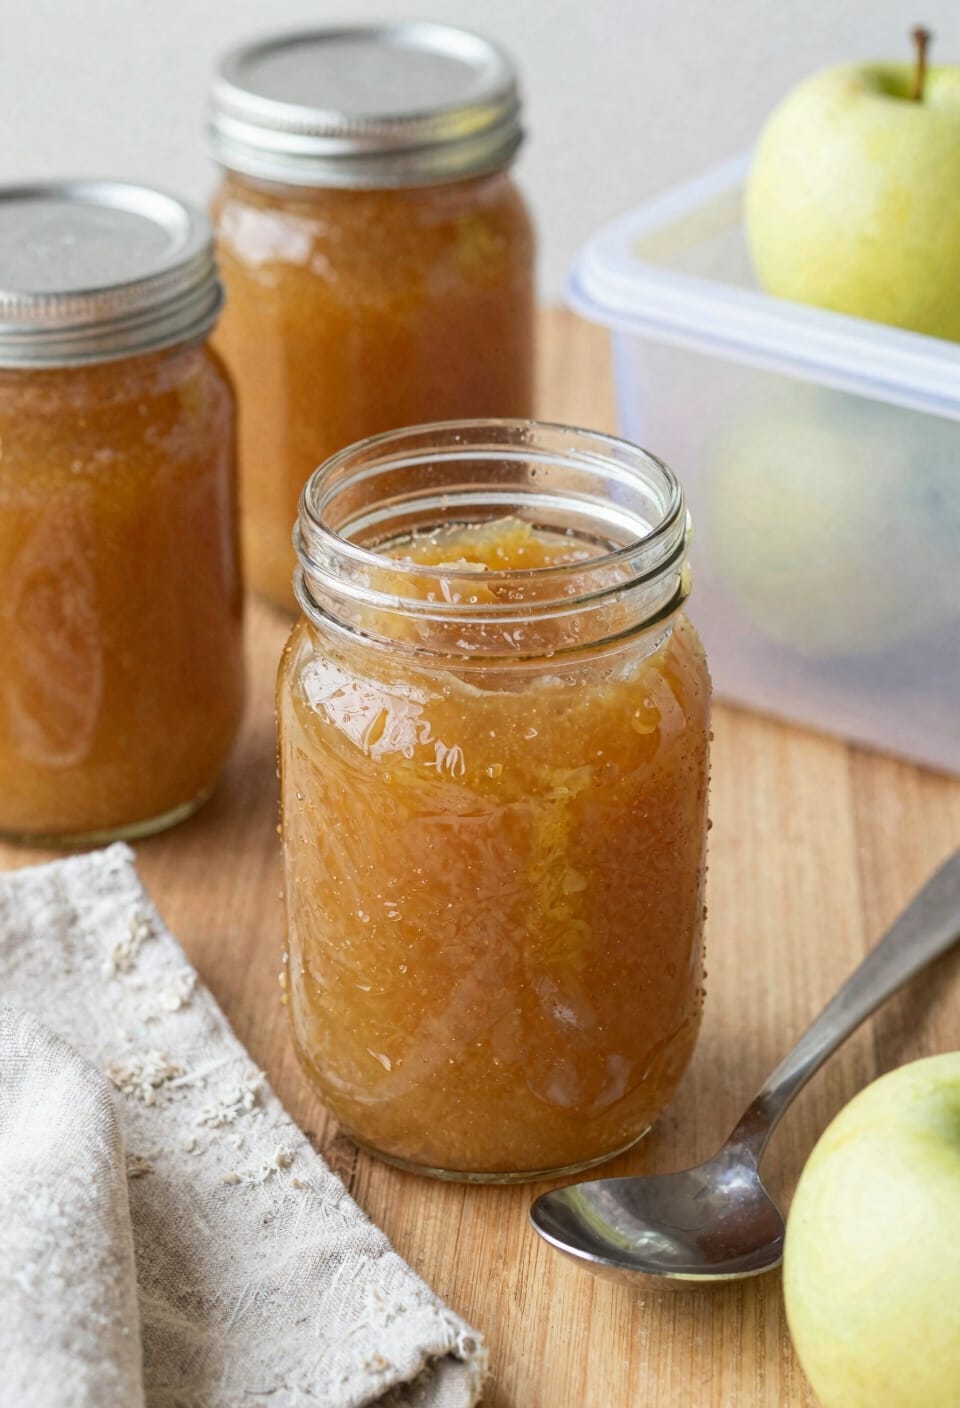
After you’ve tweaked the seasoning to your satisfaction, you’ve got three main paths forward: refrigerate it for quick consumption, freeze it for later, or go full canning mode if you’re feeling ambitious.
For refrigeration, I’ll keep it simple—your refrigeration lifespan runs about five to seven days in an airtight container. That’s assuming you don’t keep opening it to taste-test (I won’t judge). Freezing extends things considerably, maybe three to four months, which I honestly prefer since I’m lazy about rotation.
Now, canning safety—this matters. If you’re going that route, follow proper protocols religiously. I’m talking tested recipes, sterilized jars, the whole deal. Botulism isn’t a joke, and neither am I right now. When in doubt, stick with refrigeration or freezing. Your applesauce’s integrity depends on it.
Frequently Asked Questions
Can I Use an Instant Pot Without a Steamer Rack or Trivet for Cooking Apples?
Yes, you can skip the steamer rack. I’d recommend using foil to create a makeshift barrier or try alternative baskets that fit your pot’s interior. This prevents apples from direct bottom contact, reducing burn risk while cooking.
What Is the Difference Between Natural Release and Quick Release Methods?
I’ll explain the key difference: natural release lets pressure venting happen gradually over 5-10 minutes, extending your sealing time, while quick release immediately adjusts the valve for instant pressure venting, stopping the cooking process right away.
Do I Need to Peel Apples Before Making Applesauce in a Pressure Cooker?
You don’t need to peel apples before pressure cooking applesauce. I’d say it’s entirely a peeled preference since apple skins break down during cooking. The skin nutrients you’ll retain make leaving them on worthwhile.
How Long Does Homemade Applesauce Last When Stored in the Freezer?
I’ve found that when you freeze homemade applesauce in airtight containers, it’ll maintain excellent freezer quality for several months, making it ideal for long term storage without compromising taste or texture.
Is a Food Mill Better Than an Immersion Blender for Applesauce Texture?
I’d say it depends on your equipment preferences and desired texture comparison. A food mill gives you chunkier results with minimal effort, while an immersion blender creates smoother consistency more quickly. I prefer the blender for convenience.
Conclusion
Look, you’ve just transformed raw apples into liquid gold—that’s the beauty of this whole thing. Your Instant Pot became an alchemist, pressure and heat turning hard fruit into silky potential. Now those jars sitting in your fridge or freezer? They’re tiny vessels of autumn you can uncap whenever you need comfort. That’s not just applesauce. That’s you, winning at this whole cooking thing.