As an Amazon Associate, we earn from qualifying purchases. Some links on this site are affiliate links at no extra cost to you. Our recommendations are based on thorough research and editorial judgment.
How to Cook Quinoa in an Instant Pot (Time & Ratio)
1 water-to-quinoa ratio (way less than stovetop), rinse those bitter saponins off first, then seal your Instant Pot and hit high pressure for just 1–2 minutes. The magic happens during the 5–8 minute pressure build and the natural 10–15 minute release after—rush it and you’ll get mush. Fluff with a fork once that float valve drops, and you’ve got fluffy grains ready for anything. There’s more finesse to getting it perfect.
Key Takeaways
- Rinse quinoa in a fine-mesh strainer under cold running water for 60–90 seconds until water runs clear.
- Use a 1:1 water-to-quinoa ratio in an Instant Pot, which is less than stovetop cooking requirements.
- Cook on high pressure for 1–2 minutes after the pot reaches full pressure in 5–8 minutes.
- Allow natural pressure release for 10–15 minutes before opening the lid to prevent mushy grains.
- Fluff cooked quinoa with a fork to separate grains; substitute water with broth for added flavor.
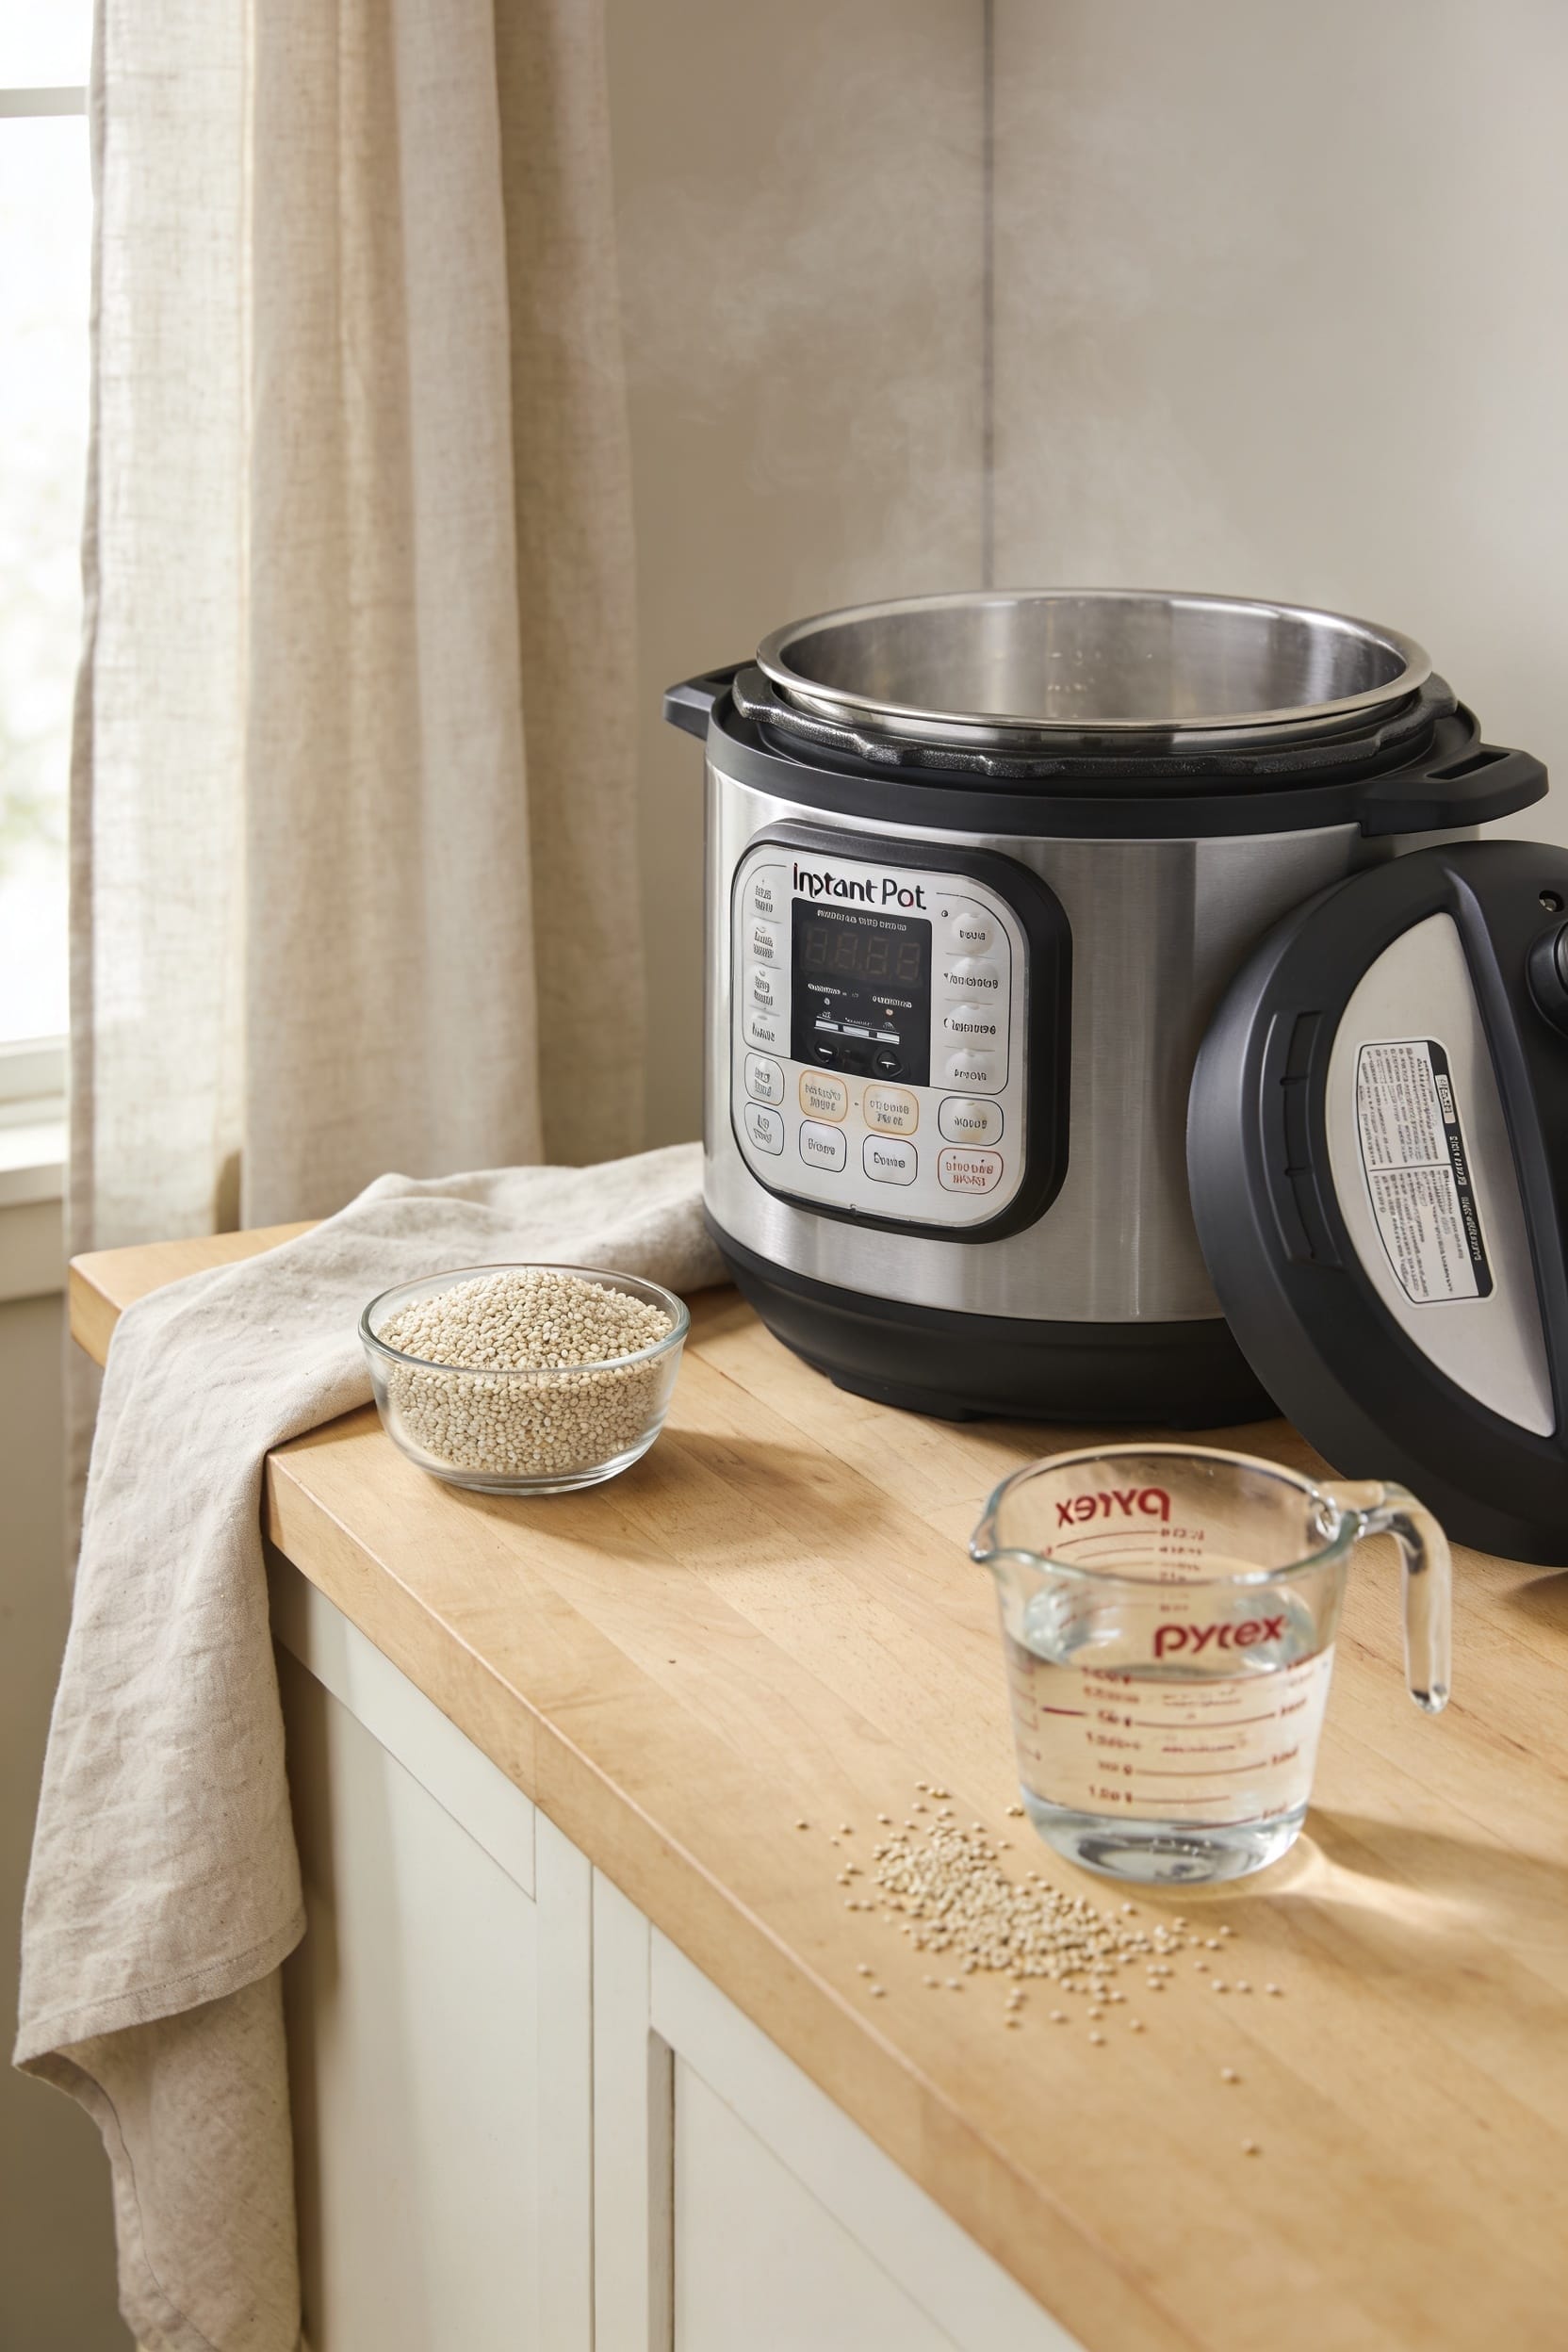
Why Rinsing Quinoa Matters Before Cooking
Before you dump that quinoa straight into your Instant Pot, I’m going to stop you right there—you’ve got to rinse it first. Here’s the thing: quinoa’s got this outer coating called saponins that tastes genuinely bitter, and I’m not talking the good kind of bitter. A fine-mesh strainer under cold running water for about 60-90 seconds handles saponin removal beautifully. Gently rub the grains between your fingers while you’re at it. Keep going until the water runs clear—that’s your signal you’re done. This texture improvement isn’t just noticeable; it’s the difference between actually enjoying your meal and wondering why you bothered. Trust me on this one.
Configure Your Instant Pot and Set the Valve

Now that you’ve got your quinoa rinsed and ready to go, it’s time to make friends with your Instant Pot’s control panel—because here’s the thing, if you skip this step or mess it up, you’ll end up with the lid stuck shut and a kitchen full of confused silence. First, locate the steam release valve on top of the lid and move it to the seal position. This locks everything down tight so pressure can actually build. Then add your quinoa and water to the pot, secure that lid, and hit the Manual or Pressure Cook button for high pressure. You’ll notice the pressure indicator starting its climb. Once it’s sealed and pressurized, you’re golden—the actual cooking’s about to happen.
Recommended Products

9-IN-1 FUNCTIONALITY: Pressure cook, slow cook, rice cooker, yogurt maker, steamer, sauté pan, yogurt maker, sterilizer and food warmer.

11 Cooking Functions: Air fry, roast, bake, dehydrate, pressure cook, slow cook, sauté, steam, sterilize, warm, or cook rice with ease.

13 Cooking Functions: Pressure cook, air fry, slow cook, steam, sauté, roast, bake, broil, dehydrate, sous vide, make yogurt, proof bread, or simply keep your meal warm— all in one appliance.
Get the Water-to-Quinoa Ratio Right

Most home cooks get the water-to-quinoa ratio wrong on their first try, and I’m guessing you’re about to learn why—the Instant Pot changes the game compared to stovetop cooking. Here’s the thing: you’ll want one cup of water for every cup of quinoa, which is less than the standard 1¾ cups you’d use on the stove. That reduction happens because pressure cookers lose way less water to evaporation. Use too much and you’re stuck with mushy, separated grains that’ll ruin your serving suggestions. Getting this ratio right means fluffy, tender results that freeze beautifully for storage tips and meal prep situations.
Recommended Products

7 Cooking Functions: Pressure cook, slow cook, sauté, steam, make rice, yogurt, or simply keep your meal warm—all in one appliance
11 Cooking Functions: Air fry, roast, bake, dehydrate, pressure cook, slow cook, sauté, steam, sterilize, warm, or cook rice with ease.

10 Cooking Functions: Pressure cook, slow cook, sous vide, sauté, sterilize, cook yogurt and rice, bake, steam, or simply keep warm, all in one easy appliance
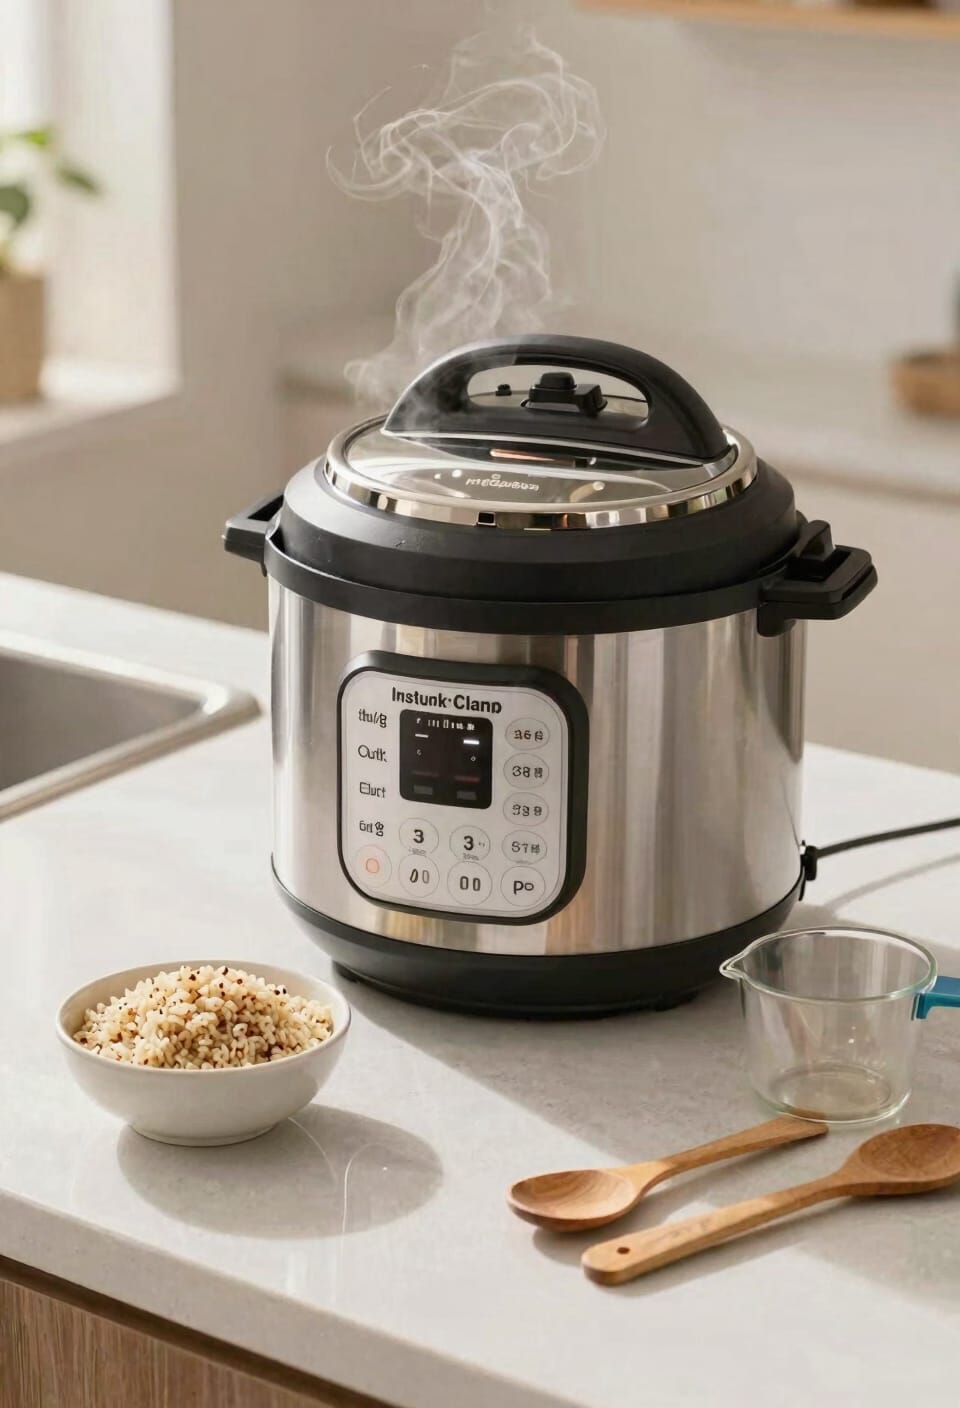
Cook Quinoa at High Pressure for 1–2 Minutes

Once you’ve nailed that water ratio, the cooking part’s where the Instant Pot really flexes its muscles—and I mean that literally, because high pressure does the heavy lifting for you. Set your Manual or Pressure Cook button to high pressure for just 1–2 minutes. I know that sounds impossibly short, but that’s pressure precision working in your favor. The pot needs 5–8 minutes to build pressure first, then those few minutes under intense heat do what’d take 15+ minutes on the stovetop. Here’s the thing: resist the urge for quick release afterward. That’s how you end up with mushy quinoa or a mess splattered inside your pot. Natural release takes 10–15 minutes and lets those grains finish cooking perfectly.
Let Pressure Release Naturally for Best Results
When that timer beeps and you’re staring at your Instant Pot, the temptation to flip that valve to quick release is *real*—I get it, you’re hungry—but this is where patience actually pays off. Let the pressure release naturally for 10-15 minutes instead. Here’s why: those grains are still cooking during carryover cooking, and you absolutely avoid quick release because it can scorch your quinoa and send steam splattering everywhere like some kind of kitchen disaster film.
Natural release lets everything settle gently. The float valve will drop when pressure’s completely gone, signaling it’s safe to open. Your quinoa finishes cooking perfectly, absorbing any remaining moisture without turning mushy. Trust the process—those extra minutes make a real difference in texture.
Fluff and Serve Your Quinoa
Now comes the part where everything comes together—grab a fork and break up those fluffy grains before serving. I like to fluff mine right in the pot while it’s still warm, which helps separate any clumps that formed during cooking. You’ll notice how the grains have this gorgeous, almost translucent quality when they’re done right—that’s how you know you nailed it.
Once everything’s loosened up, serve warm straight away or let it hang out on the Keep Warm setting until you’re ready. As for garnish options, I’m a fan of keeping things simple: fresh herbs, a squeeze of lime, maybe some toasted nuts if you’re feeling fancy. The beauty of properly cooked quinoa is it doesn’t need much dressing up.
Enhance Flavor With Broth, Oil, and Sautéing
Why settle for plain quinoa when you’re already firing up the Instant Pot? I’ll swap water for vegetable or bone broth every single time—it’s honestly the easiest flavor upgrade you can make, and the cooking time stays identical. Your broth selection matters though; I stick with low-sodium options so I’m not oversalting the whole dish. Now, here’s where it gets fun. Before adding liquid, I sauté that rinsed quinoa for about a minute right in the pot. It toasts slightly and develops this nutty depth that makes a real difference. For oil alternatives, a tablespoon of olive oil or cooking spray prevents foaming and sticking without changing anything else about the process. These small moves transform ordinary quinoa into something you’ll actually crave.
Recommended Products

Tabatchnick Garden Fresh Vegetable Broth, 32 Ounce - 12 per case.

Made with vegetables simmered with savory herbs and seasonings

Twelve (12) 32 oz cartons of Pacific Foods Organic Vegetable Broth
Frequently Asked Questions
Can I Cook Quinoa in an Instant Pot Without Rinsing It First?
Yes, you can skip rinsing, but I’d recommend against it. You’ll notice texture differences—the quinoa tastes bitter—and you’ll miss nutrient retention benefits that rinsing provides by removing saponins.
How Long Does the Entire Quinoa Cooking Process Take From Start to Finish?
I’ll tell you the total time is 20-25 minutes from start to finish. Your hands-on time is minimal—just rinsing, adding ingredients, and fluffing afterward takes about five minutes total.
Can I Add Vegetables to Quinoa While Cooking in the Instant Pot?
Absolutely, I’m thrilled to tell you vegetables work brilliantly as steamed add-ins! You can toss stirred vegetables directly into your pot without adjusting timing or pressure. They’ll cook perfectly alongside your quinoa, creating a one-pot wonder.
Is Quick Release Safe for Quinoa, or Should I Use Natural Release?
I’d recommend using natural release for your quinoa. Quick release isn’t safe because it can cause splattering and scorching. Natural release takes 10-15 minutes and lets grains finish cooking perfectly without mess.
Can Cooked Quinoa Be Frozen for Later Use?
Yes, I’d freeze your cooked quinoa in freezer-friendly portions to maintain texture preservation. You’ll find it works perfectly for meal prep, staying fresh and maintaining its fluffy, separated grain quality when properly stored.
Conclusion
you’ve got perfectly fluffy quinoa in your Instant Pot now, and honestly, that’s where the real fun begins. Will you go savory with roasted vegetables? Sweet with coconut milk? The possibilities are honestly endless, but I’m betting you’ll nail whatever comes next. Your Instant Pot just became your new secret weapon.