As an Amazon Associate, we earn from qualifying purchases. Some links on this site are affiliate links at no extra cost to you. Our recommendations are based on thorough research and editorial judgment.
Instant Pot Tips and Tricks Every User Should Know
All right, here’s the thing: I’ve torched more Instant Pot bottoms than I’d like to admit, so I learned the hard way that deglazing isn’t optional—it’s your pressure-building insurance. Quick release saves delicate vegetables from turning to mush, while natural release keeps soups from sputtering everywhere. Layer your ingredients strategically, keep sticky stuff on top, and don’t skip sautéing because that’s where real flavor lives. You can even stack dishes pot-in-pot style for weeknight efficiency. Master these moves and you’ll stop fighting your machine and start cooking like you actually know what you’re doing.
Key Takeaways
- Deglaze the pot immediately after sautéing to scrape up browned bits and prevent burn errors that stop pressurization.
- Use rapid venting for delicate foods like seafood and vegetables to stop cooking immediately and prevent mushiness.
- Brown aromatics and meat using the sauté function to develop deep flavor that pressure cooking alone cannot achieve.
- Layer ingredients strategically with liquid first, then proteins and vegetables, keeping sticky items on top to prevent burns.
- Cook multiple dishes simultaneously using pot-in-pot stacking with a trivet to streamline weeknight meal preparation efficiently.
Prevent Burn Errors in Your Instant Pot Before They Block Pressure
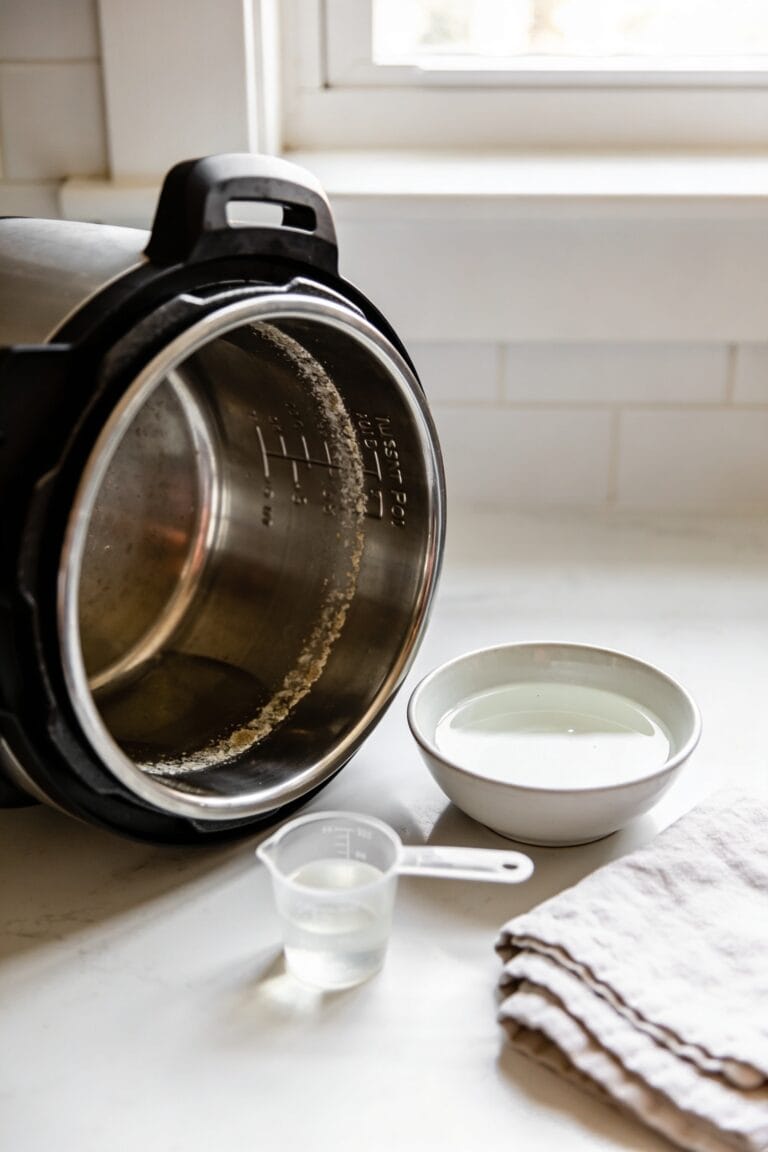
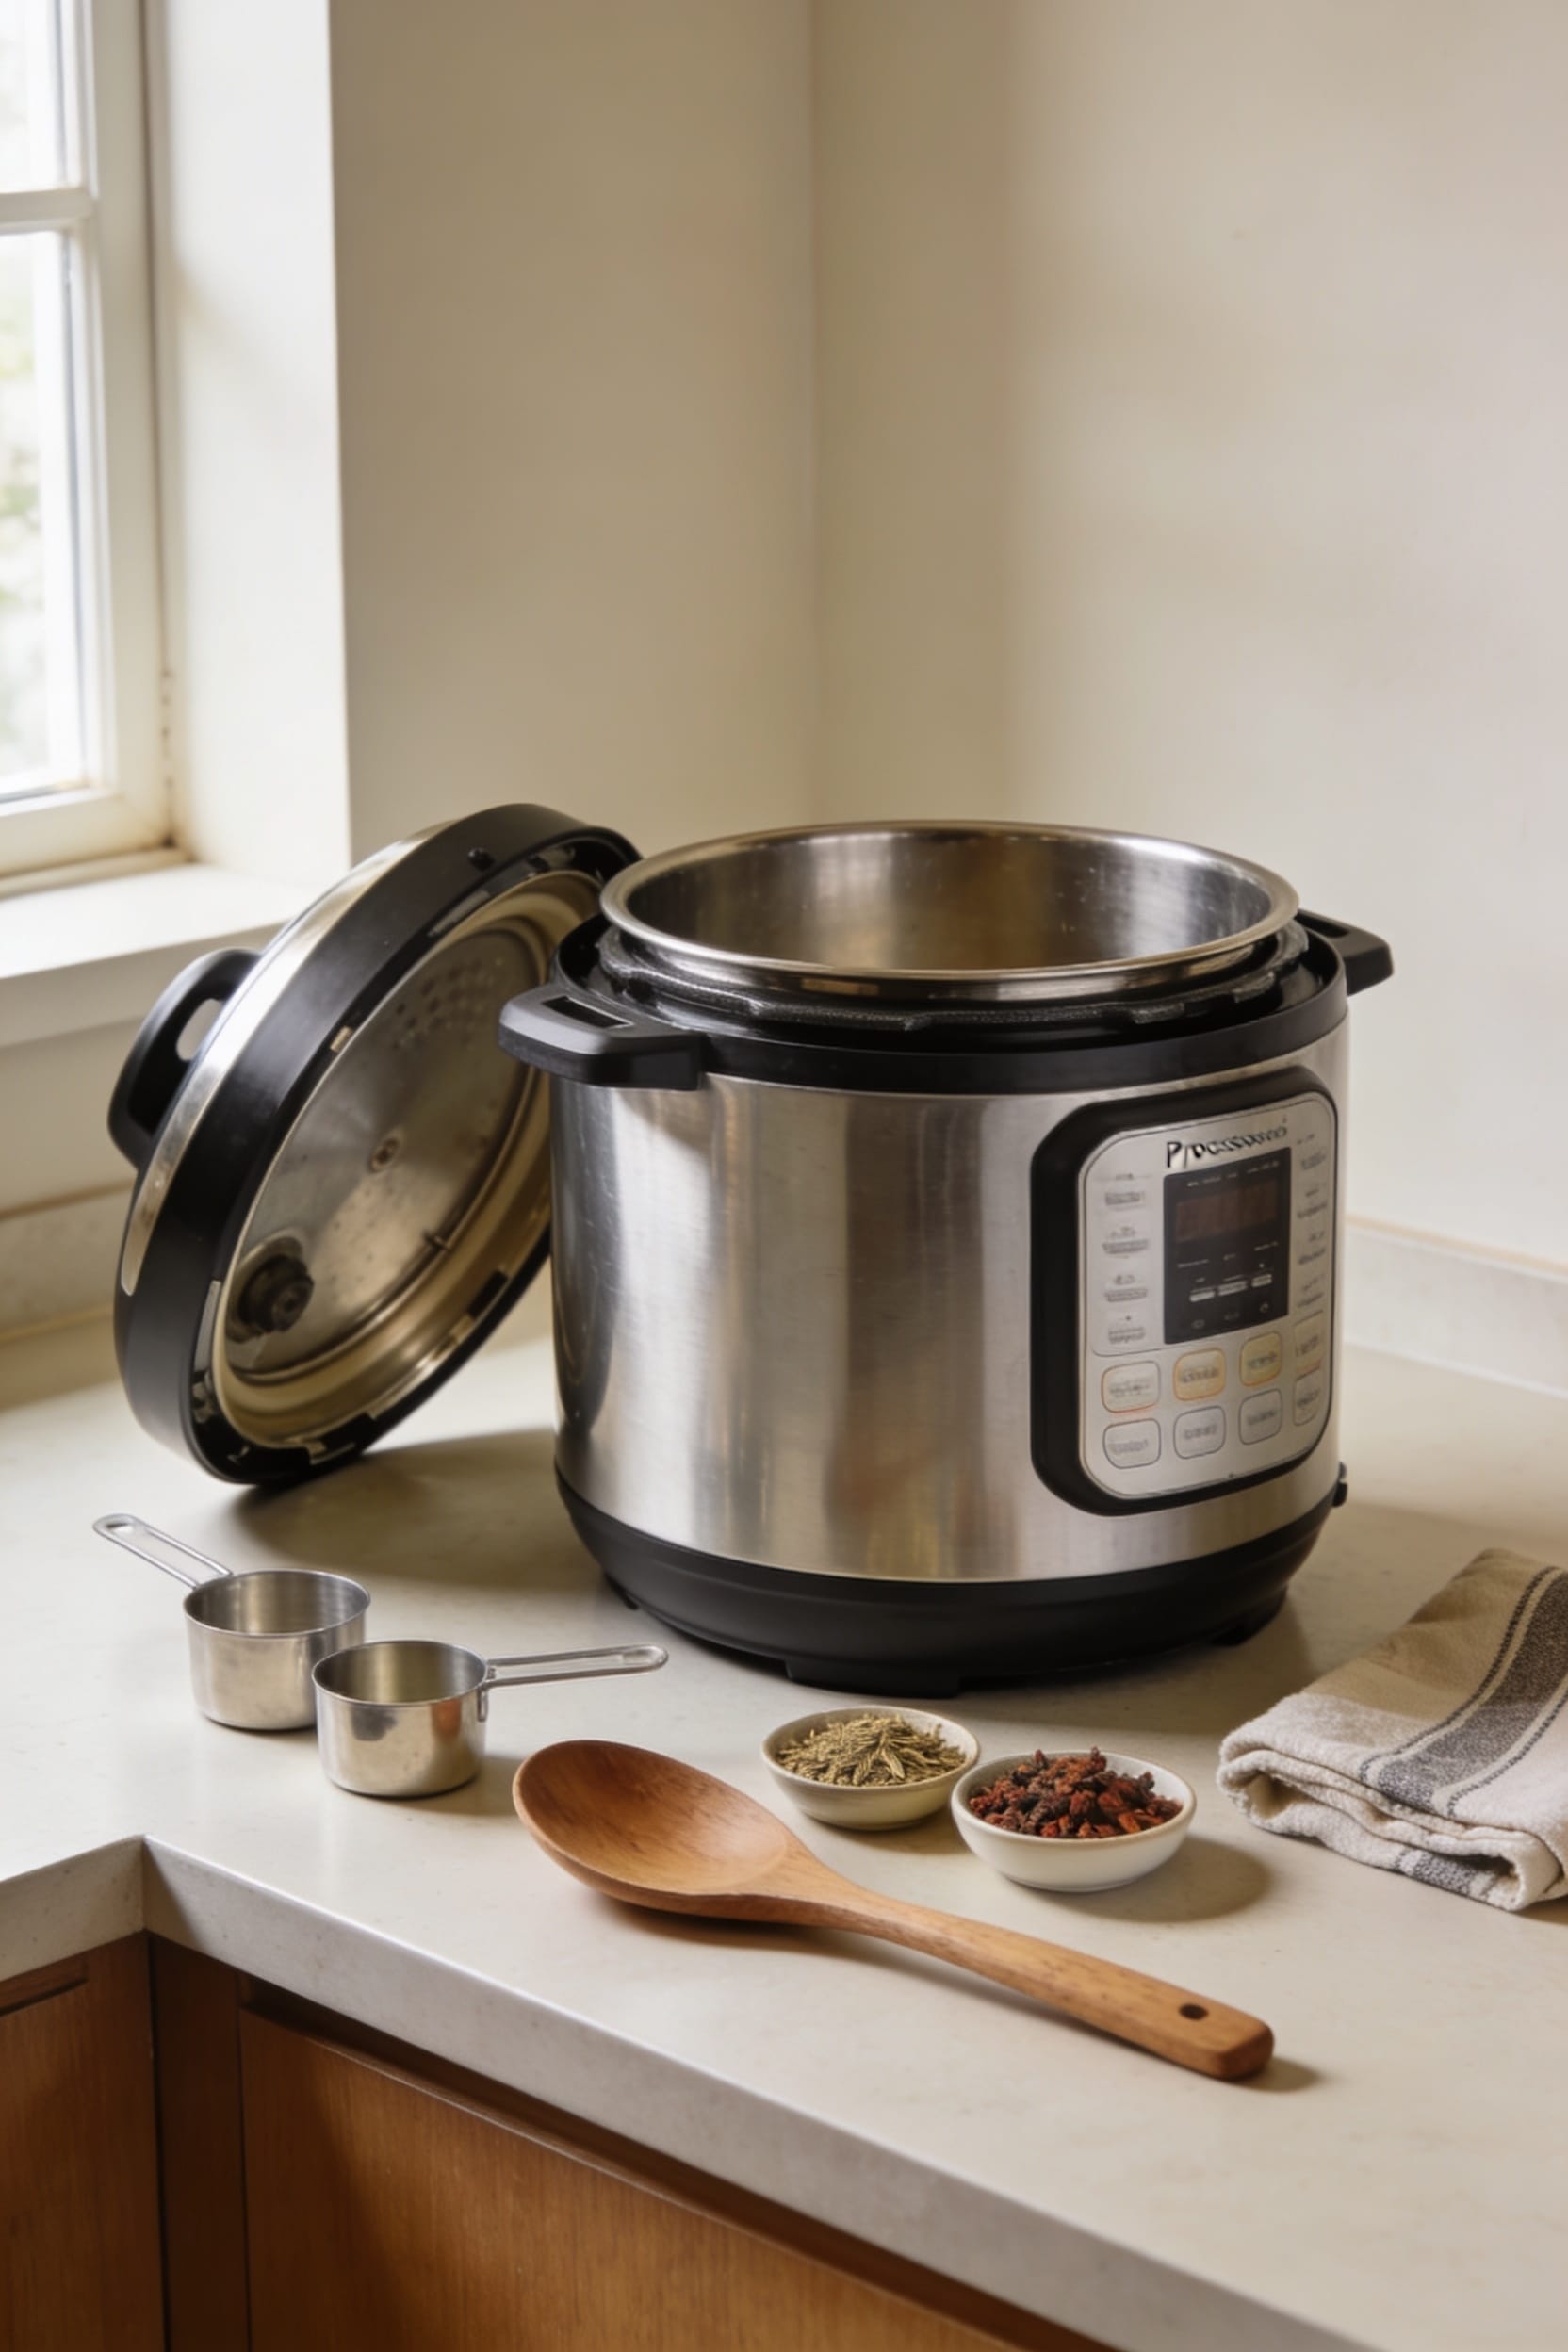
Burn errors are probably the most frustrating thing that’ll happen to you in an Instant Pot, mostly because they’re entirely preventable—they’re basically your cooker’s way of saying “hey, you’ve got stuff stuck to the bottom and I can’t build pressure safely.” Here’s the thing: the moment you finish sautéing anything, you need to deglaze that pot. Grab a wooden spoon and scrape up those browned bits with liquid. It’s non-negotiable. Also, keep sticky ingredients like tomato sauce and sugar away from the bottom by adding them last, right on top without stirring. Before you seal the lid, verify the liner’s in place—sounds obvious, but I’ve seen people rush. These deglaze techniques and liner checks are your burn-error insurance policy.
Master Quick Release vs. Natural Release for Perfect Textures
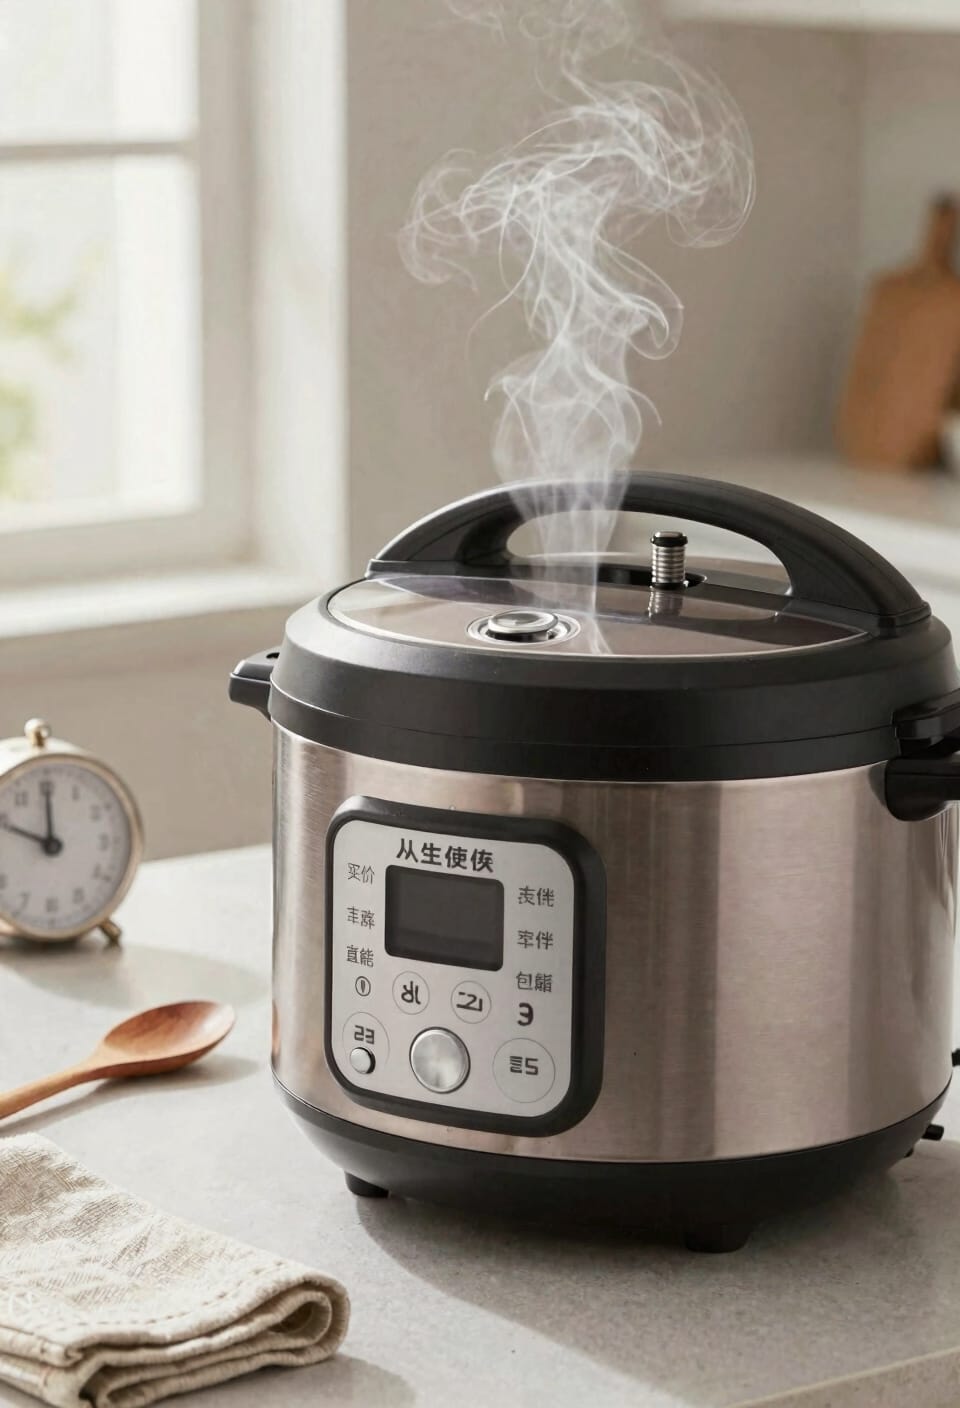
Once you nail the pressure-cooking part, you’ll realize that how you release all that built-up steam is just as important as how you got there in the first place—because the wrong release method can turn your perfectly cooked fish into mush or leave your soup looking like it exploded.
For delicate stuff like seafood and vegetables, I go straight for rapid venting by switching that valve to Venting. You get immediate results, stopping the cooking dead and preventing that sad, mushy texture.
Starchy dishes—soups, beans, rice—need natural release instead. Let pressure drop on its own, which cuts down sputtering and keeps your lid cleaner. The residual steaming actually finishes cooking gently without overdoing it. You can also do controlled quick release on starches by venting in short bursts with a spoon, pausing if foam shows up. Timing matters here, so plan accordingly.
Build Deeper Flavor With Strategic Sautéing

Look, I could tell you that the Instant Pot is a miracle worker, but here’s the thing—it’s actually just a really efficient steamer if you skip the sauté function, and that’s where most people leave flavor on the table. When you brown aromatics and meat first, you’re building a foundation that pressure cooking alone can’t replicate. Get your pot screaming hot, use butter basting to keep things juicy, and let that fond develop on the bottom. Then deglaze techniques become your secret weapon—scrape up those caramelized bits with liquid, and suddenly you’ve got depth. That’s the difference between “fine” and “damn, this is good.” Don’t rush this step.
Stack Your Ingredients Right to Avoid Mistakes
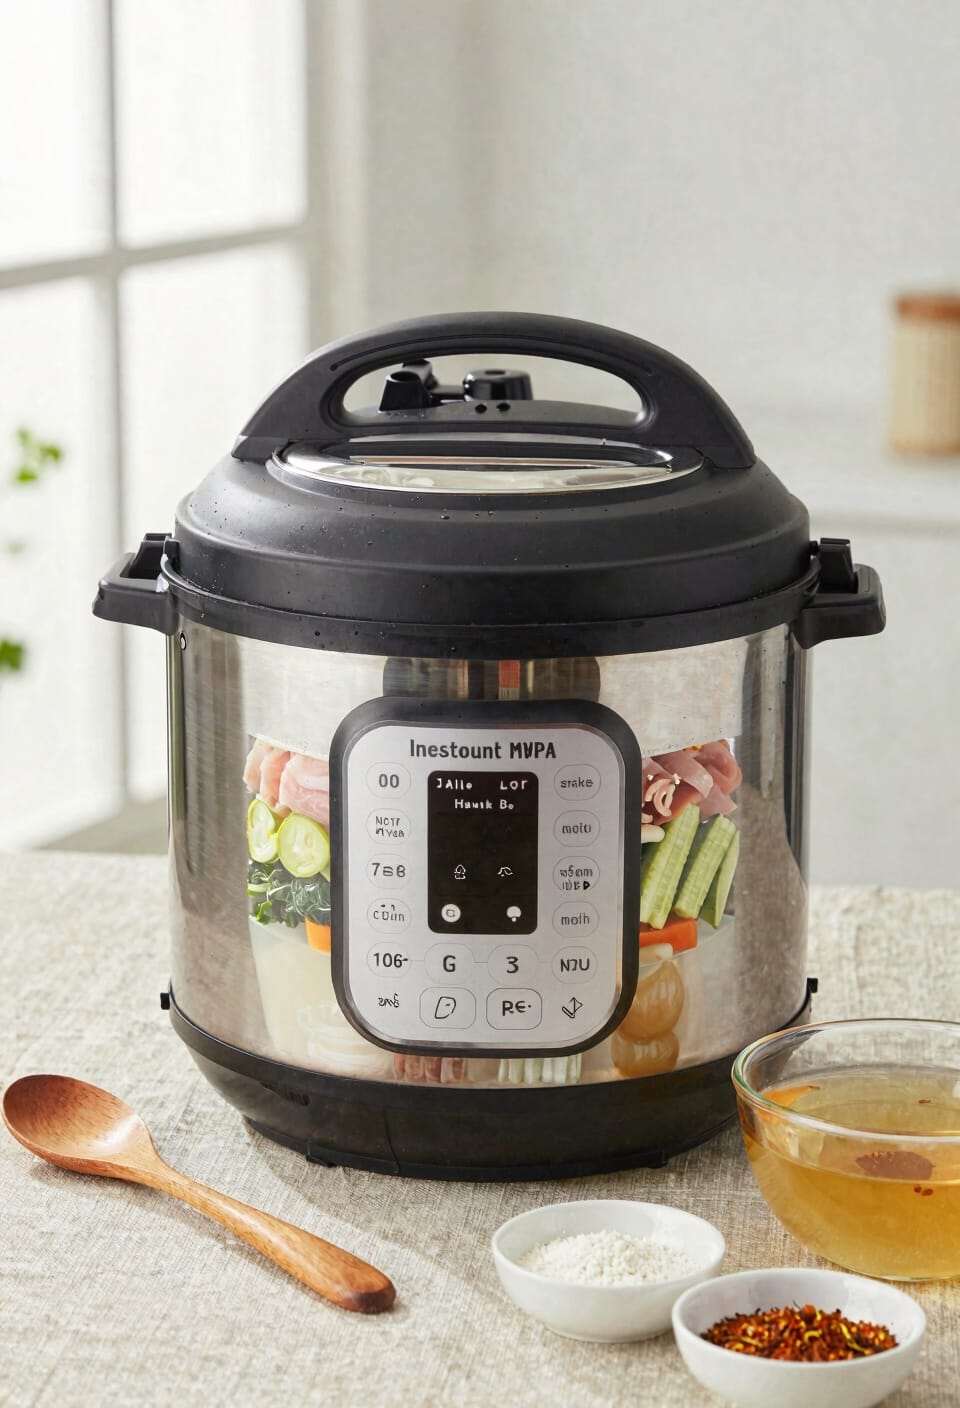
Now that you’ve got that fond scraped up and your base flavors locked in, here’s where a lot of people tank their recipes—they dump everything into the pot like they’re loading a dishwasher. The order layers matter, seriously. Think of ingredient sequencing like geology: your liquid foundation goes down first, then the heavier proteins and vegetables, and importantly, your sticky stuff—tomato sauce, sugar, cream—sits on top without stirring. This isn’t random. Sticky ingredients clinging to the bottom trigger burn warnings that block pressurization entirely. You want that trivet underneath delicate items when needed. Read your recipe before you start, because the sequencing isn’t just about flavor; it’s about whether your pot actually pressurizes or stalls mid-cook.
Cook Multiple Dishes at Once With Pot-In-Pot Methods
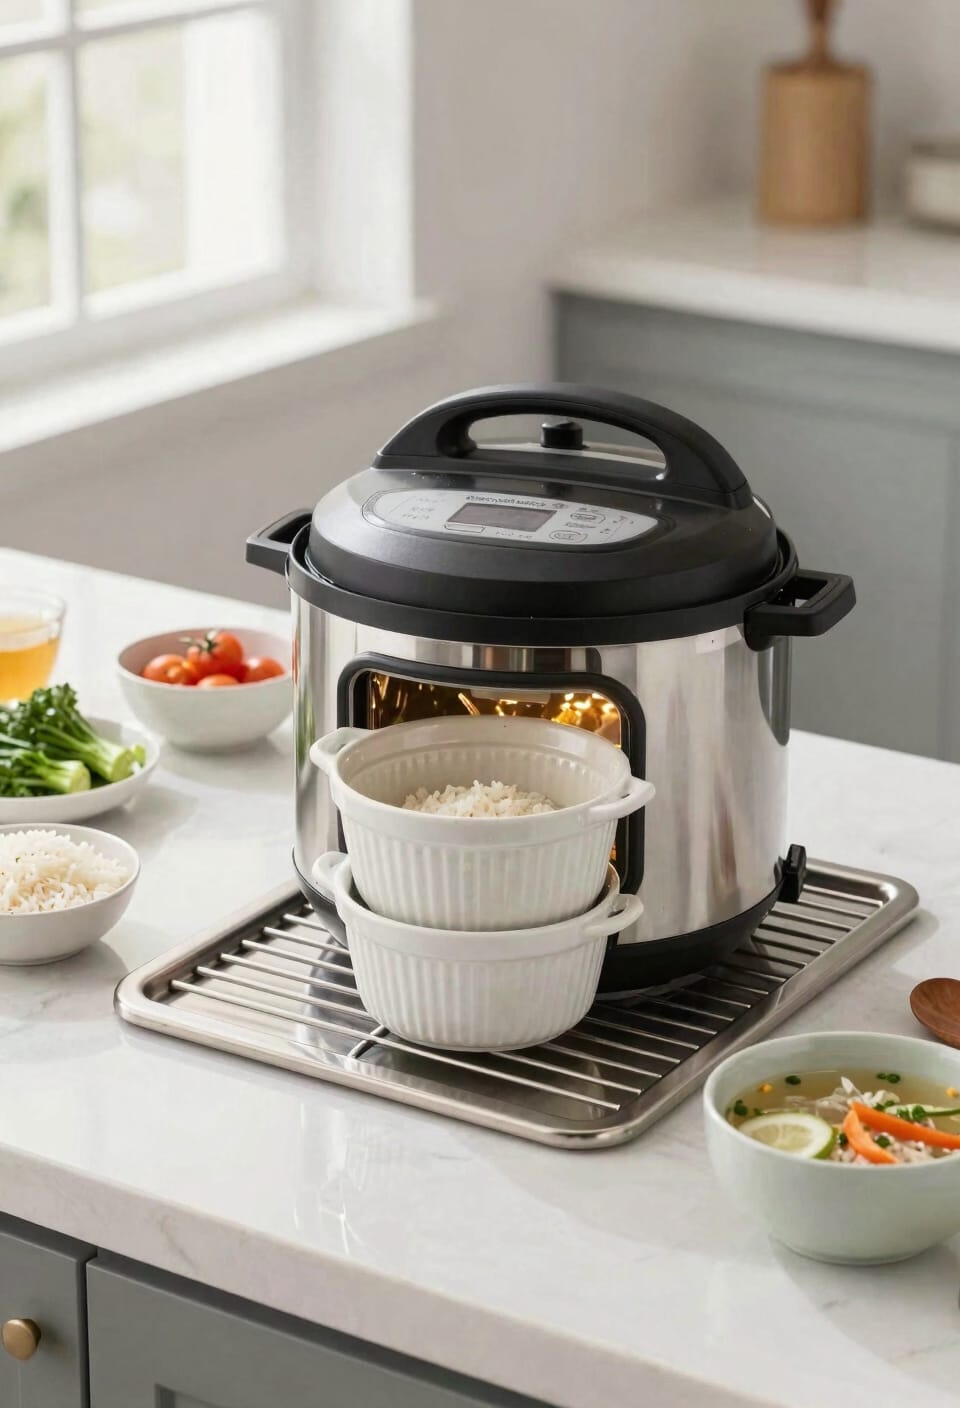
Since you’ve already mastered the art of not blowing up your pot with proper layering, let me introduce you to the move that’ll make your Instant Pot actually earn its counter space: pot-in-pot cooking. This technique lets you simultaneously prepare multiple dishes in one pressure cycle by nesting containers inside the main pot. Place your trivet on the bottom with water, then stack a stainless steel bowl or heat-safe dish on top. You’re fundamentally doing layered steaming with stacked casseroles—rice cooking below while chicken reheats above, for example. It’s genuinely brilliant for weeknight coordination. No more juggling multiple pots or timing everything perfectly. One cycle, multiple results. Your meal prep game just leveled up considerably.
Frequently Asked Questions
How Do I Know When Meat Is Properly Browned and Ready to Pressure Cook?
I know my meat’s ready when it’s got a deep golden-brown check color, a firm texture throughout, and moist juices pooling on top. An even sear across all sides tells me it’s perfectly browned for pressure cooking.
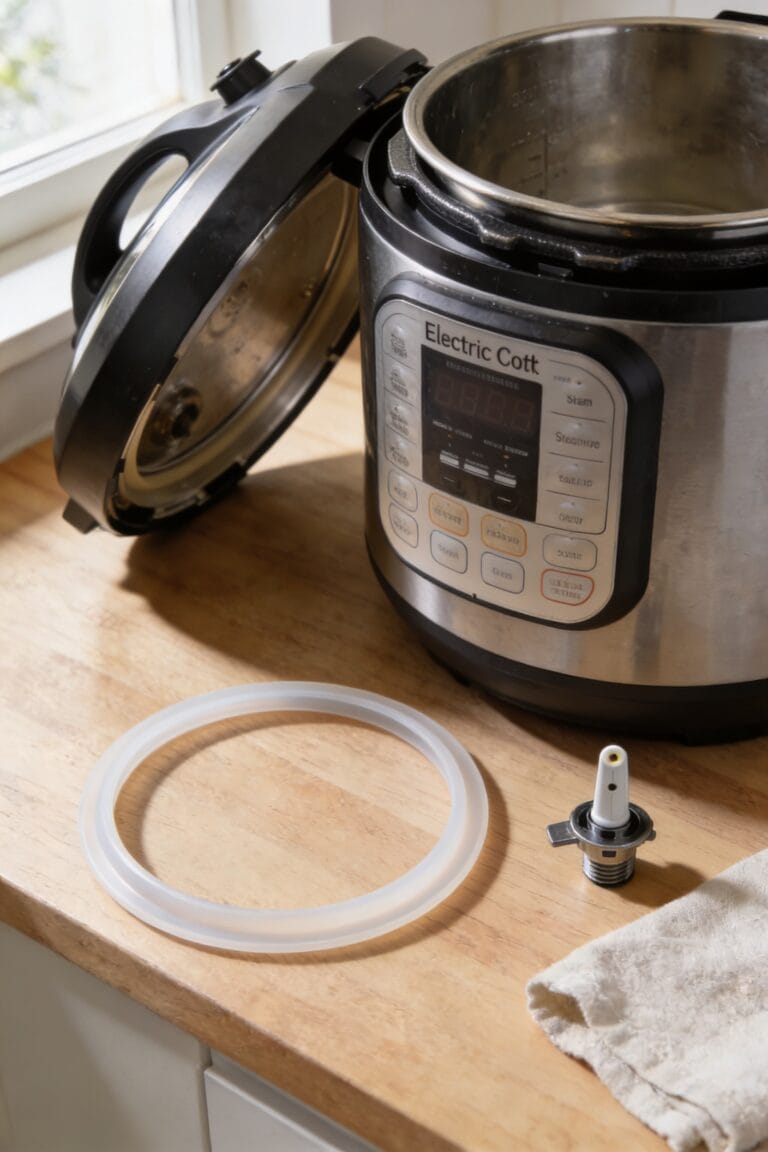
What’s the Best Way to Clean and Maintain My Instant Pot Liner?
I’d remove your liner after each use and wash it with warm soapy water. For stubborn stains, I’d soak it briefly. I’d also periodically replace the gasket and inspect the liner for damage to maintain peak performance.
Can I Use My Instant Pot Without the Minimum 1 Cup Liquid Requirement?
No, I don’t recommend skipping the 1 cup minimum liquid requirement. You’ll risk triggering burn warnings that prevent pressurization. However, I’ve found that using dry sauté mode first, then adding minimal liquid for condensed stews, works effectively.
How Do I Fix a Watery Dish After Pressure Cooking Is Complete?
I’ll use the sauté function to reduce liquid after pressure cooking’s complete. You can thicken sauces by adding cornstarch or arrowroot starch while sautéing, which’ll give you the consistency you’re after.
What Is the Zero-Minute Steaming Method and When Should I Use It?
I’ll use the zero-minute steaming method by placing the trivet with one cup of water, then setting vegetables in a steaming bowl on top. It’s perfect when I need quick steam without pressure cooking, enabling rapid release and instant results for delicate foods.
Conclusion
Look, mastering your Instant Pot is like learning to drive stick shift—once it clicks, you’ll wonder why you ever stressed. I burned dinner three times before realizing my pot needed more liquid, and now I can practically cook with my eyes closed. You’ve got the tools now. Go forth, experiment, and remember: every ruined meal teaches you something your next one won’t repeat.