As an Amazon Associate, we earn from qualifying purchases. Some links on this site are affiliate links at no extra cost to you. Our recommendations are based on thorough research and editorial judgment.
Instant Pot Brown Rice Cooking Time and Water Ratio
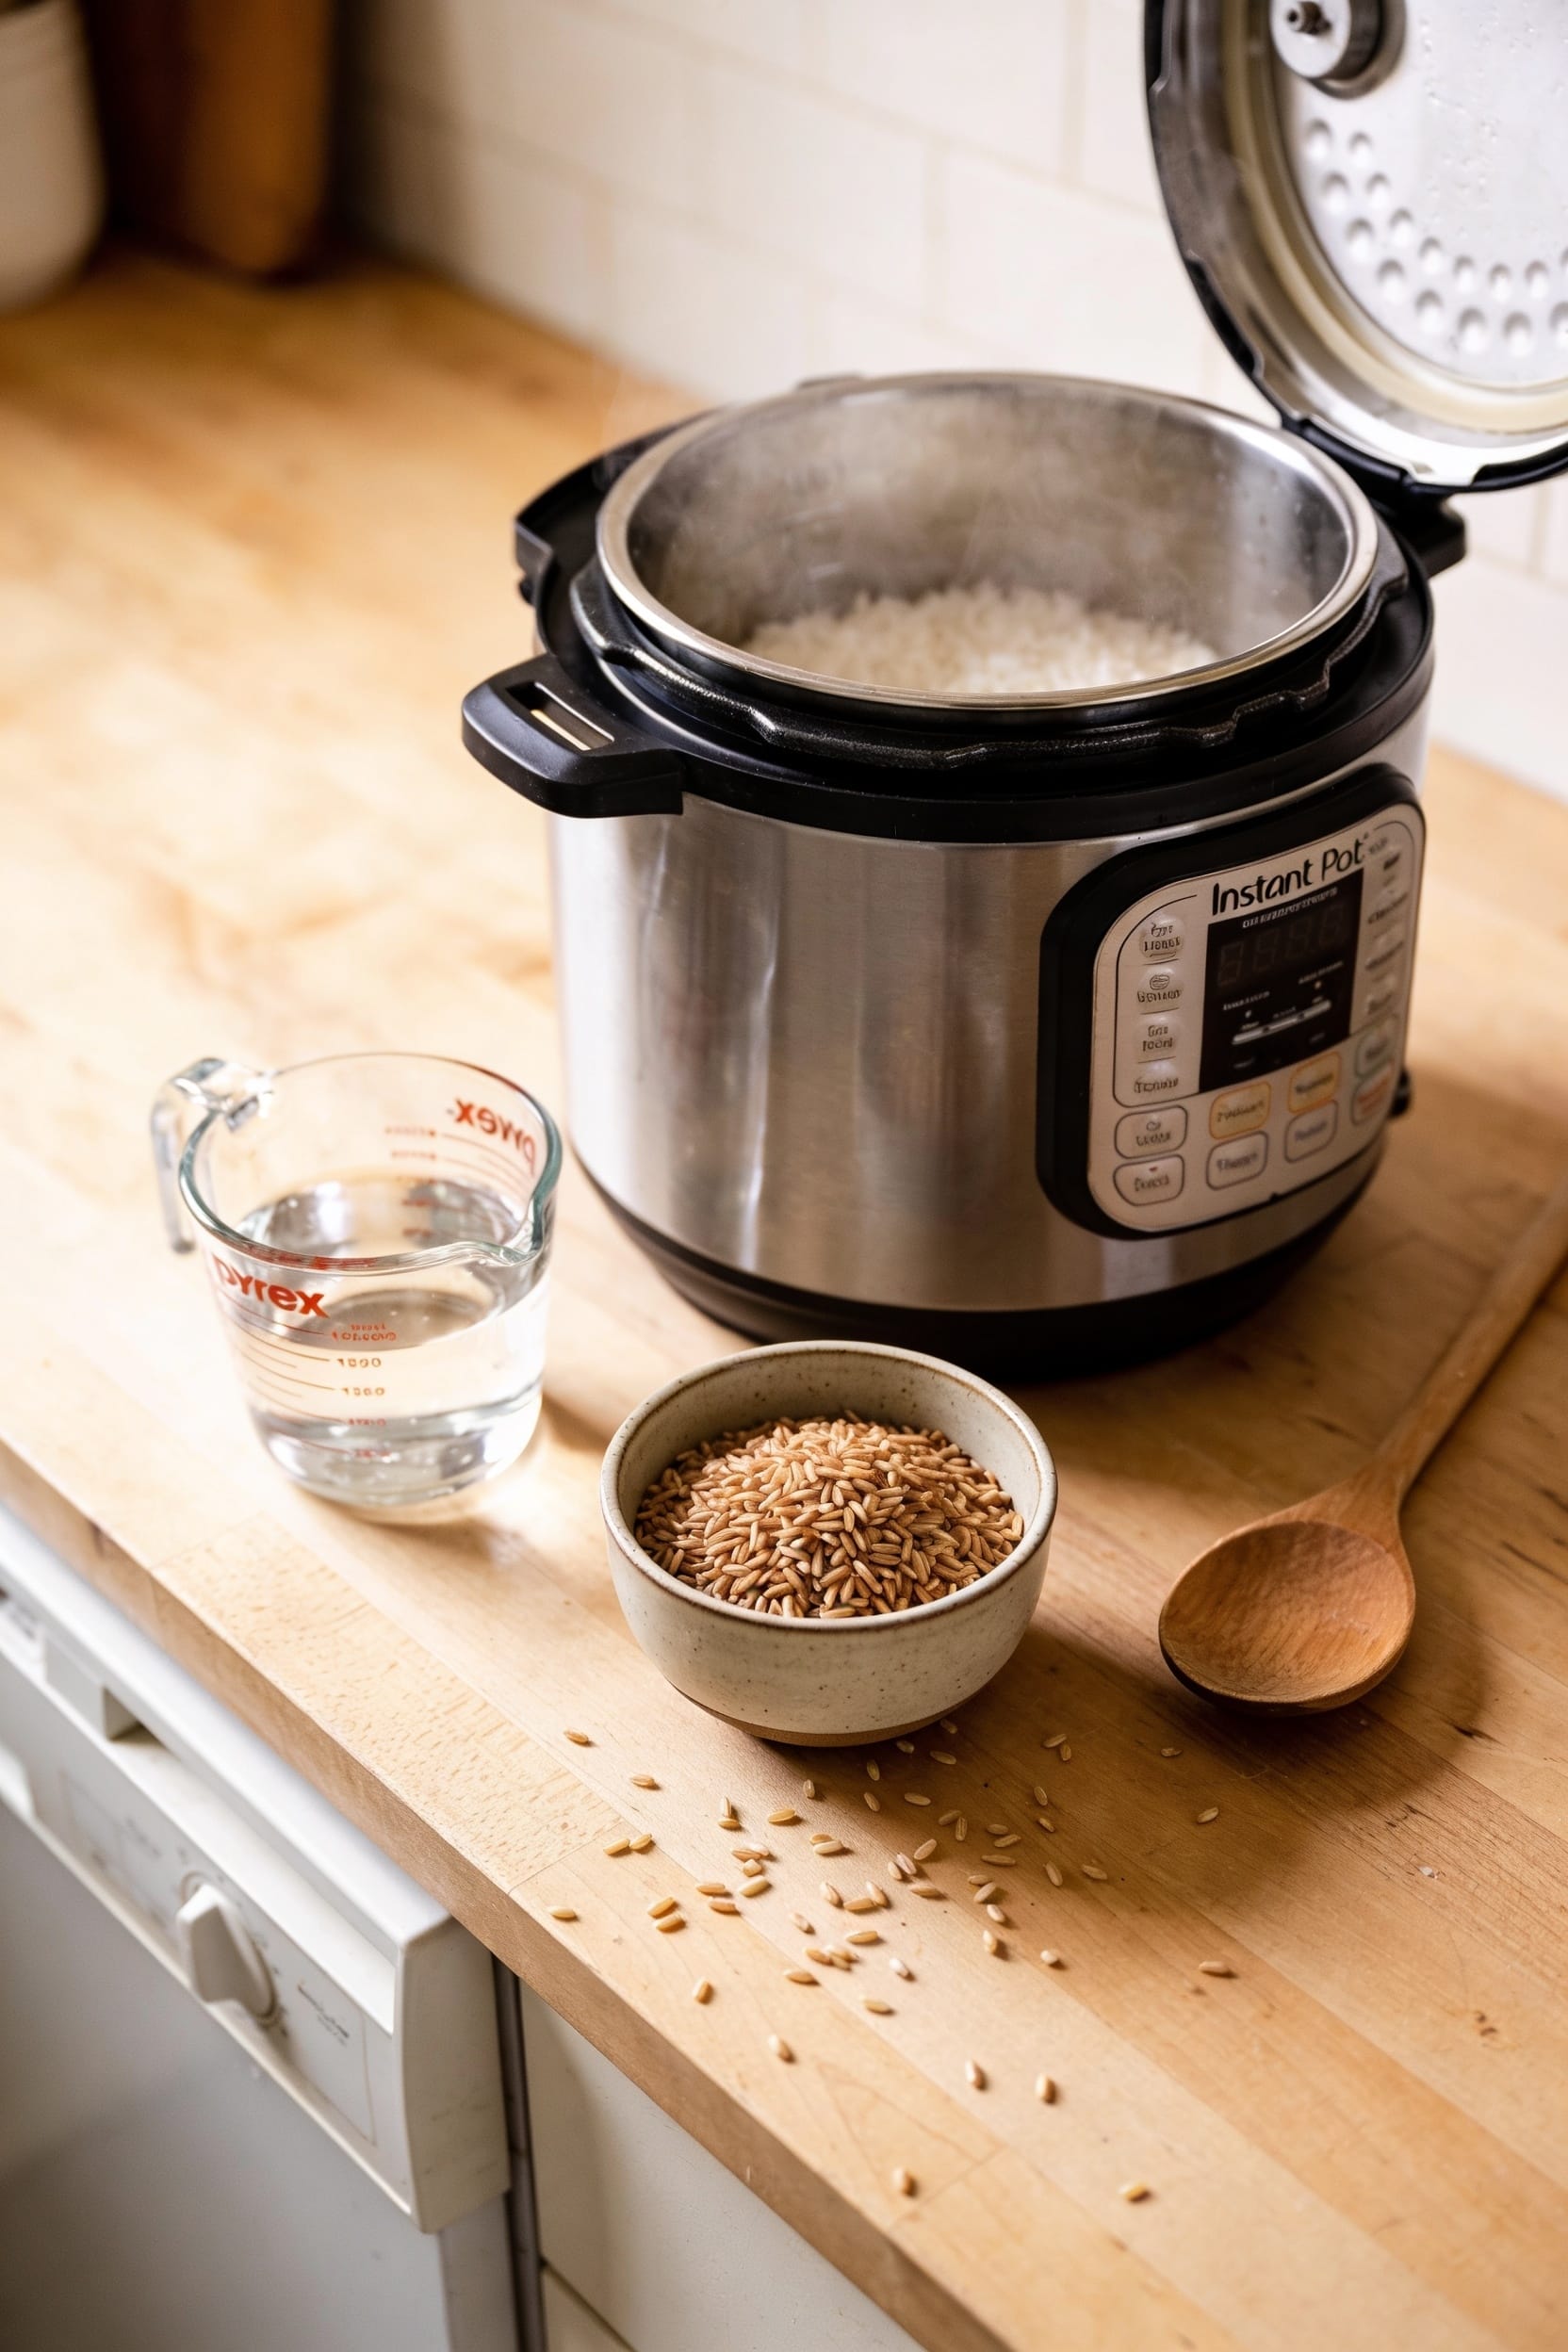
Use a 1:1.25 ratio of brown rice to water—one cup rice needs one and a quarter cups water. Cook on high pressure for 22–24 minutes, then let the pressure release naturally for 10–20 minutes instead of quick-releasing, which turns your rice into mush. The natural release lets carryover steam finish the job properly. Brown basmati and jasmine varieties cook faster at 17–18 minutes. Your Instant Pot size matters too; larger pots take longer to build pressure. But there’s more nuance here worth understanding.
Key Takeaways
- Use a 1:1.25 water-to-rice ratio for brown rice in an Instant Pot to achieve optimal texture and moisture retention.
- Cook standard brown rice on high pressure for 22–24 minutes; brown basmati and jasmine require only 17–18 minutes.
- Allow 9–12 minutes for pressure to build before cooking begins, plus natural release time after cooking completes.
- Rinse rice under cold water until clear, then soak for 10 minutes before cooking to ensure even absorption.
- Natural release for 10–20 minutes after cooking prevents mushiness and allows carryover steaming for proper final texture.
The Right Water-to-Rice Ratio for Perfect Brown Rice
Because brown rice is basically the overachiever of the rice world—it’s got all that fiber and nutrition packed into those little grains—it needs slightly different treatment than white rice, especially when you’re cooking it under pressure. I’ve found that the magic ratio is 1 cup brown rice to 1.25 cups water. This works beautifully because your Instant Pot doesn’t lose moisture like a stovetop does. Now, here’s the thing: water hardness can actually affect how your rice absorbs liquid, so if you’re dealing with particularly hard water, you might need to bump that ratio up slightly. A quick soaking time of 10 minutes before cooking helps the grains soften up nicely and promotes more even cooking throughout.
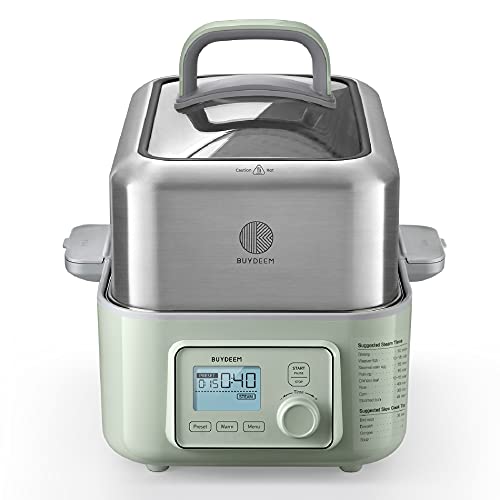
Recommended Products

700-watt 3-cup rice cooker and warmer with Induction Heating technology. Note - Capacity is measured in the approx. 6 oz. / 180mL rice measuring cup, using raw short grain white rice. Other grains may vary.

11 Cooking Functions: Air fry, roast, bake, dehydrate, pressure cook, slow cook, sauté, steam, sterilize, warm, or cook rice with ease.

Cooks Fast and Saves Time: The Instant Pot Duo multi-cooker combines 6 appliances in one: pressure cooker, slow cooker, rice cooker, steamer and warmer – and cooks up to 70% faster
Step-by-Step Process: Rinsing, Cooking, and Fluffing

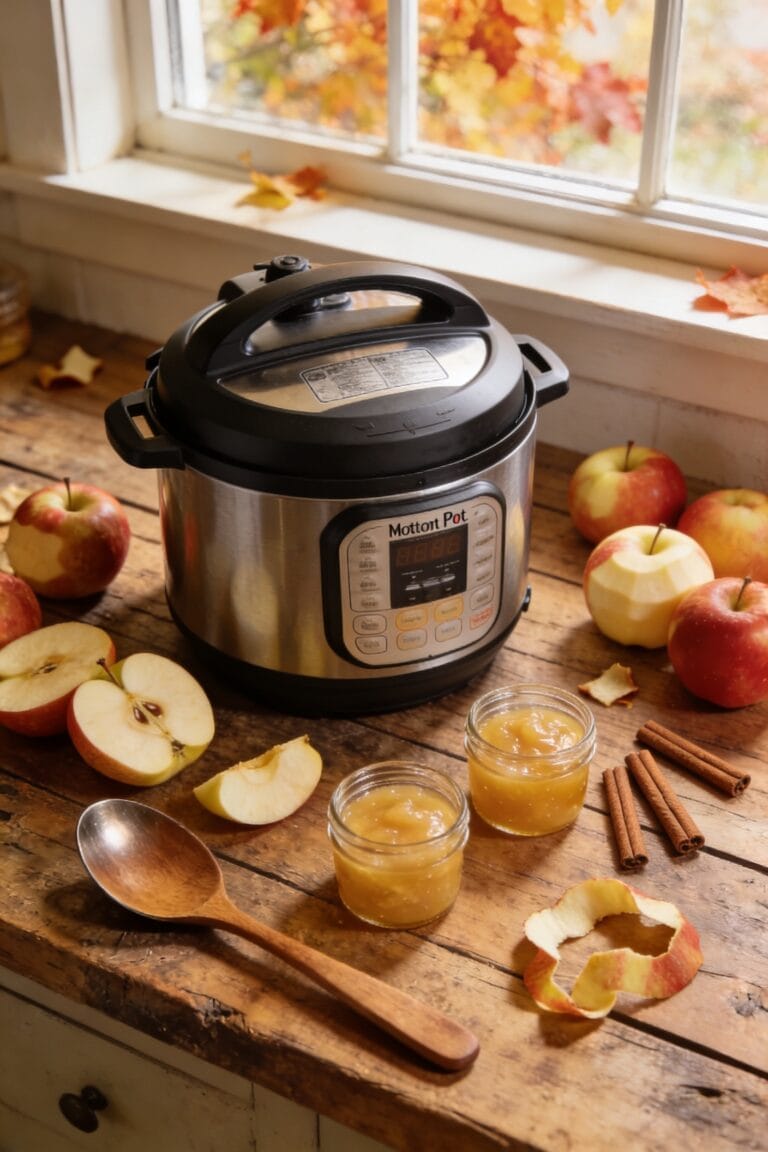
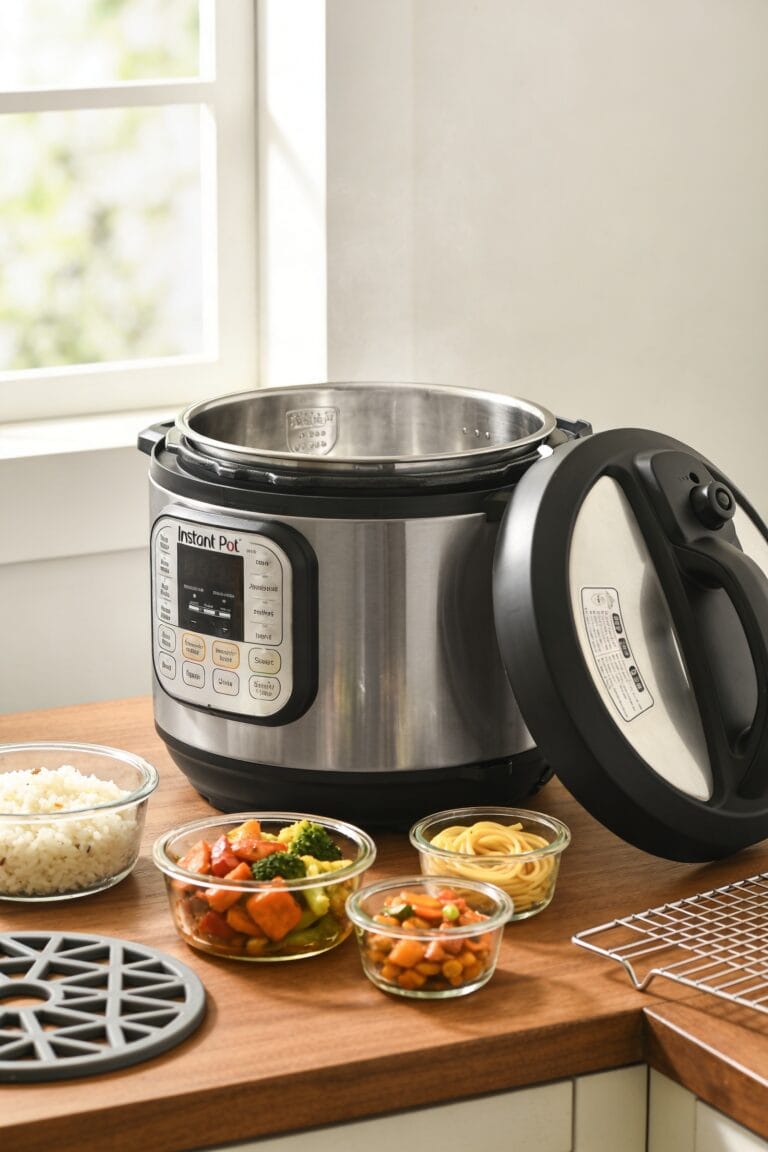
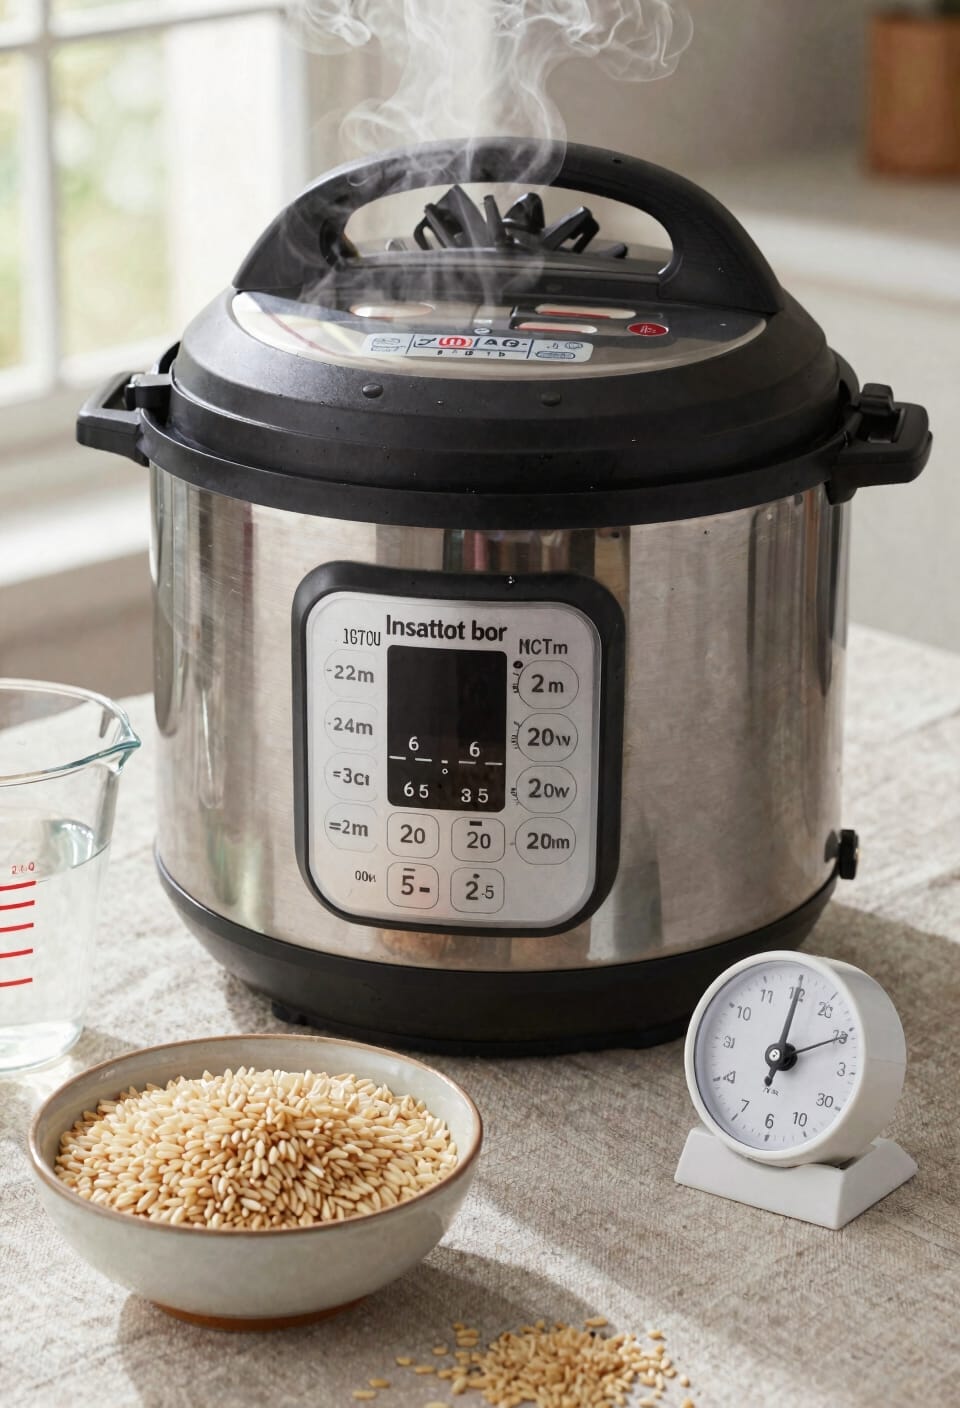
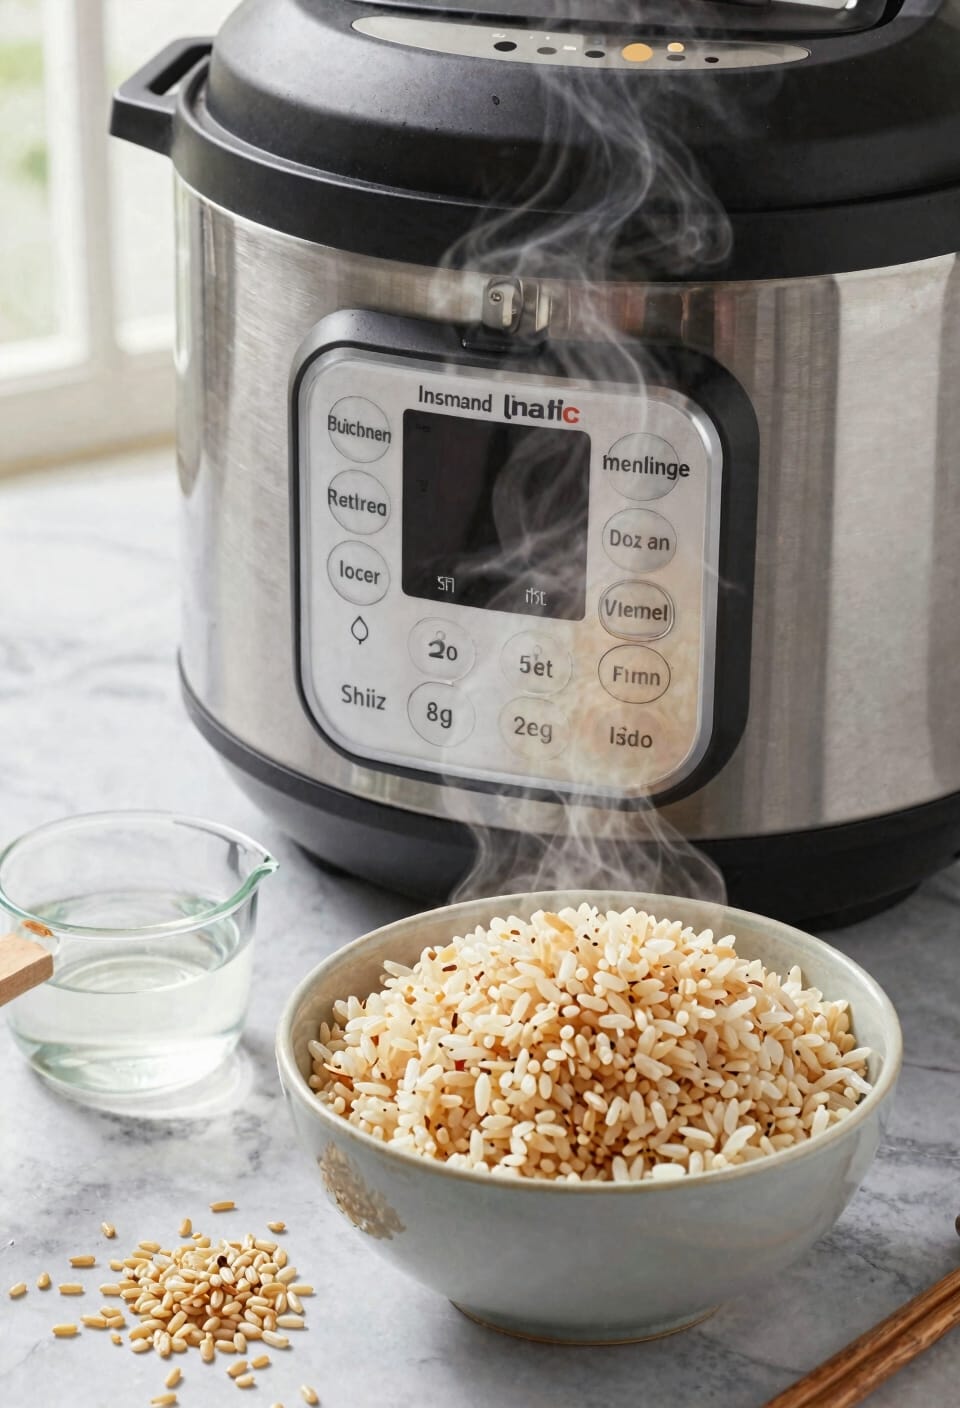
All right, now that you’ve nailed the water-to-rice ratio, it’s time to actually get cooking—and I promise this part is genuinely simple, though there are a few small moves that’ll make all the difference between rice that’s just okay and rice that’s actually stellar. First, rinse your rice under cold water until the water runs clear. This removes excess starch and prevents that gummy texture you’re trying to avoid. Combine rinsed rice and measured water in your Instant Pot, seal the lid, and set the valve to sealing. Hit pressure cook on high for 22-24 minutes. After cooking, let pressure release naturally for 10-20 minuteslythis steam finishes the job. Fluff with a fork and do a quick texture testing before serving.
Recommended Products

Your purchase includes One Frigidaire Professional 30-Inch Gas Cooktop; Cooking Griddle & Liquid Propane Gas Conversion Kit included

18/10 stainless steel will not interact with food

HEALTHY MEALS IN LESS TIME! Don’t stress over dinner. With the power of super-heated steam, now cook healthy, homemade meals in 70% LESS TIME. Better than broiling, baking, boiling or grilling, meals made in the NutriPot have more nutrients, more flavor and more juices in less time. Perfect for busy households on the go!
Why High-Pressure Cooking Takes 22–24 Minutes
If you’ve ever wondered why brown rice demands that specific 22–24 minute window instead of, say, 15 or 30, it comes down to the actual density and structure of the grain itself. Brown rice keeps its bran layer intact, which means water needs time to penetrate deep enough for proper starch gelatinization—that’s when the starch granules absorb water and swell up. You’re also dealing with enzymatic hydrolysis happening simultaneously, which breaks down starches into simpler sugars. Go shorter, and you’ll end up with a crunchy center. Go longer, and you’re risking mushiness. That 22–24 minute sweet spot lets the Instant Pot’s intense, moist heat do its job without overshooting it. It’s physics meeting practicality, really.
Recommended Products

16 Versatile Modes: Equipped with a 6-cup (uncooked) capacity and 16 varying menu options, including white (glutinous) rice, GABA/brown rice, veggie rice, high/non-pressure, and even baby food

13 Versatile Modes: With 13 menu options including white and brown rice, porridge, steam, pressure cook, and more

17 Versatile Modes: Menu options include GABA rice, brown rice, glutinous/white rice, sushi rice, sticky rice, pressure cook, multi-cook, bread baking, and more
Total Time Breakdown: Pressure Buildup and Natural Release

When you punch that cook button and walk away, you’re probably thinking “okay, 22 minutes and I’m done”—but here’s where a lot of folks get blindsided by the actual timeline. Your Instant Pot needs 9-12 minutes just to build pressure before cooking even starts. Then those 22-24 minutes kick in. But we’re not finished yet.
After the timer beeps, you’ll do a natural release for 10-20 minutes. That’s not wasted time, though—carryover steaming happens here. The ambient heat continues softening your rice while it absorbs leftover moisture. Skip this step and you’ll end up with grains that taste slightly undercooked, trust me.
Quick Release vs. Natural Release: When to Use Each
Now here’s where most people mess up: they think quick release and natural release are interchangeable, but they’re really not, and choosing the wrong one will actually mess with your rice. I’ll be honest—I learned this the hard way.
Natural release is your friend for brown rice. You let the pressure drop gradually over 10-20 minutes, which allows texture differences to develop beautifully while the rice finishes absorbing moisture. It’s gentler on the grains and produces fluffier results.
Quick release? That’s for when you’re in a genuine time crunch. The rapid pressure change can sometimes create texture issues, making rice mushier than you’d want. Plus, there are legitimate safety concerns—steam escapes forcefully, and you need to keep your hands clear. I use it only when I absolutely must.
Recommended Products
Multi Use Programmable Slow Cooker, 6 Quart; Capacity oval design, ceramic coated non stick aluminum removable cooking pot
5 SMART PROGRAMS FOR ONE TOUCH COOKING - This cooking machine has multiple functions, integrating steamer, stew pot, yogurt machine, sterilizer, thawing machine and baby food supplement into one. It is very convenient for you to live a healthy life.

7 IN 1 FUNCTIONALITY - Pressure cooking, slow cooking, stir-fry, steam, eggs, yogurt and keep warm - all in one compact device!
Brown Basmati and Jasmine Rice: Cook 5–7 Minutes Faster
Because brown basmati and brown jasmine varieties have a lighter, more delicate structure than standard brown rice, they cook noticeably faster in the Instant Pot—we’re talking 17–18 minutes at high pressure instead of the usual 22–24. I find this matters more than you’d think, especially if you’re cooking multiple grains in rotation.
The aroma differences are wild too. Brown basmati brings that nutty, almost floral thing going on, while jasmine’s more delicate and slightly sweet. With grain textures, you’ll notice these varieties stay a bit more separate and tender rather than getting that heavier, chewier bite standard brown rice delivers.
Same water ratio applies—1.25 cups per cup of rice. Just shave those five to seven minutes off your pressure cooking time, and you’re golden.
Your Instant Pot Size Changes the Timeline
The size of your Instant Pot matters more than you might think when it comes to brown rice timing. Here’s the thing: pressure dynamics work differently depending on your model’s capacity. A 6-quart pot takes longer to build pressure than a 3-quart model—we’re talking roughly 10 minutes extra total time for the larger version. That pressure buildup delay affects your entire cook-to-table timeline, so don’t be surprised if your smaller pot finishes faster. Seal maintenance plays a role too. A worn gasket on either model can mess with how quickly pressure builds, which throws off your calculations. Check yours occasionally. The water ratio stays consistent across sizes, but the actual cooking experience shifts. Know your machine, and you’ll nail it every time.
Recommended Products

9-IN-1 Multi-Functional Pot : 1 Electric Pressure Cooker replaces 9 common kitchen appliances including Pressure Cooker, Slow Cooker, Rice Cooker, Brown/Sauté Pan, Yogurt Maker, Steamer, Warmer, Soup and egg cooker; It combines 9 functions in 1, saving 70% cooking time to support your busy lifestyle

For P2510737 T-fal 6.3-quart pressure cooker
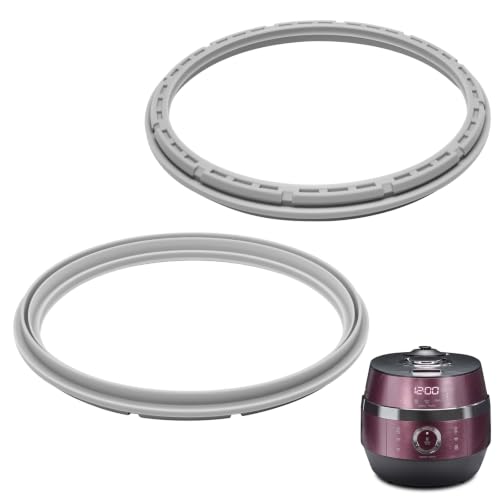
Product Overview: 1 Pc Silicone Pressure Rice Cooker Gasket
Frequently Asked Questions
Can I Use the Delay Start Feature to Schedule Brown Rice Cooking for Later?
I wouldn’t recommend using the delayed start feature for brown rice due to safety concerns. Rice left sitting before cooking can develop bacteria. It’s better to cook immediately after adding ingredients.
Does Rinsing Brown Rice Before Cooking Affect the Final Texture and Fluffiness?
Yes, I’d argue rinsing’s overrated, yet it genuinely matters. I’ve found that removing surface starches produces noticeably fluffier rice while bran retention keeps your grains distinct and beautifully textured every time.
What Does the Float Valve Dropping Indicate About Pressure Release Completion?
When I see the float valve drop, I know the pressure indicator shows that all pressure’s been released from my Instant Pot. That’s when I’m safe to remove the lid without any risk.
How Do 3-Quart and 6-Quart Instant Pot Models Differ in Cooking Times?
Like a smaller vessel reaching its boiling point faster, the 3-quart model’s thinner inner pot and triple-layered sealing cut about 10 minutes from your total cooking time compared to the 6-quart’s larger capacity.
Is Quick Release Safe Immediately After High-Pressure Brown Rice Cooking Completes?
I’d strongly advise against quick release immediately—you’ll risk steam burn and compromise pressure integrity. I recommend at least 10 minutes natural release first; it’ll prevent texture change and keep your rice perfectly fluffy.
Conclusion
Look, I’ve tested this enough times to know what works: nail your water ratio, respect the pressure time, and choose your release method with intention. You’ll get fluffy, perfectly cooked brown rice every single time—no guessing, no soggy disappointments, no muttering at your pot. Your Instant Pot knows what it’s doing. Now you do too.