As an Amazon Associate, we earn from qualifying purchases. Some links on this site are affiliate links at no extra cost to you. Our recommendations are based on thorough research and editorial judgment.
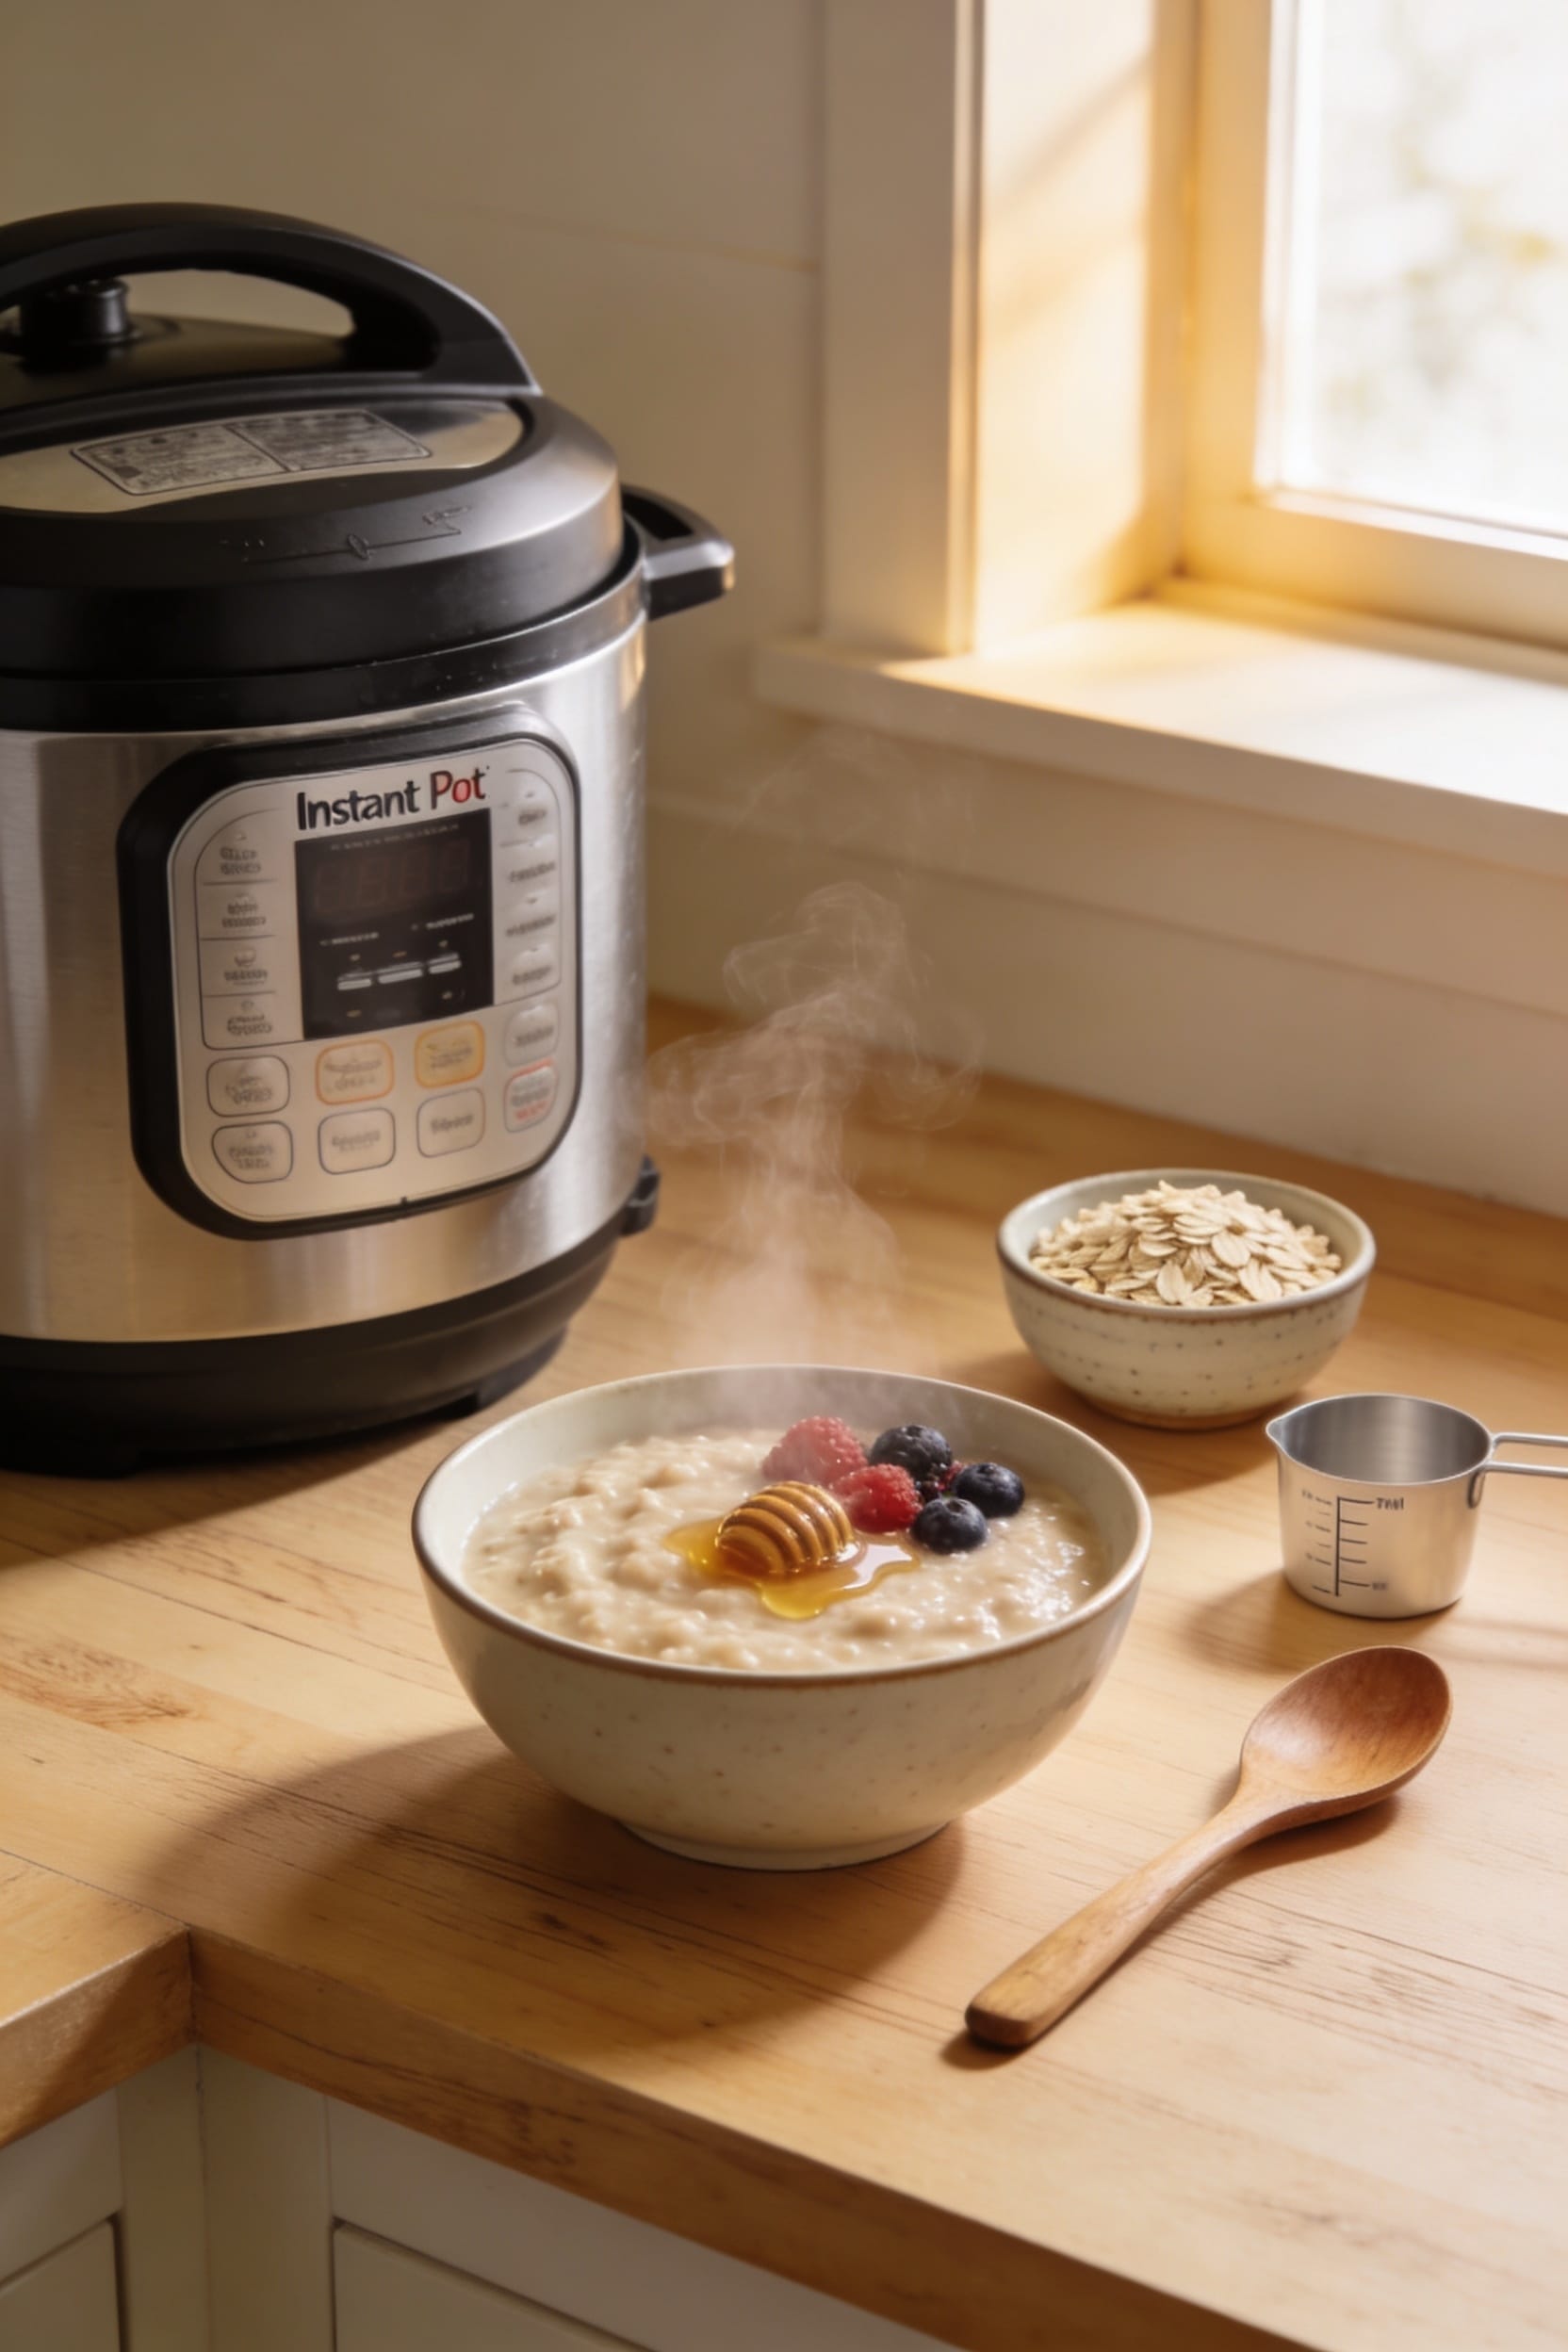
How to Make Oatmeal in an Instant Pot
All right, here’s the thing—an Instant Pot makes oatmeal creamy and foolproof. Combine your oats with liquid (rolled oats need 1 cup oats to 2 cups liquid; steel-cut need 2.5–3 cups), cook at high pressure for 1–2 minutes for rolled or 4–6 minutes for steel-cut, then let pressure release naturally for 10–15 minutes. This gradual release prevents messy foaming and keeps texture perfect. Adjust thickness with milk afterward, add your toppings, and you’re done. Want to dial in the exact technique for your oat preference?
Key Takeaways
- Choose rolled oats for quick cooking (1–2 minutes) or steel-cut oats for a chewier texture requiring 4–6 minutes.
- Use a 1:2 liquid-to-oats ratio for rolled oats and 1:2.5–3 for steel-cut oats; combine directly in the pot.
- Cook at high pressure, then allow 10–15 minutes natural release to prevent foaming and achieve optimal creaminess.
- Adjust thickness after cooking by stirring in milk or water; add toppings like berries, nuts, or syrup afterward.
- Scale oats and liquid proportionally for batch cooking; cook time and release timeline remain consistent regardless of volume.
Choose Instant Pot Oats: Rolled or Steel-Cut
Since you’re about to make oatmeal in an Instant Pot, you’ve got a choice to make right at the start: rolled oats or steel-cut oats. Here’s the thing—they’re pretty different creatures, and which one you pick depends on your texture preferences and how much time you’ve actually got.
Rolled oats cook faster, which is great if you’re in a hurry. They’ll give you a creamier, softer bowl in about 1–2 minutes under pressure. Steel-cut oats take longer (4–6 minutes) but reward you with a chewier, more substantial bite that feels fancy without being fussy.
Now, if gluten concerns matter to you, both types are naturally gluten-free, though always check your package. Pick whichever texture makes you actually want to eat breakfast.
Find Your Liquid-to-Oats Sweet Spot
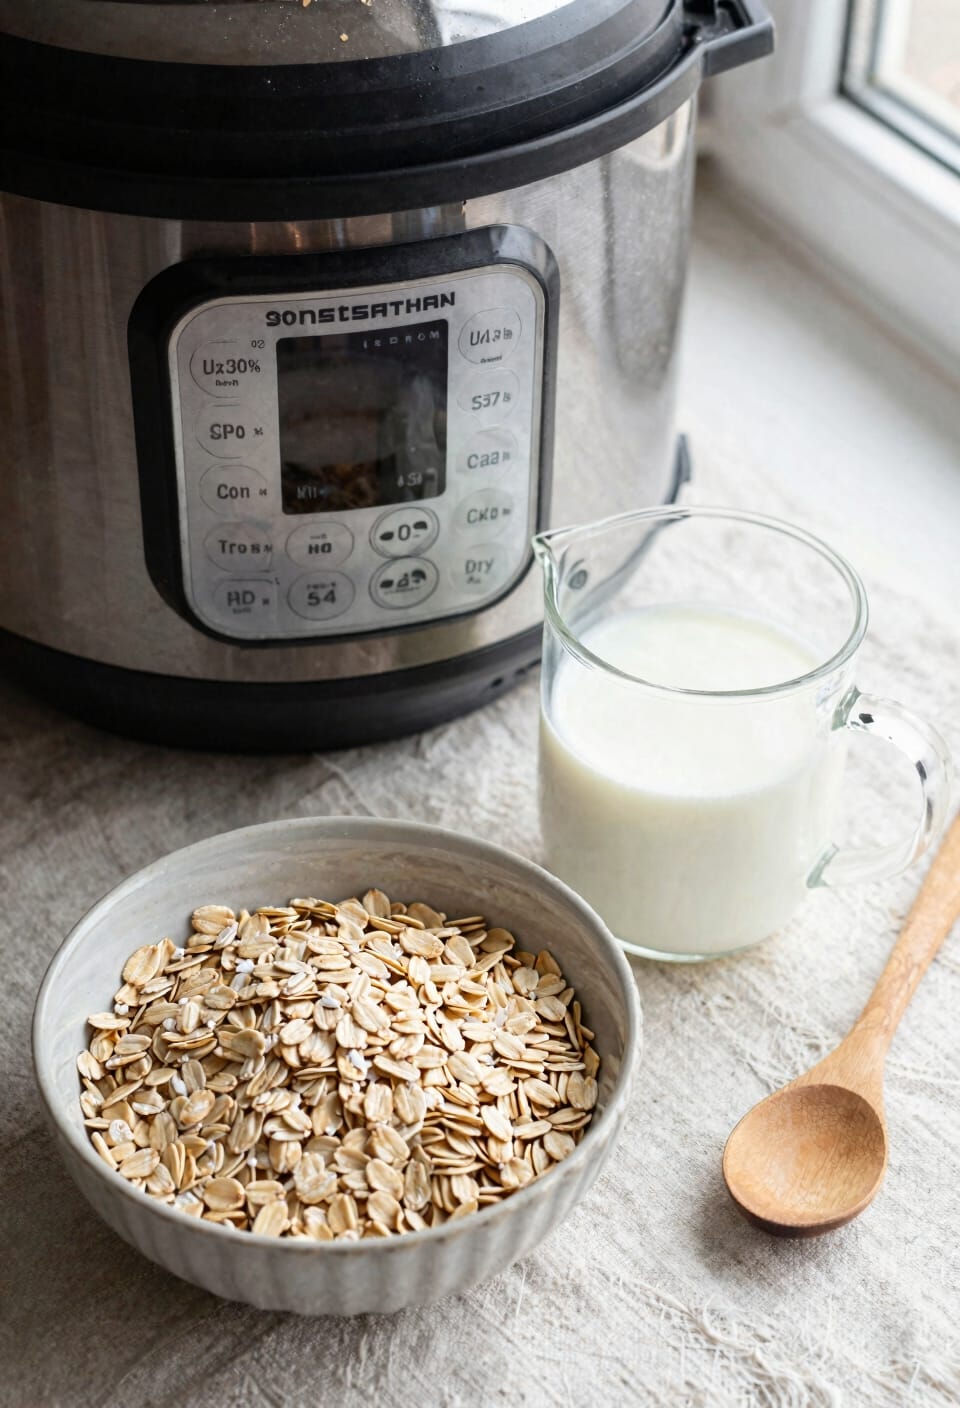
Once you’ve picked your oats, the liquid ratio is basically everything—get it wrong and you’ll end up with either concrete or soup, and neither one’s fun to eat. Rolled oats want a 1:2 ratio (one cup oats to two cups liquid), while steel-cut oats demand more, around 1:2.5 or 1:3. Now, here’s where cream ratios and flavor balance come in. You can use straight water, milk, or mix them. I tend toward half water, half milk for that richness without feeling heavy. Add a pinch of salt—trust me on this. It won’t make your oatmeal taste salty; it’ll just sharpen the overall flavor. Start conservative with your liquid amount. You can always stir in more milk after cooking to reach your preferred consistency.
Cook Rolled Oats in Your Instant Pot (1–2 Minutes)
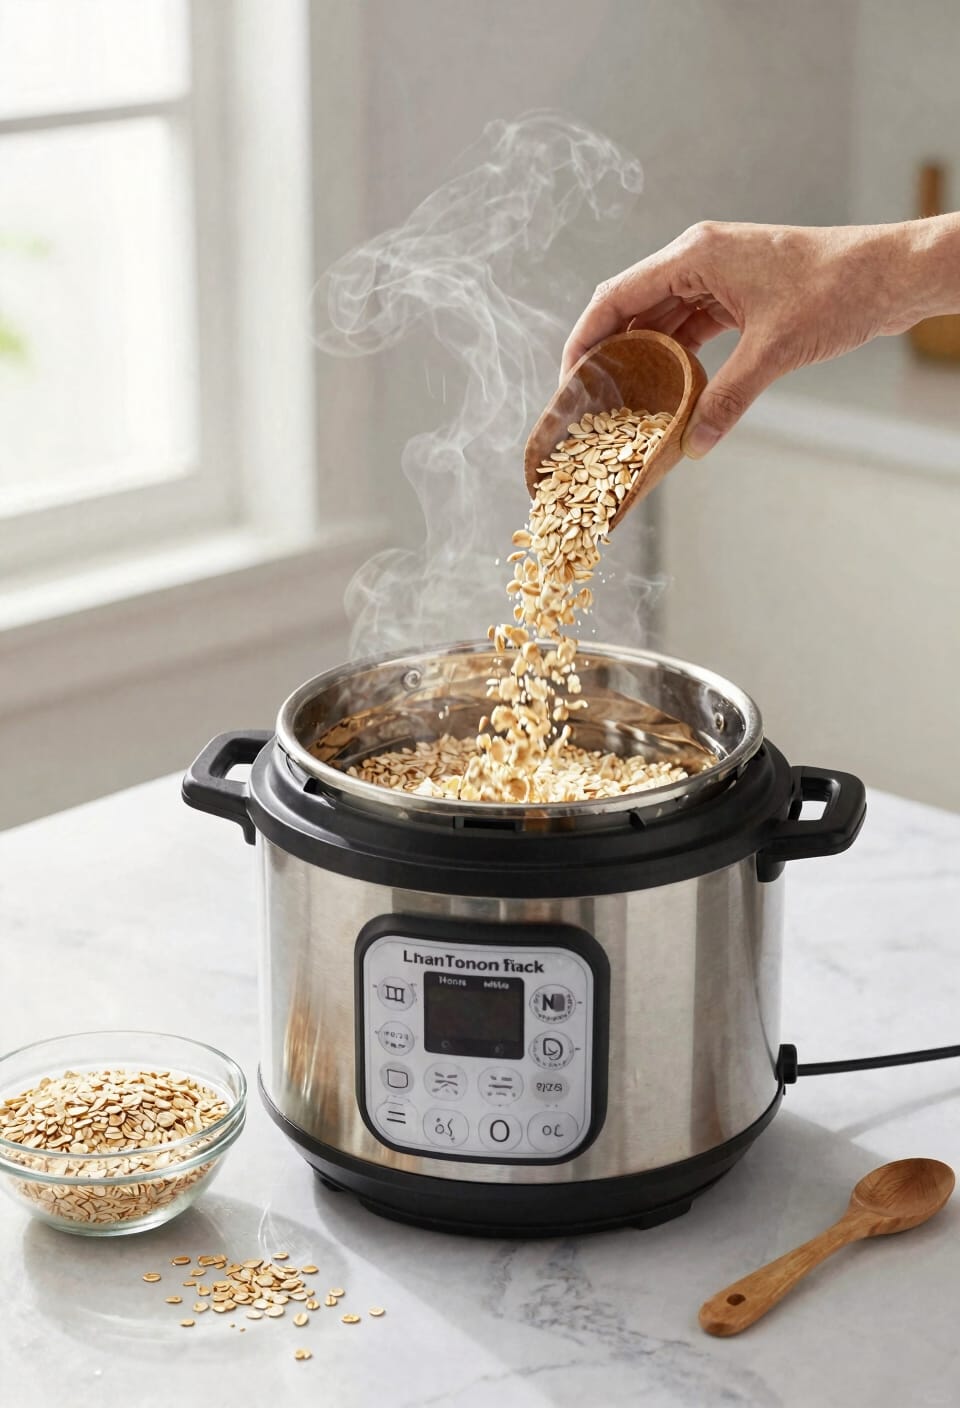
Rolled oats are the oatmeal equivalent of the reliable friend who shows up on time—they cook fast in the Instant Pot, which is honestly one of the best reasons to own one. Here’s the thing: you’re looking at just 1–2 minutes on high pressure, which means quick servings without sacrificing quality over that microwave alternative.
Combine your oats and liquid directly in the pot, give it a stir, then hit the pressure cook button. Once the pot reaches full pressure (give it 5–8 minutes), your countdown clock starts. When time’s up, let the pressure release naturally for 10–15 minutes before venting any remainder. That release period isn’t wasted time—it’s what keeps your oatmeal from turning into foam soup.
Cook Steel-Cut Oats in Your Instant Pot (4–6 Minutes)
Steel-cut oats demand a little more patience than their rolled cousins, but I’m telling you it’s worth it—they’ve got this nutty, chewy texture that makes rolled oats taste like cardboard by comparison. Here’s the thing: you’ll need more liquid. I’m talking 1 cup oats to 2½–3 cups water, since steel-cut oats are basically tiny toasted kernels that need time to soften up. The slow-soak technique happens naturally during the pressure-building phase, which gives you that gorgeous steel-flavor pairing you can’t rush. Cook on high pressure for 4–6 minutes, then—and this matters—let pressure release naturally for 10–15 minutes before venting. That patience pays dividends in texture. Your total time lands around 20–25 minutes, which honestly isn’t bad for breakfast this good.
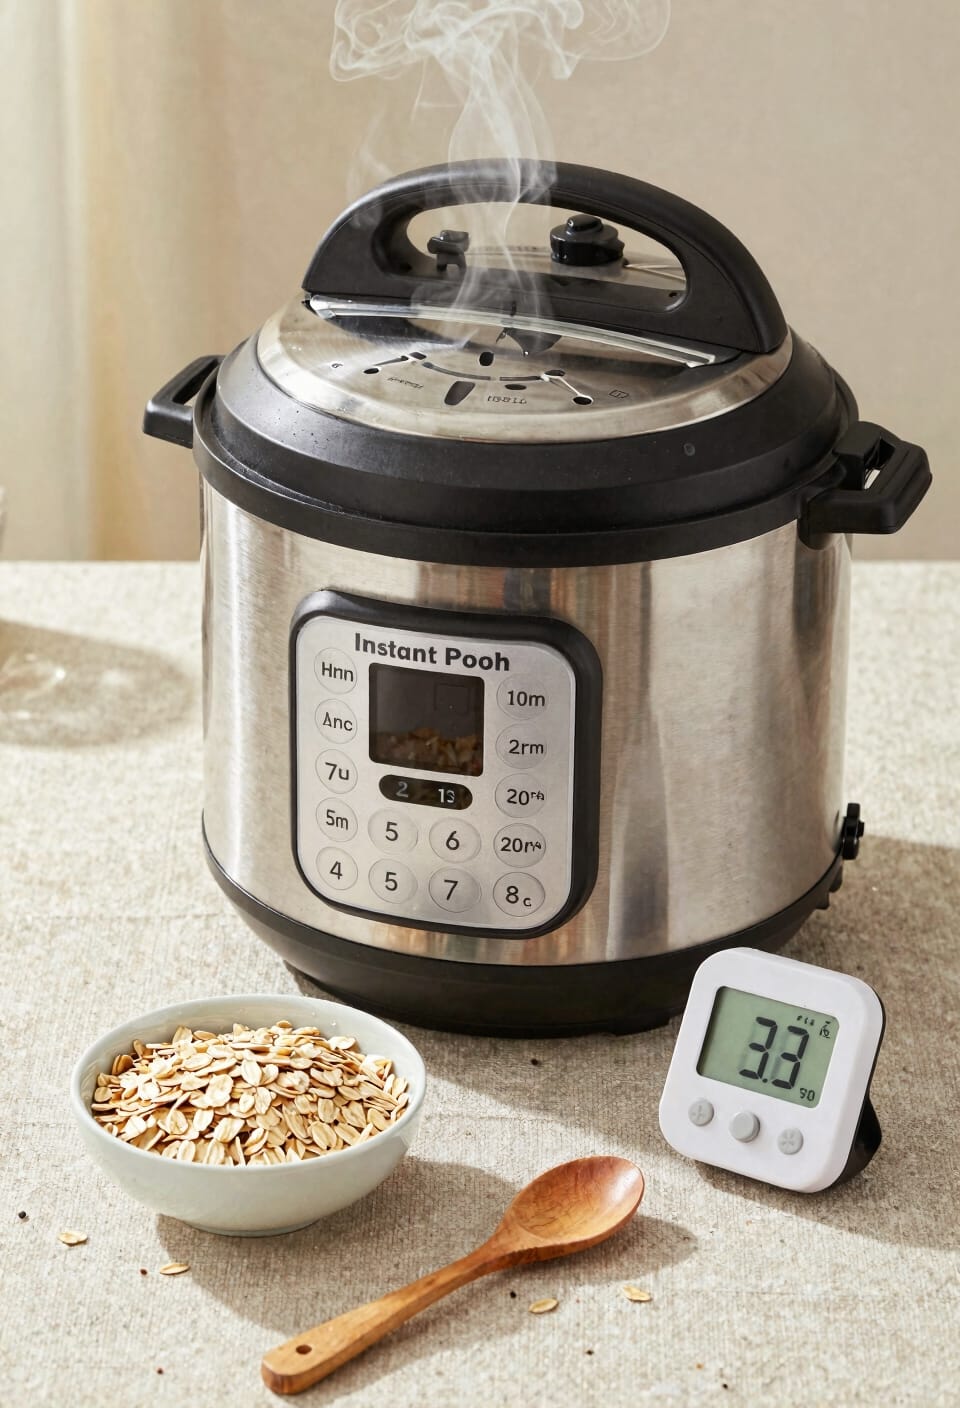
Why You Should Let Pressure Release Naturally

I mentioned that patience matters with the natural release, and I wasn’t just being dramatic—there’s real science behind why you can’t just flip that valve to Venting the moment the timer beeps. When you quick-release too early, you’re effectively opening a pressure cooker mid-eruption. The sudden depressurization causes the oatmeal to foam up violently, which means you’ll avoid splattering only if you’re incredibly lucky. More importantly, premature venting compromises pressure safety by releasing steam unpredictably. A natural release—those 10–15 minutes where you just leave it alone—lets the pressure drop gradually. The oats continue cooking gently, the texture becomes creamy instead of chalky, and nobody gets scalded. That’s not overthinking it. That’s just smart cooking.
Adjust Texture and Add Toppings to Taste
Now that your oatmeal’s done and you’ve resisted the urge to vent that pressure valve like an impatient maniac, you’ve got a blank canvas—or more accurately, a pot of creamy oats that’s begging for your personal touch. Here’s where texture tweaks come in. If your oatmeal’s too thick, stir in a splash of milk or water. Too thin? Let it sit for a minute—it’ll thicken as it cools. Now for the fun part: topping combos. I’m talking fresh berries, cinnamon, nuts, maple syrup, dates, whatever speaks to you. Some folks swear by a pat of butter for richness. The beauty is you control everything. Add toppings after cooking so they stay vibrant and don’t burn into oblivion.
Adapt Your Method: Single Servings and Batch Cooking
Whether you’re cooking for one or prepping enough oatmeal to fuel your entire week, the Instant Pot handles both scenarios without breaking a sweat—and honestly, that flexibility is one of my favorite things about using it for breakfast. For a single serving, I’ll reach for the pot-in-pot method: trivet, water in the liner, then an oven-safe bowl with my oats and liquid tucked inside. It’s minimal cleanup and zero fuss. When I’m doing a make ahead batch, I simply scale up the oats and liquid proportionally—keep the same cook time, just adjust your portions. The pressure release timeline stays consistent regardless of volume. You’ll have breakfast sorted for days.
Frequently Asked Questions
Can I Add Sweeteners and Spices Before Pressure Cooking, or Should I Wait Until After?
I’d recommend adding sweeteners and spices before cooking for better spice infusion throughout your oatmeal. However, sweetener timing’s flexible—you can add some upfront and adjust more after, depending on your preference for flavor depth.
What’s the Difference Between Using the Porridge Button Versus Manual/Pressure Cook for Steel-Cut Oats?
I’d say the Porridge button cooks steel-cut oats for about 6 minutes, while Manual gives you more control—I can choose 4 minutes for regular or 2 minutes for quick cooking. The pressure timings differ, affecting texture differences in chewiness and consistency.
How Do I Prevent Boil-Over When Using the Pot-In-Pot Cooking Method for Oatmeal?
I’ll prevent boil-over by leaving a 1–2 inch gap between my oat mixture and the bowl’s rim. I’ll make sure proper container stability on the trivet so steam venting works efficiently without sloshing.
Can I Cook Oatmeal Using a Mix of Water and Milk, or Should I Use Only Water?
Like a painter blending colors, I’d recommend mixing water and dairy alternatives for richer oatmeal. You’ll adjust water ratios based on your milk choice, creating creamier results than water alone while maintaining proper texture.
What Toppings Work Best for Oatmeal, and When Should I Add Them to Preserve Texture?
I’d recommend adding toppings after cooking to preserve texture. Fresh fruits, nuts, seeds, brown sugar, maple syrup, cinnamon, and dates work best. This topping timing prevents burning and maintains your oatmeal’s consistency.
Conclusion
Look, I’ve made enough Instant Pot oatmeal to fill a telegraph operator’s daily log, and here’s what I know: you’re going to nail this. Whether you’re team rolled or team steel-cut, the method’s honestly foolproof once you nail your liquid ratio. Natural pressure release changes everything—trust me on that one. Toss on whatever toppings call to you, and you’ve got breakfast sorted for days.