As an Amazon Associate, we earn from qualifying purchases. Some links on this site are affiliate links at no extra cost to you. Our recommendations are based on thorough research and editorial judgment.
Pressure Cooking for Beginners: Everything You Need to Know
Look, here’s the thing about pressure cookers—most of the time you’re waiting for pressure to build, not actually cooking. That 20-minute recipe? You’re looking at nearly an hour total. Before you start, inspect your seal, check the float valve, and maintain a minimum liquid ratio so steam can do its job. Natural release works best for delicate stuff; manual release when you need speed. Start with a practice run using water, then tackle simple proteins and vegetables, and you’ll understand why this tool changes everything in the kitchen.
Key Takeaways
- Inspect the rubber seal, lid alignment, float valve, and gauges before each use to ensure safe operation.
- Maintain at least 1 cup of thin liquid and never fill past two-thirds capacity to allow steam buildup.
- Account for 10–15 minutes of pressurization time plus cooking time plus release time when planning meals.
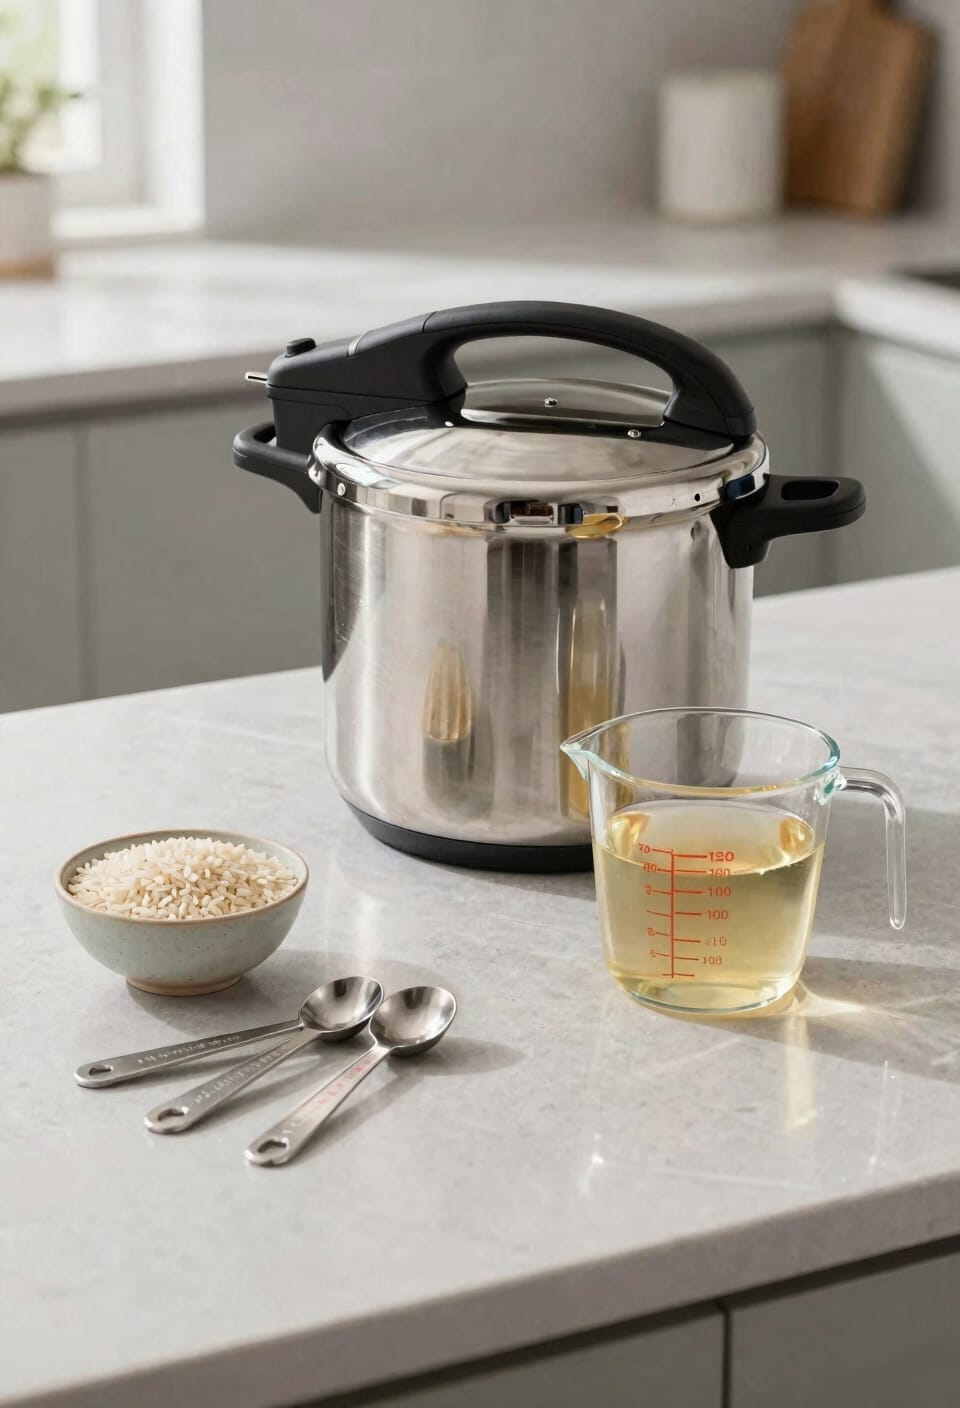
- Start with a practice run using 3 cups of water for 20–30 minutes to observe pressurization behavior.
- Use natural release for delicate proteins and rice; use manual release for vegetables requiring crispness or speed.
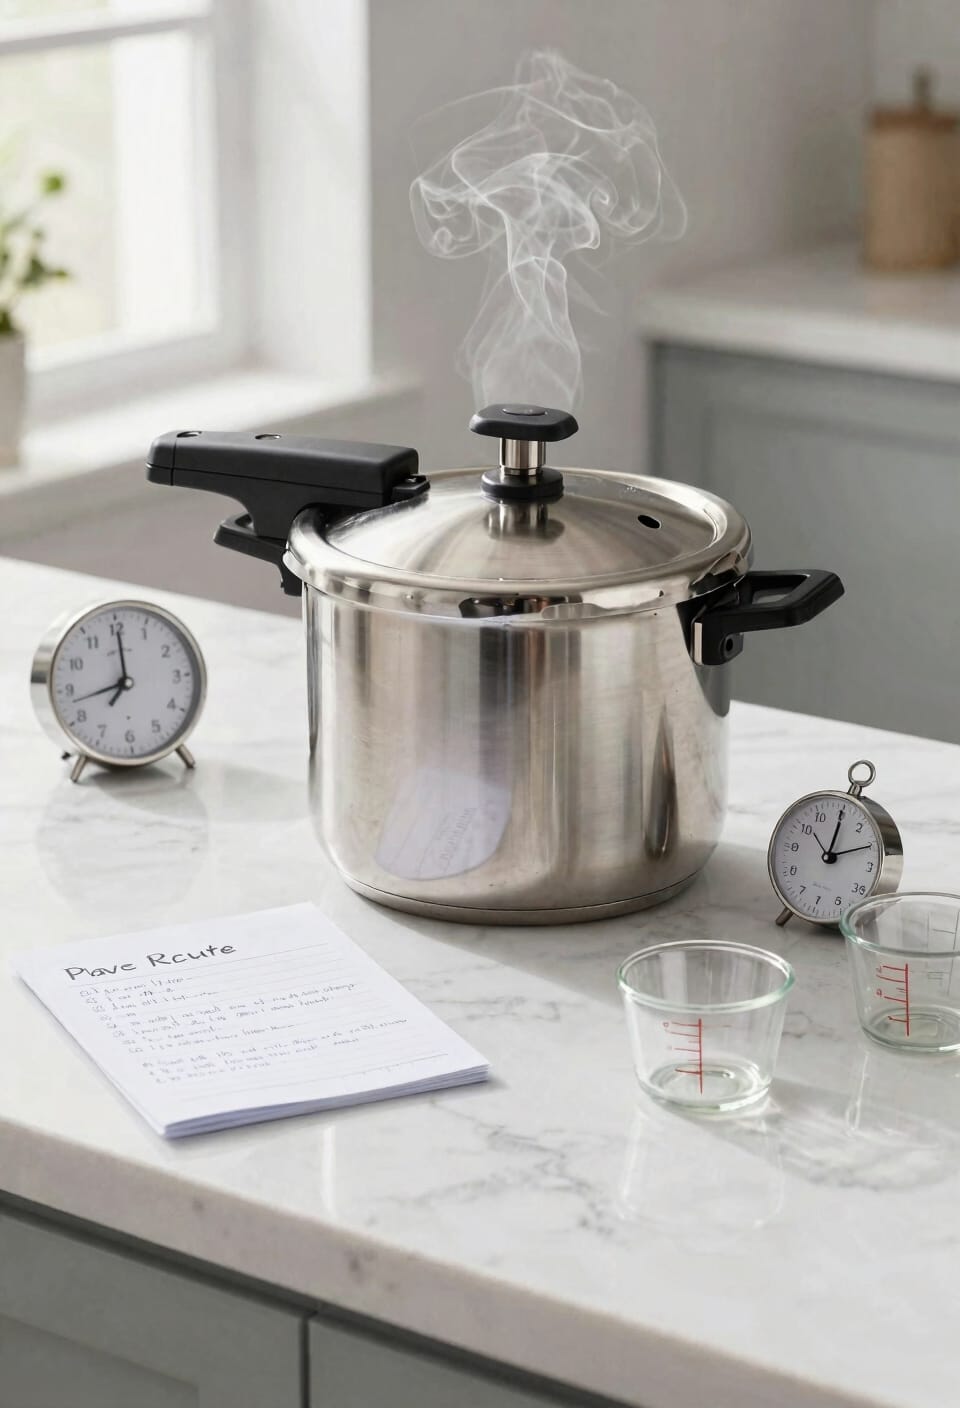
What to Check Before Your First Use
Before you plug in your shiny new pressure cooker and start throwing food at it, take a breath—there’s some actual prep work that’ll save you from a world of frustration later. I’m talking about a manual review of your cooker’s parts before that first use.
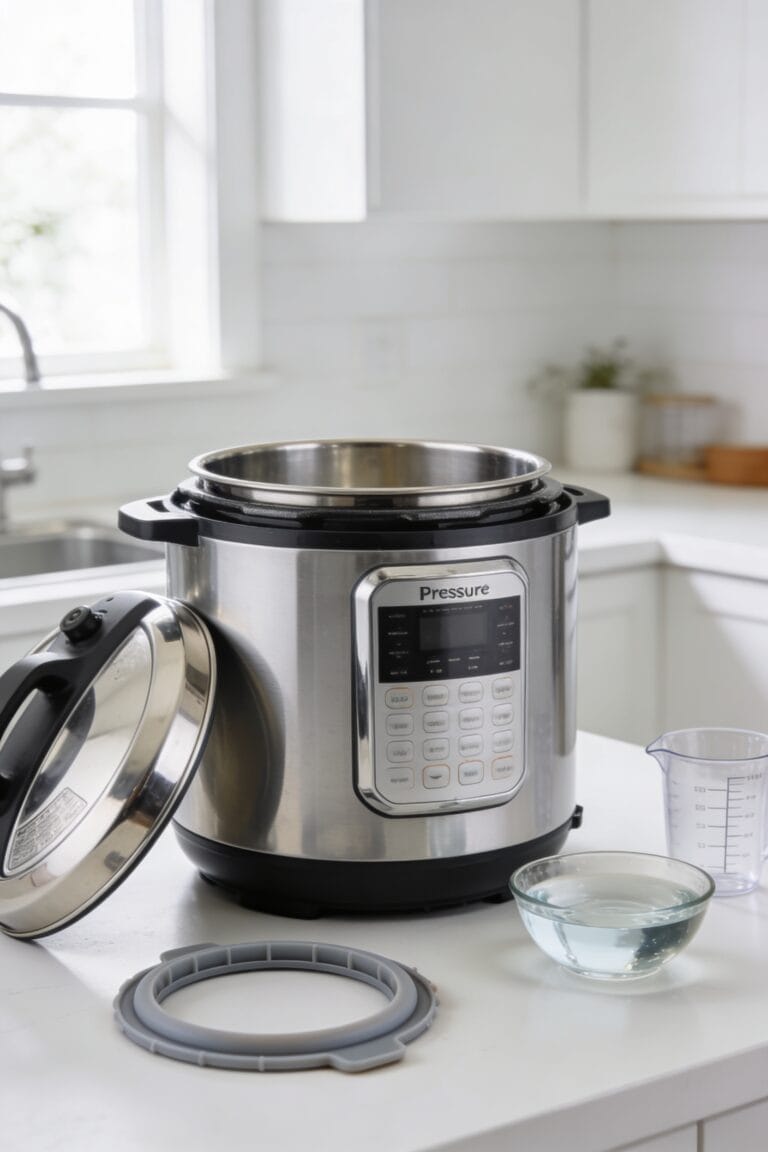
Start with seal inspection—that rubber ring does the heavy lifting when it comes to containing pressure, so make sure it’s sitting properly in its groove. Check your lid alignment too; it needs to lock securely without forcing it. While you’re at it, verify that the float valve moves freely, clean any dust from the gauges, and if you’ve got an electric model, wipe out the condensation cup. Think of this as your pressure cooker’s pre-flight checklist. These five minutes upfront? Worth hours of headache-free cooking.
Getting the Liquid-to-Food Ratio Right
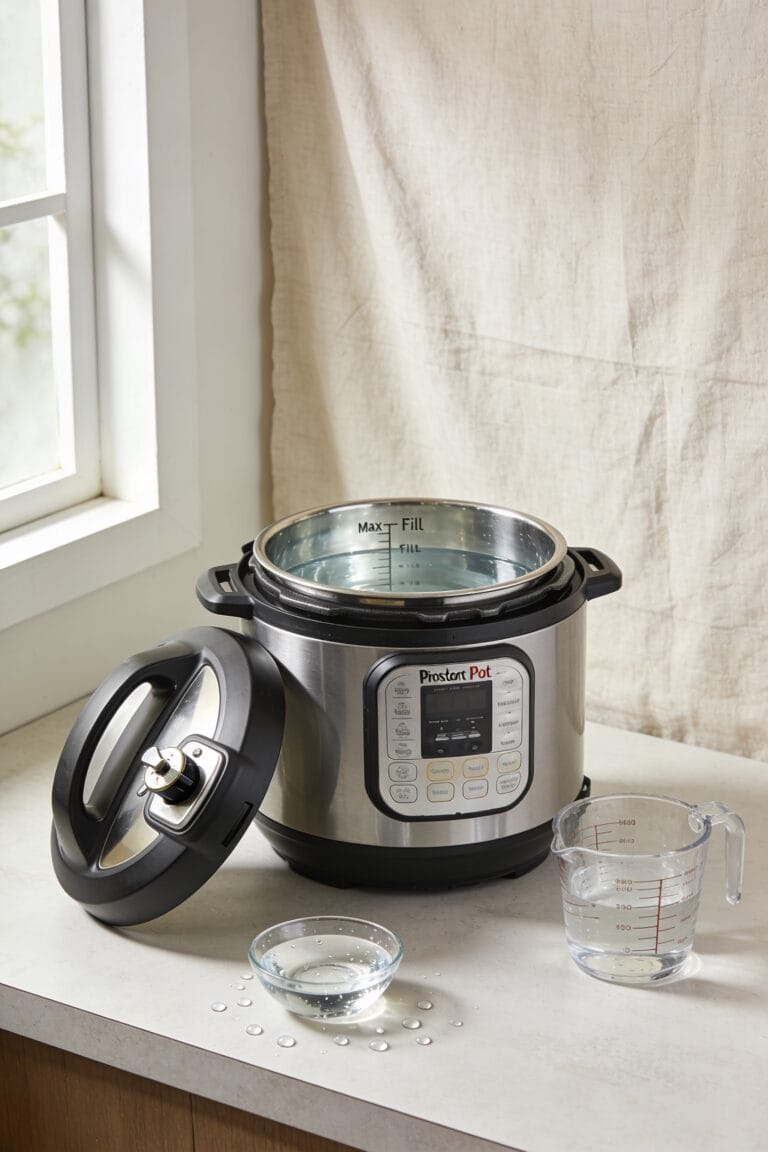
Now, here’s where a lot of people mess up—they fill their pressure cooker like it’s a regular pot, dump in some food, add a splash of liquid, and then wonder why everything comes out either burnt or undercooked. The thing is, pressure cookers need a minimum liquid balance to generate steam. You’re looking at 1 cup of thin liquid for most electric models—water, broth, wine. That’s non-negotiable.
Here’s the critical part: don’t fill past two-thirds capacity. You need steam allowance or you’ll either clog the valve or lose pressure entirely. Thick sauces won’t cut it either. And foods that expand—rice, beans, pasta—those demand you stop at halfway. It sounds fussy, but once you nail this ratio, everything clicks into place.
Why Pressure Cooker Timing Confuses Everyone
Once you’ve got that liquid-to-food ratio locked down, you’d think the hard part’s over—but then you look at a recipe that says “20 minutes under pressure” and suddenly you’re staring at your cooker wondering if it’s supposed to take 20 minutes total or if that’s just the cooking part, and whether the thing that’s currently hissing at you counts as part of the timer. Here’s the thing: those pressure myths about timing will mess with your head if you let them. The actual cooking time—that 20 minutes—only starts when your cooker reaches full pressure, which takes another 10-15 minutes. Add in pressure release, and you’re looking at nearly an hour total. This timing psychology trips everyone up because recipes don’t always clarify. The countdown you set? That’s just the pressurized cooking duration, not your whole meal timeline.
How to Start Your First Cook
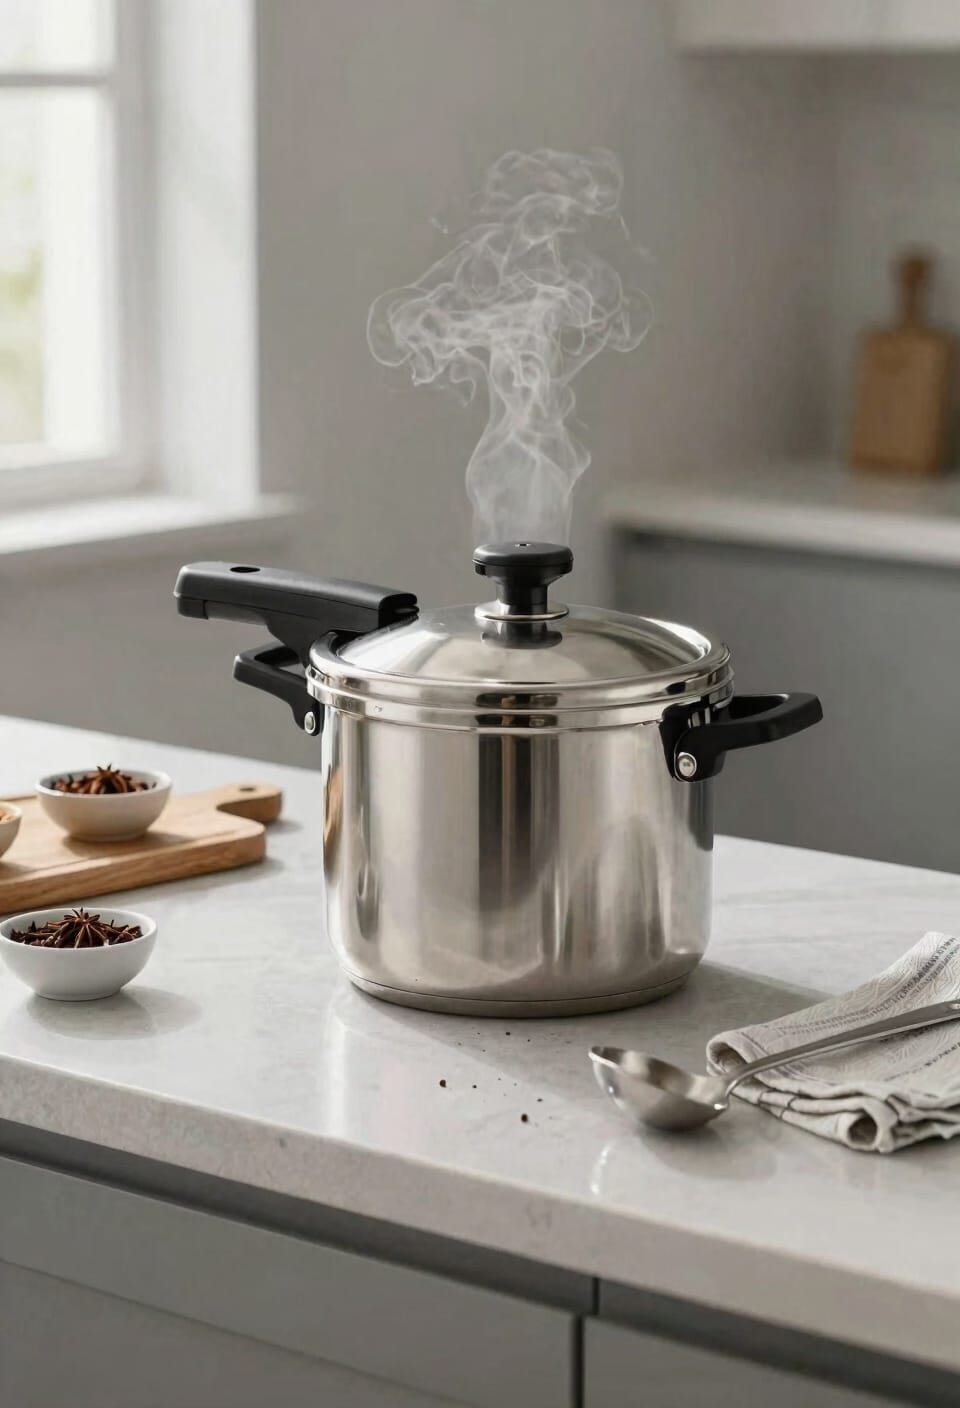
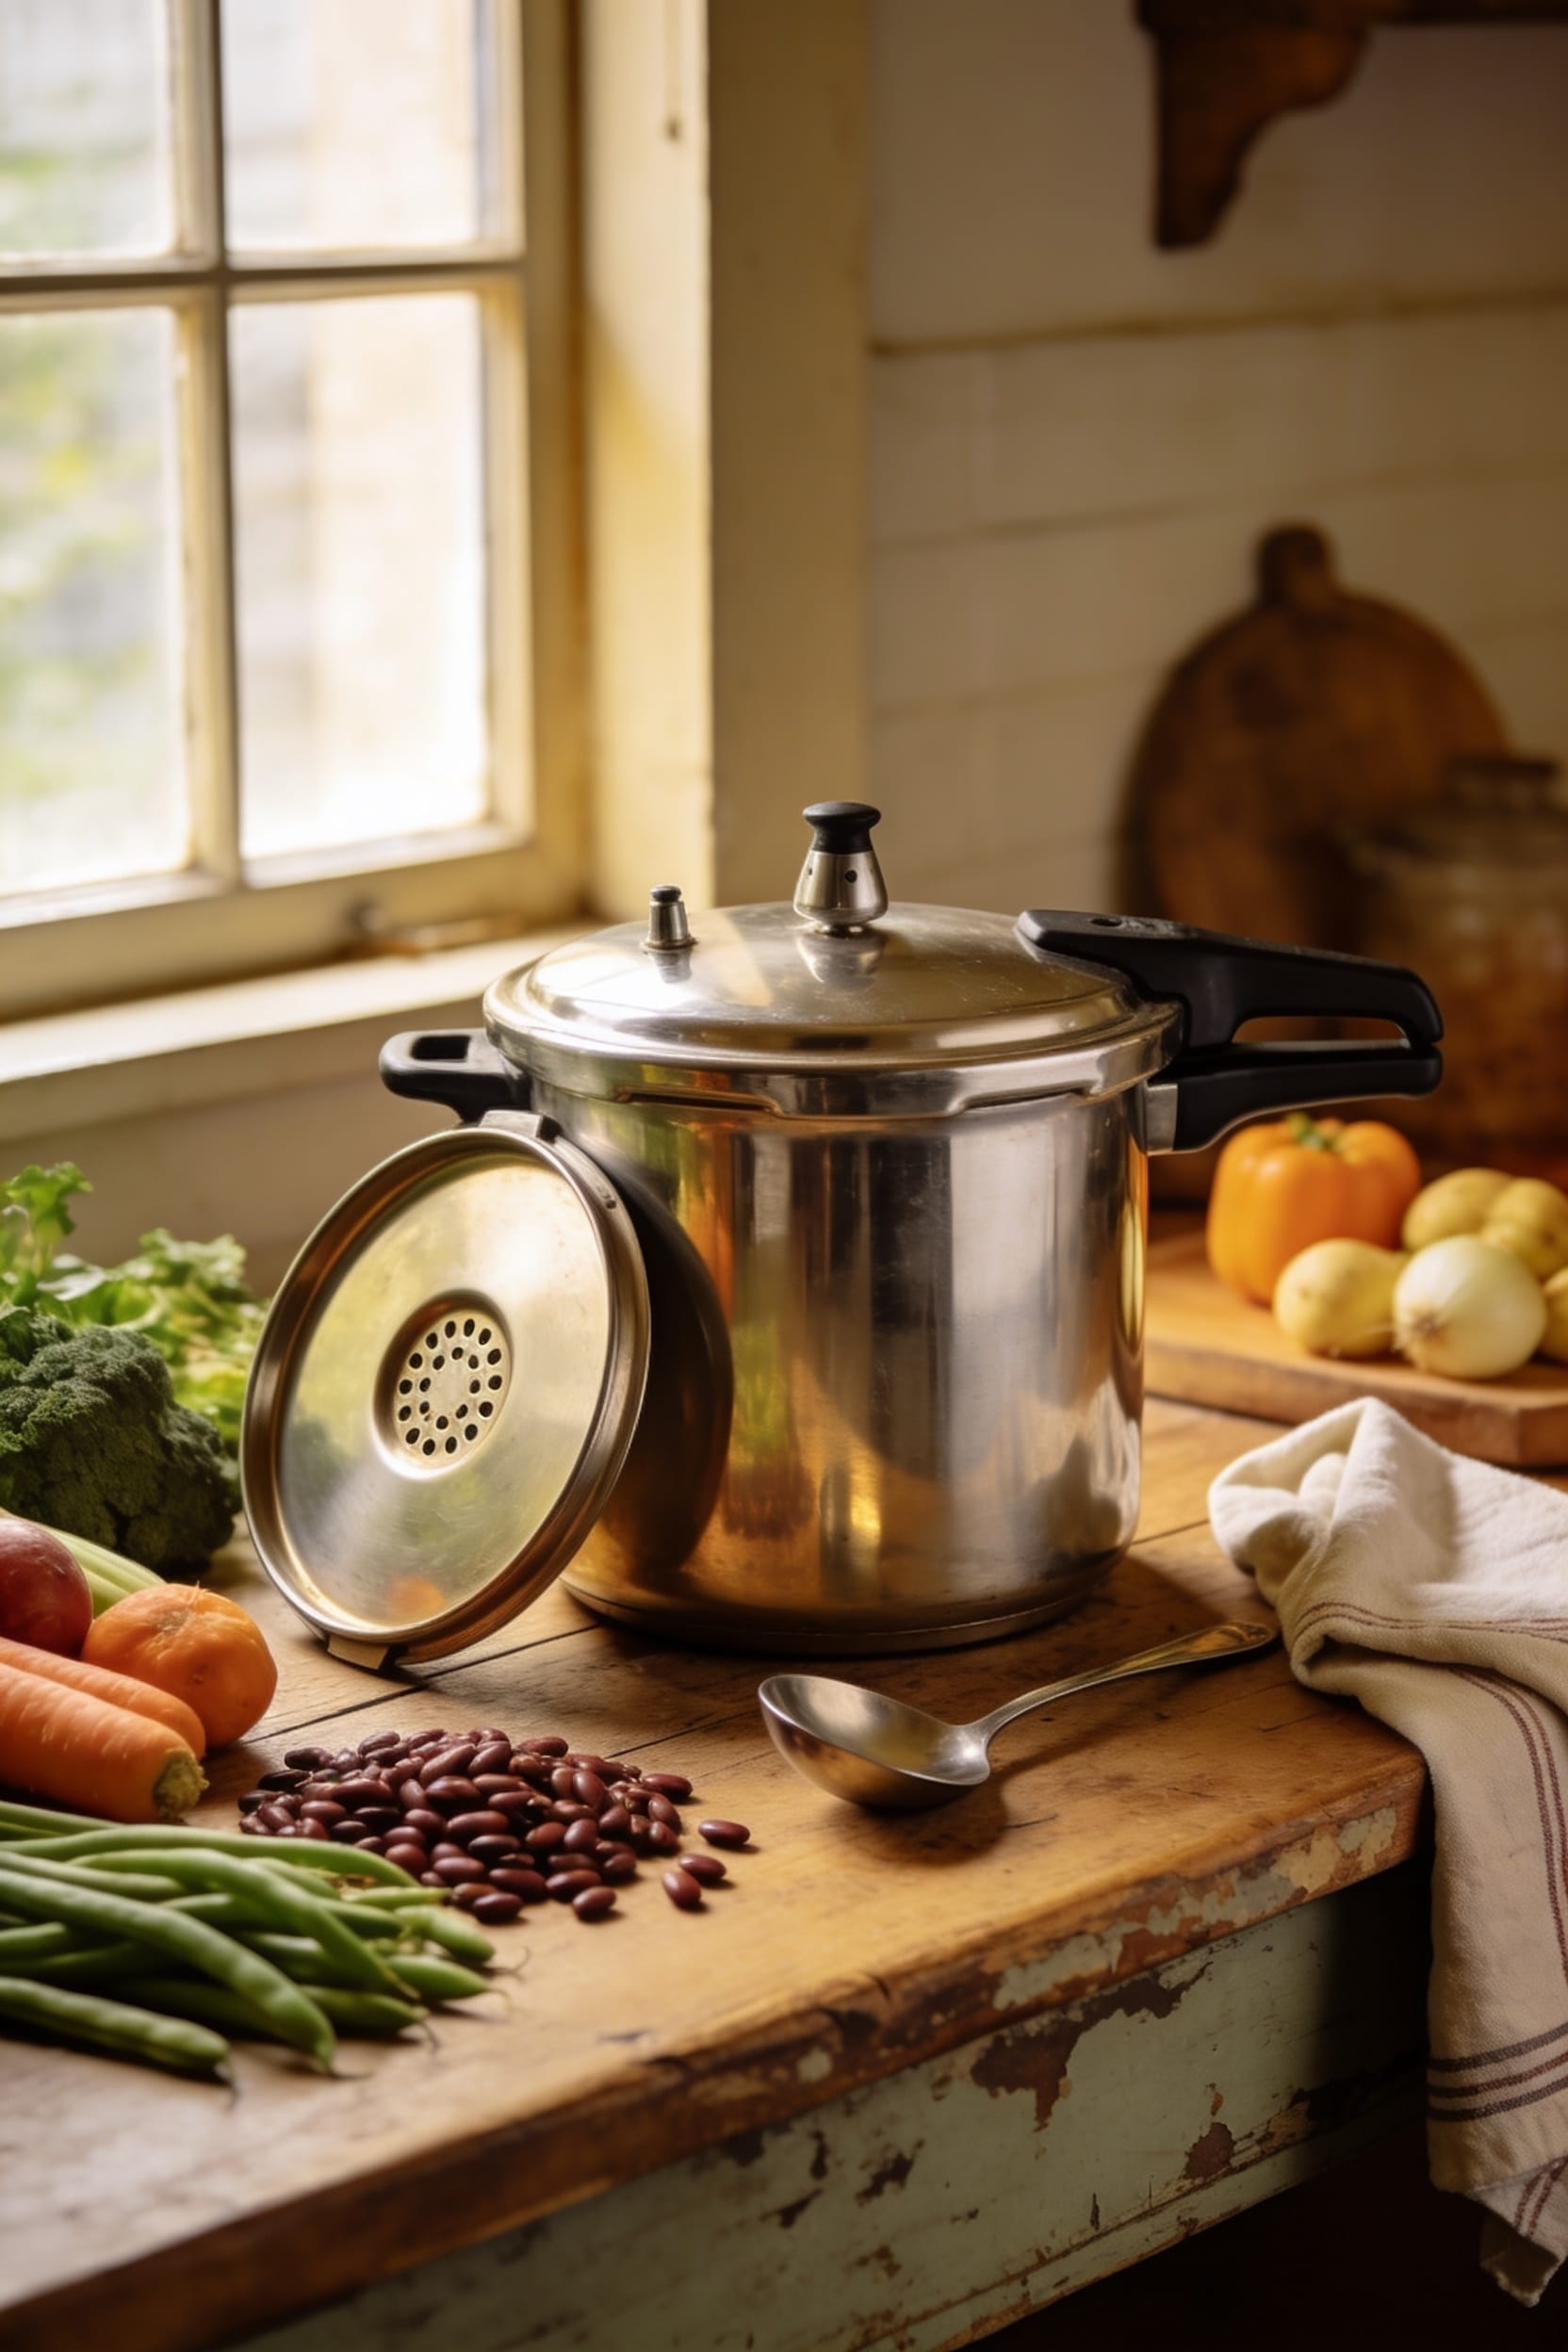
Grab your pressure cooker, fill it with 3 cups of water, and set it for 20-30 minutes—this is your practice run, and I’m not kidding around about it being essential. Before you start, run through your safety checklist: inspect the seal, verify the valves work, check the gauges. You’ll watch the float valve rise, hear the hiss, and understand how this thing actually pressurizes. Once you’ve conquered water, you’re ready for recipe selection. Pick something tested and straightforward—don’t get fancy yet. Beans, tough cuts of meat, or root vegetables work beautifully. Write down what happens: how long pressurization takes, how the release sounds, whether the texture matches what you wanted. This groundwork transforms you from nervous to confident.
When to Use Natural vs. Manual Release
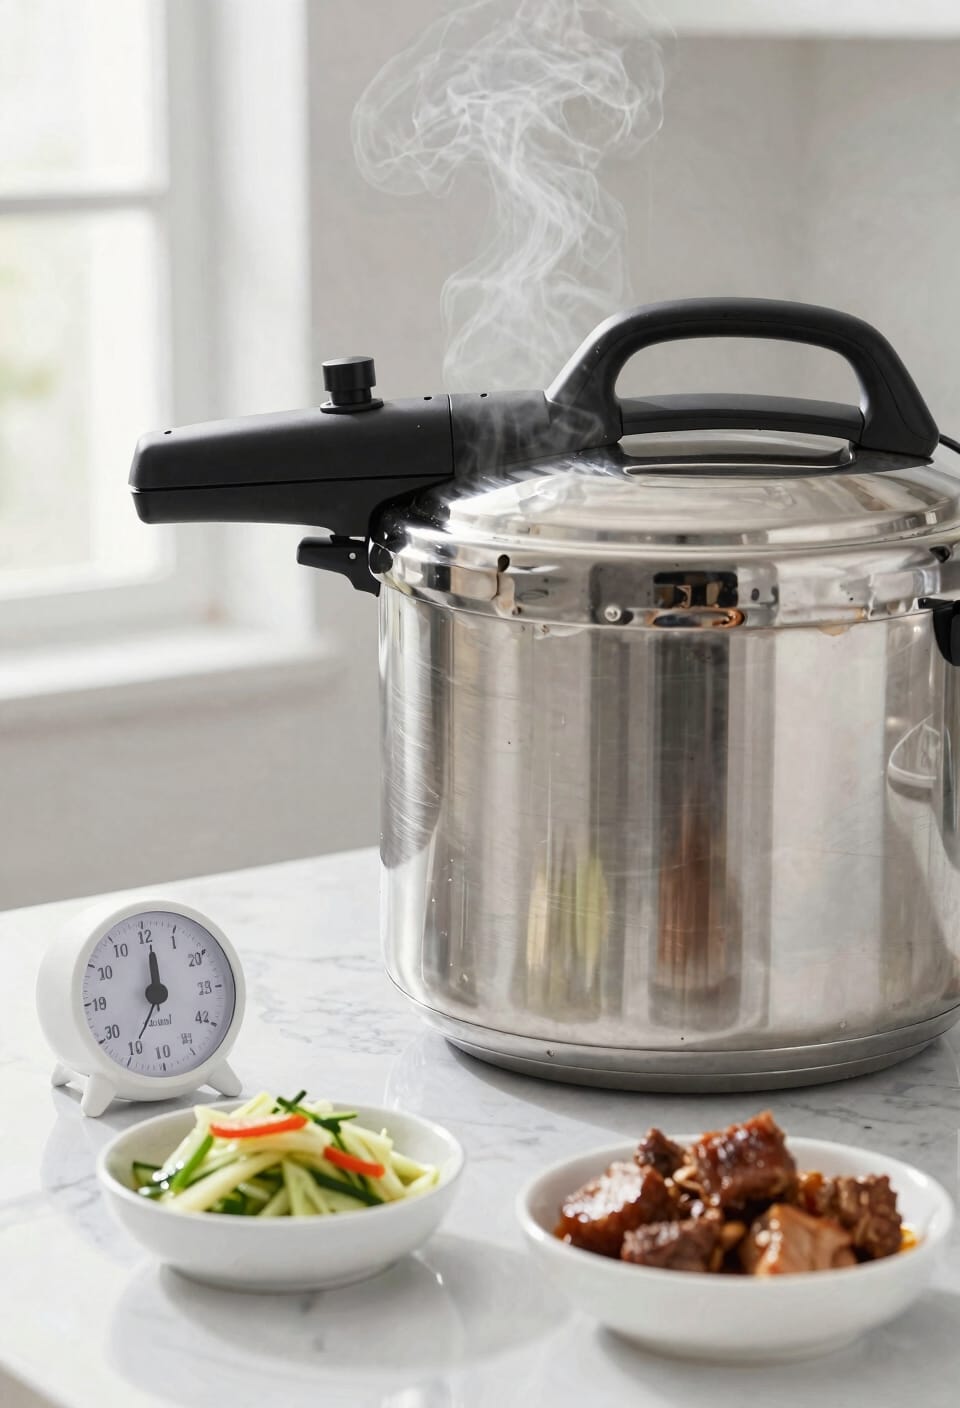
After your food’s finished cooking under pressure, you’ve got two distinct paths for getting that steam out, and picking the right one makes a real difference in how your meal turns out. Natural release means you just walk away for 10-15 minutes while pressure gradually drops on its own—your cooker’s doing the heavy lifting, which prevents steam burns and creates texture differences that matter. Delicate proteins and rice benefit here because the gentle process keeps things tender. Manual release, where you hit the valve immediately, is faster but harsher. Use it for vegetables you want crisp or when you’re genuinely hungry and impatient. Honestly, I default to natural release most days because patience pays off in your final dish.
Frequently Asked Questions
Can I Use the Same Cooking Time for Frozen and Thawed Ingredients?
No, you can’t use the same cooking time for frozen and thawed ingredients. I’d recommend adjusting your recipe timing since frozen vs thawed items require different duration. Established formulas account for these timing adjustments, so I’d consult tested recipes.
What Should I Do if Food Gets Stuck to the Bottom of the Cooker?
You might think you’ve ruined your meal, but I’ll help you salvage burns. Deglaze the bottom by adding liquid and scraping with a wooden spoon to remove stuckness before continuing cooking.
How Often Do I Need to Replace the Sealing Ring on My Cooker?
I’d recommend you inspect your sealing ring monthly for signs of wear, damage, or loss of elasticity. Most manufacturers suggest you replace it annually to guarantee your cooker maintains proper pressure and operates safely every time.
Is It Safe to Open the Lid Immediately After Cooking Finishes?
No, you shouldn’t open the lid immediately. I recommend allowing 10-15 minutes for natural pressure release to prevent steam burns. You can then perform manual pressure release before safely opening the lid.
Can I Cook Multiple Foods Simultaneously Using the Trivet and Stackable Containers?
You’re in luck—I’ve found that layered steaming works wonderfully with stackable containers on the trivet. You can cook multiple foods simultaneously, though I’ll warn you: flavor transfer happens, so separate stronger-tasting ingredients carefully.
Conclusion
Look, you’re basically a pressure cooking wizard now—I mean, you’ve practically memorized the nuclear physics manual at this point. Your kitchen’s about to transform into a lightning-fast food factory, and honestly, your slow cooker’s probably feeling pretty jealous right about now. Start simple, trust the process, and before you know it, you’ll be braising tougher cuts into submission like some kind of culinary superhero.