As an Amazon Associate, we earn from qualifying purchases. Some links on this site are affiliate links at no extra cost to you. Our recommendations are based on thorough research and editorial judgment.
How to Cook Sweet Potatoes in an Instant Pot
Look, here’s the thing: an Instant Pot cuts your sweet potato cook time nearly in half compared to the oven, and they come out creamier than any other method I’ve tried. You’ll add about a cup of water, set your potatoes on a trivet, and pressure cook medium ones for 15–18 minutes on high. Natural release for 10 minutes, then quick-release the rest. Fork-tender perfection every time, and the specifics on sizing, water ratios, and flavor combos get more interesting the deeper you go.
Key Takeaways
- Poke 4–6 holes in each sweet potato skin to prevent bursting during pressure cooking.
- Cook whole medium potatoes for 15–18 minutes on high pressure with natural release.
- Use 1 cup water in 6-quart Instant Pot; potatoes sit on trivet above water.
- Natural release for 10 minutes before quick-release remaining pressure for optimal texture.
- Fork should slide through easily; drain thoroughly before mashing and add brown butter.
Why Cook Sweet Potatoes in an Instant Pot?
Look, I used to roast sweet potatoes in the oven like everyone else, and sure, they’d turn out fine after 45 minutes or so—but then I got an Instant Pot and suddenly I’m eating them in less than half that time, and honestly, I’m not going back. The pressure cooker method cuts your total cook time down to around 30–40 minutes, which makes meal prep actually feasible on weeknights. You’re getting the same nutritional density and health benefits—all those vitamins and fiber intact—but without heating up your kitchen for nearly an hour. Plus, the consistency is superior; they come out perfectly tender and creamy every single time, no dry spots or undercooked centers. For anyone trying to eat better without sacrificing their evening to cooking, this is legitimately a game changer.
Getting Your Instant Pot Ready: Size and Water Ratio

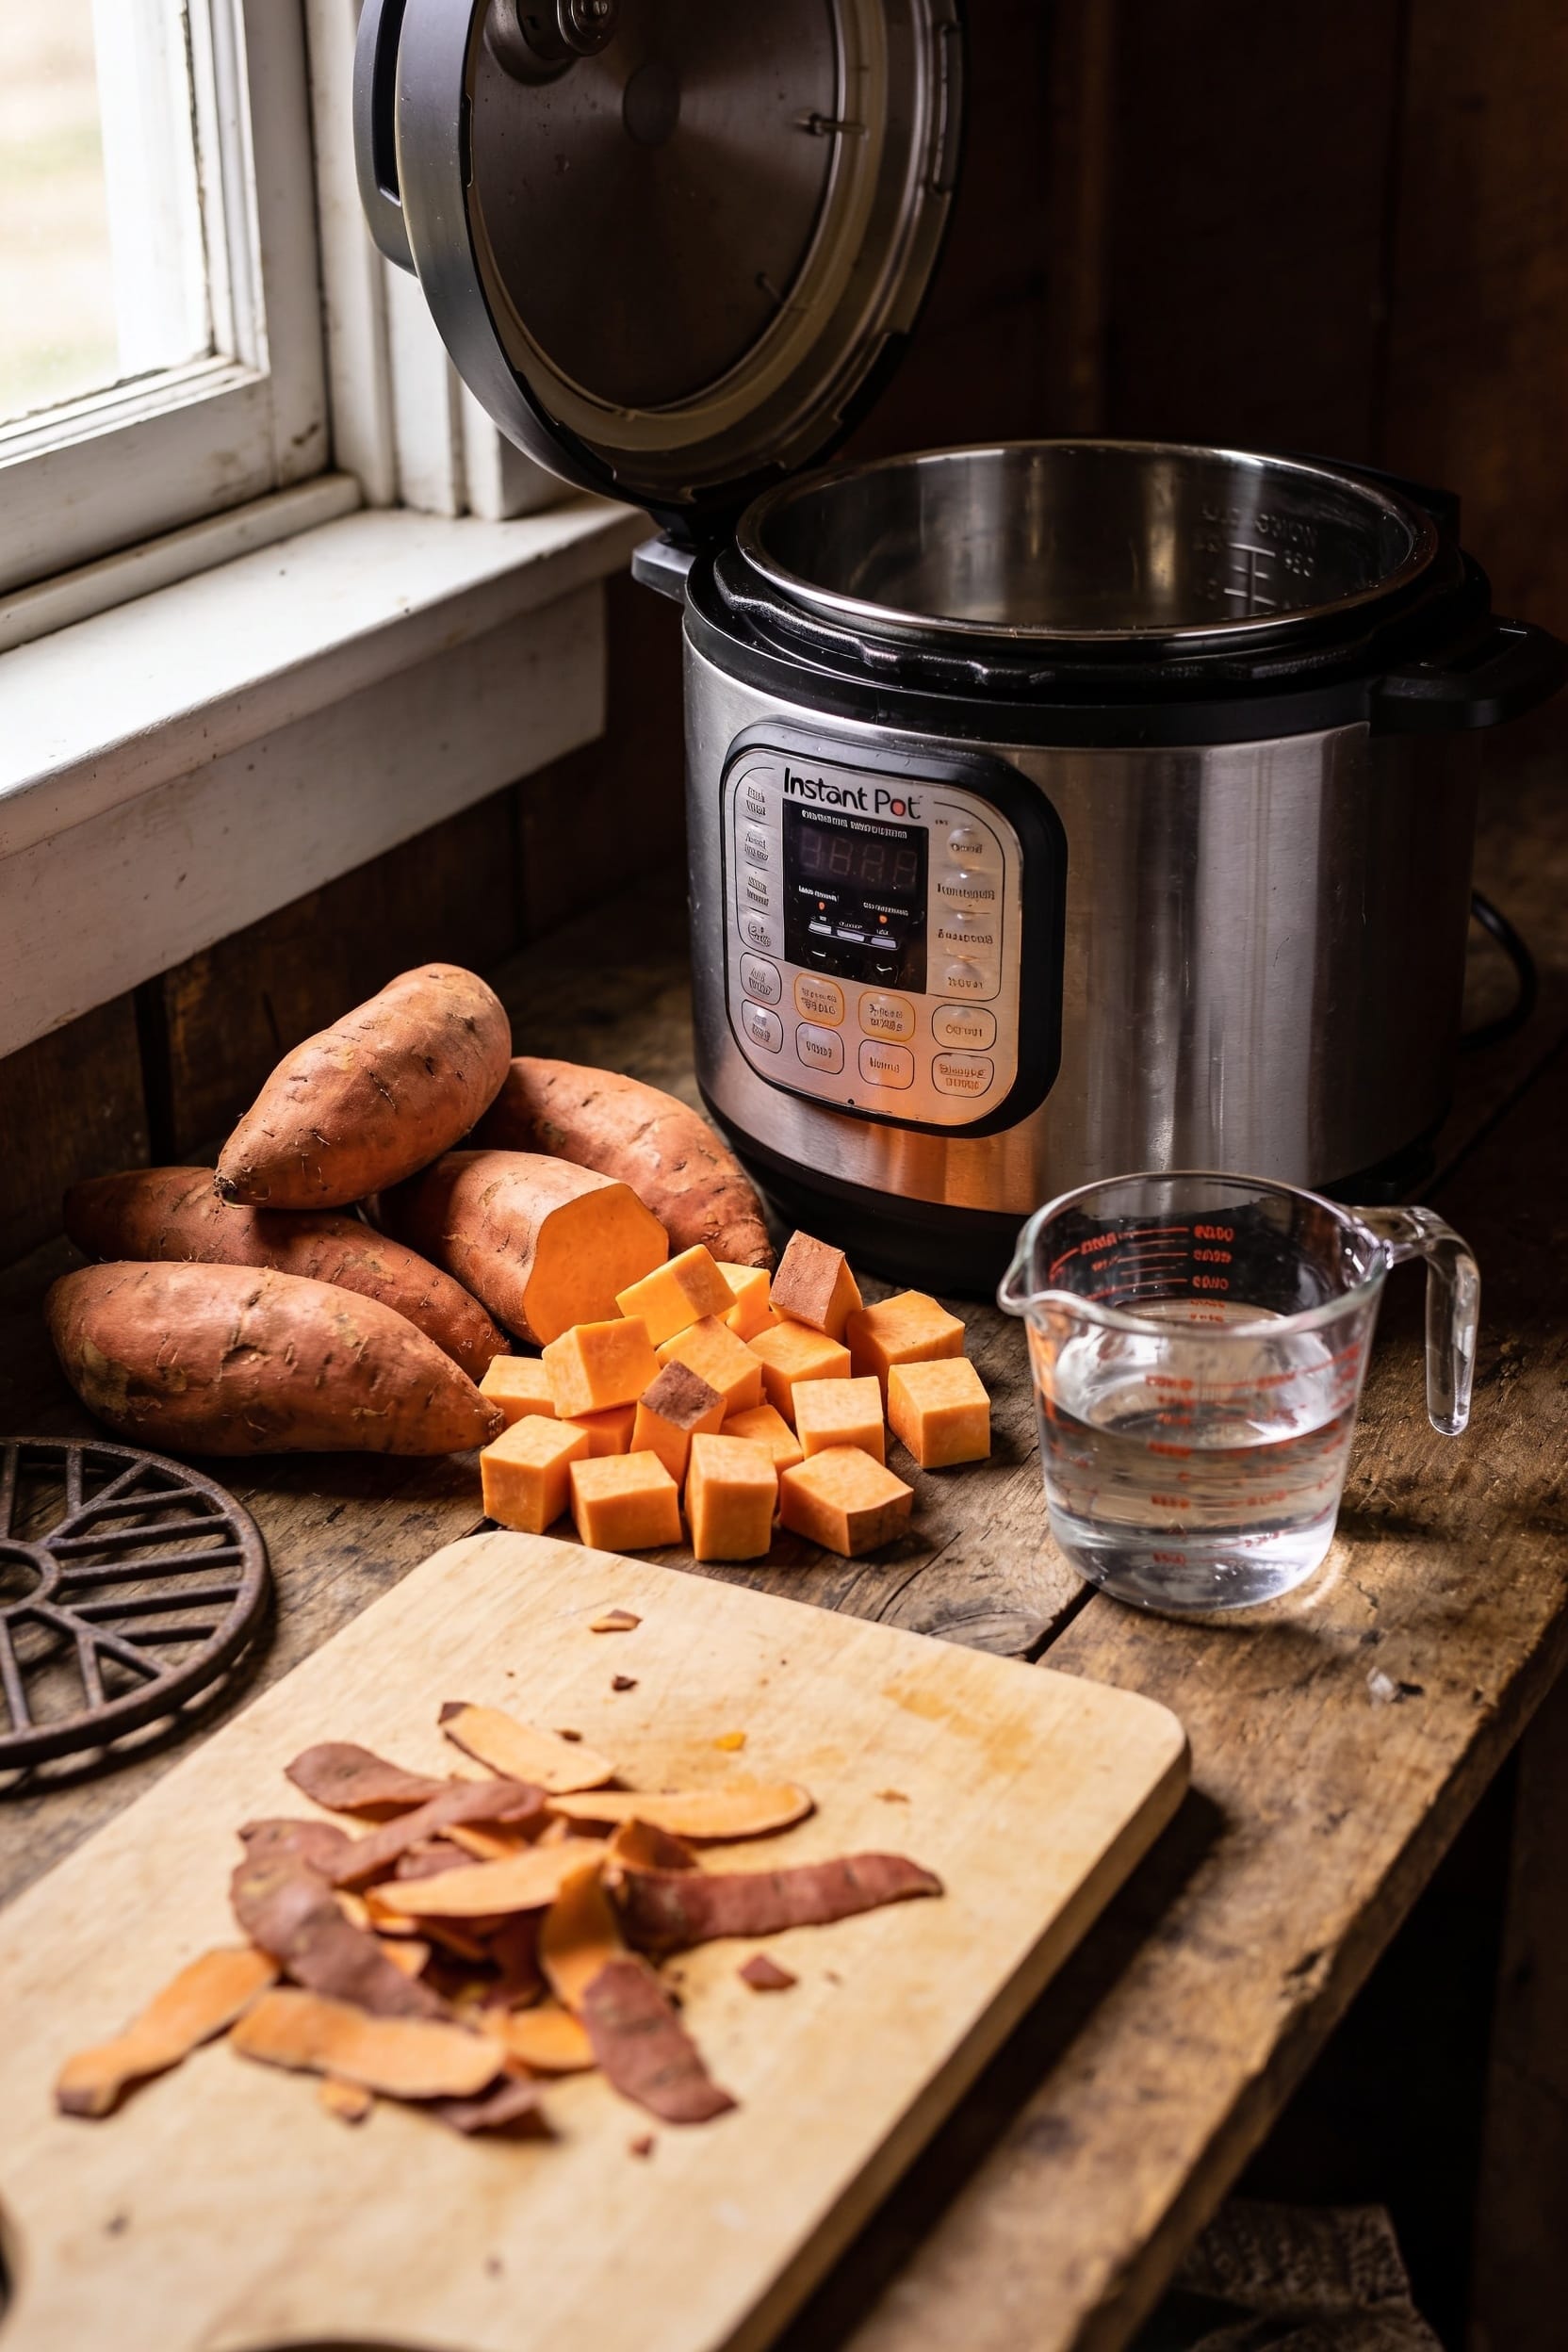
Before you dump sweet potatoes into your Instant Pot and hope for the best, you need to know two things: how many potatoes your machine can actually handle, and how much water to use so you don’t end up with either a dry pot that won’t pressurize or a soggy mess.
A 6-quart Instant Pot typically holds 4–6 medium sweet potatoes comfortably. For water volume, I use roughly 1 cup—that’s your baseline. If you’ve got an 8-quart model, bump it to 1.5 cups. The water needs to reach the pressure gauge and create steam, but your potatoes sit on a trivet above it, not swimming in the liquid. Get this ratio right and you’re golden. Mess it up and you’ll know immediately when that pressure gauge won’t climb.
Prep Your Sweet Potatoes for Best Results
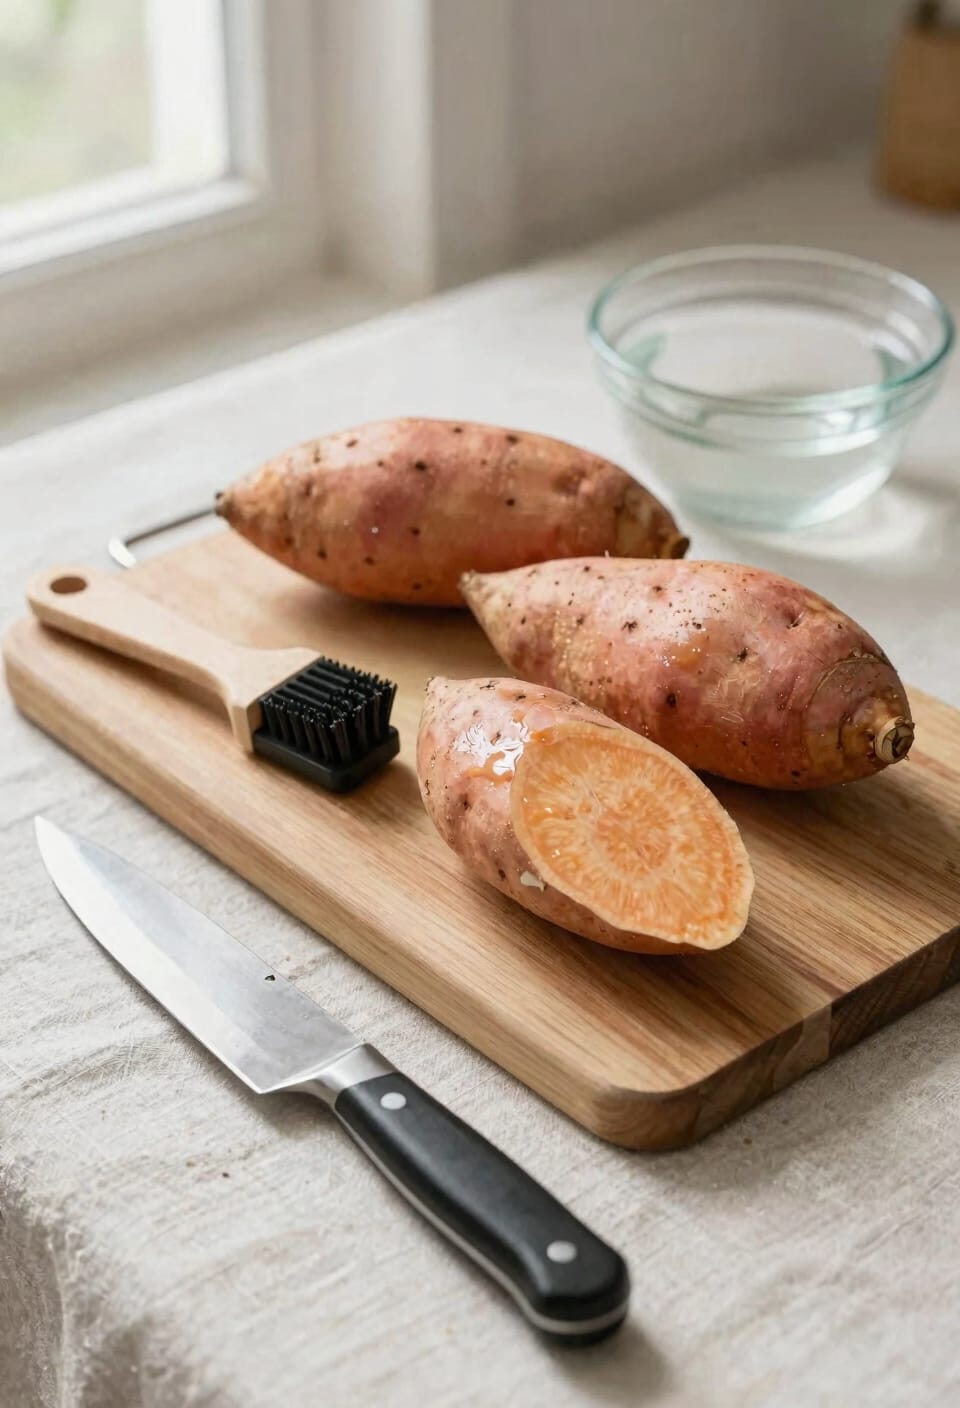
Now that you’ve got your water and pot size sorted, it’s time to actually prep the sweet potatoes—and I promise this part won’t take long. Rinse and scrub each one thoroughly under running water to remove dirt and debris. Trim any wrinkly or damaged ends, then poke four to six holes with a fork across the skin—this lets steam escape and prevents your potatoes from bursting mid-cook, which nobody wants. Choose potatoes that are roughly uniform in size so they cook evenly. This is honestly my best meal planning hack: prepping sweet potatoes this way means you can cook a batch on Sunday, then grab them throughout the week instead of resorting to oven roasting every time you’re hungry. Uniform sizing is genuinely important here.
Basic Cooking Method: Whole Sweet Potatoes
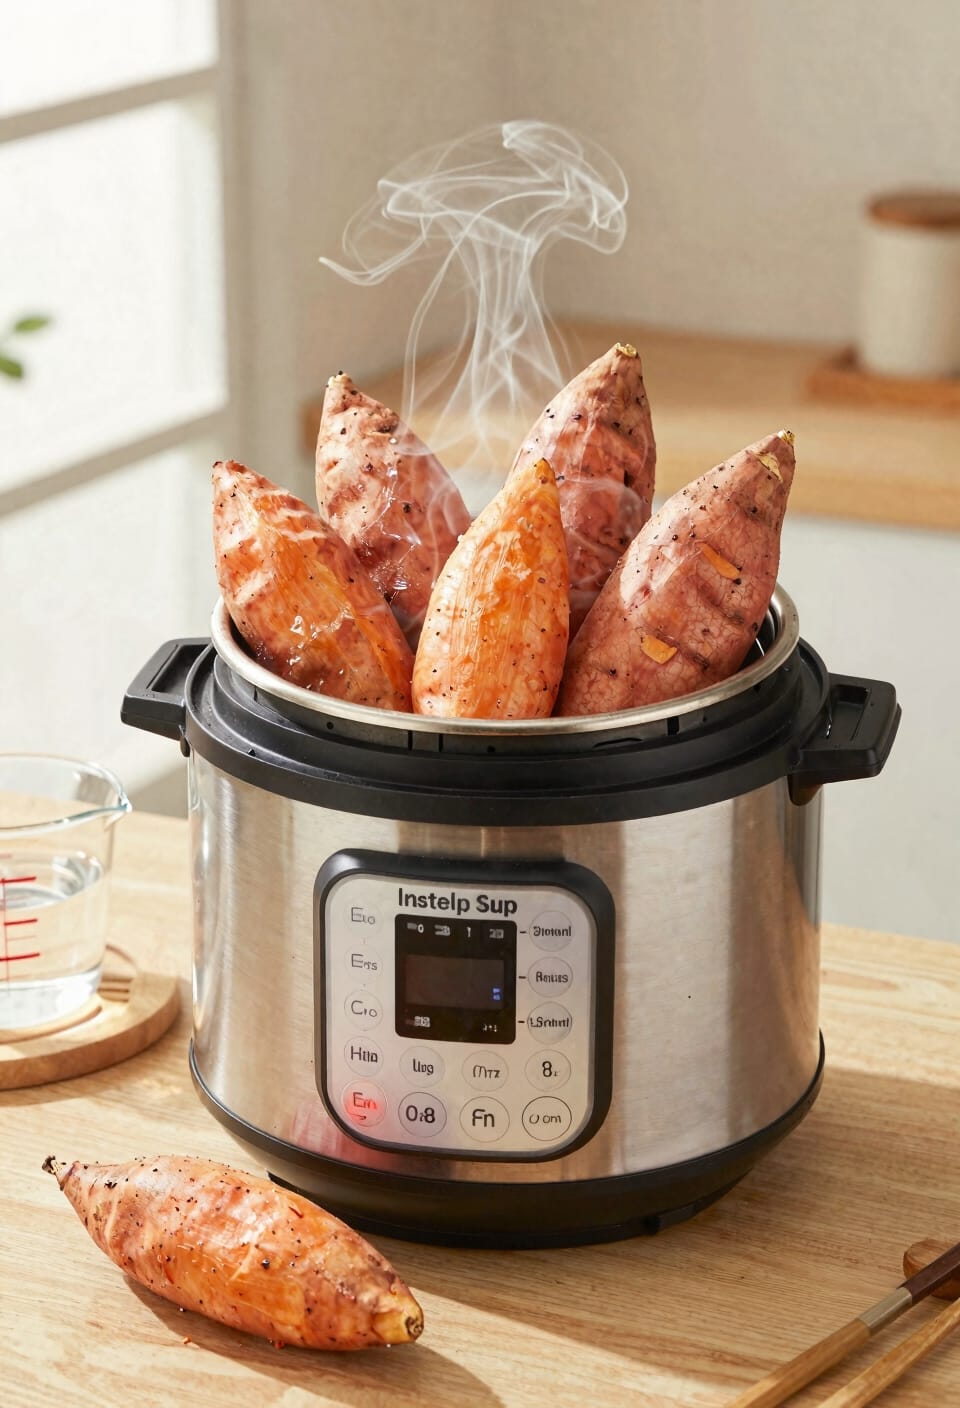
Once your sweet potatoes are prepped and your Instant Pot is ready to go, the actual cooking part is delightfully straightforward—and honestly, this is where the magic happens. Pour 1 cup of water into the base, set your steam basket in place, and arrange your potatoes on top so they’re not sitting directly in the water. Seal the lid, hit high pressure, and walk away. The exact timing depends on size—small potatoes need about 12 minutes, medium ones around 15–18, and larger specimens might stretch to 24 minutes. Here’s the thing: don’t skip the natural pressure release. Give it 10 minutes before quick-releasing the rest. This gentler approach keeps your skin texture intact and prevents that annoying split situation that ruins everything.
Cooking Times by Size: Your Quick Reference

Since sweet potato size matters way more than most people realize, I’ve put together a quick reference that’ll save you from the guessing game.
Small potatoes—think under two inches wide—hit tender in about 12 minutes. Medium ones, your standard 2–3 inch range, need 15–18 minutes. Large potatoes push toward 18–24 minutes depending on how thick they actually are. The texture indicators you’re looking for: a fork should slide through without resistance.
Here’s the thing: residual heat keeps working even after you release pressure, so don’t panic if they feel slightly firm at first. Natural release for 10 minutes does most of the heavy lifting. Total time from start to plate? Plan on 30–35 minutes for medium potatoes, longer for the real giants.
Cutting and Cooking Sweet Potato Pieces
If whole sweet potatoes aren’t what you’re after—maybe you’re building a stew, prepping a mash, or just don’t want to wait the full half hour—cutting them down before cooking is genuinely the move.
I cut mine into evenly sized chunks so everything finishes at the same time, which sounds obvious but I’ve definitely learned this the hard way. Large pieces (think 1–2 inch cubes) need about 9 minutes on high pressure, while smaller pieces under an inch cook down in 7 minutes. Before cooking, I poke a few steam vents into each chunk with a fork to help pressure circulate properly. After cooking, let things release naturally for 6–8 minutes before venting the rest. You’ll end up with tender potatoes ready for whatever comes next.
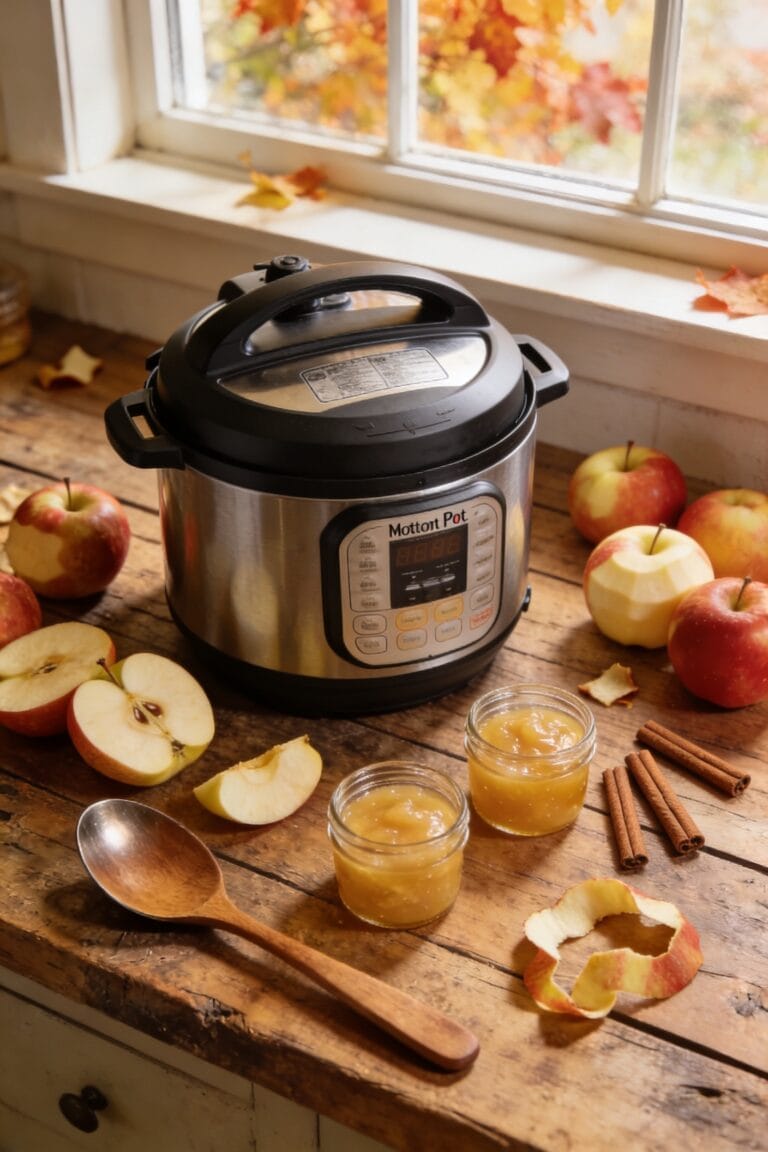
Perfectly Mashed Sweet Potatoes
The magic happens after the pot depressurizes—that’s when your perfectly tender sweet potatoes transform into something silky and luxurious, and honestly, this is where I stop overthinking things because the hard part’s already done. Now, drain everything thoroughly; excess liquid is your enemy here. I mash directly in the pot bowl because, let’s face it, fewer dishes means more time enjoying what you’ve made.
Stir in brown butter and a pinch of salt first—that’s your foundation. From there, you’ve got options. A splash of coconut cream adds richness and subtle sweetness without tasting like the tropics threw up on your plate. Layer in cinnamon, ginger, or nutmeg to taste. Brown sugar works too, though I usually skip it. Transfer to a serving dish and call yourself a hero.
Flavor Your Sweet Potatoes Three Ways
Once you’ve got your silky mashed sweet potatoes sitting in that pot bowl, you’re at the fun part—where the real flavoring happens and you get to decide what kind of person you want to be about this dish.
Here’s the thing: I’ve got three directions I rotate through. First, there’s the classic route—cinnamon, nutmeg, a touch of brown sugar, maybe some brown butter for richness. Second, I go savory with just salt, pepper, and a hint of ginger. Third, and this is where I get a little weird, I’ll add citrus zest and a pinch of clove for something bright and unexpected. All three work beautifully. Pick your vibe, stir it in while everything’s hot, and call it dinner.
When Something Goes Wrong: Instant Pot Troubleshooting
Despite your best intentions and careful timing, sometimes your Instant Pot decides to have other ideas—the water doesn’t come to pressure, your sweet potatoes turn out mushy on the outside and hard in the middle, or you open that lid to find something that looks nothing like what you were aiming for.
All right, here’s what I’ve learned. If your pot won’t pressurize, check your sealing ring first—mine gets grimy and needs a good rinse. Wonky cooking times usually mean lid issues; make sure that thing’s sitting flush. Mushy exteriors with hard centers? You’ve got uneven sizing. I always sort potatoes by size now because it genuinely matters. When in doubt, add two minutes and let natural release do its thing.
Frequently Asked Questions
Can I Cook Sweet Potatoes With Other Vegetables in the Instant Pot Simultaneously?
Yes, I’d recommend considering layering order and flavor pairing when cooking sweet potatoes with other vegetables simultaneously. Place denser vegetables on the trivet first, then add sweet potatoes on top for even cooking and complementary taste combinations.
How Should I Store Leftover Cooked Sweet Potatoes From My Instant Pot?
Like treasures sealed in a vault, I’d store your leftover cooked sweet potatoes in airtight containers within your refrigerator storage for up to five days. This preserves their freshness and prevents spoilage effectively.
Can Frozen Sweet Potatoes Be Cooked Directly in the Instant Pot Without Thawing?
Yes, I can cook frozen sweet potatoes directly without thawing. You’ll need to add about 5-10 extra minutes to your cooking time due to their frozen texture, adjusting based on size.
What’s the Best Way to Reheat Instant Pot Sweet Potatoes for Meal Prep?
I’d say you’re barking up the right tree with oven reheating for best texture—it restores crispness beautifully. Alternatively, microwave steaming works quickly for meal prep convenience, though it won’t match oven results.
Are There Any Safety Concerns Specific to Cooking Sweet Potatoes Under Pressure?
I’d say the main safety concerns are steam burns during pressure release and ensuring you’ve got enough water so the pot doesn’t scorch. Always use natural release first, then quick release carefully to avoid burns.
Conclusion
Look, you’ve now mastered the Instant Pot sweet potato game, which means you’re basically a culinary genius—or at least you won’t burn down your kitchen trying. Congratulations on joining the ranks of people who’ve figured out that steam beats the oven every single time. Your meal prep Sundays just got exponentially less miserable, and honestly, that’s worth celebrating.