As an Amazon Associate, we earn from qualifying purchases. Some links on this site are affiliate links at no extra cost to you. Our recommendations are based on thorough research and editorial judgment.
How to Make Bread in an Instant Pot
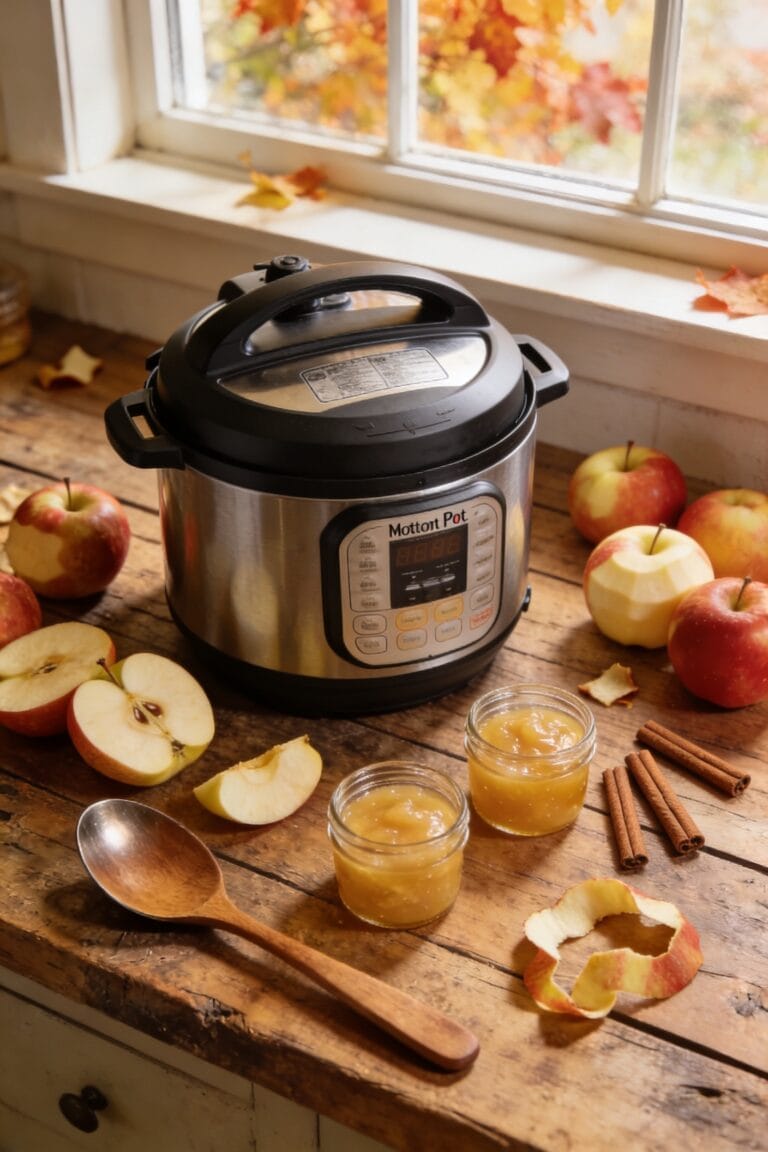
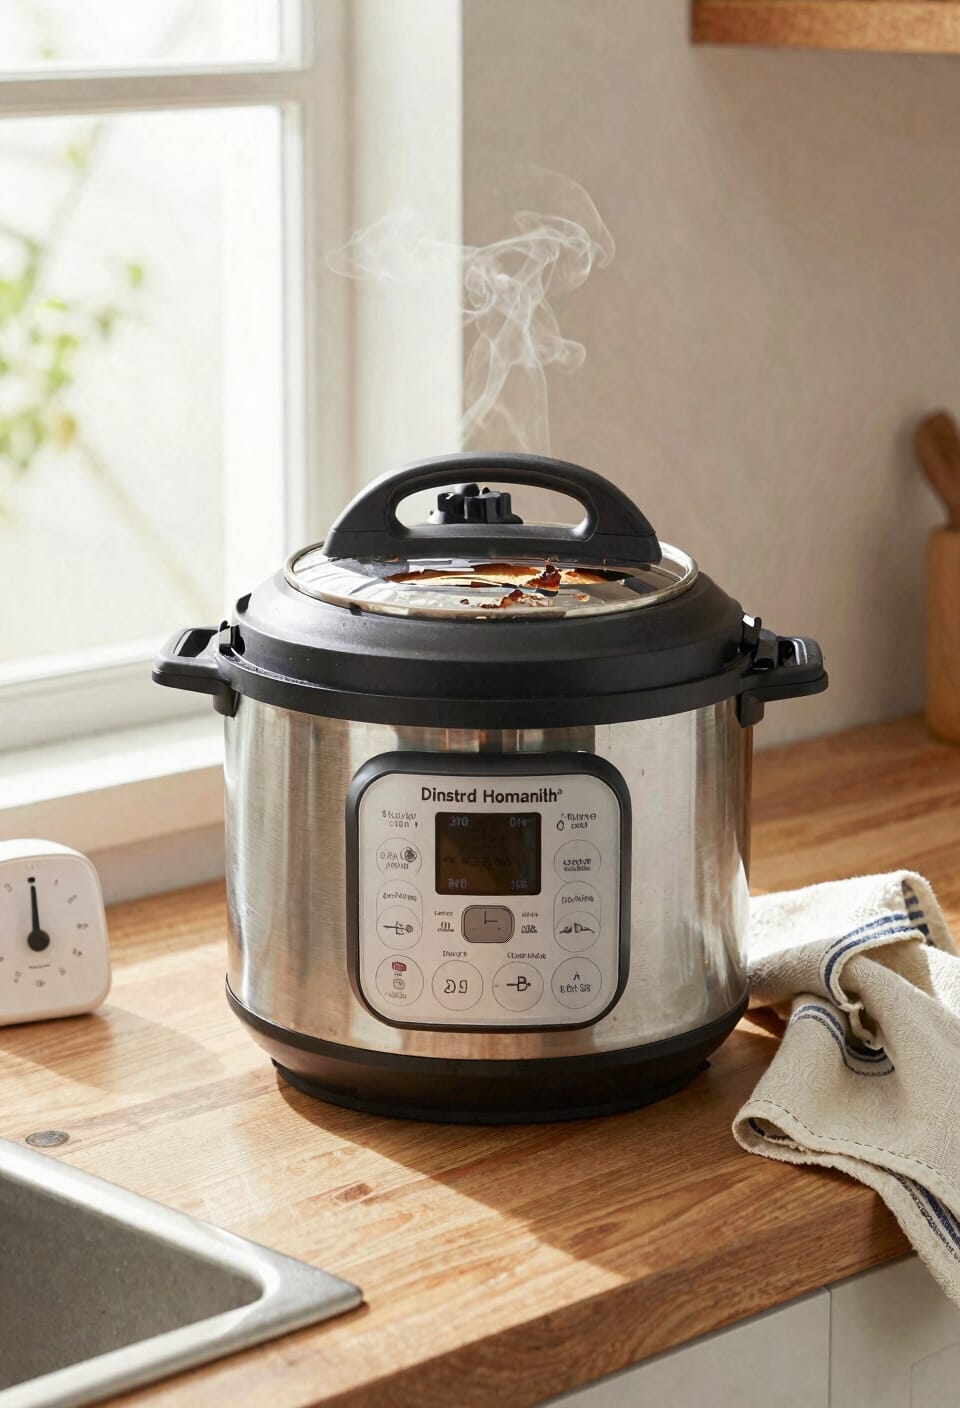
your Instant Pot’s yogurt function is basically a proofing box that actually works. Mix flour, salt, yeast, and warm water (105–110°F), let it get shaggy, then stick it in an oiled Instant Pot for four hours on yogurt mode. Once doubled with surface bubbles, shape it, throw it in a preheated Dutch oven, and bake covered at 450°F for thirty minutes, then uncovered for fifteen. Cool it properly before slicing or you’ll get gummy crumb—trust me on that one.
Key Takeaways
- Mix flour, salt, and yeast; add warm water (105–110°F) and stir until shaggy without kneading required.
- Use Instant Pot’s Yogurt function on Normal mode for 4 hours to proof dough until doubled.
- Preheat Dutch oven to 450°F, transfer shaped dough on parchment, and bake covered for 30 minutes.
- Remove Dutch oven lid and bake uncovered for 15 minutes at 450°F to brown the crust.
- Cool bread on wire rack minimum 30 minutes before slicing to prevent gummy crumb texture.
Master No-Knead Instant Pot Bread: Ingredients and Equipment
Before you plunge into making bread in your Instant Pot, let’s talk about what you’ll actually need—and I promise it’s pleasantly simple. You’re looking at all-purpose flour as your foundation, though I’m genuinely curious about gluten free alternatives if that’s your lane. Rapid rise yeast does the heavy lifting here, while salt keeps everything honest. Warm water—and I mean precisely 105-110 degrees—activates that yeast magic.
Now, artisan flour blends absolutely work if you want to experiment with depth and flavor. Beyond ingredients, grab a Dutch oven with a lid for baking, parchment paper, and your Instant Pot. That’s genuinely it. No fancy equipment required. You’ve probably got everything already lounging in your kitchen.
Mix Your Dough in Minutes
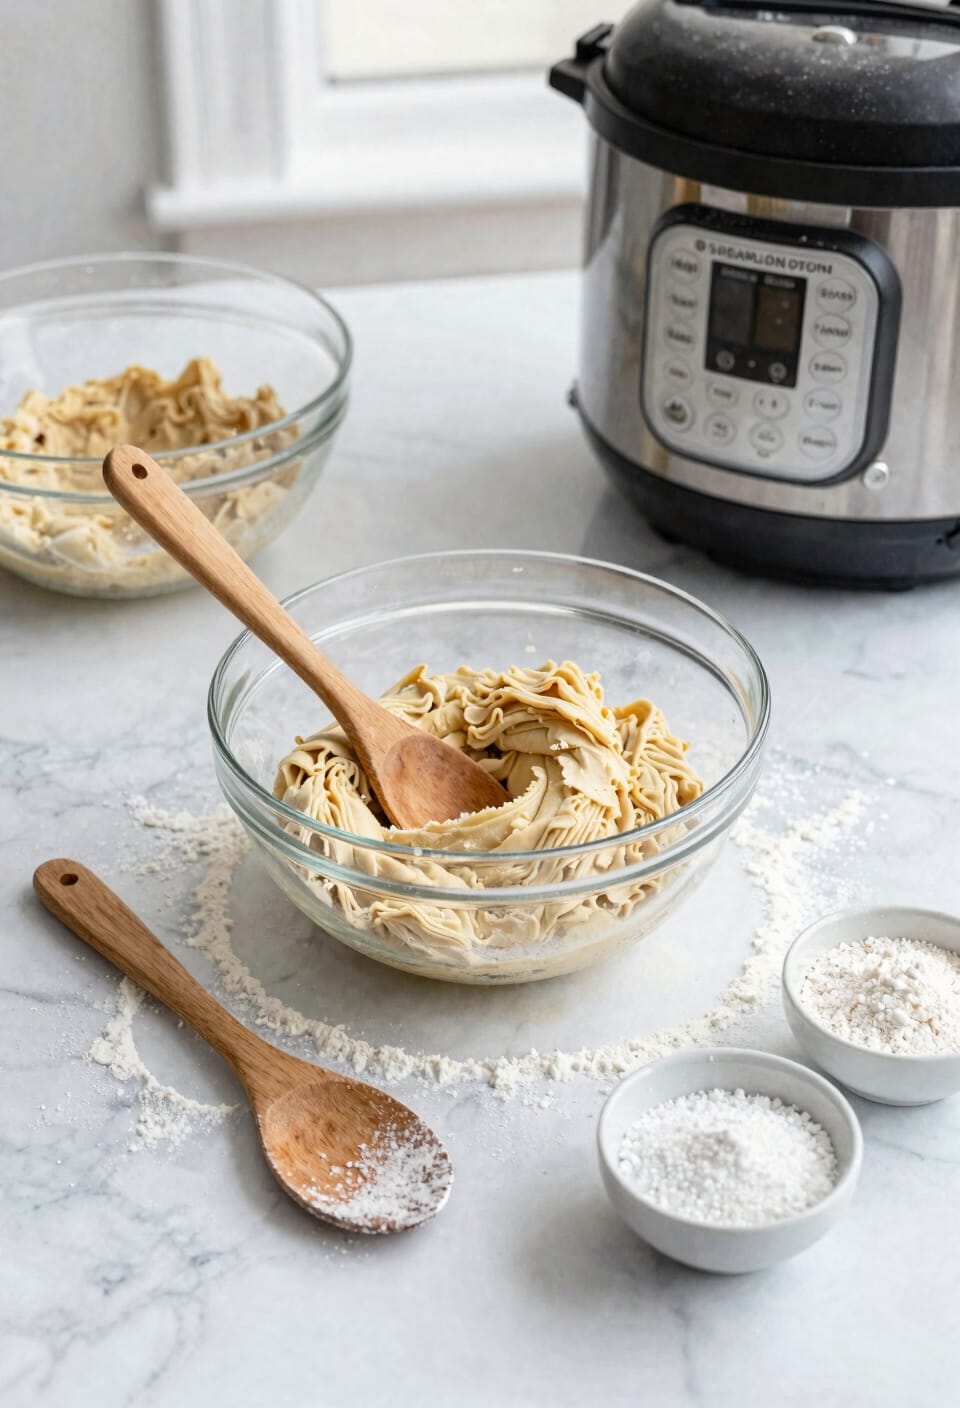
Now that you’ve got your ingredients assembled and your Instant Pot sitting ready on the counter, it’s time to actually mix the dough—and I’m genuinely thrilled to tell you this part takes maybe five minutes. Combine your flour, salt, and yeast in a bowl first. Pour the warm water (105-110 degrees, seriously, get a thermometer) over everything and stir until it’s shaggy and rough. That’s it. No quick mixer needed, no kneading required. The flour hydration happens gradually during your long proof, not during mixing. This is honestly the easiest part of the whole process—you’re just getting everything wet enough to come together. The magic happens later in your Instant Pot.
Proof Your Dough in the Instant Pot for 4 Hours
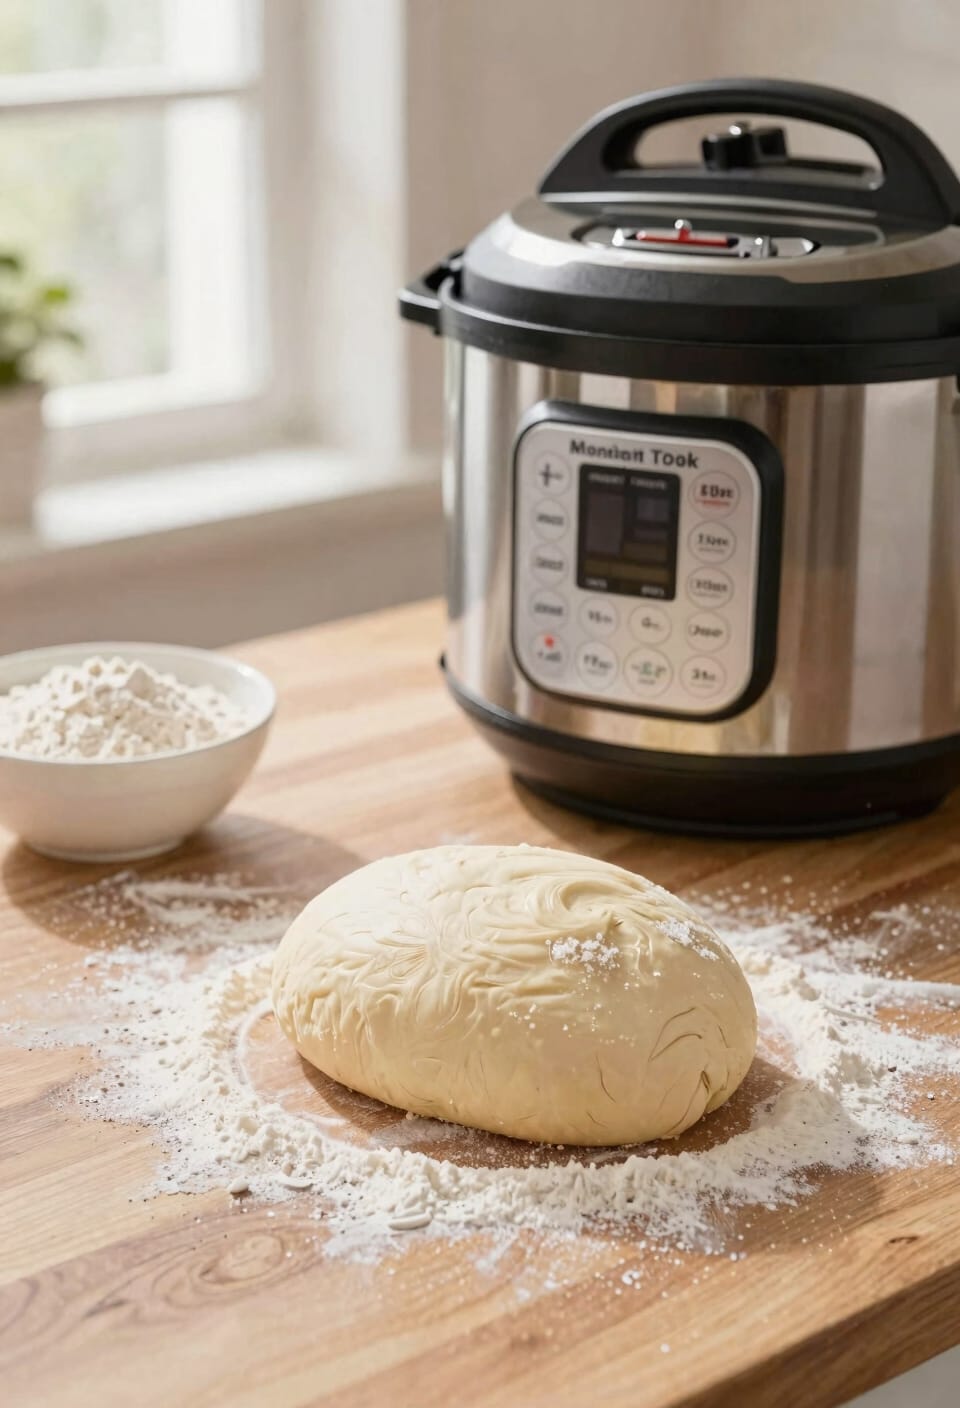
Your shaggy dough now gets to hang out in the Instant Pot, where it’ll do most of the heavy lifting for you. Spray that liner with cooking oil, plop your dough in there, and set the yogurt function to Normal mode. I know the yogurt setting sounds weird, but it’s basically just a gentle heat source that keeps temperature variations minimal—perfect for proofing without any alt proofing methods complicating things. Set your timer for 4 hours and position that valve to venting so pressure doesn’t build up. You’re looking for your dough to double in size with tiny bubbles dotting the surface and a frothy appearance throughout. That’s your signal it’s ready to shape and bake.
Shape Your Dough and Preheat Your Dutch Oven
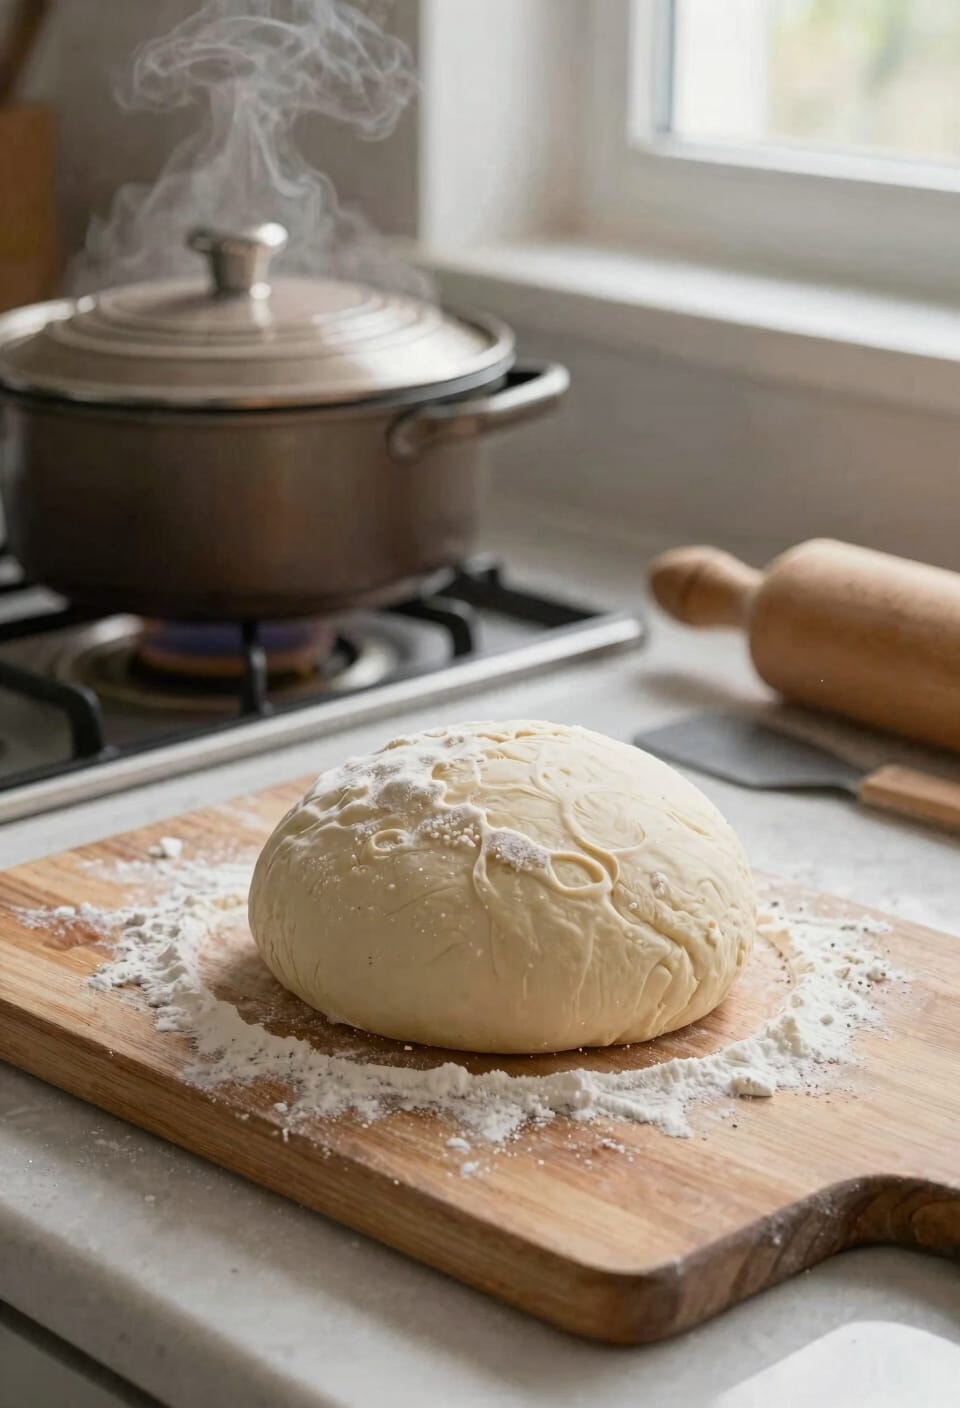
Once that 4-hour timer buzzes and you’ve got a puffy, bubble-studded dough staring back at you from the Instant Pot, it’s time to stop letting the machine do the thinking. Transfer your proofed dough to a lightly floured surface and shape it into a tight ball by pulling the corners toward the center, then flip it seam-side down. While you’re doing this, get your Dutch oven into a 450-degree oven to preheat alongside it.
Now, here’s the thing about oven safety—that Dutch oven’s going to be screaming hot, so respect it. Line the bottom with parchment trimming cut to fit snugly inside, which prevents sticking without the drama. Cover your shaped dough with a towel while everything heats up. You’re almost there.
Bake Covered for 30 Minutes
The moment that Dutch oven comes out of the oven—carefully, because I’m serious about those burns—you’ll transfer your shaped dough onto the parchment paper that’s waiting inside. Now slide that whole thing back in and cover it with the lid. Here’s the thing: that lid traps steam, and steam retention is absolutely critical for developing that gorgeous, crackling crust you’re after. The moisture creates an environment where your bread can expand fully before the crust sets, which means better oven spring and better flavor infusion throughout the crumb. Set your timer for 30 minutes at 450 degrees. Don’t peek. I know it’s tempting, but you’re just letting all that hard-won steam escape.
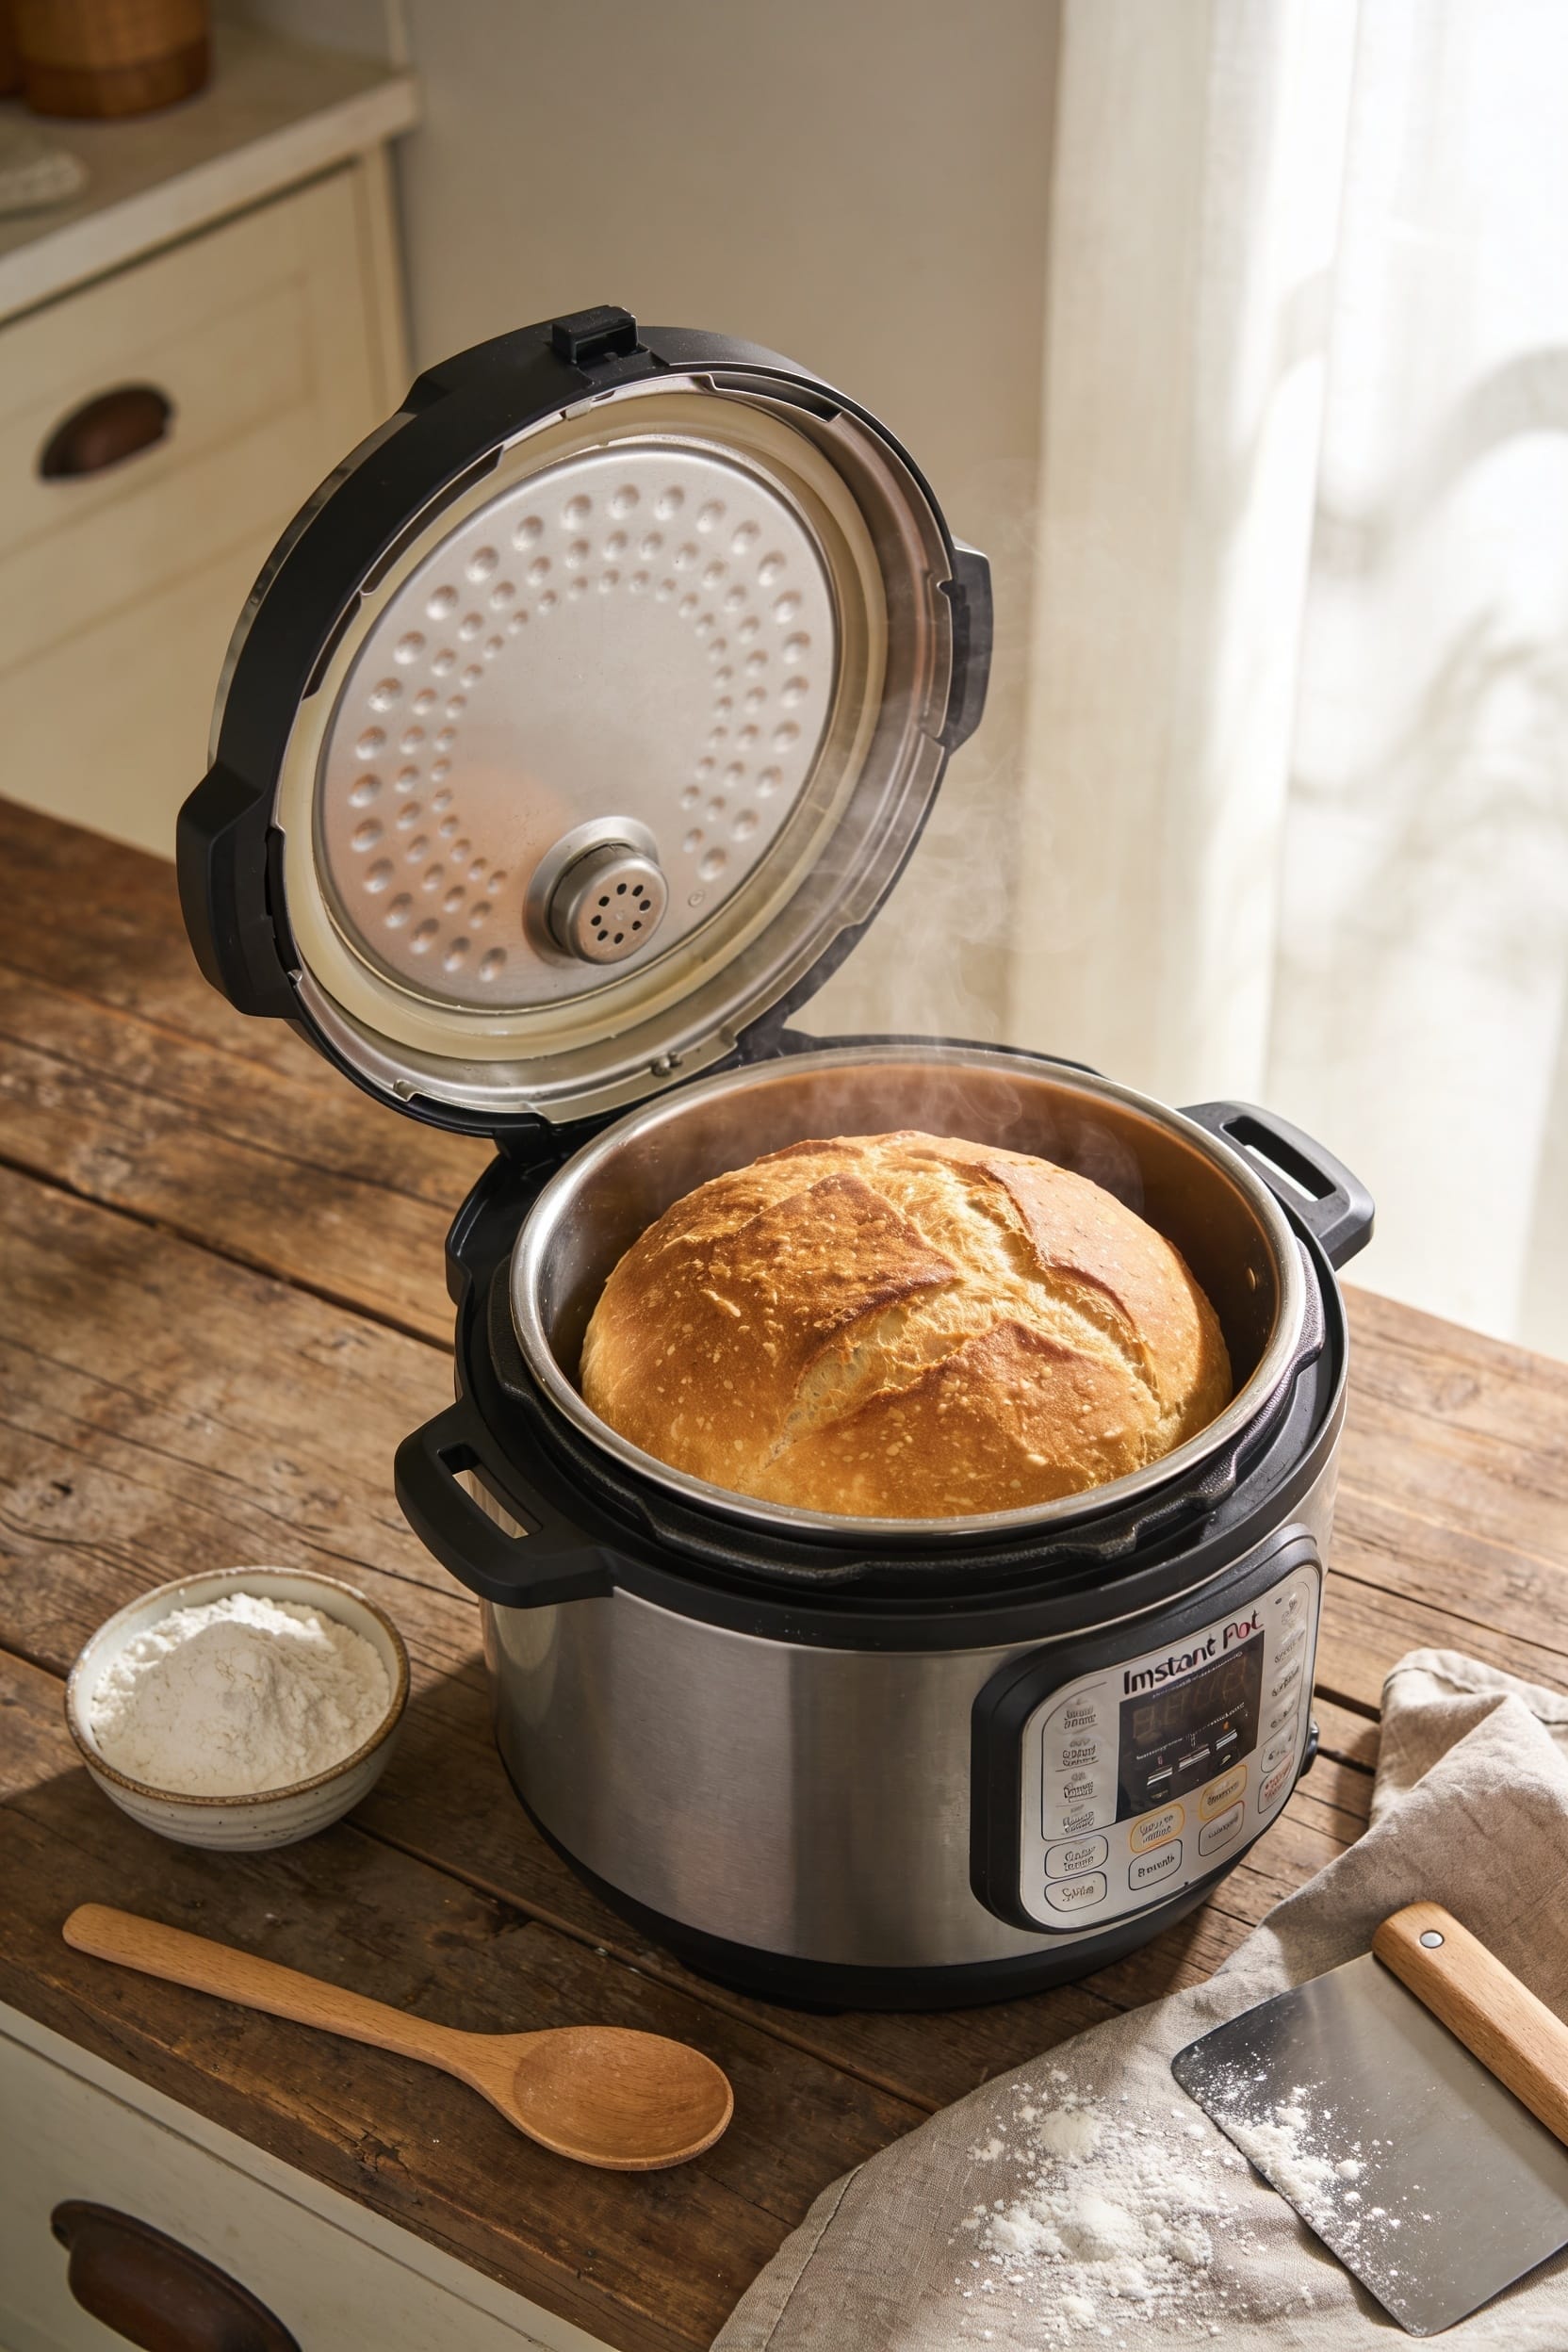
Bake Uncovered for Golden Crust
After those 30 minutes are up, carefully remove the Dutch oven from the oven—and I mean careful, because that steam inside is hotter than the surface of the sun—and take off the lid. Now your bread’s had its oven spring moment, and it’s time to develop that crisp crumb you’re after. Slide that Dutch oven back in, uncovered this time, for another 15 minutes at 450 degrees. What you’re doing here is letting the exterior brown properly and firm up into a proper crust. The exposed heat works magic on the surface, creating those gorgeous golden-brown tones. When those final 15 minutes finish, pull it out and let it cool on a wire rack before slicing—I know it’s torture, but patience matters here.
Cool Your Bread Before Slicing
I know you’re staring at that golden loaf like it’s calling your name, but here’s the thing: letting it cool completely before you slice into it is genuinely non-negotiable if you want decent crumb structure instead of a gummy mess.
When bread comes straight from the oven, the interior’s still steaming—moisture’s moving around, the crumb’s still setting up. You slice now, you’re basically squashing everything before it’s ready. Give it at least 30 minutes on a wire rack, longer if you can manage it. Those resting flavors actually deepen too, which is a nice bonus. The crumb set happens during cooling, and that’s when your bread transforms from hot bread into *good* bread. Patience pays here.
Troubleshoot Common Instant Pot Bread Problems
Even with the best intentions, your Instant Pot bread won’t always cooperate—sometimes it refuses to rise, sometimes it rises too much, and sometimes you end up with a dense brick that could double as a doorstop. An uneven rise usually means your water temperature wasn’t quite right or your yeast’s past its prime. If you’re getting a soggy crumb, you’ve either overproofed the dough or your Dutch oven didn’t get hot enough before baking. I’ve been there—watched my bread collapse like it’d given up on life. The fix? Double-check that water hits 105-110 degrees exactly, use fresh yeast, and trust the visual cues rather than rushing the process. Most problems trace back to skipping those small details.
Frequently Asked Questions
Can I Use All-Purpose Flour Substitutes Like Bread Flour or Whole Wheat Flour?
Yes, you can substitute all-purpose flour. I’d recommend bread flour for chewier texture, though whole wheat flour adds a flavor boost. Expect texture differences—whole wheat absorbs more water and creates denser bread.
What Should I Do if My Dough Doesn’t Double in Size After 4 Hours?
If your dough doesn’t double, I’d check yeast activity and low rise troubleshooting: verify water temperature was 105-110°F, make sure yeast wasn’t expired, and extend proofing time another 2-3 hours before shaping.
How Long Can I Store the Baked Bread, and What’s the Best Storage Method?
I’d recommend storing your baked bread at room temp in an airtight container for up to three days. This method keeps it fresh while maintaining that crusty exterior you’ve worked hard to develop.
Can I Freeze the Dough Before Baking, and How Do I Thaw It?
I’ll freeze your dough while you’re sleeping, and you’ll wake to fresh bread—yes, you can. Freezer timing works best at 24 hours. I’d thaw it overnight in your fridge using slow thawing techniques.
What’s the Difference Between Using Rapid Rise Yeast Versus Active Dry Yeast?
I’d say rapid rise yeast ferments faster than active dry yeast because of better yeast hydration and finer granules. You’ll notice quicker rising times, though I find both work well in my Instant Pot recipes with adjusted proofing schedules.
Conclusion
Look, I get it—you’re thinking an Instant Pot can’t possibly bake bread like a real oven. But here’s the thing: it absolutely can, and you’ve already got one sitting on your counter. You’ll nail crusty, chewy loaves without a Dutch oven fuss, and honestly, that’s a win I didn’t expect either. Give it a shot. Your kitchen’s about to smell incredible.