As an Amazon Associate, we earn from qualifying purchases. Some links on this site are affiliate links at no extra cost to you. Our recommendations are based on thorough research and editorial judgment.
Instant Pot C7 Error Code: What It Means and How to Fix It
Look, the C7 error means your Instant Pot detected a heating glitch, temperature sensor problem, or liquid detection failure—it’s a safety shutdown, not a death sentence. Most times it’s just insufficient liquid, a gunked-up heating sensor, or a stuck float valve. Start by power-cycling, checking your liquid level (you need at least a cup), and wiping down that sensor. If it persists after cleaning, you’re probably looking at a faulty heating element requiring professional repair. But here’s what’ll save you time and money, plus prevent this from happening again.
Key Takeaways
- C7 error indicates heating, liquid detection, or temperature-sensor malfunction that triggers a safety-driven shutdown.
- Check liquid level (minimum 1–2 cups), clean the heating sensor, and verify the sealing ring is intact.
- Inspect the float valve for debris, ensure proper assembly, and power-cycle the unit for five to ten minutes.
- Persistent C7 after basic troubleshooting suggests faulty heating element or internal short requiring professional diagnosis.
- Replacement gaskets cost $10–$15; evaluate repair costs against unit replacement value, especially for older models.
What Is the C7 Error Code and Why It Matters?
When your Instant Pot flashes that C7 error code, it’s basically telling you that something’s gone wrong with how it’s heating or detecting liquid—and it’s doing you a favor by shutting down before things get dangerous. This error ranks among the most common ones you’ll encounter, which means Instant Pot’s error history shows it’s a recurring headache for plenty of users. The thing is, user safety sits at the center of why this code exists. Your pot’s detecting either insufficient liquid, a heating malfunction, or a temperature sensor problem. Rather than let things overheat and potentially cause a fire, it just stops and yells for your attention. Once you understand what’s triggering it, most fixes are surprisingly straightforward.
Common Causes: Why Your Instant Pot Is Throwing C7
Because your Instant Pot’s basically a pressure vessel that needs very specific conditions to work properly, there are several predictable reasons why it might decide to bail out on you with that C7 error.
Look, most of the time you’re dealing with insufficient liquid—the pot needs at least a cup or two of water-based liquid to build pressure. But here’s where it gets frustrating: you can have plenty of liquid and still trigger C7 if you’ve got food debris gunking up your heating sensor or causing float obstruction. That little metal pin next to the steam release valve? Yeah, it gets stuck constantly. Then there’s your sealing ring—if it’s worn or damaged, pressure won’t build properly, and the pot freaks out. Clean everything first.
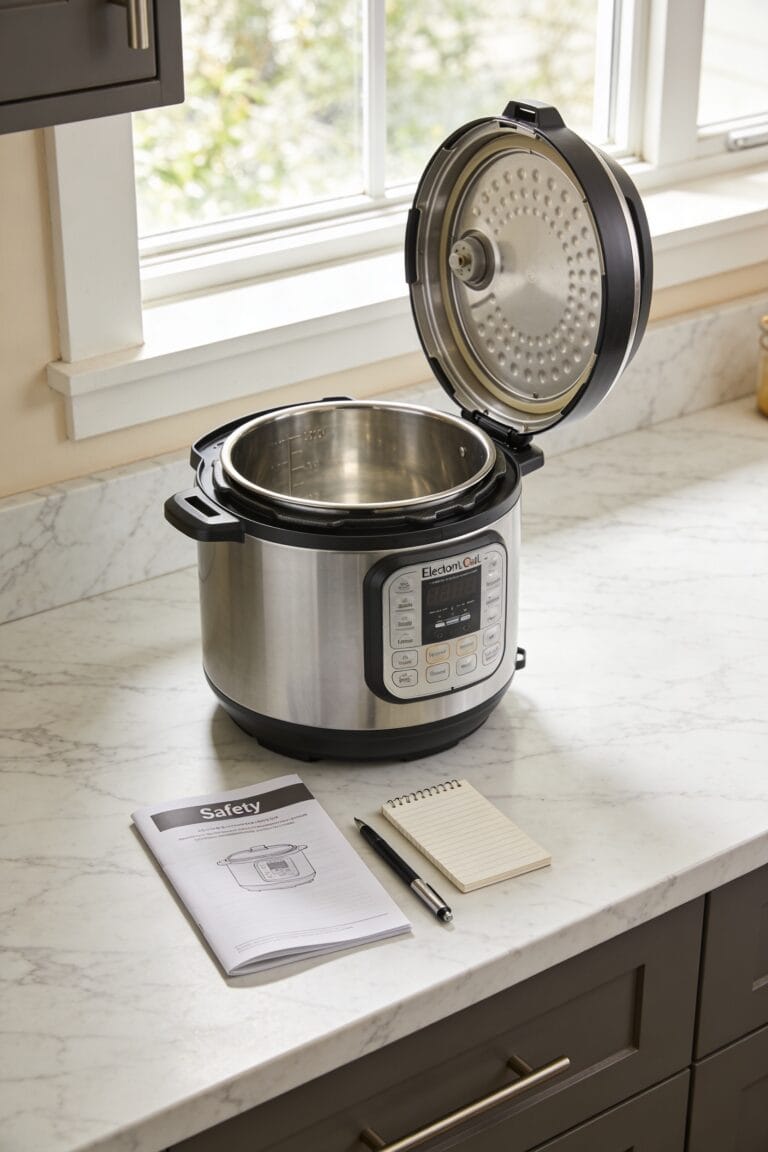
Step 1: Reset and Check Your Liquid Level
Let’s start by turning things off and turning your attention to what’s actually inside that pot, because honestly, about half the time you’re seeing C7 pop up on your display, it’s because of something so simple it almost feels insulting.
First, do a quick reset. Unplug your Instant Pot for a solid five minutes—longer if you’re feeling patient. This clears whatever electronic hiccup triggered the error in the first place.
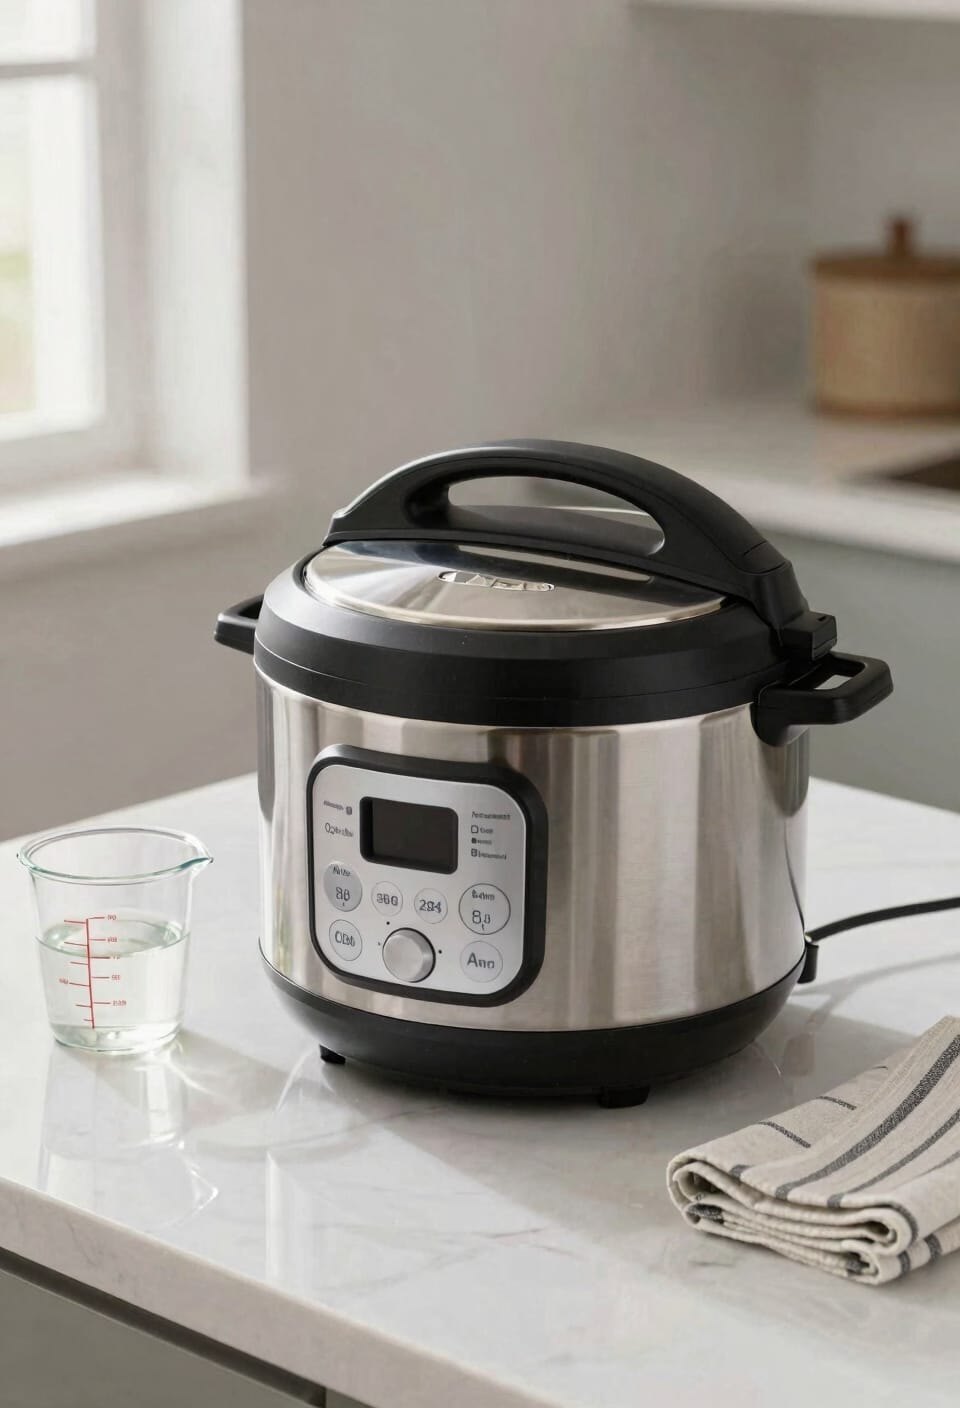
Now here’s the real culprit: your liquid check. The Instant Pot needs at least 1-2 cups of water-based liquid to build pressure properly. I know it sounds basic, but underfilled pots are the C7 error’s best friend. Open that lid, peer inside, and verify you’ve actually got enough liquid in there before you try cooking again.
Recommended Products

Cooking pots: with the stainless steel pots in 16 cm, 20 cm and 24 cm, you have the ideal pot for every dish. An integrated litre scale allows easy measuring of liquids and saves the additional measuring cup.

Integrated scale automatically senses the amount of grains, rice or beans you've added in order to calculate the ideal water-to-grain ratio for what you're cooking

Unlock versatility with our 3-in-1 coffee and tea maker to relish your coffeehouse favorites, whether hot, iced, or as delightful frozen treats, all from a single, multifunctional machine
Step 2: Clean the Heating Sensor and Float Valve

After you’ve ruled out the liquid situation, it’s time to get a little hands-on—and I’m talking about cleaning the parts that actually detect whether your pot’s working right. The heating probe sits at the bottom of your inner pot, and it gets gunked up with food debris faster than you’d think. Same goes for float maintenance—that little metal pin next to the steam release valve traps more gunk than a lint trap. Unplug your Instant Pot, remove the inner pot, and wipe down that heating sensor with a damp cloth. For the float valve, gently clean around it without forcing anything. Sometimes that’s literally all it takes to make the C7 error disappear.
Recommended Products

Overheating sensors recognize when no cookware is present and turns off.

EFFICIENT HOT WATER URN - The NutriChef 5.2 Qt electric water kettle offers quick heating and maintains hot water for extended periods. Perfect for making tea, coffee, and instant meals, this convenient water boiler simplifies your kitchen routine.

PRECISION BREWING FOR TEA, COFFEE & HERBAL: Achieve ideal flavors with 6 temp presets: 212°F for morning black tea (Earl Grey and English Breakfast); 200°F for French press, pour-over, or instant coffee; 190°F for tropical Oolong; 185°F for premium white tea; 175°F for green tea (Japanese sencha and Chinese biluochun); 160°F for herbal infusions and honey water. No app needed - just press a button!
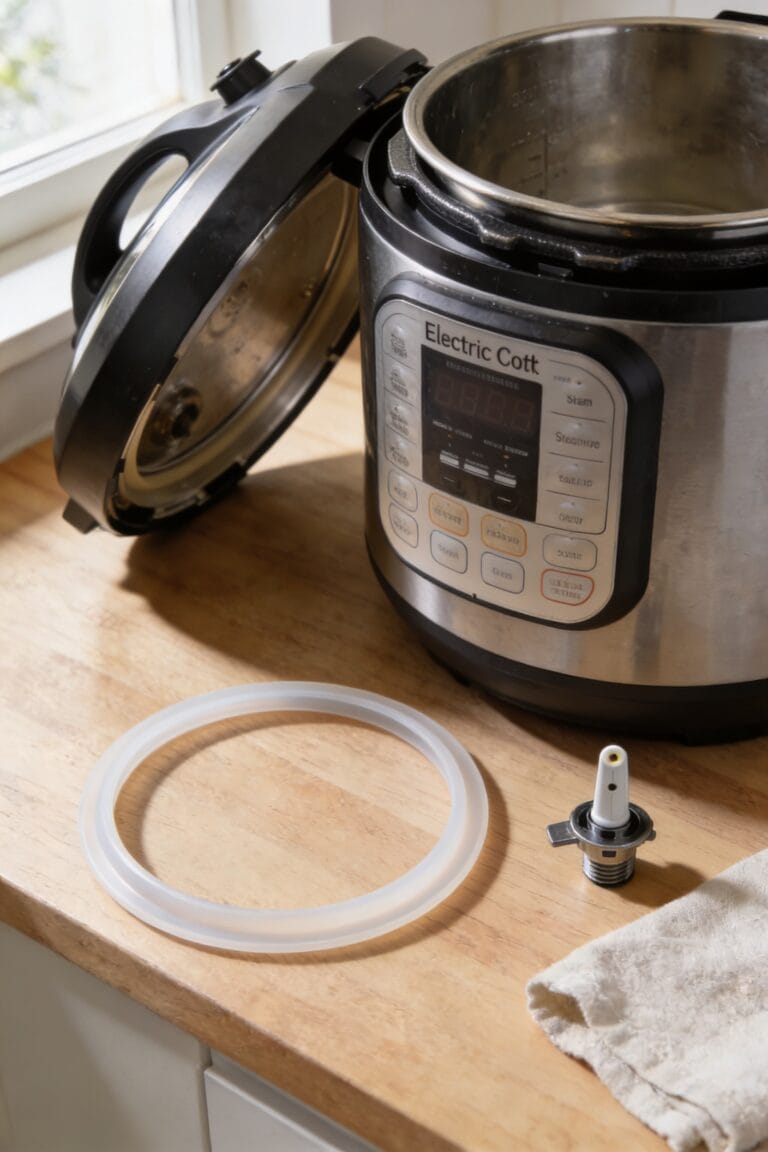
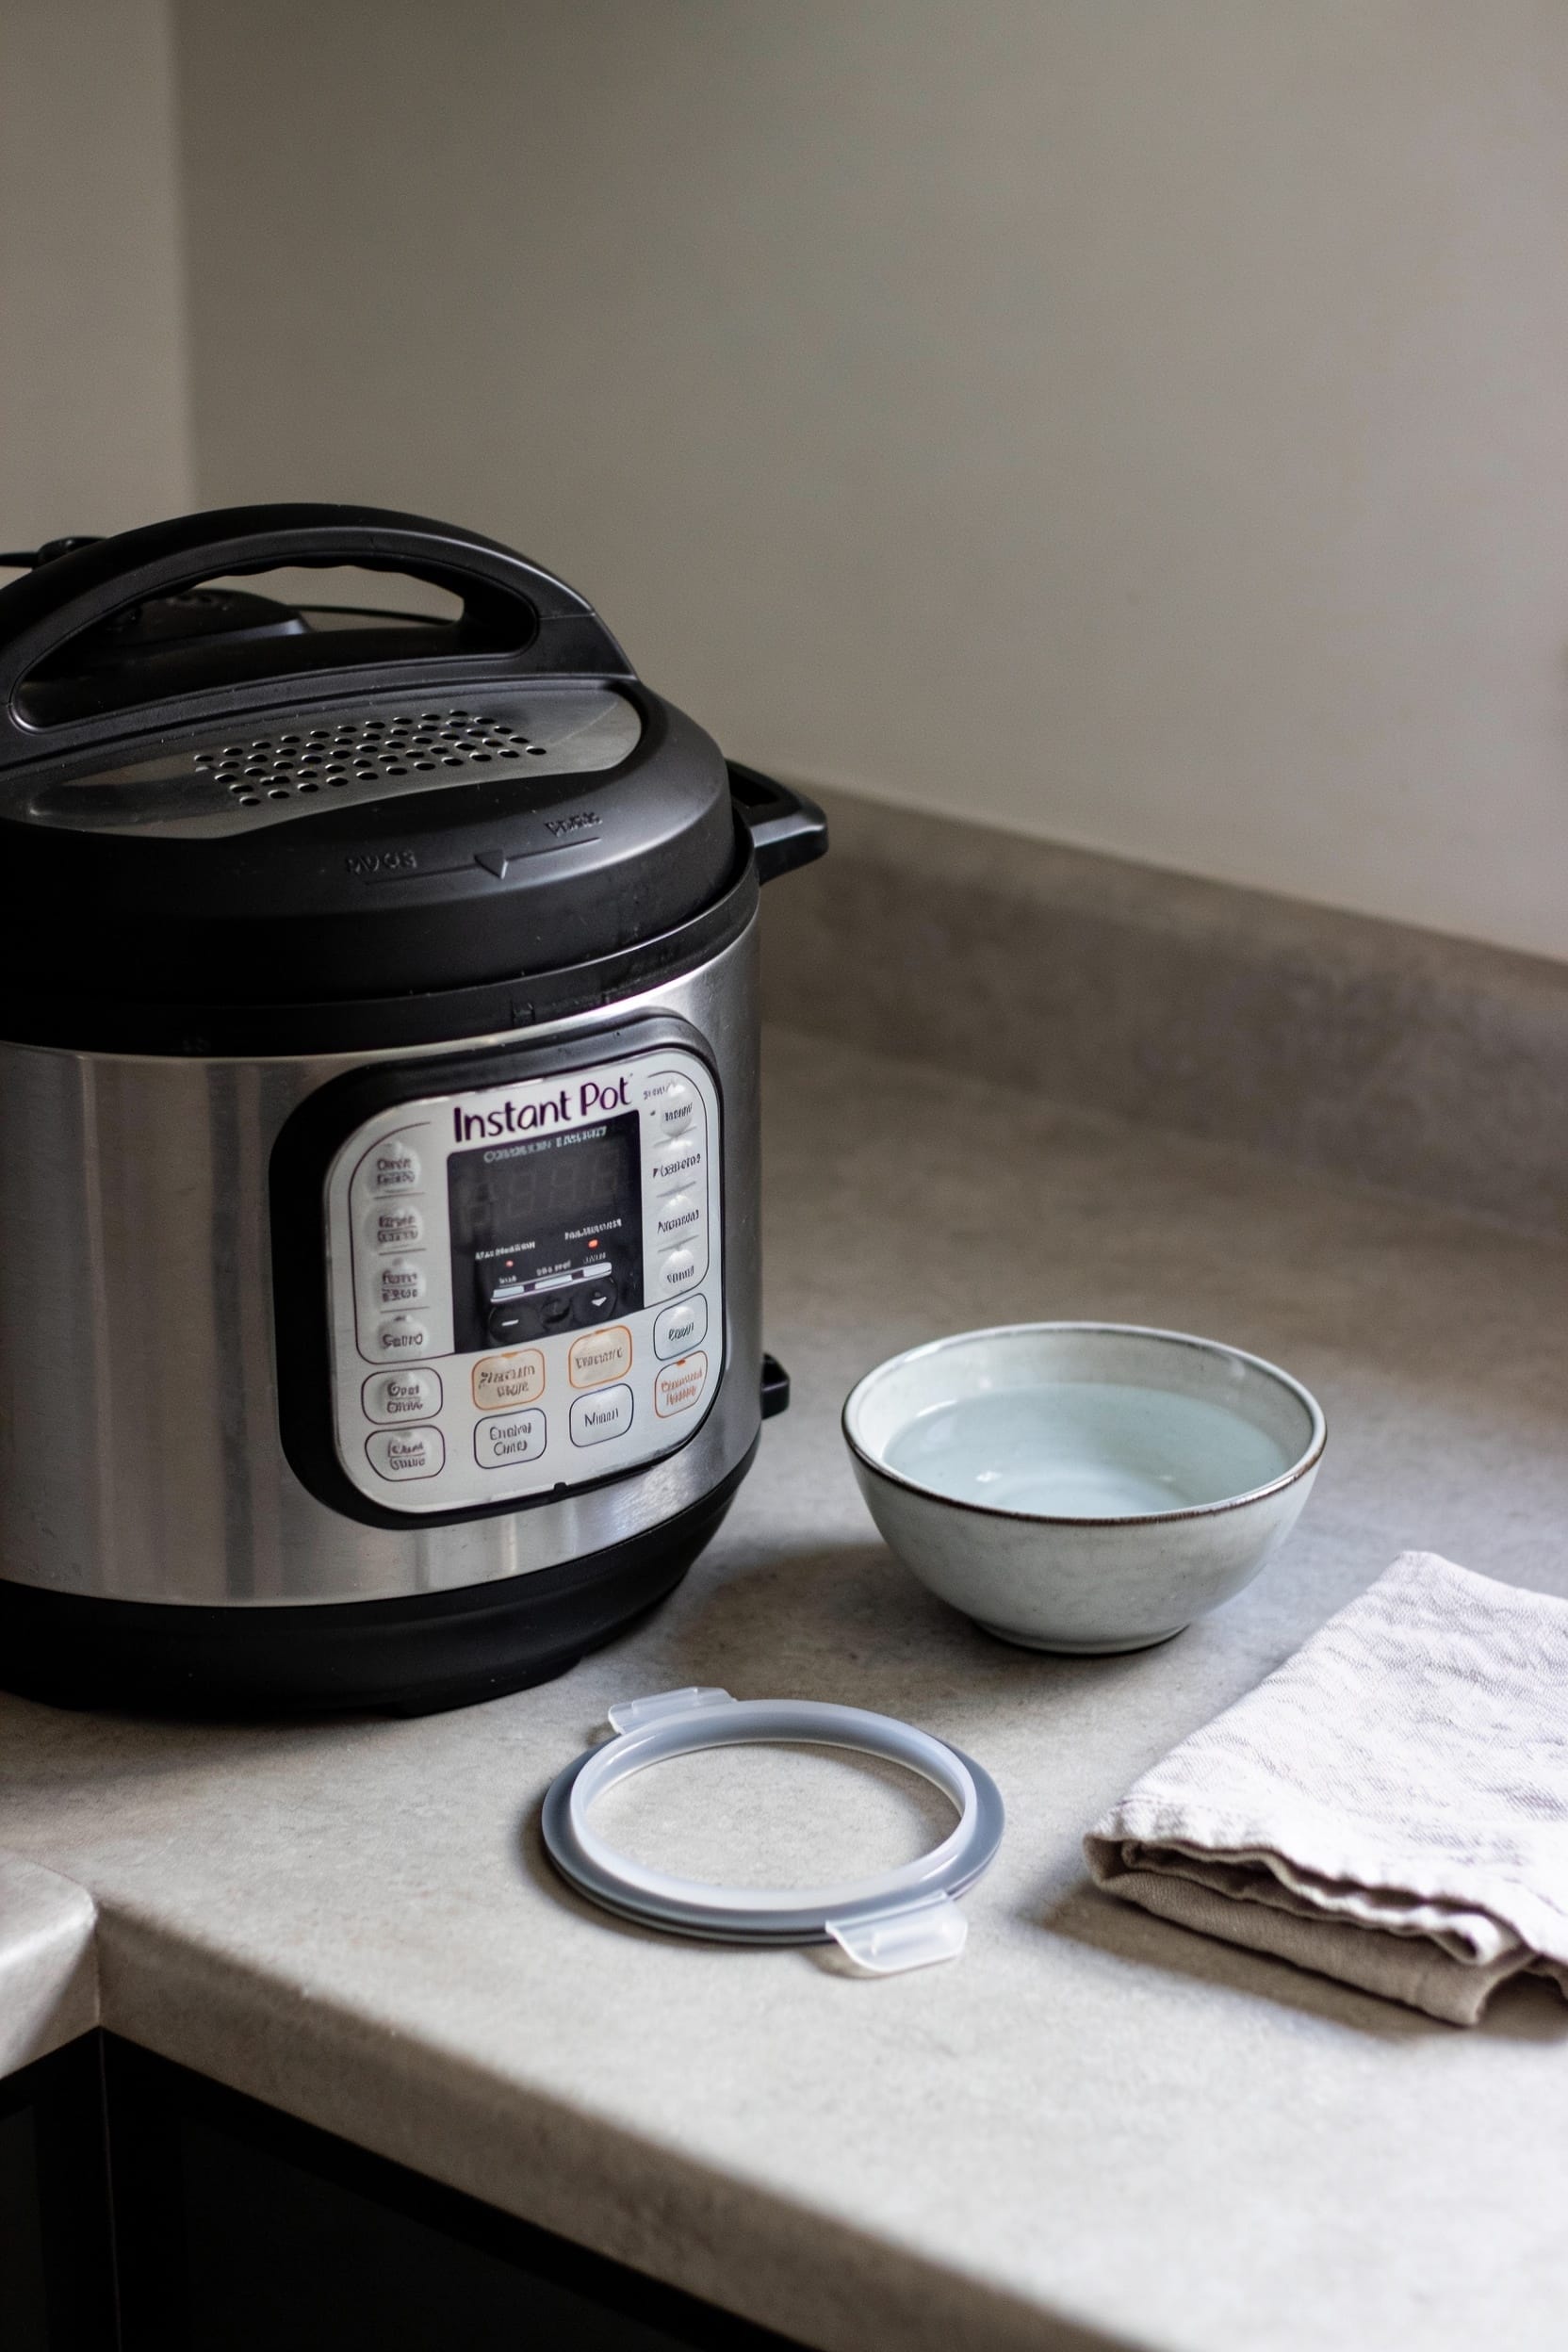
Step 3: Verify the Sealing Ring and Steam Release Valve
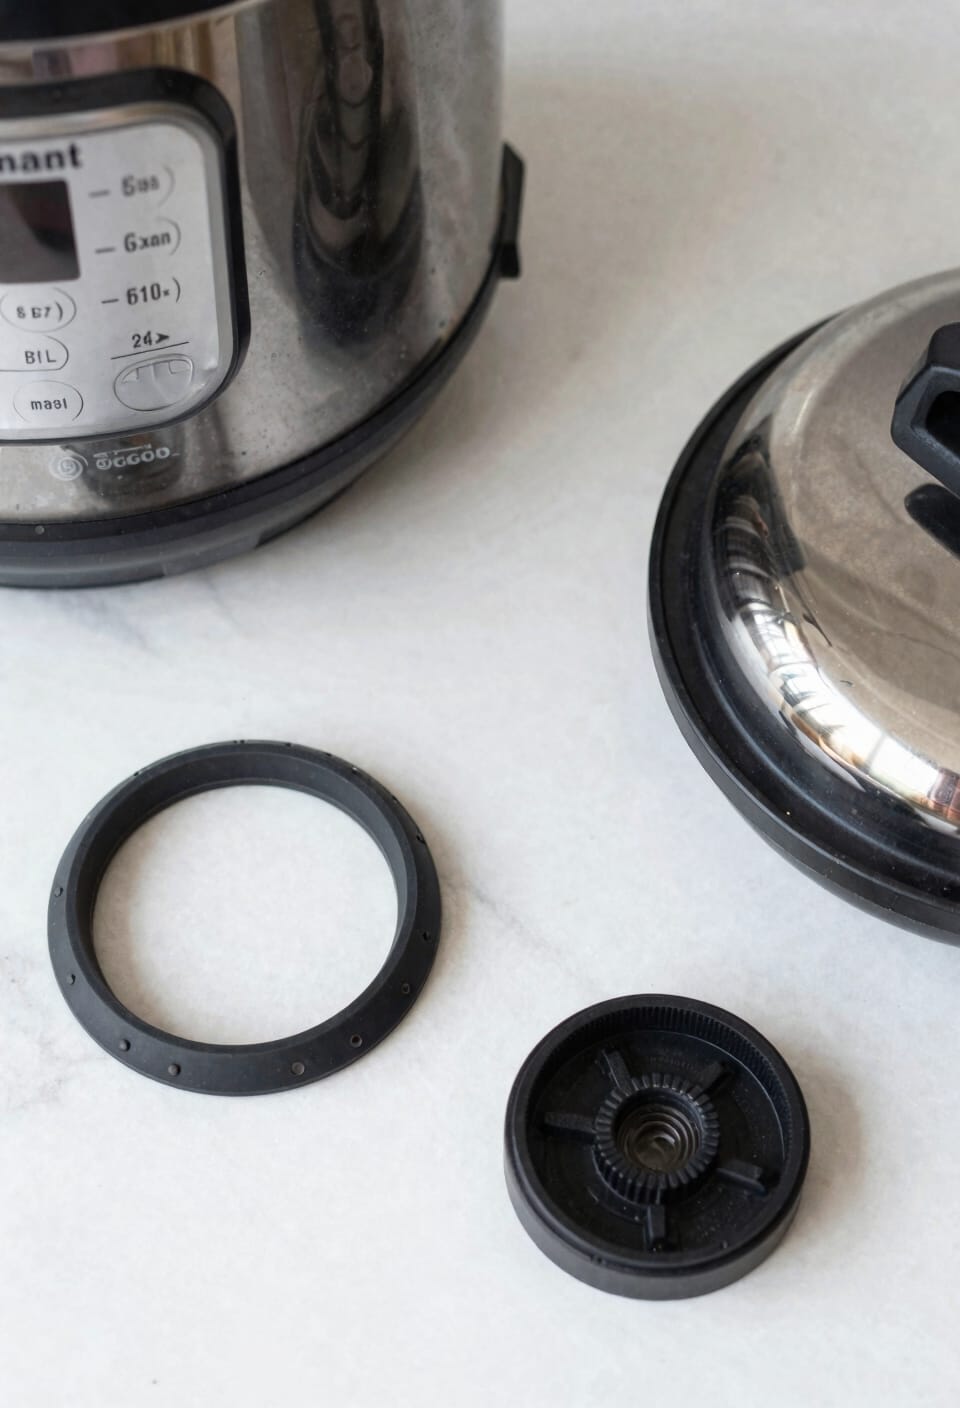
Now we’re moving into the stuff that actually keeps your Instant Pot sealed up tight—and trust me, a faulty sealing ring or misaligned steam release valve will throw a C7 error faster than you can say “pressure cooker malfunction.” The sealing ring, also called the ceiling ring, is basically the rubber gasket that creates an airtight seal so your pot can build pressure properly, and if it’s worn out, cracked, or not sitting flush in its groove, your Instant Pot will bail out with that C7 code because it can’t maintain the pressure it needs to work.
For your sealing inspection, pull that ring out completely and check for visible damage—cracks, discoloration, or permanent deformation mean replacement time. Make sure it’s seated evenly in its groove. Meanwhile, verify your valve alignment by confirming the steam release valve sits in the sealing position, not stuck in vent. A replacement ring runs about $10-$15 and takes two minutes to swap.
Recommended Products


2 RINGS: 2 rings are included - Integral part of the instant pot safety mechanisms; These authentic instant pot sealing rings are designed, engineered, and built with the optimal material to achieve the highest safety standards

The Complete Pressure Cooker Accessories: Stop searching for individual parts! This all-in-one 10-piece replacement set has everything you need to restore your Pressure Cooker's performance. You'll receive a Silicone Sealing Ring, Steam Release Valve, Float Valve, 3 Float Valve Gaskets, an Anti-Block Shield, an Anti-Block Shroud Bracket, and 2 Valve Sealing Rings. No more guesswork – this kit tackles the most common failure points at once.
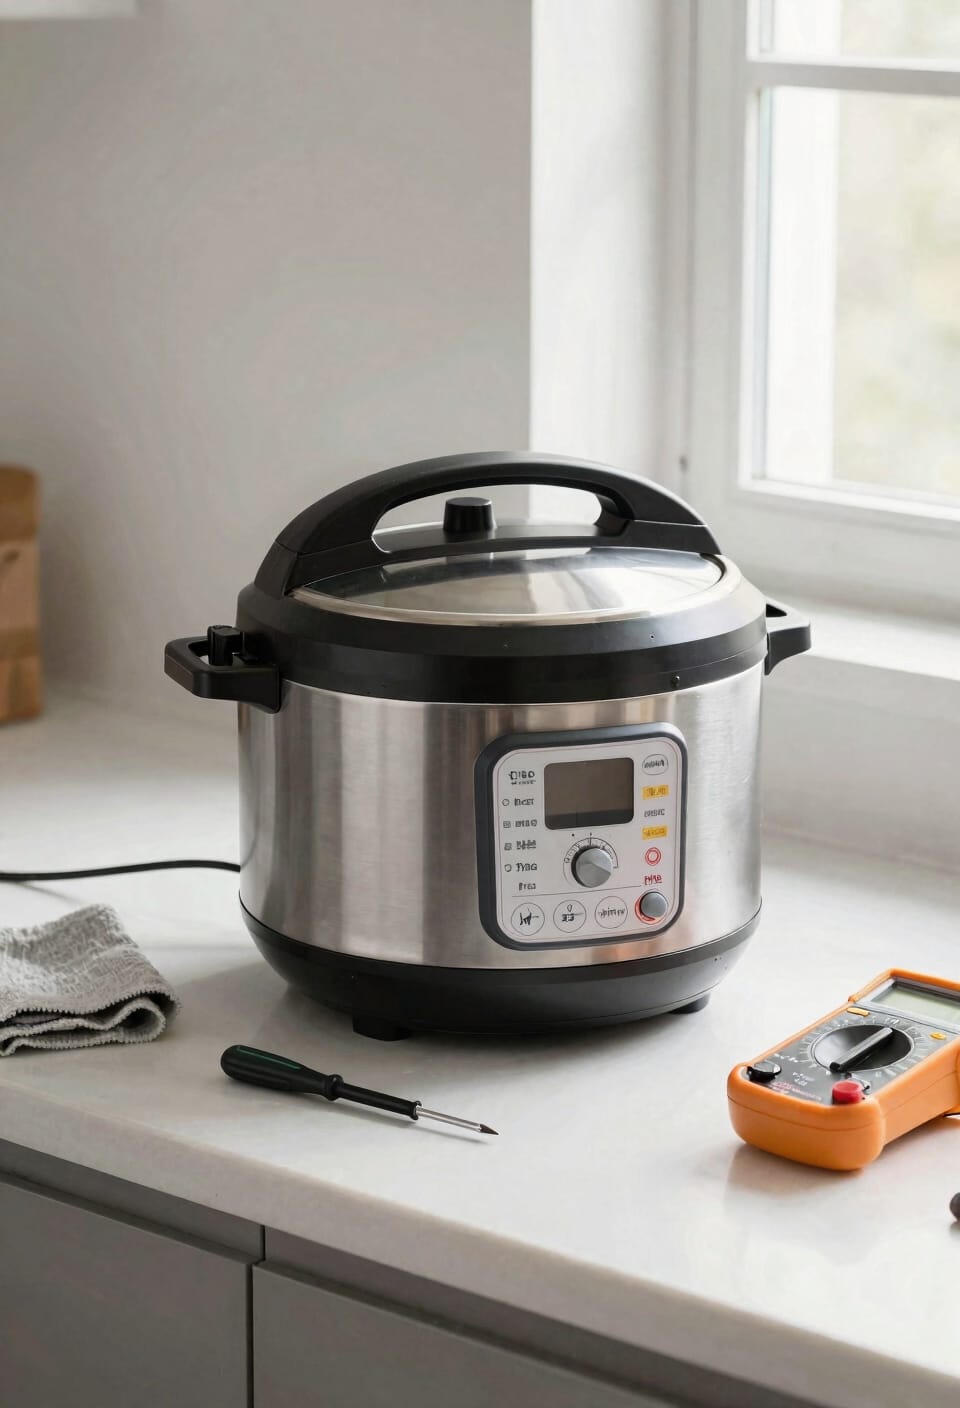
Still Getting C7? When DIY Stops Working
Look, I get it. DIY troubleshooting feels productive until it doesn’t. User experiences across forums and Reddit threads consistently show that persistent C7 errors after you’ve genuinely done the work usually point to one culprit: a faulty heating element or temperature sensor. These aren’t things you can MacGyver your way through at home.
That’s when contacting Instant Pot support becomes your move. They’ll assess warranty coverage and handle replacement without you voiding anything or risking further damage.
Recommended Products
THIS WHIRLPOOL JEA8120ADB RADIANT ELEMENT CARTRIDGE WORKS WITH MANY JENNAIR, WHIRLPOOL, MAYTAG AND

The USA & Canada ETL Certified Electric Stove Induction Cooktop designed and engineered in the USA by Empava Appliances with US Based Manufacturer's after-sales service.

INSTANT HOT WATER TANK WITH FILTER SYSTEM: 10.875-in by 6.125-in, 2/3-gallon tank (HWT-00) with easily adjustable tank water-temperature control for near-boiling, instant hot water plus 12.5-in by 2.25-in F-1000S water filter system
Repair vs. Replace: When Fixing Costs More Than Buying New
Once you’re staring down a $50 repair bill for a heating element replacement on an Instant Pot you picked up five years ago for $60, the math starts getting real depressing real fast. Here’s the thing: a cost analysis almost always favors replacement over repair for older models. You’ll find decent pressure cookers for $70–$100 these days, which means you’re basically throwing good money after bad trying to resurrect that beat-up unit. Resale value? Forget it. Nobody wants a broken Instant Pot, and even a working used one barely fetches half its original price. Unless you’ve got serious attachment issues or that particular model still has warranty coverage, buying new makes way more financial sense than nursing along a failing machine.
Recommended Products

9-IN-1 FUNCTIONALITY: Pressure cook, slow cook, rice cooker, yogurt maker, steamer, sauté pan, yogurt maker, sterilizer and food warmer.

Cooks Fast and Saves Time: The Instant Pot Duo multi-cooker combines 6 appliances in one: pressure cooker, slow cooker, rice cooker, steamer and warmer – and cooks up to 70% faster

13 Cooking Functions: Pressure cook, air fry, slow cook, steam, sauté, roast, bake, broil, dehydrate, sous vide, make yogurt, proof bread, or simply keep your meal warm— all in one appliance.
Heating Element Failed? Here’s Why You Need Professional Help
If the heating element‘s actually gone bad, though, we’ve hit the point where DIY fixes won’t cut it—and that’s when you need to stop tinkering and start accepting reality. A failed heating element means your Instant Pot’s done cooking, literally. You can’t replace it yourself without basically rebuilding the whole unit, and honestly, it’s not worth the headache.
Here’s where a warranty consultation becomes your best friend. Contact Instant Pot support directly—they’ll walk you through whether you’re covered and what replacement options exist. A safety inspection from the manufacturer also matters; they’ll confirm it’s actually the heating element and not something cheaper hiding underneath.
Bottom line? Professional help isn’t optional here. It’s your smartest move.
Prevent C7 Errors: Five Maintenance Habits That Work
Most C7 errors aren’t actually mysterious—they’re preventable, and I’ve found that the difference between a pot that runs smoothly for years and one that constantly throws fits comes down to five surprisingly simple habits you can start implementing today.
First, routine inspection of your gasket matters more than you’d think. I check mine monthly for cracks or warping because a compromised seal kills pressure buildup faster than you can say “safety mechanism.” Second, wipe down your heating sensor after every use—food residue is basically asking for trouble. Third, keep that steam valve clean and make certain it’s sealing properly. Fourth, verify your liquid levels match your recipe. Finally, store your gasket care supplies nearby so cleaning actually happens. These aren’t groundbreaking, but they work.
When to Contact Instant Pot Support
After you’ve cleaned the heating sensor, verified your liquid levels, and unplugged the pot for a solid ten minutes, there’s still a chance you’re staring at that C7 error like it’s a personal insult—and that’s when you need to stop troubleshooting and start reaching out to the actual experts. If your heating element‘s genuinely failed, you can’t fix that yourself, and that’s where customer support comes in. Reach out to Instant Pot through their official channels and ask about warranty options. Depending on your model’s age and coverage, you might qualify for a replacement or professional repair. Look, sometimes the best DIY move is knowing when to let someone else handle it. Don’t waste weeks fighting a losing battle when a quick call could solve everything.
Frequently Asked Questions
Can I Use the Instant Pot Immediately After the C7 Error Appears, or Must I Wait?
You shouldn’t use it immediately. I’d recommend unplugging it for 30 seconds to 5 minutes first. This safety precaution lets your pot reset properly before attempting immediate restart, preventing potential damage.
Does the C7 Error Indicate My Instant Pot Is Permanently Damaged Beyond Repair?
No, it’s not permanently damaged. I’ve seen users fix C7 errors through cleaning or liquid adjustments. However, if your heating element’s failed, you’ll need repair options like warranty coverage or service centers—replacement costs around $50.
Which Instant Pot Models Are Most Susceptible to Experiencing C7 Errors?
I’d say older Instant Pot Duo models manufactured between 2016-2022 are most susceptible to C7 errors. However, the Duo Nova and Duo Plus can experience them too, though newer models incorporate better prevention technology.
How Long Does a Sealing Ring Typically Last Before Requiring Replacement?
I’ve found that sealing rings don’t have a fixed lifespan—it’s actually dependent on your usage patterns. Replacement indicators include visible wear, cracks, or when you’re experiencing frequent C7 errors. Lifespan factors vary considerably based on maintenance.
Can a C7 Error Occur During the Natural Pressure Release Phase of Cooking?
Yes, I’ve found that a C7 error can occur during natural release if your valve position isn’t properly sealed or if debris’s stuck in the float valve, preventing correct pressure regulation throughout the release phase.
Conclusion
you’ve now got the knowledge to tackle that C7 error yourself, so why call it quits before trying? Most of the time, it’s just a dirty sensor or low liquid—fixes that take minutes, not dollars. Sure, sometimes your heating element’s genuinely done for, and that’s when you make the call. But honestly, a little preventative maintenance keeps your Instant Pot humming along like it’s supposed to.