As an Amazon Associate, we earn from qualifying purchases. Some links on this site are affiliate links at no extra cost to you. Our recommendations are based on thorough research and editorial judgment.
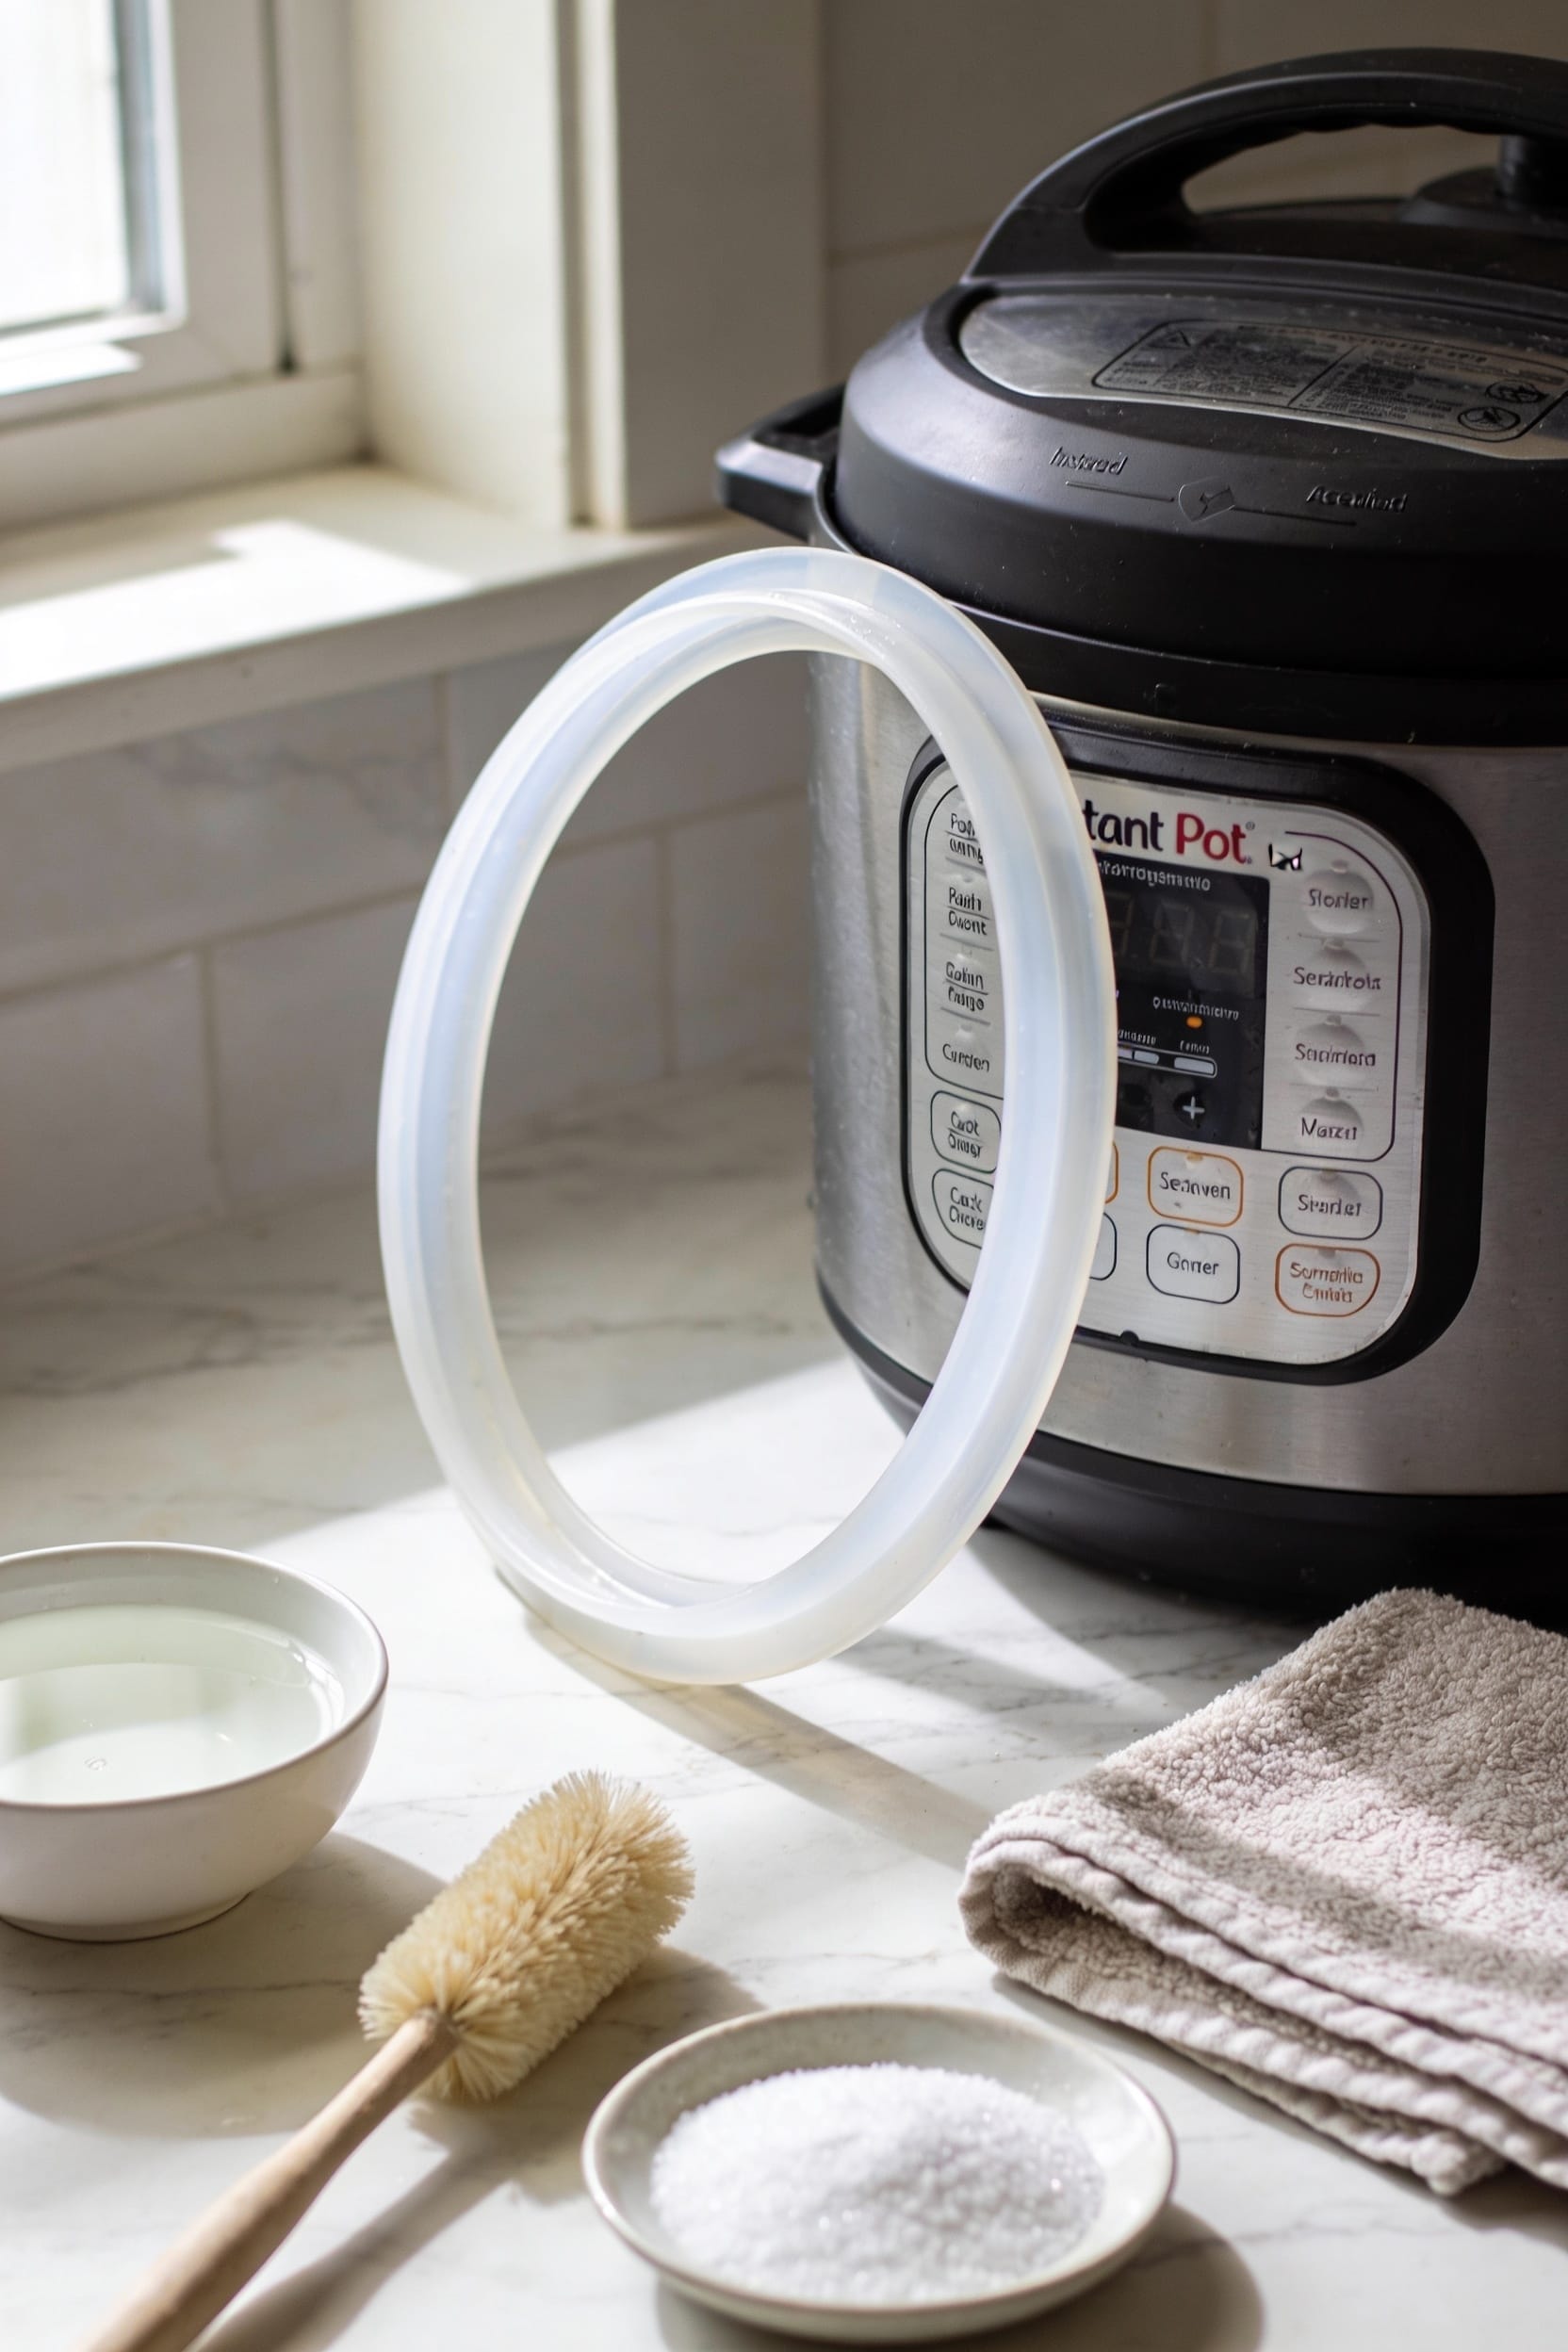
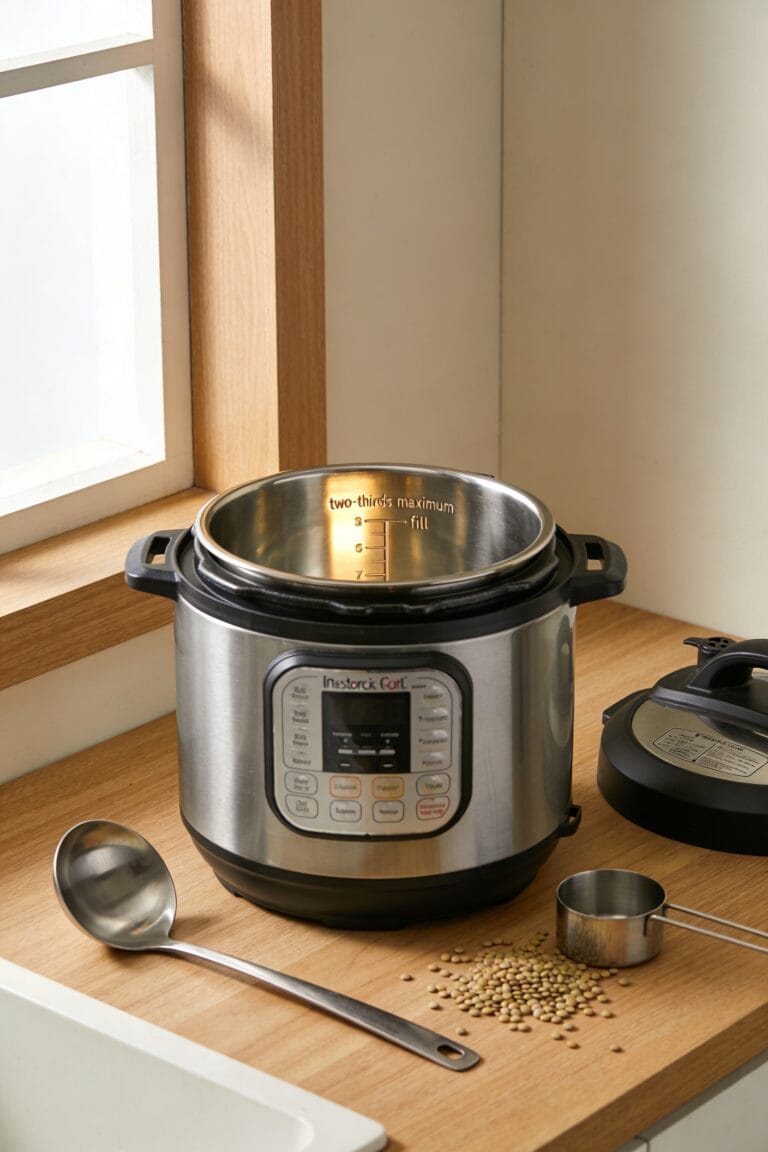
How to Clean an Instant Pot Sealing Ring
Look, here’s the thing—your sealing ring‘s basically a flavor sponge, so you’ve got to treat it right. Start by hand-washing any caked-on food with warm soapy water and a toothbrush, then either toss it in the dishwasher or keep scrubbing by hand. If stubborn smells stick around, soak it in white vinegar overnight, rinse thoroughly, and air-dry completely before popping it back in. Check that it sits snug in the groove with no twists. Keep separate rings for savory versus sweet cooking to prevent ghost flavors—trust me, chili-flavored cheesecake isn’t a vibe. We’ve got the full playbook on keeping this thing pristine.
Key Takeaways
- Hand-wash baked-on food with warm soapy water and a toothbrush before considering dishwasher cleaning.
- Place the sealing ring on the dishwasher’s top rack away from heating elements for convenience.
- Soak the ring in white vinegar overnight to eliminate stubborn odors and rinse thoroughly afterward.
- Air dry the ring completely on a clean towel before reinserting into the lid.
- Inspect the ring for cracks, tears, or warping and replace if damage is detected.
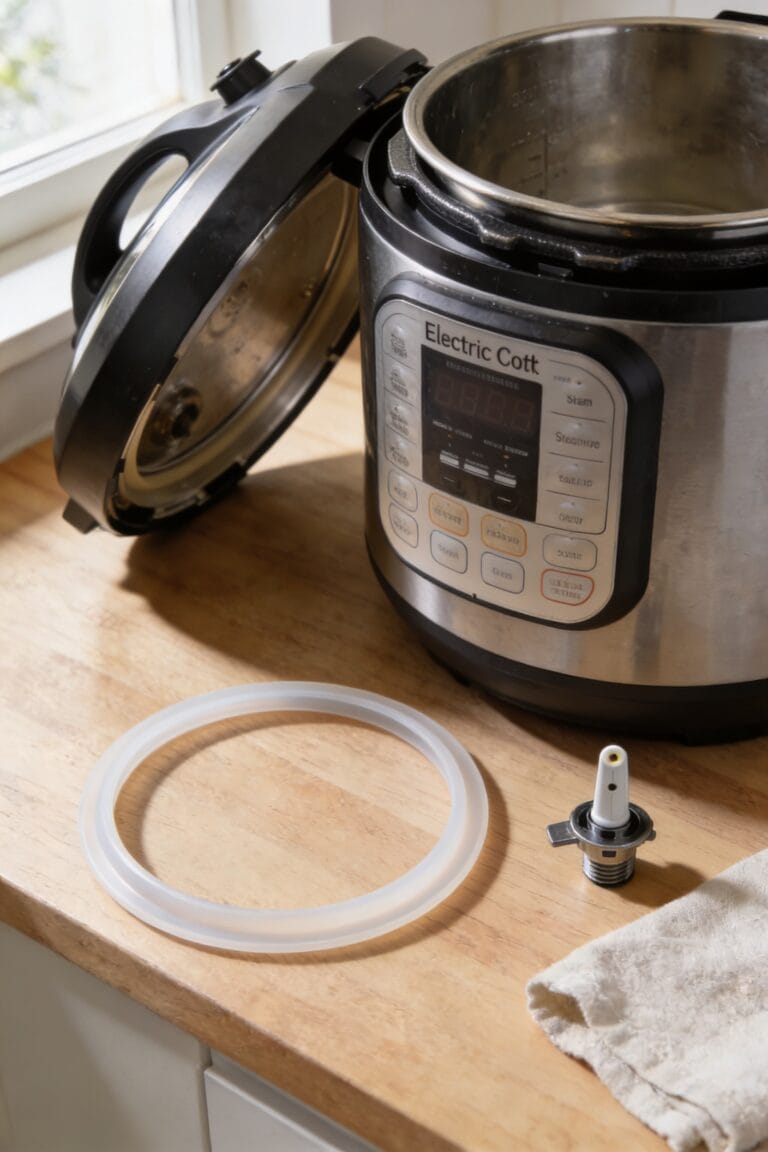
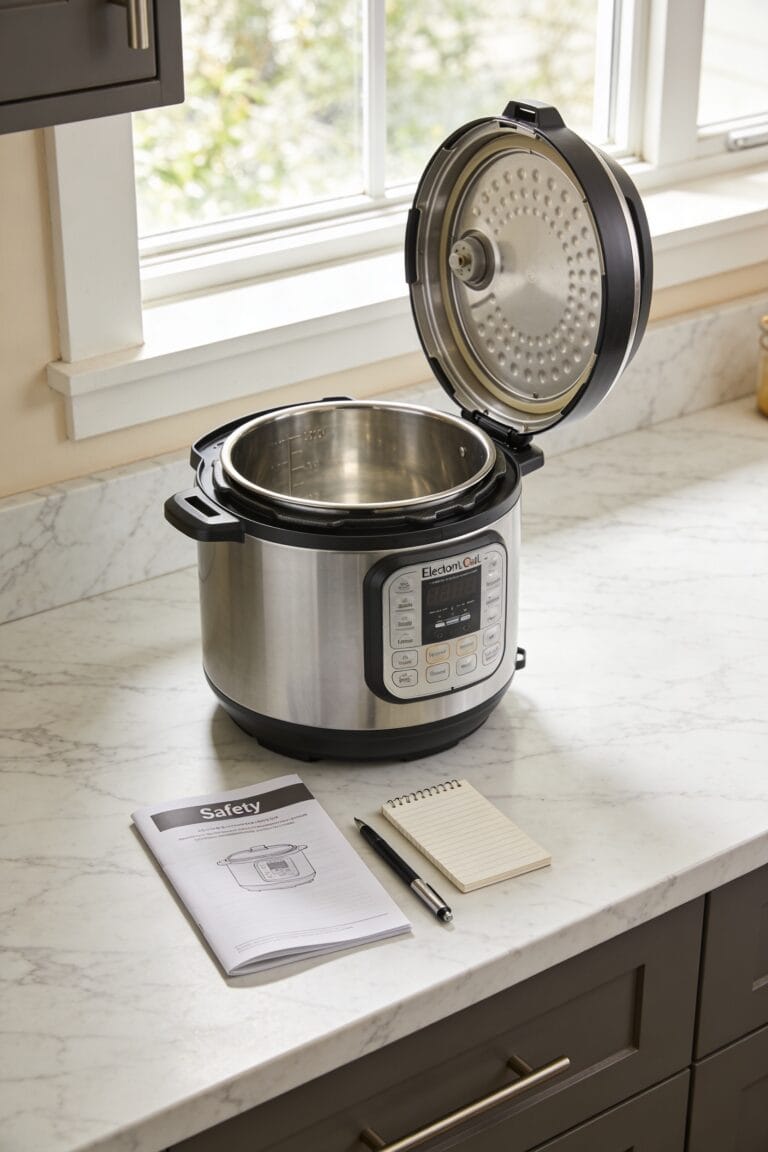
Check for Damage When You Remove Your Ring
Take a good look at your sealing ring the moment you pull it from the lid—this is when you’ve got the best chance of catching damage before it causes problems down the line. I can’t stress this enough: a visual inspection is genuinely important. Look for cracks, tears, or any warping that might compromise your cooker’s seal. Even tiny damage means trouble during pressure cooking.
Now, here’s the thing—if you spot anything questionable, don’t just shrug and reuse it anyway. Damaged rings need replacing with genuine Instant Pot® sealing rings, period. That warranty reminder isn’t just fine print; it’s there because using damaged components voids your coverage. You’ll want to order a replacement before your next cooking session anyway.
Hand-Wash Caked-On Food First
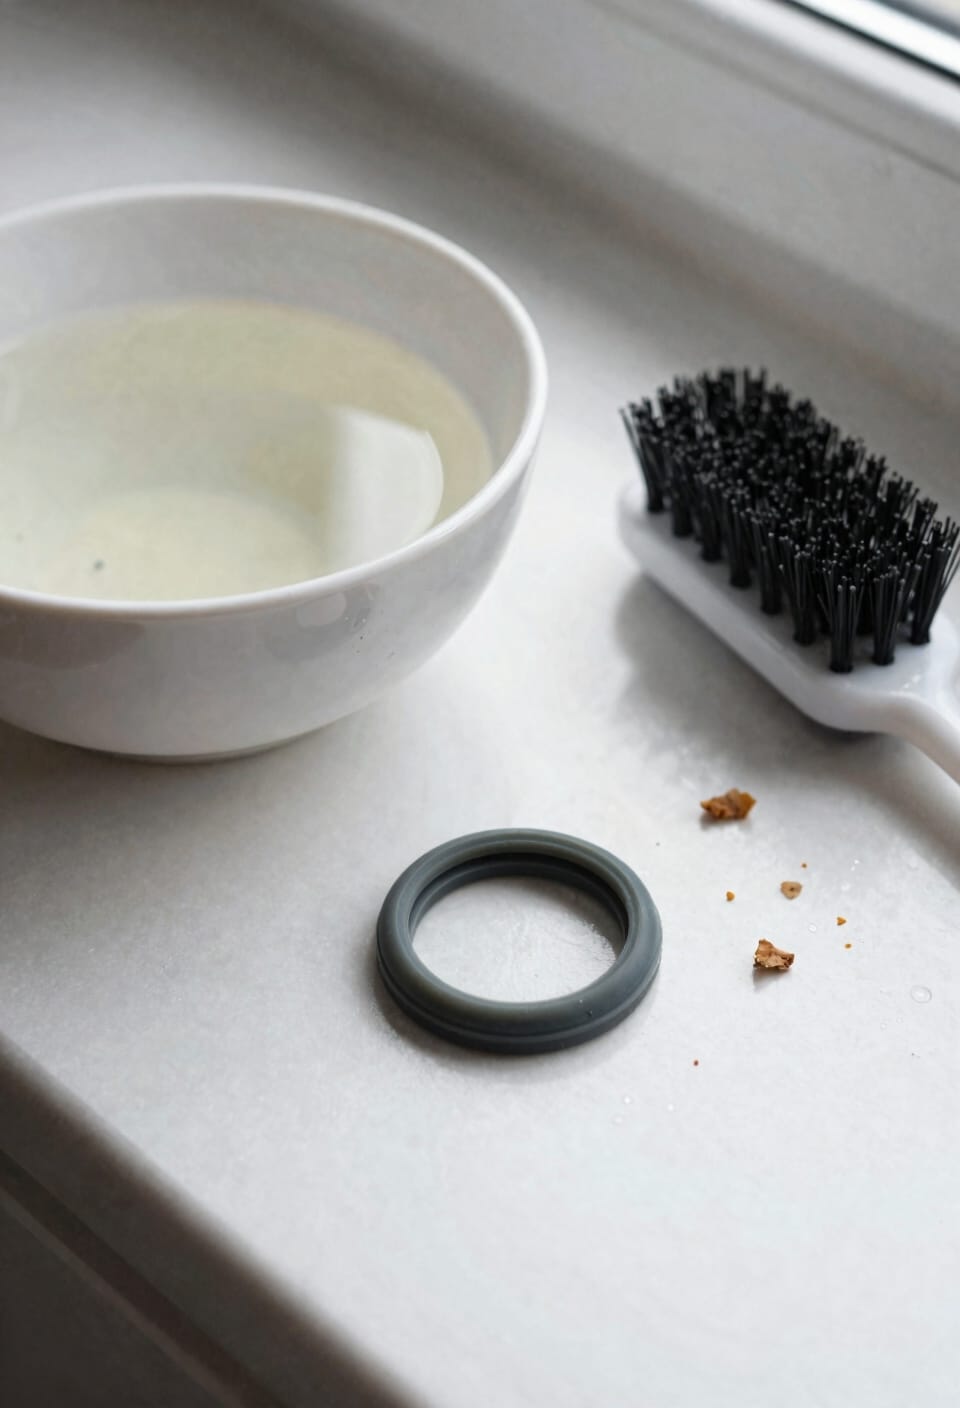
Now, before you even think about running that sealing ring through the dishwasher, you’ll want to deal with whatever food’s baked onto it—and I mean really baked on. I’ve learned this the hard way after one too many curry disasters. Grab some warm soapy water and a toothbrush for gentle scrubbing. Work those bristles into the ring’s grooves where debris loves to hide. For stubborn, crusty bits that won’t budge, let the ring soak for a few minutes first—that softens things up considerably.
If you’re dealing with a serious stain treatment situation, don’t hesitate to let it sit longer. Once you’ve scrubbed away the visible gunk, you’re ready for either the dishwasher or another hand-wash round. Either way, you’re starting fresh.
Clean Your Ring in the Dishwasher or by Hand

Once that caked-on food is history, you’ve got two solid paths forward, and honestly, I’m not precious about which one you pick. The dishwasher method is pure convenience—pop that ring on the top rack and let the heat do the work. The material durability of silicone handles dishwasher cycles beautifully, so you’re not risking anything there. Dishwasher placement matters though; keep it away from the heating element if your machine has one. Prefer hands-on control? Hand-washing with warm soapy water works just as well, especially when you grab a toothbrush for stubborn spots. Either way, make sure it’s completely dry before you reinstall it. That’s the non-negotiable part.
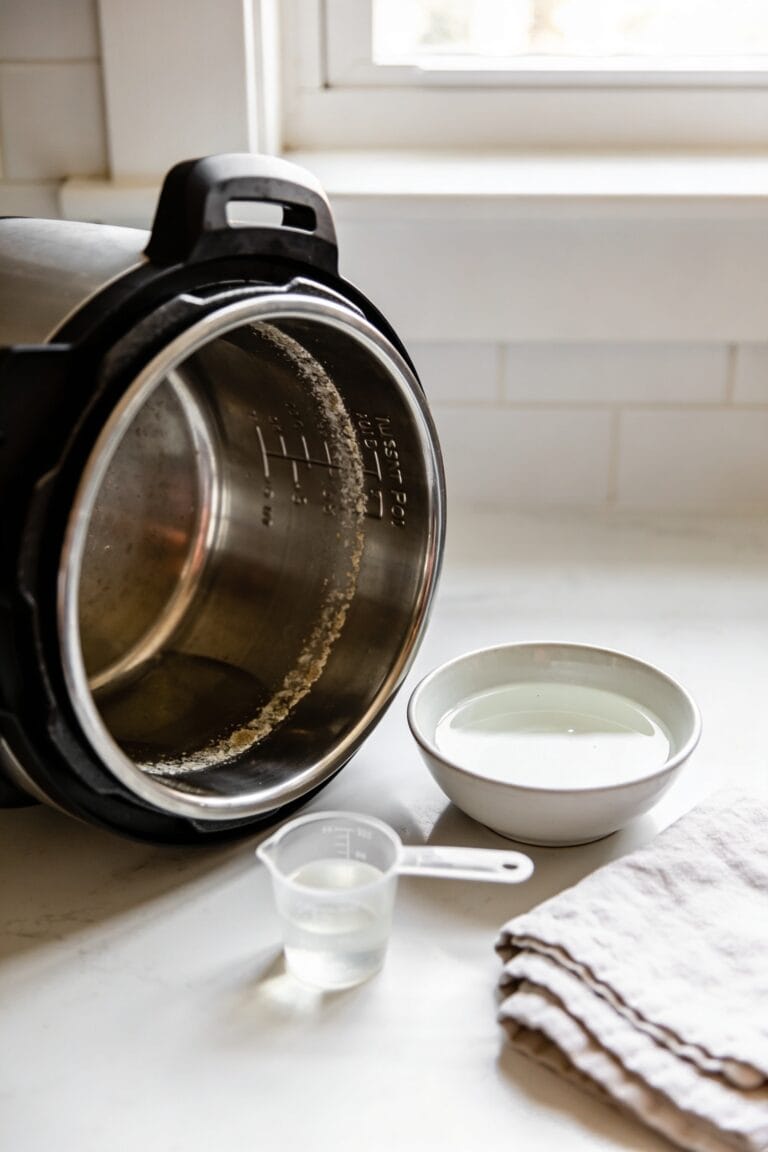
Soak in Vinegar to Kill Stubborn Smells
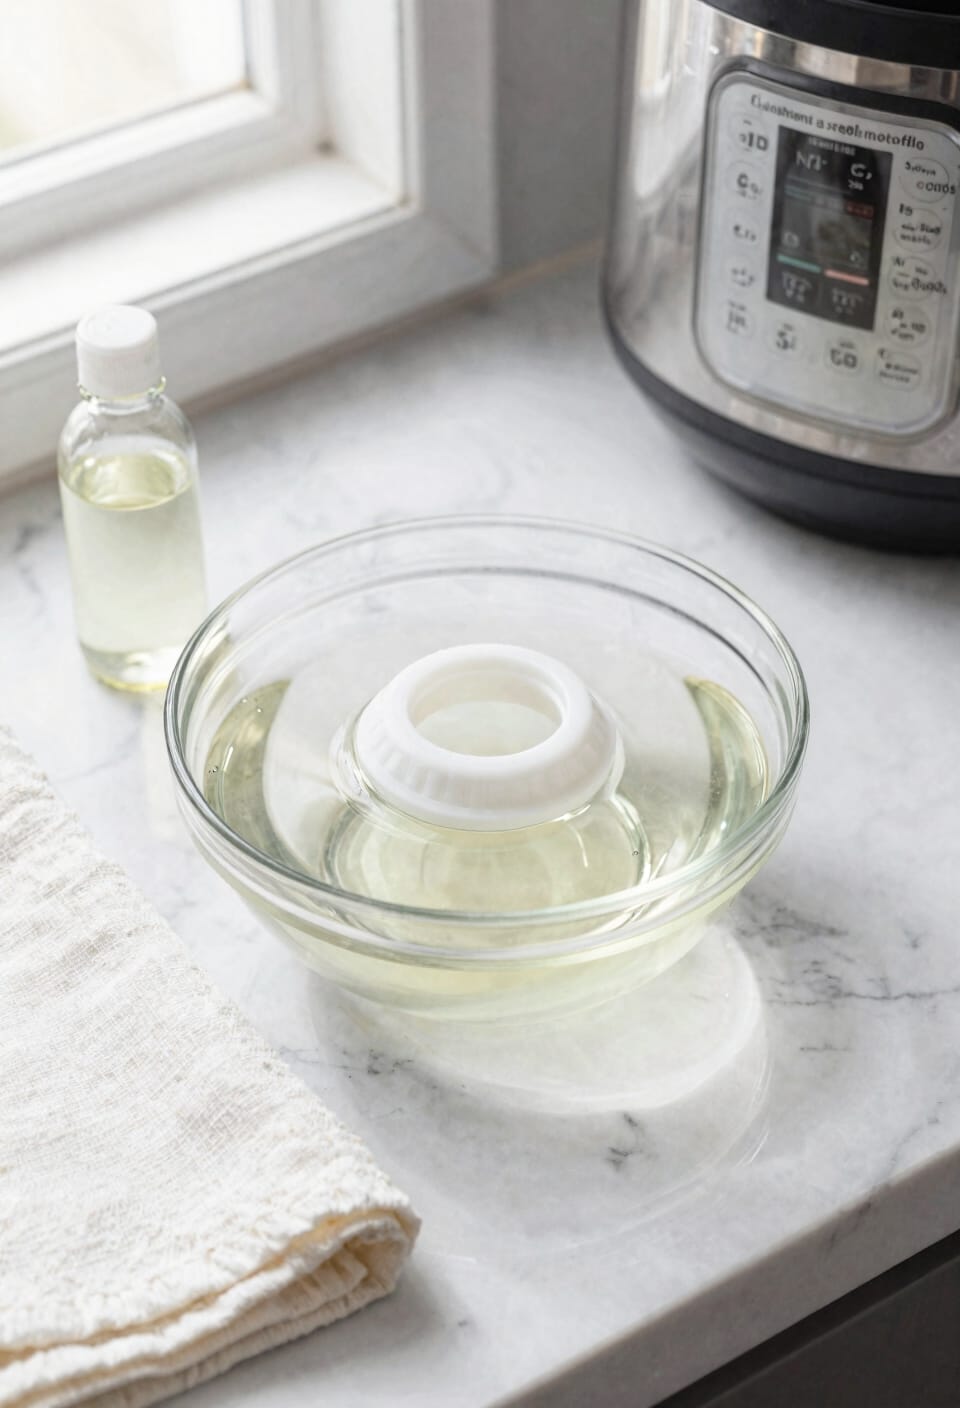
Because silicone’s got this annoying habit of clinging to food smells like they’re old friends, vinegar soaking is your secret weapon for actually eliminating those stubborn odors instead of just masking them. Here’s the thing: white vinegar breaks down odor binding at a molecular level, which is way more effective than anything else you’ve probably tried.
Grab your sealing ring and submerge it in white vinegar—you don’t need some crazy high vinegar concentration, just straight vinegar works fine. Let it soak for a few hours, or overnight if the smell’s particularly aggressive. After soaking, rinse it thoroughly under running water to flush out any vinegar residue, then dry it completely before popping it back in your lid. Your ring’ll smell fresh again.
Prevent Odors With Separate Rings
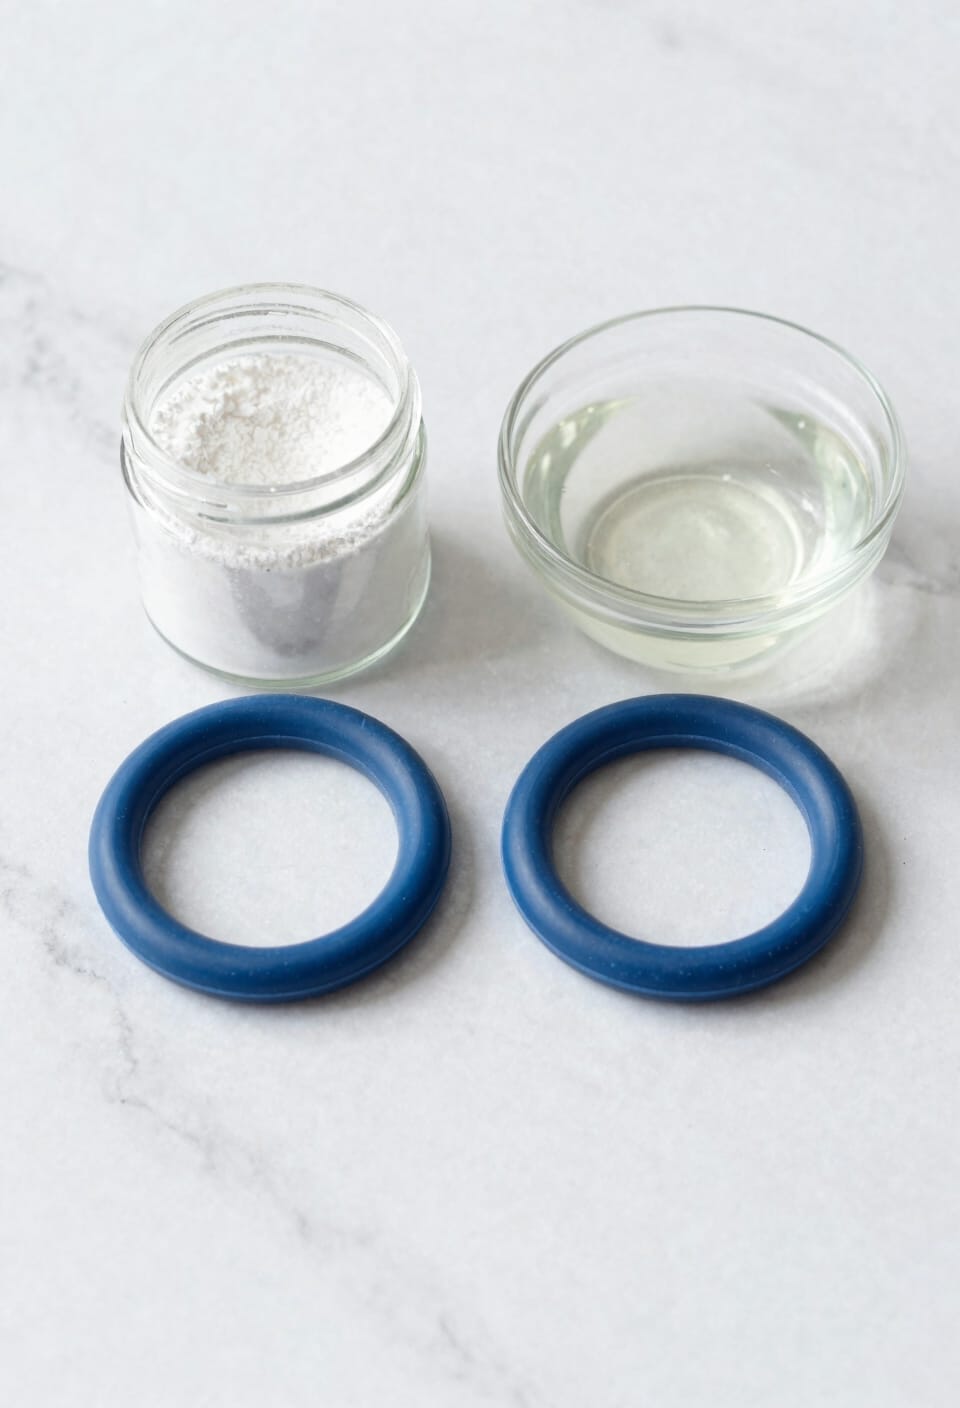
Most home cooks don’t realize that using the same sealing ring for everything from garlicky stir-fries to vanilla cheesecakes is basically asking for flavor ghosting, and I mean the culinary kind that actually ruins your food. Here’s the thing: silicone absorbs odors like nobody’s business, and once garlic decides to move in, it’s not leaving quietly.
I keep separate rings for savory and sweet cooking. You don’t need many—just two or three. Label them with fragrance labeling or permanent marker if you’re feeling fancy. One handles your savory work, another handles desserts. Your taste buds will thank you because there’s nothing worse than biting into dessert that somehow tastes like last Tuesday’s stir-fry. It’s honestly the easiest prevention strategy out there.
Dry Your Ring Completely Before Reinserting
Air drying works great if you’ve got patience. Just set it on a clean kitchen towel and give it some time. If you’re in a hurry, towel patting helps speed things along—gently work it dry with a soft cloth. That moisture hanging around? It’ll mess with your seal and throw off your pressure cooking. Don’t rush it.
Confirm Your Ring Is Sitting Snugly
Now that your ring is completely dry, you’ll want to double-check that it’s actually seated properly in the lid before you fire up the cooker again. This is where fit verification becomes your best friend—literally just press gently around the ring’s circumference to confirm it’s snug in its groove. A loose ring means your cooker won’t build pressure, and nobody wants that disappointment when you’re counting on dinner happening.
Look, seal alignment matters more than you’d think. The ring should sit evenly all the way around with no twists or bunches. Give it a gentle tug in a couple spots; if it stays put, you’re golden. If it shifts around, pop it back out and reposition it until it catches properly. Trust me, spending thirty seconds here beats troubleshooting a failed cook cycle later.
Frequently Asked Questions
How Often Should I Remove and Clean My Instant Pot Sealing Ring?
I’d recommend removing and cleaning your sealing ring after each use. This frequency schedule guarantees peak maintenance tips by preventing odor buildup and food residue accumulation, keeping your Instant Pot functioning properly and safely.
Can I Use My Sealing Ring if It Has Minor Cracks or Damage?
I’d paint you a picture: don’t put all your eggs in a cracked basket. No, you shouldn’t use a damaged ring—it’s a safety concern. You’ll need to replace the ring with a genuine Instant Pot® sealing ring to maintain warranty validity.
Why Does My Sealing Ring Smell Like Food Even After Cleaning?
Your sealing ring smells because silicone naturally absorbs food odors from cooking. Residual bacteria and trapped oils in the porous material persist even after cleaning. I’d recommend soaking it in white vinegar to neutralize stubborn smells effectively.
How Long Should I Soak My Sealing Ring in Vinegar for Odor Removal?
I’d recommend soaking your ring in white vinegar for several hours or overnight to effectively neutralize odors. While the knowledge doesn’t specify exact soak duration, longer soaking with standard vinegar concentration works best for stubborn smells.
Do I Need Multiple Sealing Rings for Different Types of Cooking?
I’d recommend having multiple sealing rings for different cuisines and allergen cooking. It’ll prevent flavor transfer and cross-contamination between savory dishes, sweet recipes, and foods containing allergens you’re managing.
Conclusion
Look, I’m telling you—a neglected Instant Pot ring can basically develop its own ecosystem. But here’s the thing: you’ve now got everything you need to resurrect that rubber from the brink of kitchen disaster. Follow these steps, and your sealing ring will stop smelling like a forgotten gym locker. Your future self (and your dinner guests) will thank you profusely for this simple maintenance work.