As an Amazon Associate, we earn from qualifying purchases. Some links on this site are affiliate links at no extra cost to you. Our recommendations are based on thorough research and editorial judgment.
How to Clean an Instant Pot Lid Thoroughly
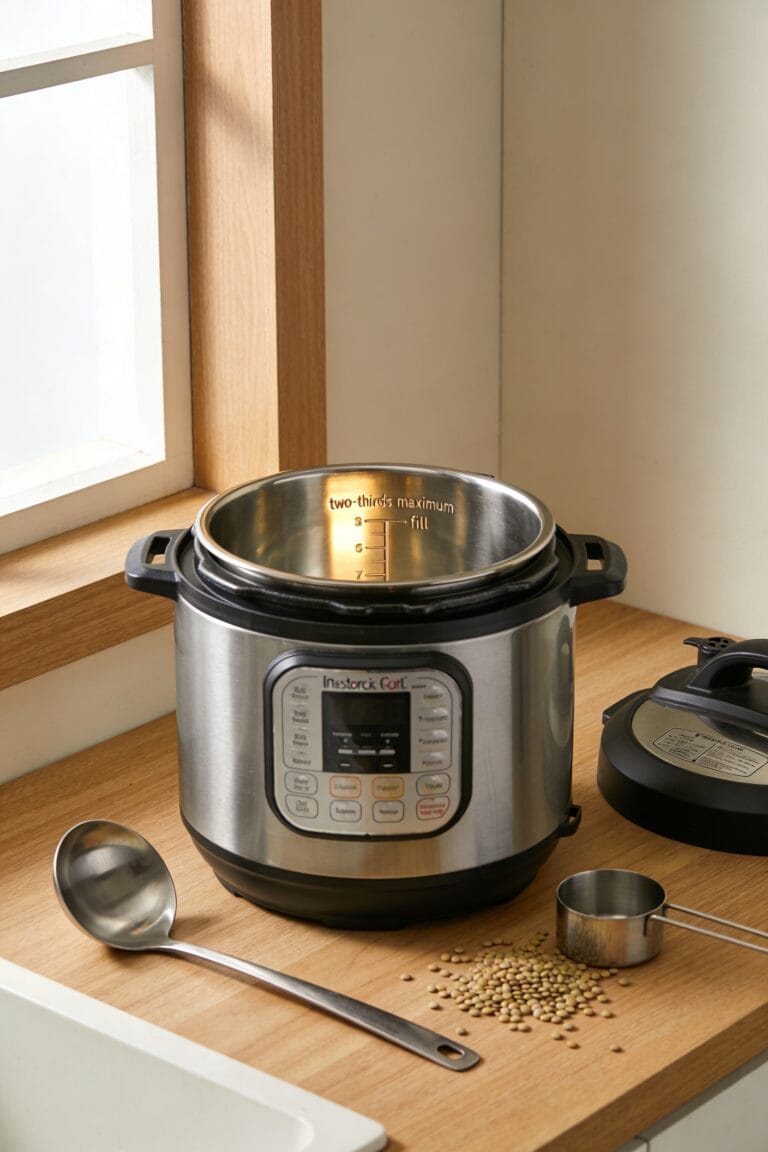
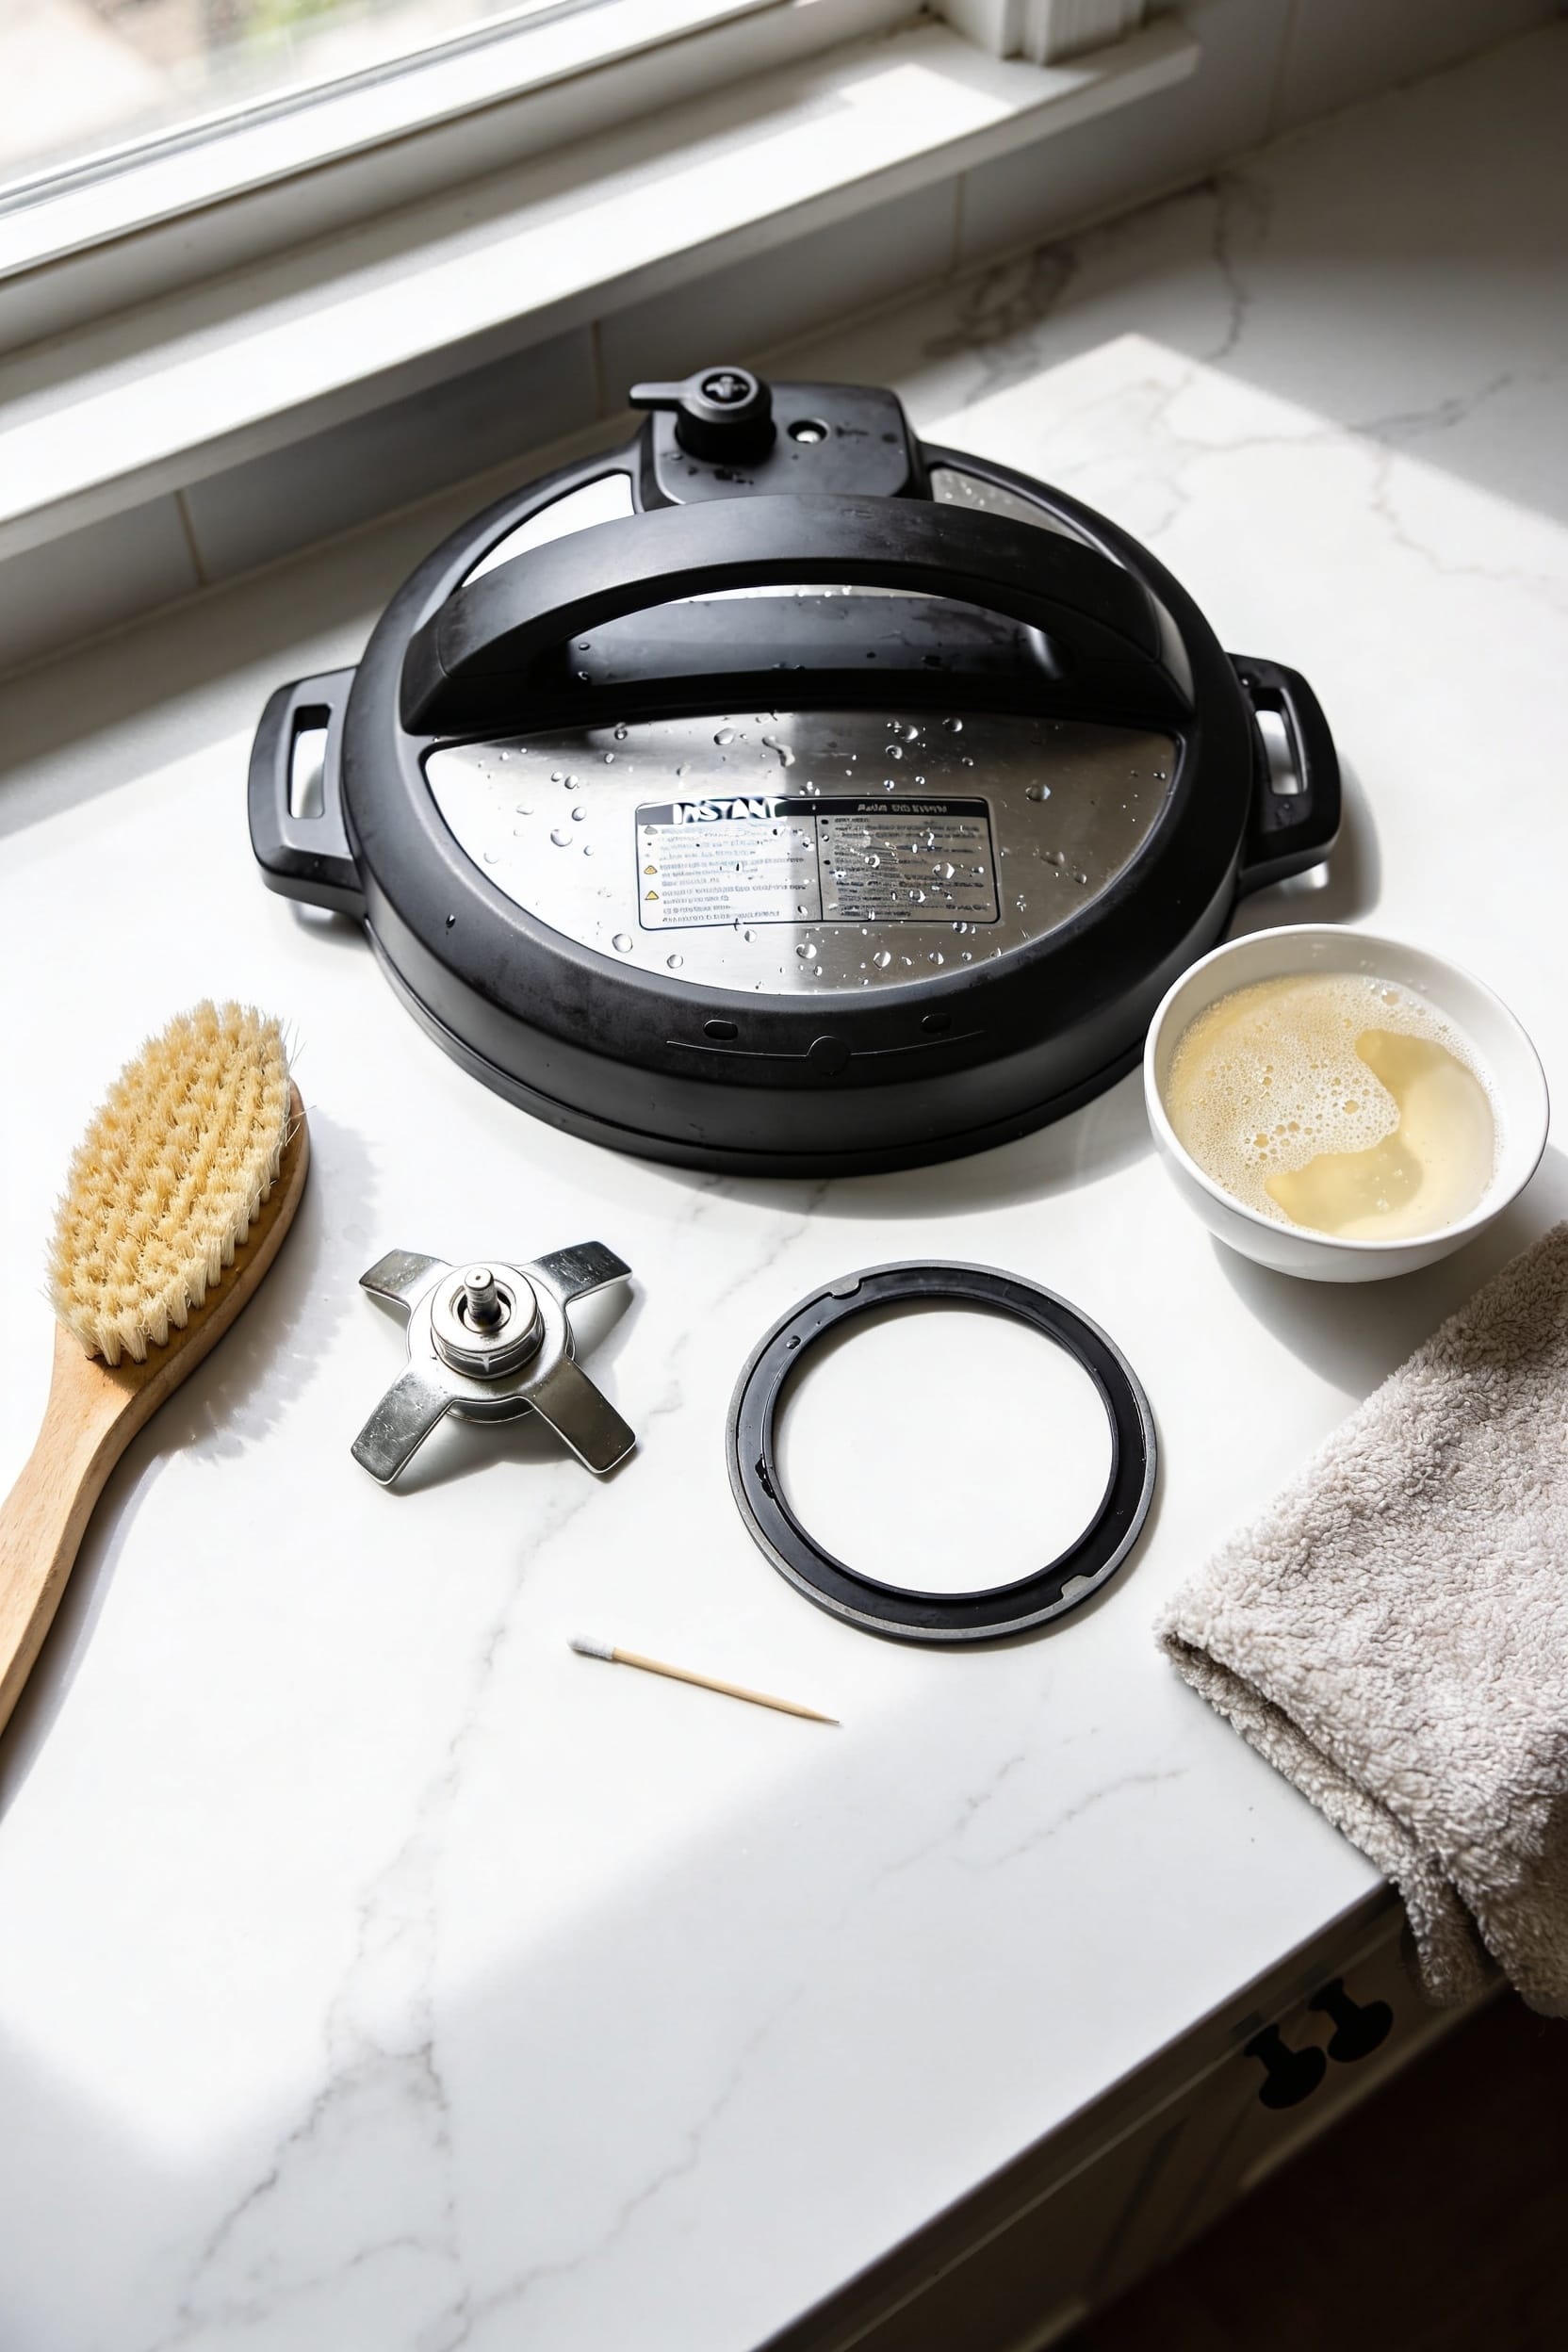
All right, here’s the thing—your Instant Pot lid’s basically a flavor sponge if you don’t maintain it properly. Start by removing and scrubbing that sealing ring with your fingernails, then pop out the anti-block shield and steam valve assembly. Hand wash everything with warm soapy water, hit stubborn spots with a toothbrush, and use vinegar on metal parts to banish water spots. Dry thoroughly before reassembling in order: valve first, shield second, ring last. Store it upside down to let moisture escape, and you’re golden—but stick around for the detailed breakdown that’ll make you a lid-cleaning champion.
Key Takeaways
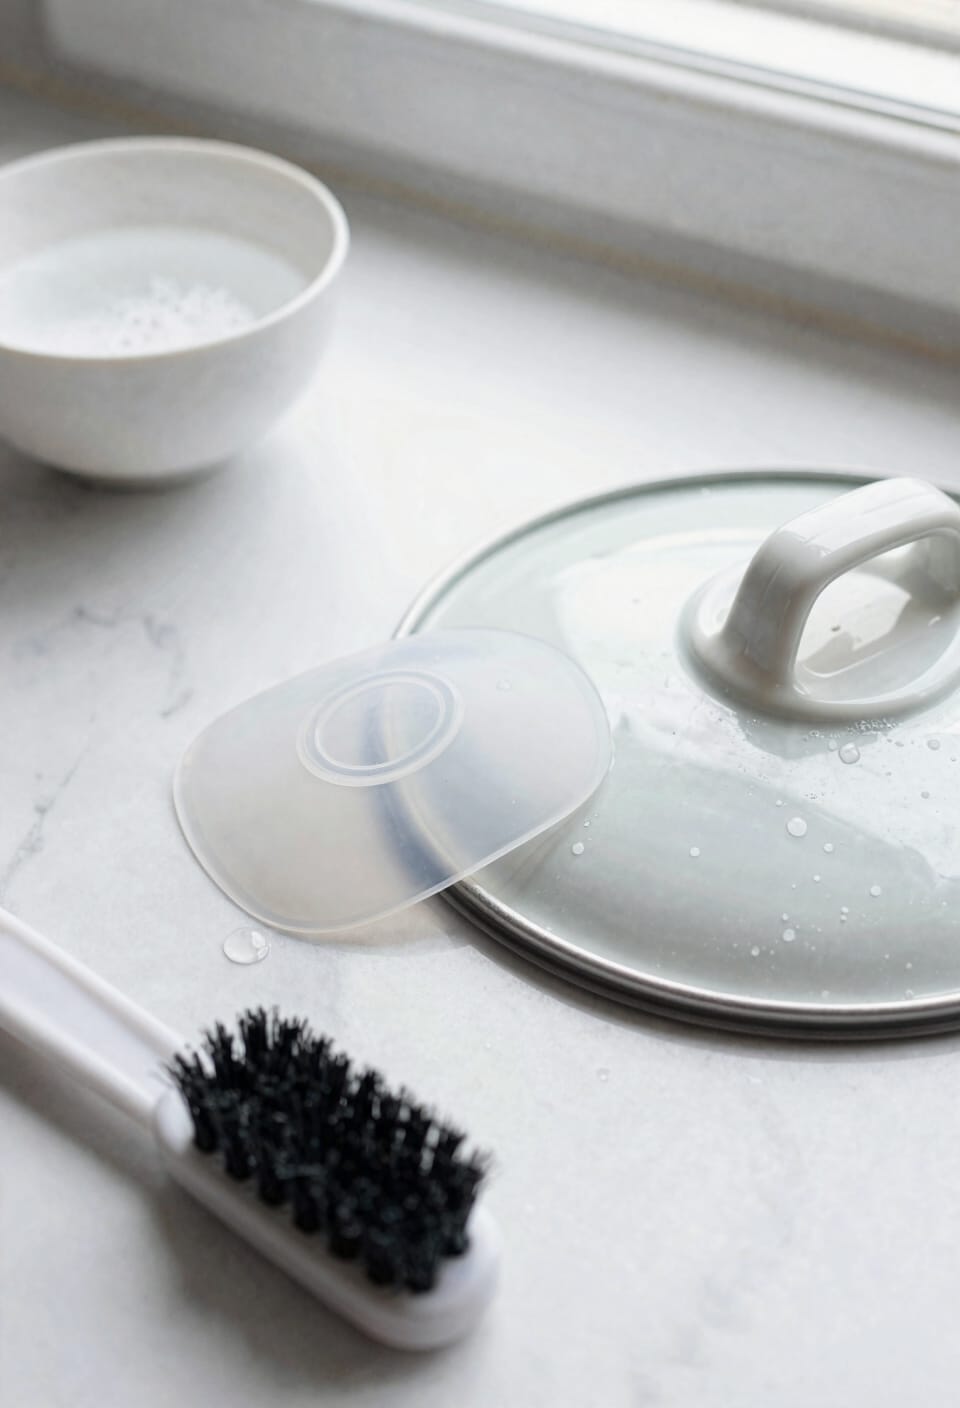
- Remove and scrub the silicone sealing ring with fingernails to eliminate trapped odors, debris, and residual flavors before drying completely.
- Pop out the anti-block shield, wash thoroughly with warm soapy water, and ensure it sits flush when reinserting to prevent accumulation.
- Detach the steam valve assembly, rinse components under warm water to remove mineral deposits, and dry completely before reassembly.
- Hand wash the lid interior and crevices with warm soapy water, using a toothbrush for stubborn spots in hidden areas.
- Store the lid upside down on the pot base in a cool, dry location to allow moisture evaporation and prevent odors.
Remove and Clean the Sealing Ring
Now, here’s the thing—that silicone sealing ring is basically a flavor sponge, and if you don’t give it some dedicated attention, it’ll hold onto onion smell like it’s a personal grudge. I pull mine off before every wash, and you should too. The material compatibility between silicone and whatever you cooked last means residual flavors get trapped in those crevices around the rim where the ring sits.
For odor prevention, I use my fingernails or a dishcloth to really rub out the grooves—get aggressive about it. Warm soapy water does the heavy lifting, but you’ve got to physically work those crevices. Once it’s clean, let it dry completely before popping it back into the lid. This simple habit keeps your next batch of soup from tasting vaguely like your previous stir-fry.
Pop Out and Clean the Anti-Block Shield
Underneath that lid sits a little shield called the anti-block shield, and it’s basically a food splatter catch-all that needs to come out after every single use. Shield removal is genuinely simple—just apply thumb pressure to the side toward the rim and pop the thing out. Warm soapy water cleans it effectively, though I’ll admit food sometimes stubbornly sticks around the edges. Use your fingers or a soft brush to work through those spots. Wipe everything dry with a soft cloth before reinserting it. Shield maintenance might sound tedious, but trust me, neglecting this step means food splatters accumulate and mess with your next cooking session. It takes maybe two minutes total, and your future self will thank you.
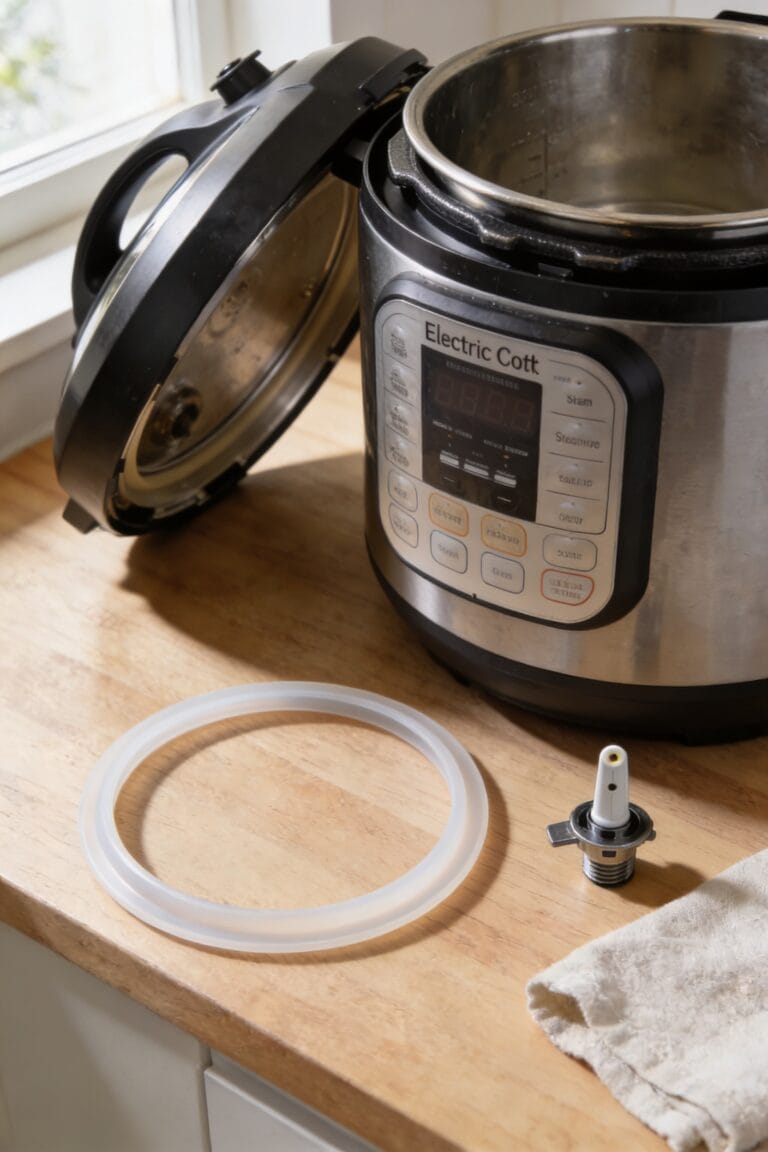
Remove the Lid’s Steam Valve

With that anti-block shield cleaned and drying, you’re ready to tackle what I think of as the real workhorse of lid maintenance—the steam valve assembly. Here’s the thing: this component handles serious steam pressure every time you cook, so keeping it clean isn’t just about performance—it’s a safety precautions issue too. Simply pull the entire valve assembly straight off the lid. Now you can rinse all those internal components under warm water, getting into the nooks where mineral deposits and food particles hide. The float valve‘s a bit fussy, so place your finger on top before removing the silicone cap. Dry everything thoroughly with a soft cloth before reassembling. A clean valve means consistent steam pressure and reliable cooking.
Drain and Clean the Condensation Collector

While you’ve got that steam valve assembly apart, you’ll notice there’s a condensation collector tucked underneath—and this little component is doing way more work than most people realize. It catches all that moisture that builds up during cooking, which sounds great until you forget about it and end up with stagnant water sitting there like some kind of science experiment.
Pour out whatever’s collected inside—seriously, don’t skip this step. Then rinse it under warm water to handle condensation disposal properly. Make sure the collector ventilation pathway stays clear; any blockage defeats the whole purpose. Wipe it dry with a soft cloth before you reassemble everything. Your next cooking session will thank you for this one small moment of attention.
Hand Washing or Dishwasher: Which Cleans Best?
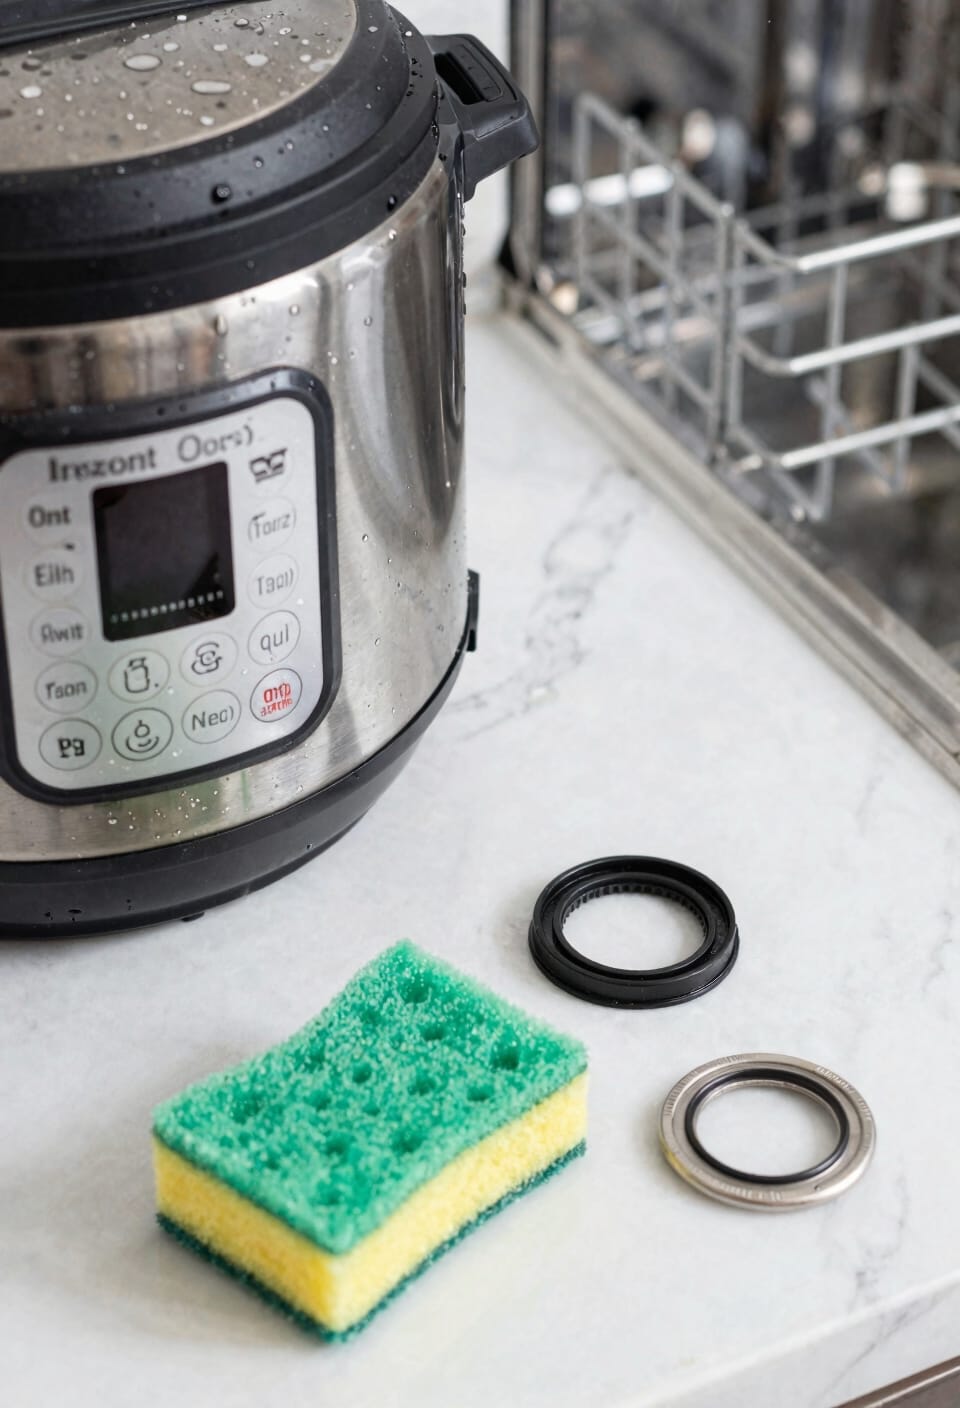
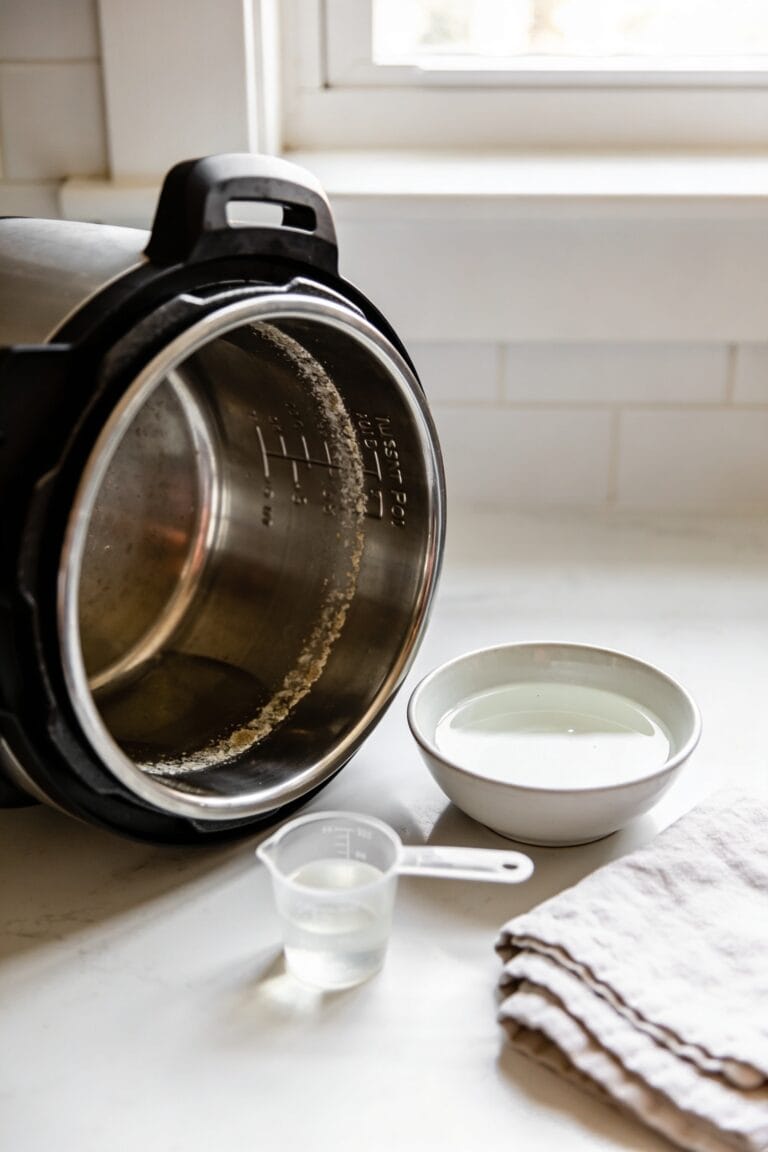
Now that you’ve got your condensation collector cleaned and reassembled, here’s the thing: the lid itself needs washing, and you’ve actually got some flexibility here. I’ll be honest—hand washing with warm soapy water beats the dishwasher for thoroughness, especially around those tricky crevices. A toothbrush works wonders on stubborn food particles, and you’ve got total control over energy efficiency since you’re just running your tap. That said, the lid’s top-rack dishwasher safe when components are removed first, which means less noise levels in your kitchen and minimal effort from you. Stainless steel parts benefit from non-abrasive cleaner or vinegar for stains. Choose whichever fits your rhythm—both work fine. I just prefer the tactile satisfaction of hand washing, if I’m being real with you.
Remove Stains From the Lid’s Metal Parts
Stainless steel components on your lid can develop stubborn water spots and discoloration that make the whole thing look like it’s been through a war, but here’s the good news—they’re actually pretty easy to restore. All right, here’s what I do: grab either a non-abrasive cleaner or white vinegar and apply it directly to those problem areas. The vinegar especially works wonders on mineral deposits, and it doubles as rust prevention if you’re dealing with any early oxidation. Wipe everything down with a soft cloth afterward, working in the direction of the grain. This metal polishing approach keeps your lid looking fresh without scratching the finish. Dry those components thoroughly with a dish towel before reassembling—moisture’s the enemy of a pristine appearance.
Clean the Lid Interior and Crevices
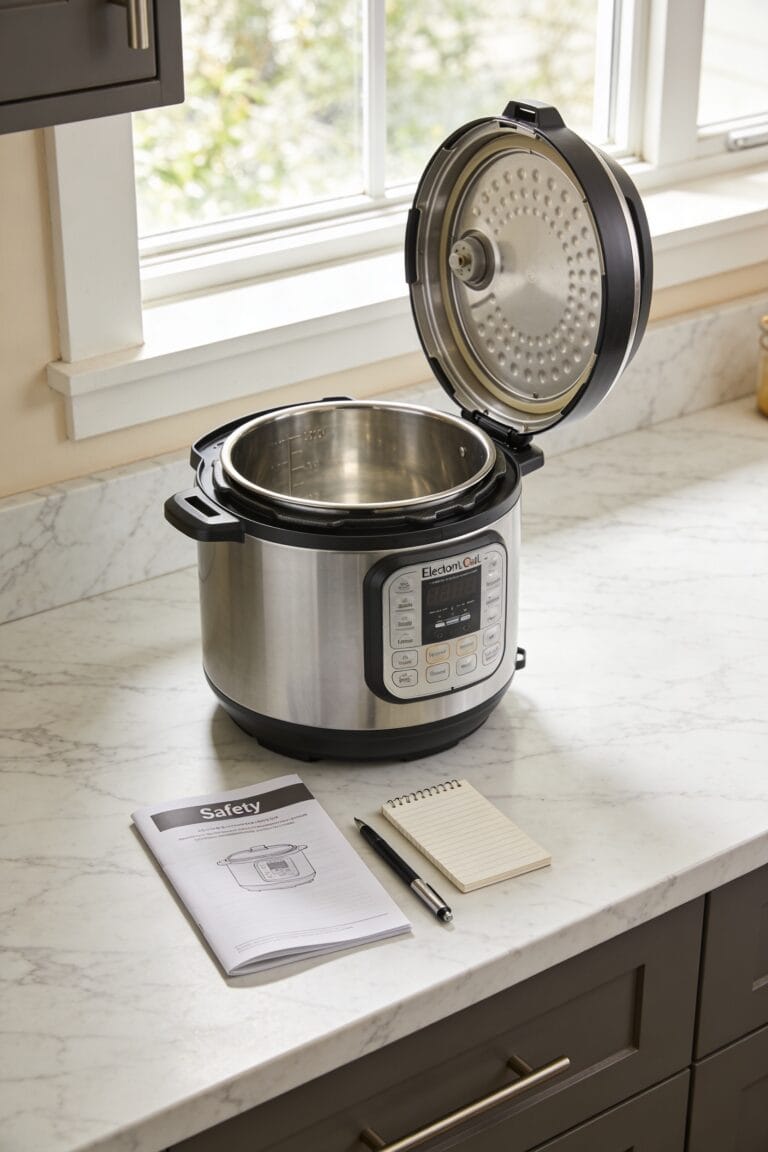
After you’ve tackled those metal parts, it’s time to focus on what I call the “hidden nasties”—all that buildup lurking inside the lid and wedged into the crevices where food loves to hide. Now, here’s where most people slip up: they skip the gasket channels and those sneaky hidden hinges where debris accumulates. Grab a damp washcloth and really work it into every crevice around the lid’s interior. A soft toothbrush works wonders for stubborn spots. Don’t rush this part—trapped food particles create odors that’ll haunt your next meal. Pay special attention to where the lid’s lip attaches; that’s prime real estate for grime. Once you’ve scrubbed thoroughly, wipe everything dry before reassembling. Your future self will thank you.
Reassemble Your Lid
Put your lid back together in the right order, because honestly, I’ve seen folks reassemble their lids like they’re playing Tetris blindfolded, and it never ends well. Start by pressing that steam valve component back onto the lid first—it’s your foundation. Next, carefully press down the anti-block shield into position, making sure it sits flush. Now comes the critical part: slide your sealing ring, or gasket, around the wire rim with proper gasket orientation. I can’t stress this enough—it’s gotta sit evenly, no twists or bunches. Before you call it done, run your safety checks. Verify both the steam and float valves have clearance and that nothing’s blocking them. Your pressure cooker depends on this.
Store Your Lid to Keep It Fresh
Now that you’ve got your lid reassembled and all those components sitting pretty, here’s the thing—where you store it matters way more than you’d think. I keep mine upside down on the pot base in a cool cabinet, which prevents odors from getting trapped inside. The inverted position lets any residual moisture evaporate naturally instead of pooling where the sealing ring sits. For extra insurance, I’ll sometimes use paper towel lined shelving in breathable storage areas. This setup keeps everything fresh between uses and saves you from that funky smell that sneaks up on lids left sitting around. Your future self will thank you when you pop that lid open and don’t get walloped by stale cooker funk.
Frequently Asked Questions
How Often Should I Remove and Clean the Sealing Ring to Prevent Odors?
I’d recommend removing and cleaning your sealing ring every week for odor prevention. For prolonged storage, I suggest a monthly inspection to make certain it hasn’t retained any smells or debris buildup.
Can I Use Abrasive Scrubbers on the Stainless Steel Lid Components Safely?
I’d advise against abrasive scrubbers—imagine tiny scratches etching your lid’s mirror finish. Instead, I’ll recommend non-abrasive alternatives like vinegar or specialized cleaners that protect your stainless steel’s scratch resistance while removing stubborn stains effectively.
What’s the Best Way to Dry All Components Before Reassembling the Lid?
I’d recommend you use a soft dish towel for towel patting each component thoroughly. Then I suggest air drying everything completely before you reassemble, ensuring no moisture remains on the sealing ring, shield, or valve parts.
How Do I Know if Food Debris Remains in the Float Valve?
You’ll want to visually inspect the float valve opening—I’d look for any visible particles blocking the stem. During float inspection and pressure indicator maintenance, you can gently press the valve up and down to confirm it moves freely without resistance or debris.
Is It Safe to Store the Lid With Components Still Attached to It?
I wouldn’t recommend it. You’ll want to remove all components before lid storage for both component safety and proper drying. Storing them attached traps moisture and promotes odor retention in the sealing ring.
Conclusion
Look, I used to ignore my Instant Pot lid until it looked like a science experiment. Now I clean it weekly, and honestly? It’s like maintaining a relationship—neglect it and everything falls apart, but give it attention and it actually works. Your lid’ll last years if you treat it right. That’s not just me being optimistic; that’s just how things work.