As an Amazon Associate, we earn from qualifying purchases. Some links on this site are affiliate links at no extra cost to you. Our recommendations are based on thorough research and editorial judgment.
Instant Pot Initial Setup: How to Get Started the Right Way
All right, here’s the thing: unboxing your Instant Pot is just the beginning. You’ll want to wash every component in warm soapy water, dry everything thoroughly, then slot that inner pot into the base and attach the lid—twist it clockwise until you hear the chime. Plug it in, run a quick five-minute water test on Manual mode to confirm the float valve lifts, then you’re ready to actually cook something that won’t taste like manufacturing residue. Stick around to nail the pressure release techniques that’ll transform your results.
Key Takeaways
- Unbox all components, identify the base unit, inner pot, lid, and accessories before beginning setup.
- Wash the inner pot, lid, sealing ring, and accessories with warm soapy water; dry completely.
- Insert the inner pot into the base, attach the condensation collector, and secure the lid.
- Plug the unit into a grounded outlet and run a 5-minute water test to confirm operation.
- Familiarize yourself with quick release and natural release methods for safe pressure management after cooking.
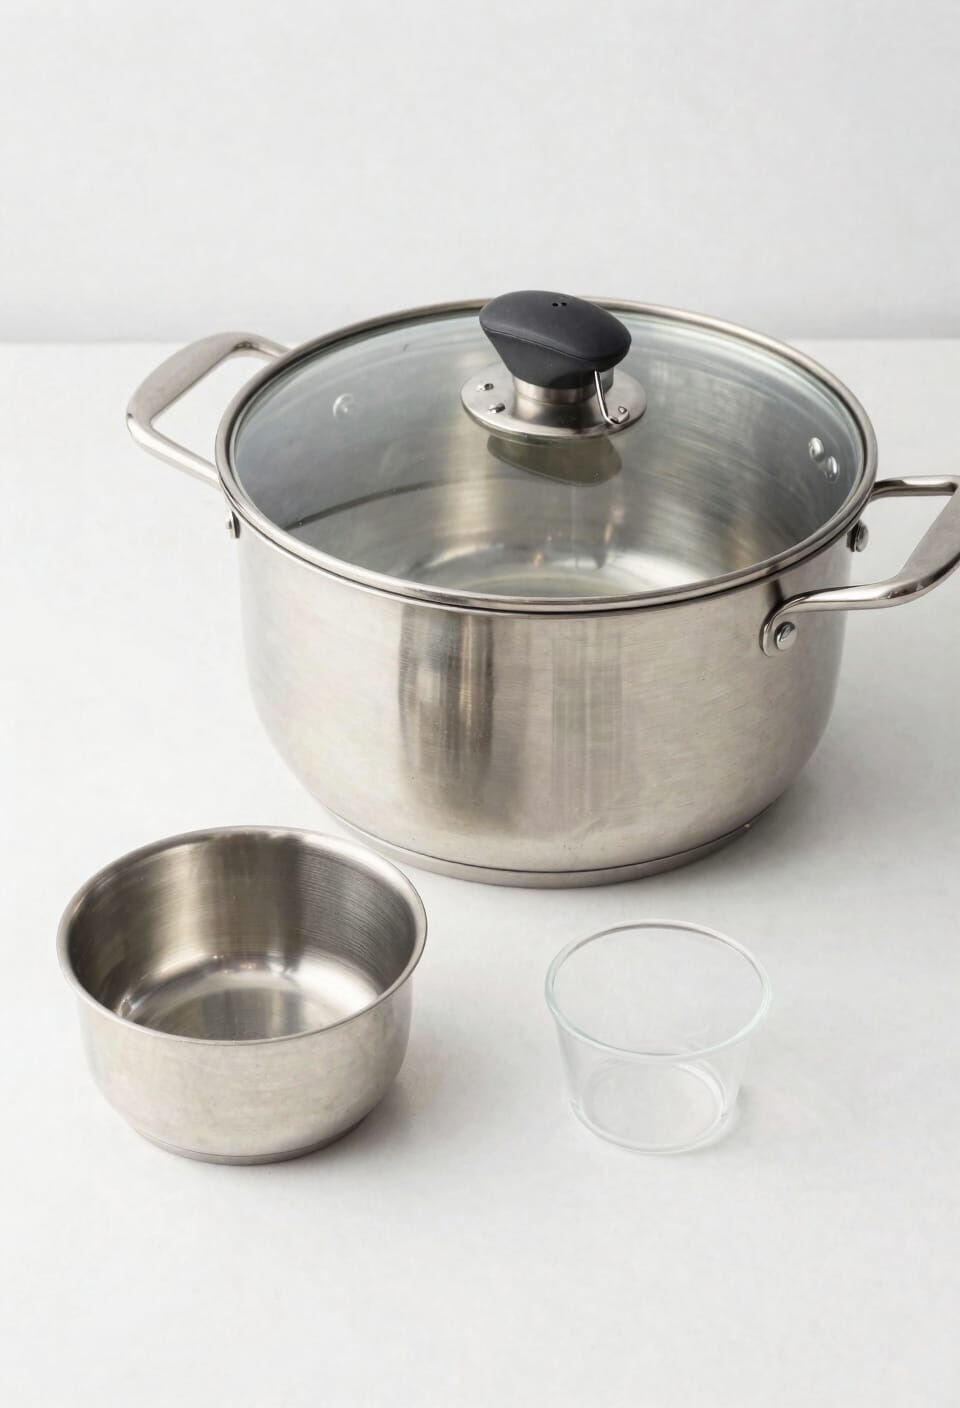
Unbox and Identify Your Components
All right, let’s crack open that box and see what you’re actually working with here. You’ll find the base unit—that’s where the heating element and all the brains live—plus a stainless steel inner pot that slots right in. There’s a lid with a steam release valve (don’t lose that thing), and you’ve got an accessories overview that includes utensils, a measuring cup, trivet, and condensation collector. Honestly, grab that orange warning card from the base and toss it. Before you do anything else, hunt down the warranty registration info tucked in there somewhere. I’d register it online if I were you—covers your rear end down the road. Everything else is just helpful stuff you’ll appreciate having nearby.
Wash and Prepare Each Part Before First Use
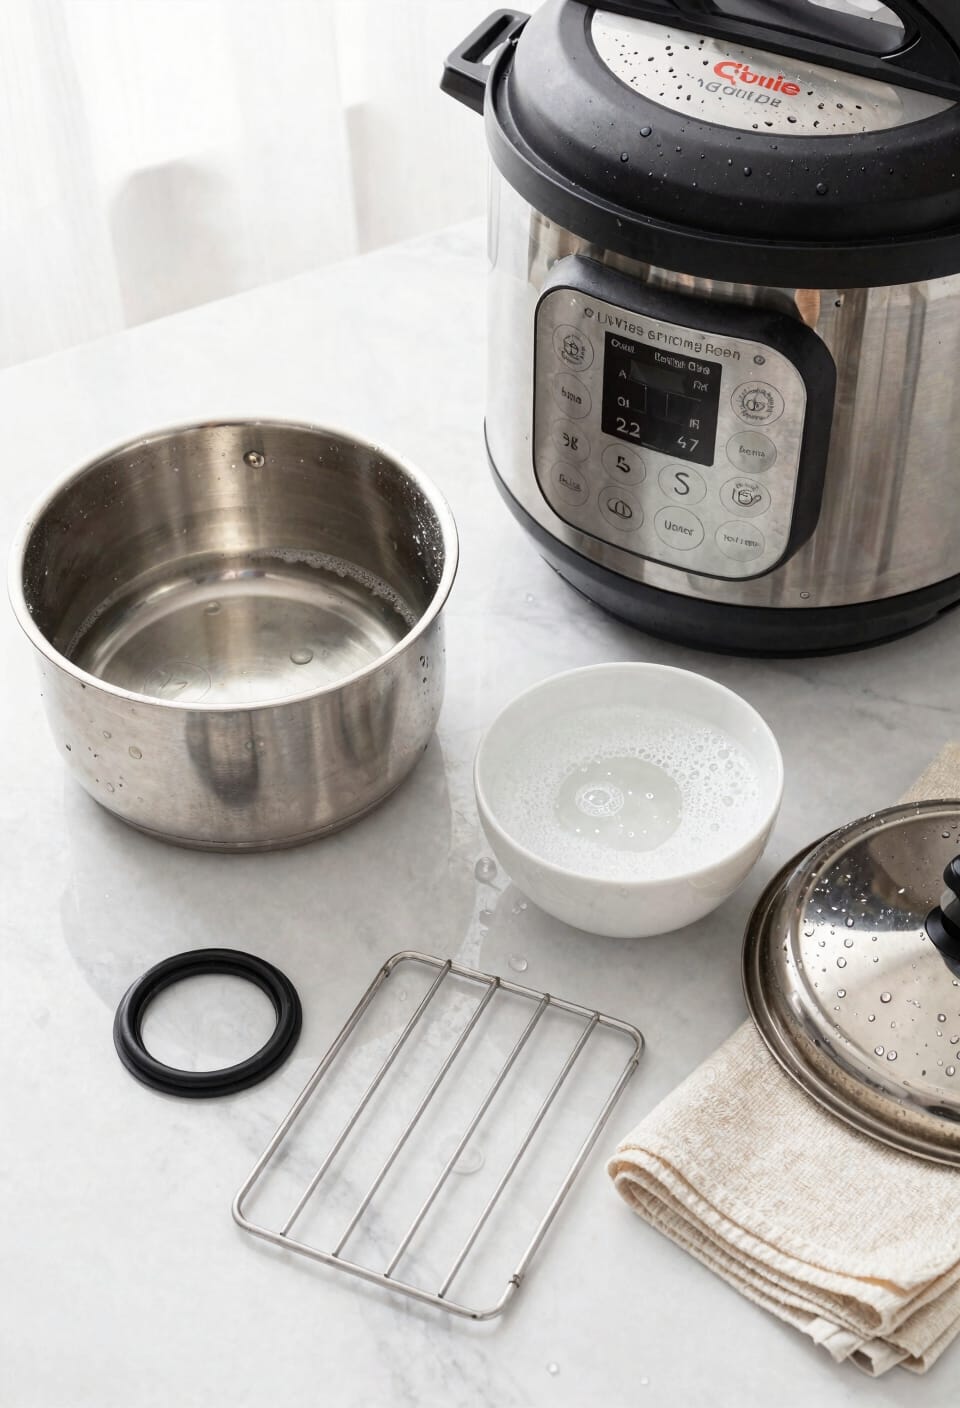
Before you fire this thing up, you’ve got to give every component a proper wash—and I’m not talking about a quick rinse under cold water. I grab the inner pot, lid, sealing ring, and all those accessories and run them under warm soapy water like I actually care. The goal is to rinse residue and any manufacturing dust that might’ve settled during shipping. Then I sanitize utensils thoroughly because nobody wants factory grime in their dinner. After washing, dry everything completely—moisture hanging around causes problems down the line. Don’t forget that orange warning card stuck to the base; peel it off and toss it. This takes maybe ten minutes, and honestly, it’s the difference between your Instant Pot running smoothly or giving you grief later.
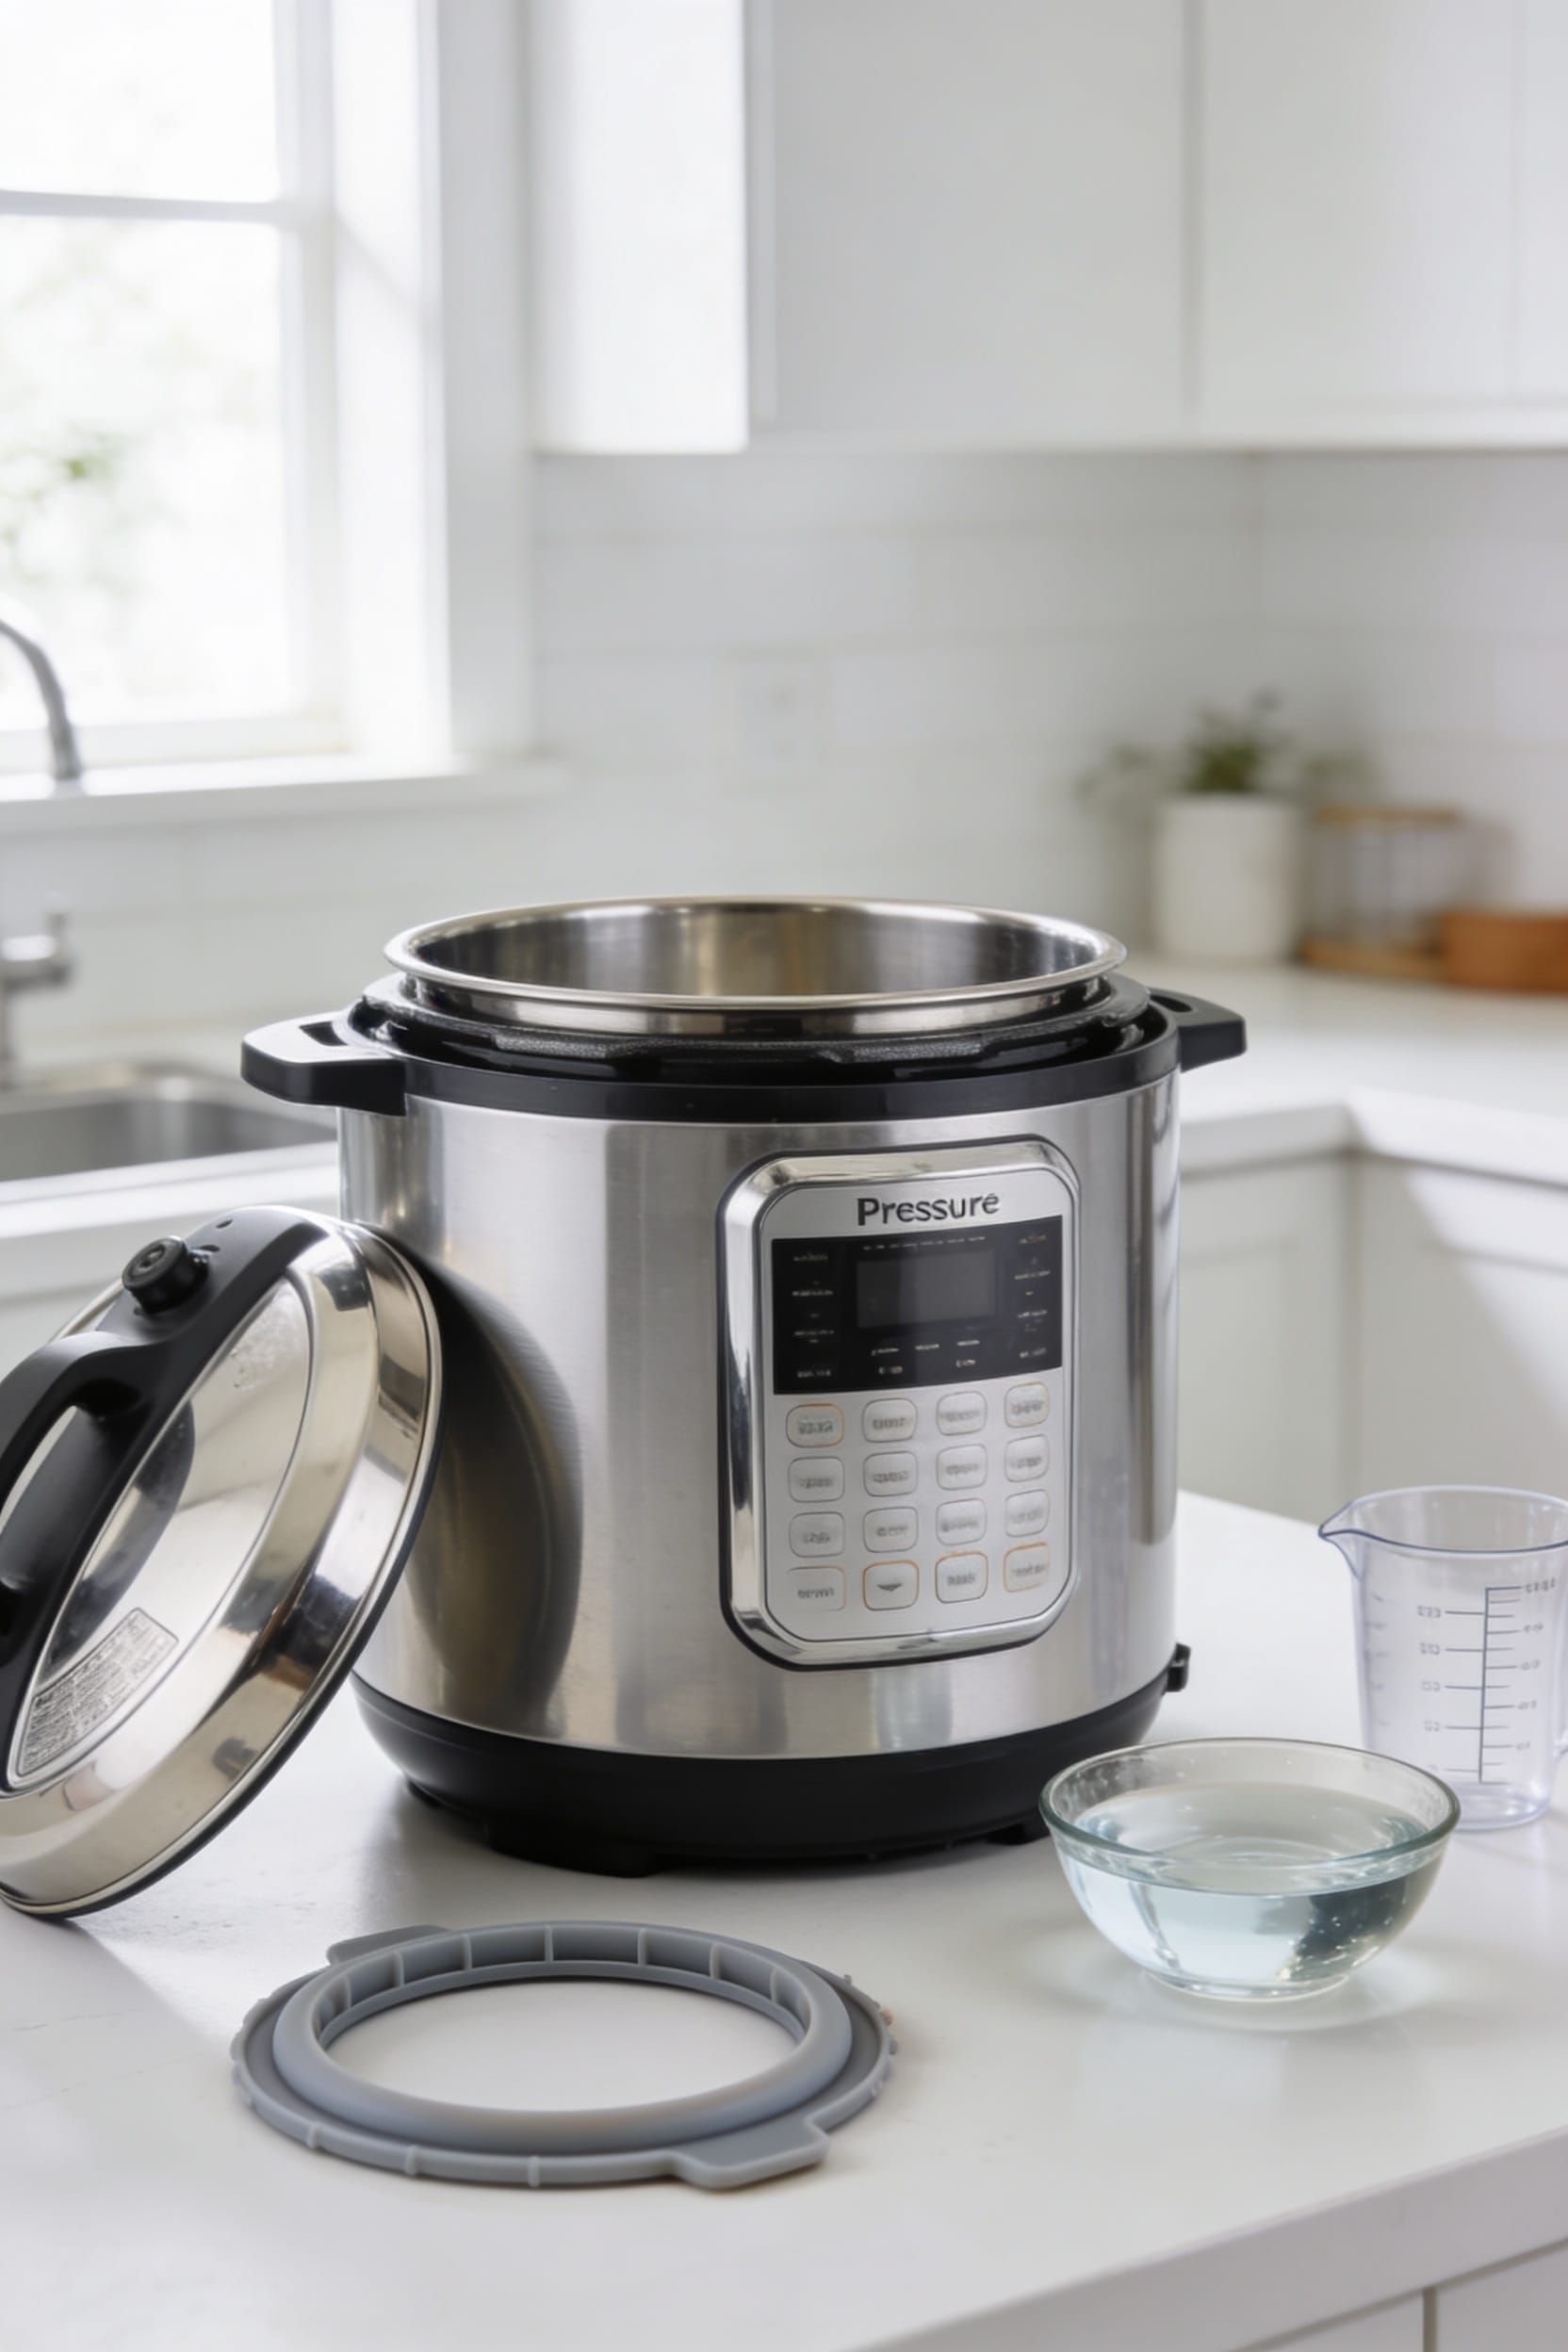
Assemble the Inner Pot, Lid, and Condensation Collector
Now that you’ve got all your parts clean and dry, it’s time to actually put this thing together—and I promise it’s way simpler than it looks. First, place that stainless steel inner pot into the base unit—it should sit snugly. Next, attach the condensation collector to the back of your unit; it catches all that drip without making a mess on your counter. Now for lid alignment: rotate it so the arrow points to the open position on the base, then twist clockwise until you hear that satisfying chime. Make sure the steam release valve‘s properly attached to the lid top. Pay attention to handle maintenance by ensuring everything’s secure before powering up. You’re basically done—seriously.
Connect Power and Confirm the Beep
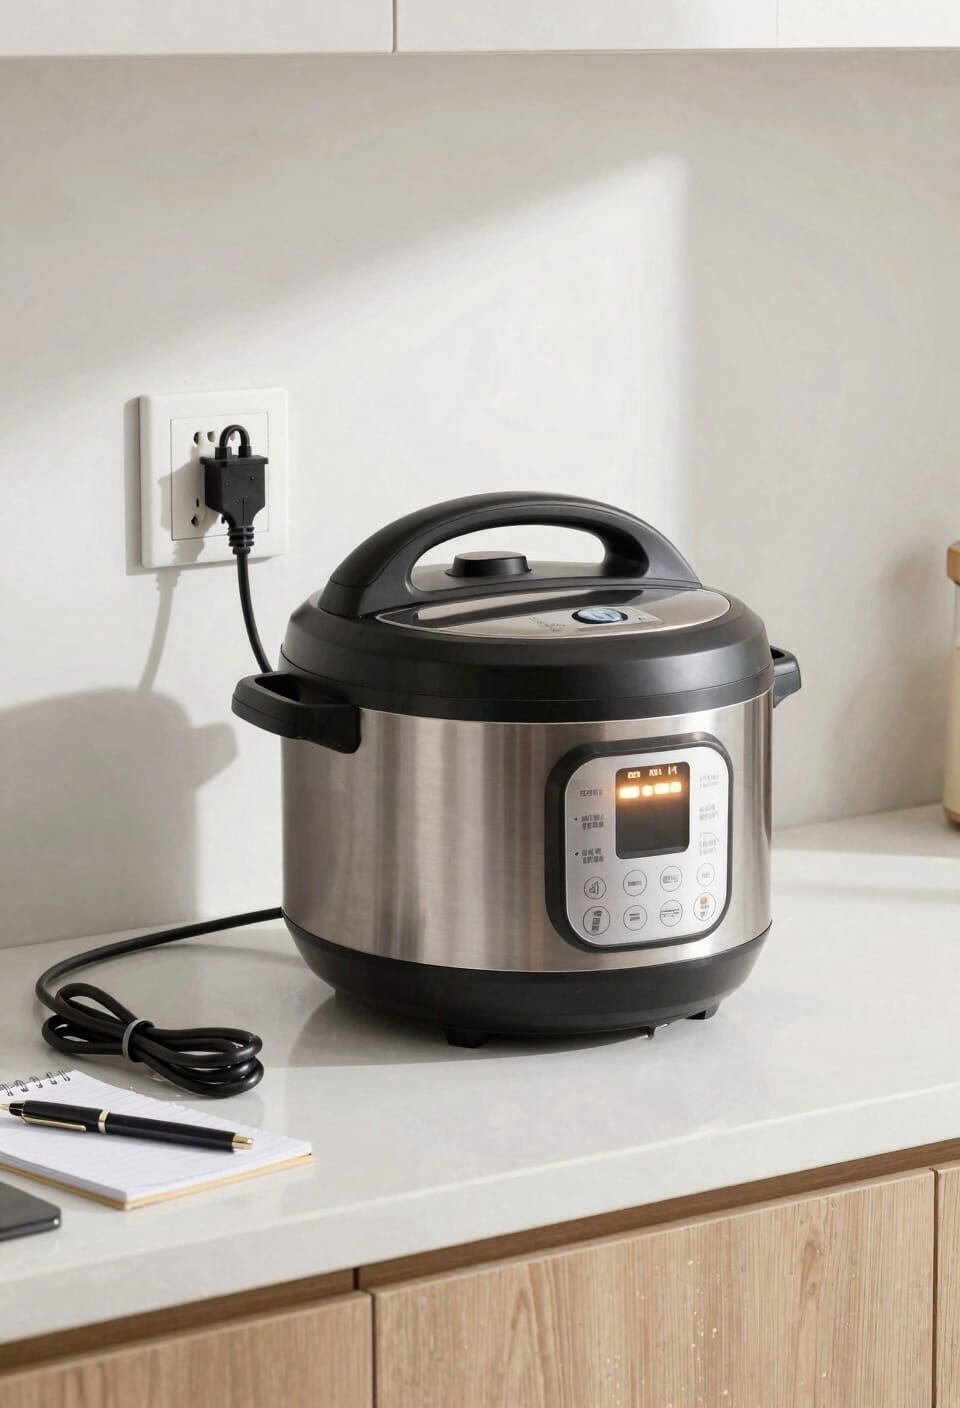
Plug that power cord firmly into the back of your base unit—and I mean *firmly*, because a loose connection is basically the “have you tried turning it off and on again” of Instant Pot problems. I’ve seen people troubleshoot for hours when all they needed was a proper push. Check your outlet compatibility before you plug in; you want a standard grounded outlet that can handle the wattage. Once you’ve got that cord seated right, you’ll hear a satisfying beep—that’s your power indicator telling you everything’s connected and ready. That beep’s your green light. No beep? Unplug, wait a second, and try again with more conviction. Sometimes these things just need you to commit.
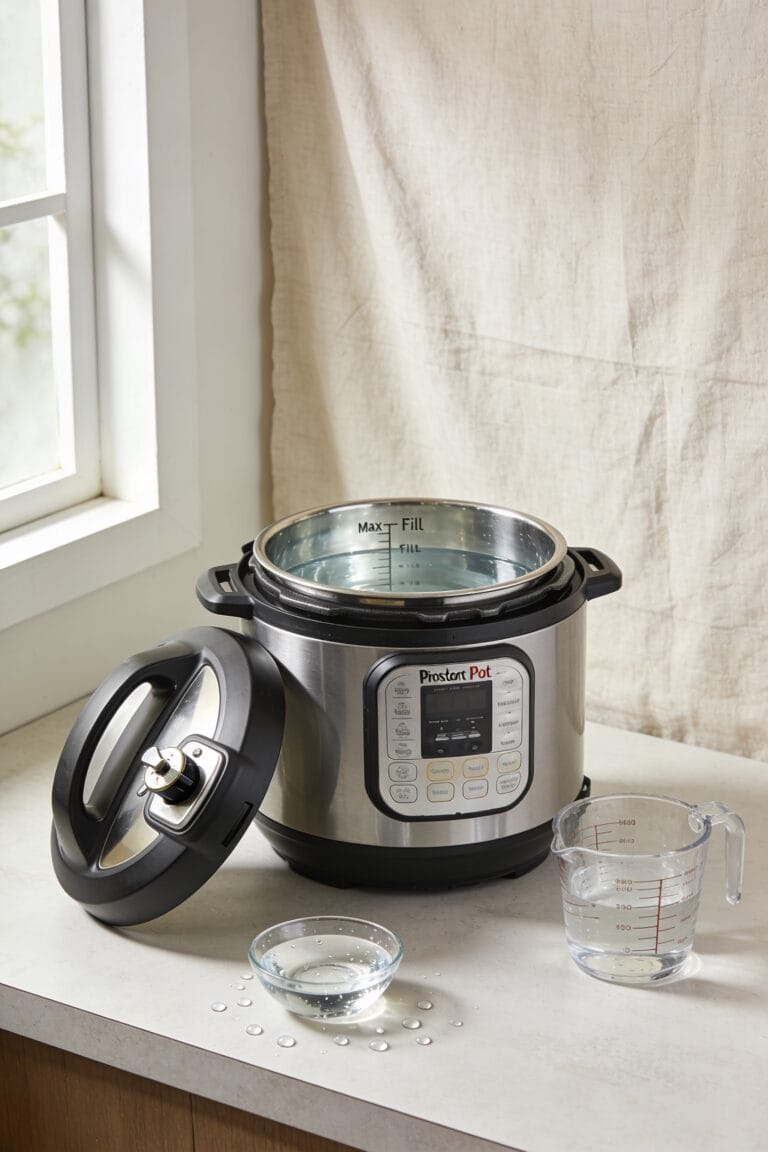
Run Your First Water Test
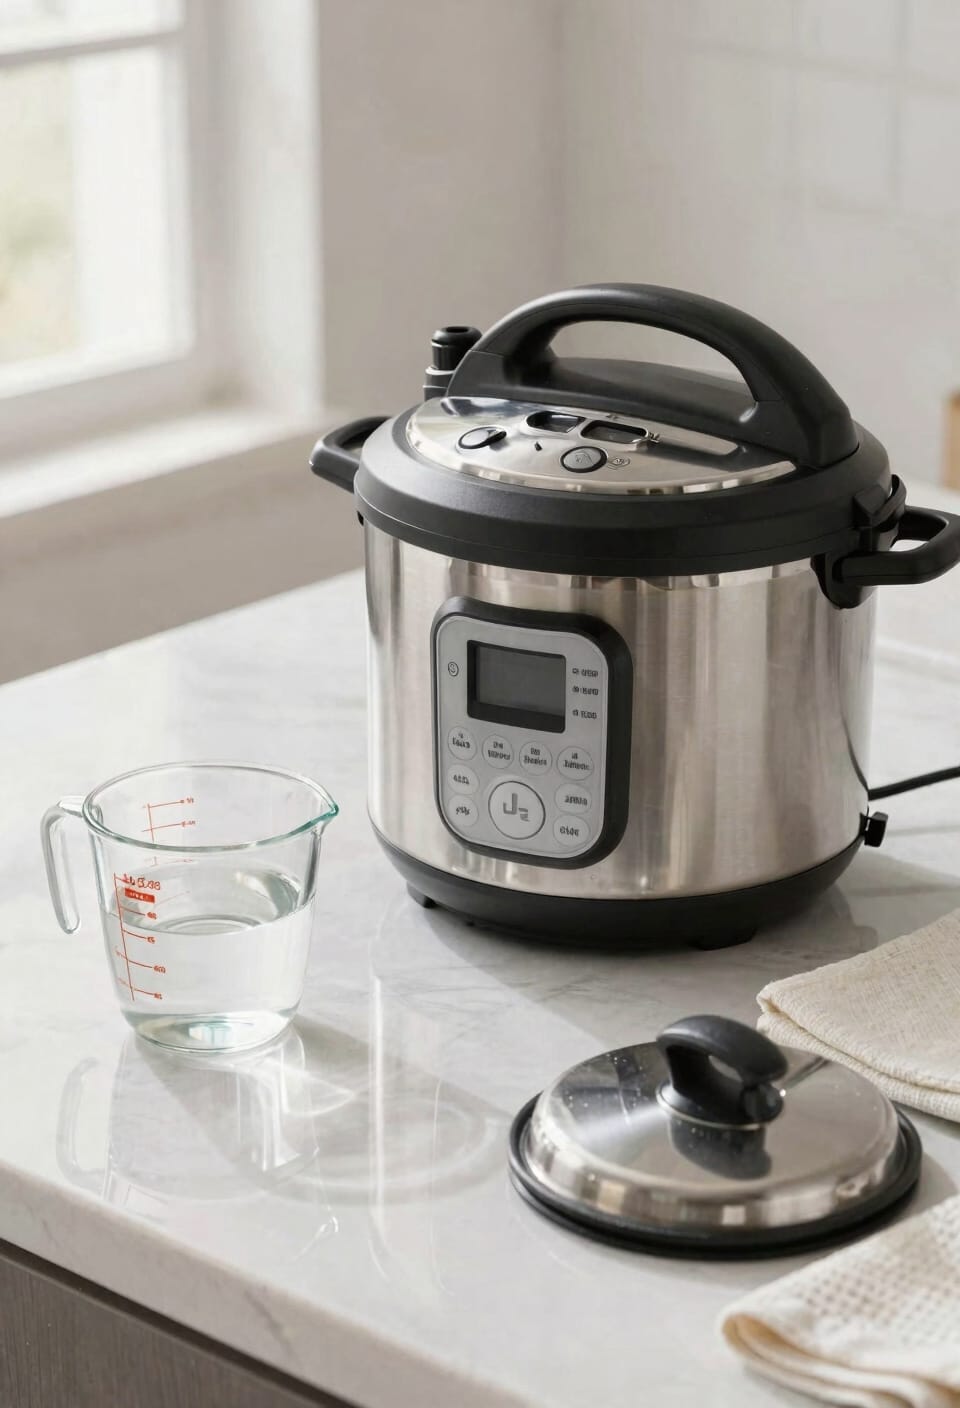
With your Instant Pot now powered up and beeping its little heart out, it’s time to run a water test—basically the cooking equivalent of a test drive before you take it out on the highway. Pour exactly 2 cups of water into your inner pot. Close the lid, align it properly, and set the steam release valve to sealing—this matters, trust me. Now hit Manual or Pressure Cook and set steam timing for 5 minutes. You’ll watch the display show “On” while pressure builds up. After about 5 minutes, that float valve lifts, signaling everything’s working as intended. Your water measurement test confirms your pot’s heating and pressurizing correctly. No explosions, no weird noises—just smooth sailing into your instant cooking future.
Release Pressure Safely: Quick vs. Natural Release
Once that float valve pops up and you’ve hit your 5-minute mark, you’ve got two main ways to get the pressure out of your pot, and I’m not gonna lie—which one you pick actually matters depending on what you’re cooking.
Quick release means you turn that valve to venting immediately. Steam rushes out fast, pressure drops quick, and you’re opening that lid in seconds. It’s perfect for vegetables or anything you don’t want turning into mush.
Natural release is the patient route. You just let the pot sit there while pressure gradually decreases on its own—takes maybe 10-15 minutes. This gentler approach works better for delicate foods or when you’re cooking meat that benefits from resting inside that pressurized environment.
Troubleshoot No-Power and Seal Issues
If your Instant Pot isn’t lighting up when you plug it in, I’ve got good news—you’re probably looking at something ridiculously simple to fix rather than a dead unit. First, check that power cord connection. Push it firmly into the base unit’s back port—I’m talking genuinely firm. Loose plugs cause more no-power complaints than actual failures, so don’t skip this step.
Now, seal issues often stem from gasket inspection. Your sealing ring deteriorates over time, so pop it out and examine it for cracks or deformation. If it looks rough, grab a replacement—they’re cheap insurance against failed pressurization.
For display problems specifically, battery replacement in certain models solves flickering or unresponsive screens. Check your manual for specifics. Nine times out of ten, you’re golden once you address these basics.
Understand Your Safety Features
Your Instant Pot has more built-in safety mechanisms than you might realize, and honestly, that’s the main reason I sleep better at night knowing one’s humming away on my counter. The safety interlocks prevent the lid from opening under pressure—you literally can’t force it, which means no accidental steam explosions on your face. The pressure indicators give you visual confirmation that everything’s operating normally; when that float valve lifts, you know you’ve reached pressure. Now, here’s the thing: the base won’t function if the lid isn’t properly sealed, and the steam release valve‘s right there on top where you can control exactly when pressure vents. These aren’t flashy features, but they’re what make pressure cooking genuinely safe for your kitchen.
What to Do Next: Cook Your First Meal
Now that you’ve got the safety features down and you’ve run that water test, it’s time to actually cook something—because a pressure cooker that never cooks is just an expensive paperweight taking up counter space. Start with simple weeknight recipes: pasta, rice, stews. Nothing fancy required. The beauty here is that you’ll figure out what works for your kitchen through actual use, not by reading more articles.
Look, ingredient substitutions matter more in pressure cooking than you’d think. The moisture content changes everything. Swap fresh tomatoes for canned? Your timing shifts. Use frozen vegetables instead of fresh? Same deal. I’d jot down what you actually use versus what recipes call for—you’re building your own reference guide, which beats any cookbook eventually.
Frequently Asked Questions
Can I Use the Pressure Cooker Without the Condensation Collector Attached?
I’d advise against it. The condensation collector manages moisture buildup during cooking. Without it, you’ll face water accumulation issues. While venting alternatives exist, proper condensation management requires the collector attached for peak performance.
How Often Should I Replace the Sealing Ring on the Lid?
I’ve found that like a car tire wearing thin, your sealing ring needs replacing every 12-18 months with regular use. I replace mine sooner if I notice odor management issues or steam leakage—it’s worth the investment.
What’s the Difference Between Manual and Pressure Cook Settings?
I’ll give you the honest truth: Manual mode lets you set your own time with precision control, while Pressure Cook is preset for fast cooking. Both use pressure, but Manual gives you flexibility I find helpful for custom recipes.
Is It Safe to Open the Lid Immediately After Cooking?
I’d tell you—like I’d text a friend—that you shouldn’t open it immediately. I recommend wait times for safety. Use quick releases by turning the valve to venting first, keeping your face away from steam.
Can I Cook With the Inner Pot Removed From the Base?
No, I can’t cook with the inner pot removed from the base. The heating element’s in the base unit, so it won’t function separately. Never place it on a stovetop—that’s unsafe. You’d need proper cookware for sous vide experiments.
Conclusion
Now you’re ready to launch into the Instant Pot universe. You’ve got all the pieces in place, your safety features locked down, and you understand how this beast actually works—which puts you miles ahead of most people who just start throwing frozen chicken in without reading a manual. Your Instant Pot isn’t a magic wand, but it’s damn close. Go cook something.